Make Your Christmas Fun with these Crafts

The holiday season is the perfect time to let your creativity shine! With your Cricut cutting machine and some festive paper, you can create beautiful, personalized decorations and gifts. These projects are not just about crafting; they’re about creating memories, sharing joy, and adding a touch of handmade love to your holidays. Here are 17 easy and fun projects to try, complete with step-by-step instructions.
Why Choose These Cricut Projects for Christmas?
Crafting during the holidays isn’t just a way to make decorations—it’s an opportunity to spend quality time with loved ones, de-stress, and add a personal touch to your celebrations. Cricut machines make it easy to bring your creative visions to life, and paper crafts are cost-effective, versatile, and beginner-friendly. Whether you’re decorating your home or making heartfelt gifts, these projects are designed to inspire. Let’s dive into the details!
You can grab the templates for each project in our resource library.
1. 3D Paper Snowflakes
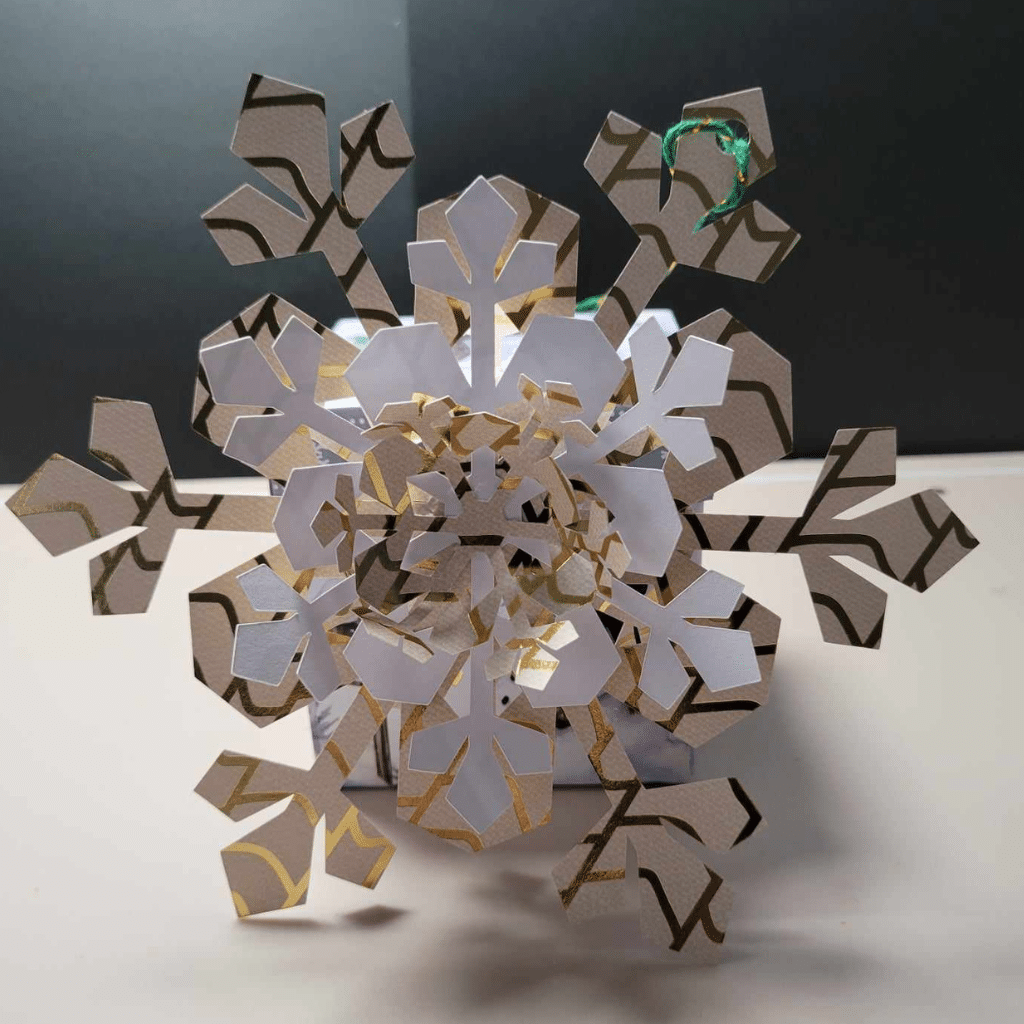
Bring the magic of a winter wonderland into your home! These delicate snowflakes are perfect for adding a touch of sparkle to your tree, windows, or holiday tablescape. Making them with your family can become a cherished tradition.
Materials:
White or glitter cardstock
Cricut machine
Glue
String (optional)
Steps:
- Open Cricut Design Space, start a new project, and download our 3D snowflake template (asset #496).
- Adjust the size of the snowflake to suit your needs. If you want a true 3D effect, you will cut one large, 2 medium, and 2 small snowflakes.
- Load your cardstock onto the cutting mat and start the cut.
- Assemble the snowflake by gluing the medium pieces in the center of either side of the large snowflake and then glue the small pieces into the centers of the medium pieces.
- Curl the small and medium pieces to give that 3D look.
- Cut a hole (use a one-hole punch) in one of the large snowflake arms as shown below.
- Add string to hang them on your tree or windows.
2. Gift Tags with Calligraphy Designs
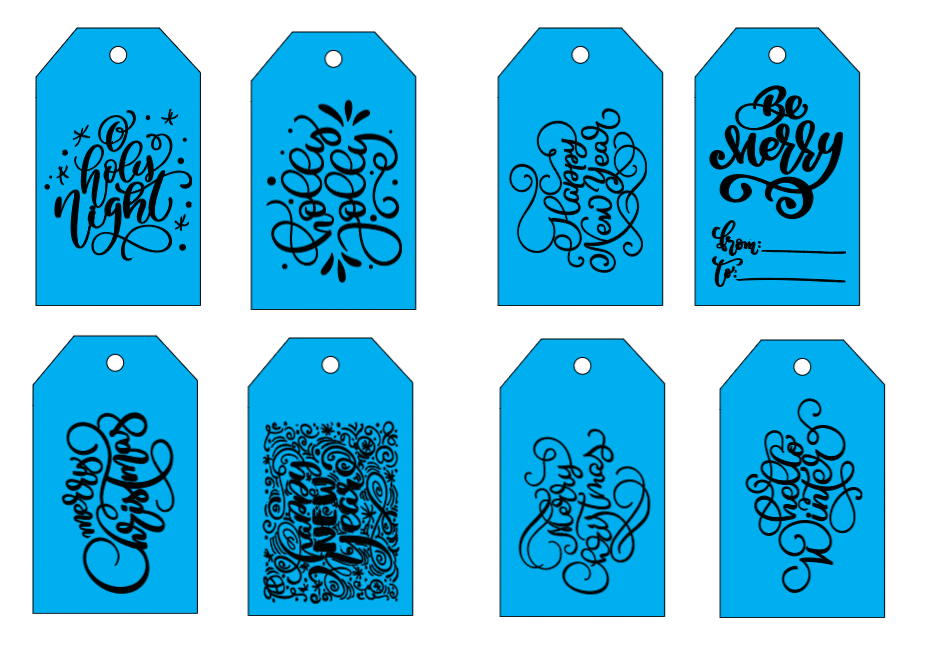
Personalized gift tags add an extra layer of thoughtfulness to your presents. These custom tags will show your loved ones how much you care, making every gift even more special.
Materials:
Plain cardstock
Cricut pen
Ribbon or twine
Steps:
- Grab our gift tag template (Asset #497).
- Use the Cricut pen to write festive messages or names. You can use our calligraphy templates for your designs.
- Cut the tags and punch a hole for the ribbon.
- Thread the ribbon through and attach to gifts.
3. Paper Christmas Tree Ornaments
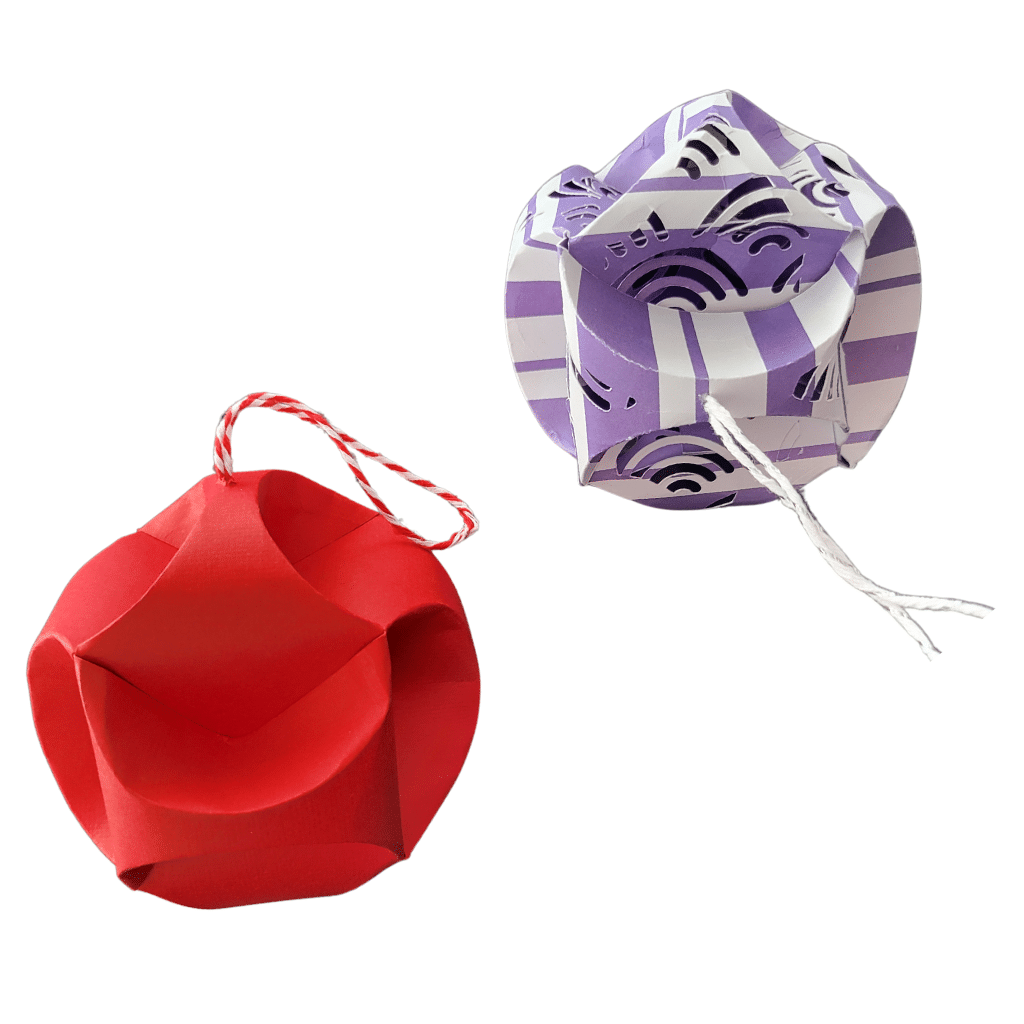
Create heirloom-worthy ornaments that your family will treasure year after year. These ornaments also make meaningful, handmade gifts for friends and neighbors.
Materials:
Green and red cardstock
Glue or double-sided tape
Cricut scoring stylus
Fine Tip Blade
Steps:
- Grab our Ornament Ball template (Asset #500).
- Score and cut your chosen design.
- Fold and glue one of the strips together.
- fold and glue the second piece and place it inside the first piece
- Weave the third strip through the other two and then glue the ends together.
- work the fold lines to pop the ornament into place. See the video below on how to make this amazing ornament.
- Add string to hang on your tree.
Video: "Creating Paper Ornaments Using Cricut"
Link: https://youtu.be/jLWhcyKQxj8
4. Holiday Greeting Cards
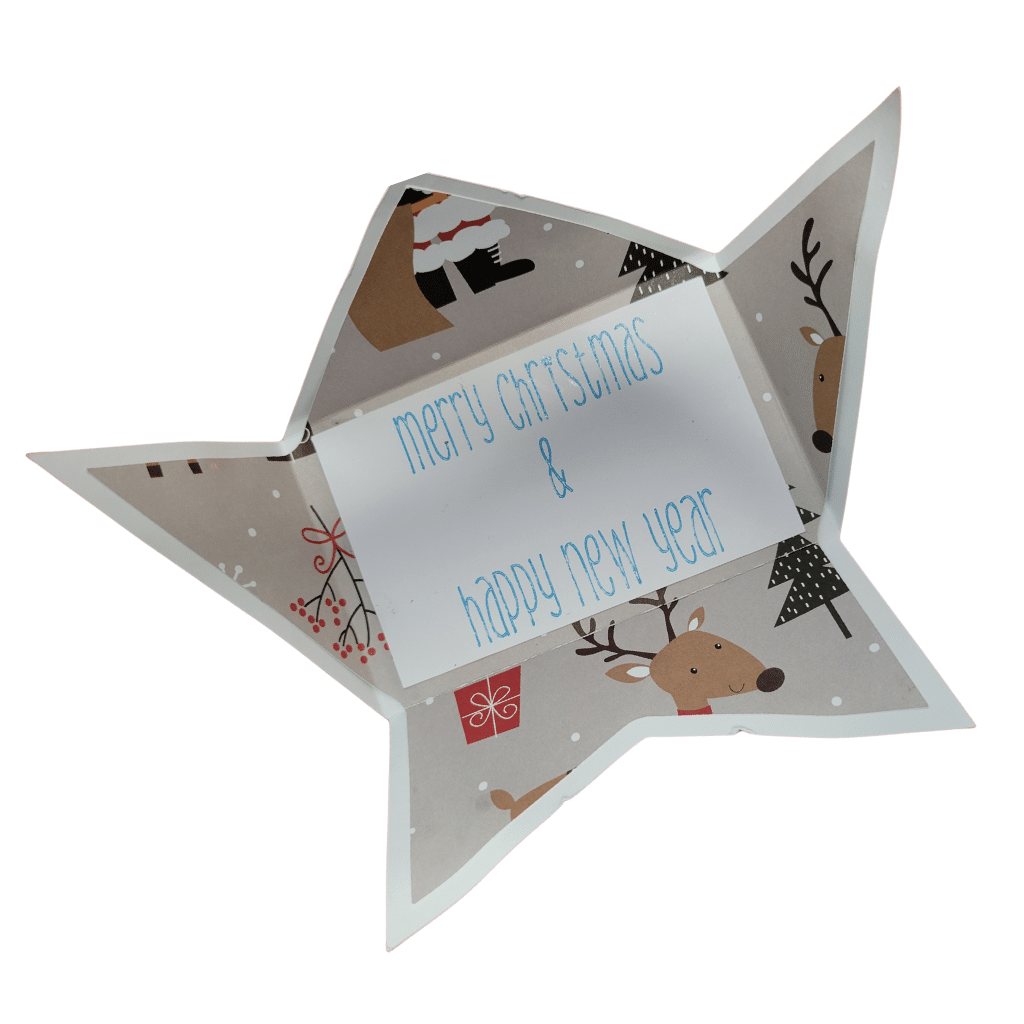
There’s nothing quite like receiving a handmade card during the holidays. These cards let you express your heartfelt wishes in a way that feels genuine and thoughtful.
Materials:
Cardstock in various colors
Envelopes
Cricut pens
Steps:
- Grab out star card template (Asset #395).
- Customize the text with your Cricut pen.
- Cut out the card and any embellishments.
- Assemble and add your personal holiday message.
- Check the video below to make the star card
Video: "Handmade Star Card"
Link: https://youtu.be/CIOt_Hj3yvs
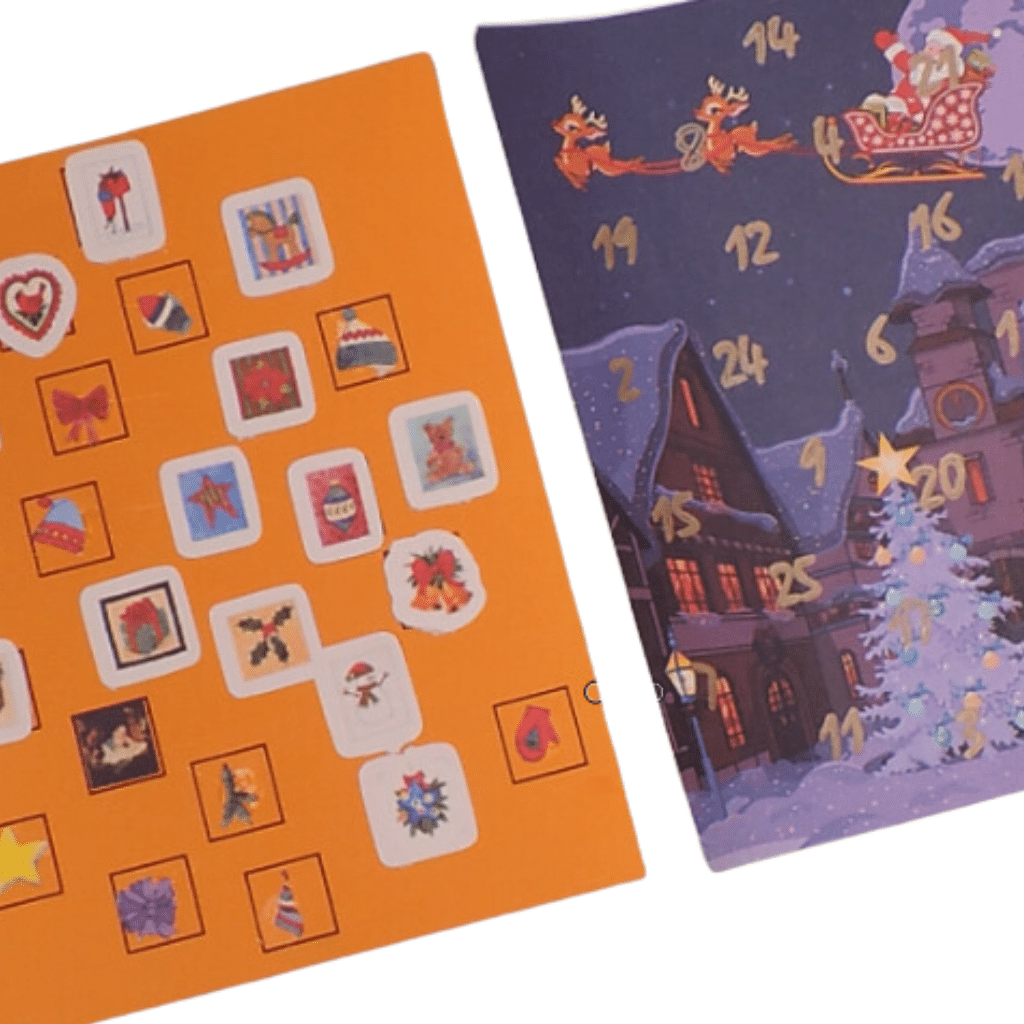
5. Advent Calendar
Count down the days to Christmas with a handmade advent calendar filled with tiny surprises. It’s a fun way to build anticipation and create a special moment every day leading up to the holiday.
Materials:
Cardstock in multiple colors
Glue or tape
Number stickers or Cricut pens
Steps:
- Grab the template for the advent calendar (Asset #214).
- Cut and assemble the boxes.
- Add numbers and decorations to each one.
- Fill with small treats or notes. Make sure they will fit when you glue down the top design.
Video: "DIY Advent Calendar with the Perf Tool"
Link: https://youtu.be/fnJRPVmZ2H4
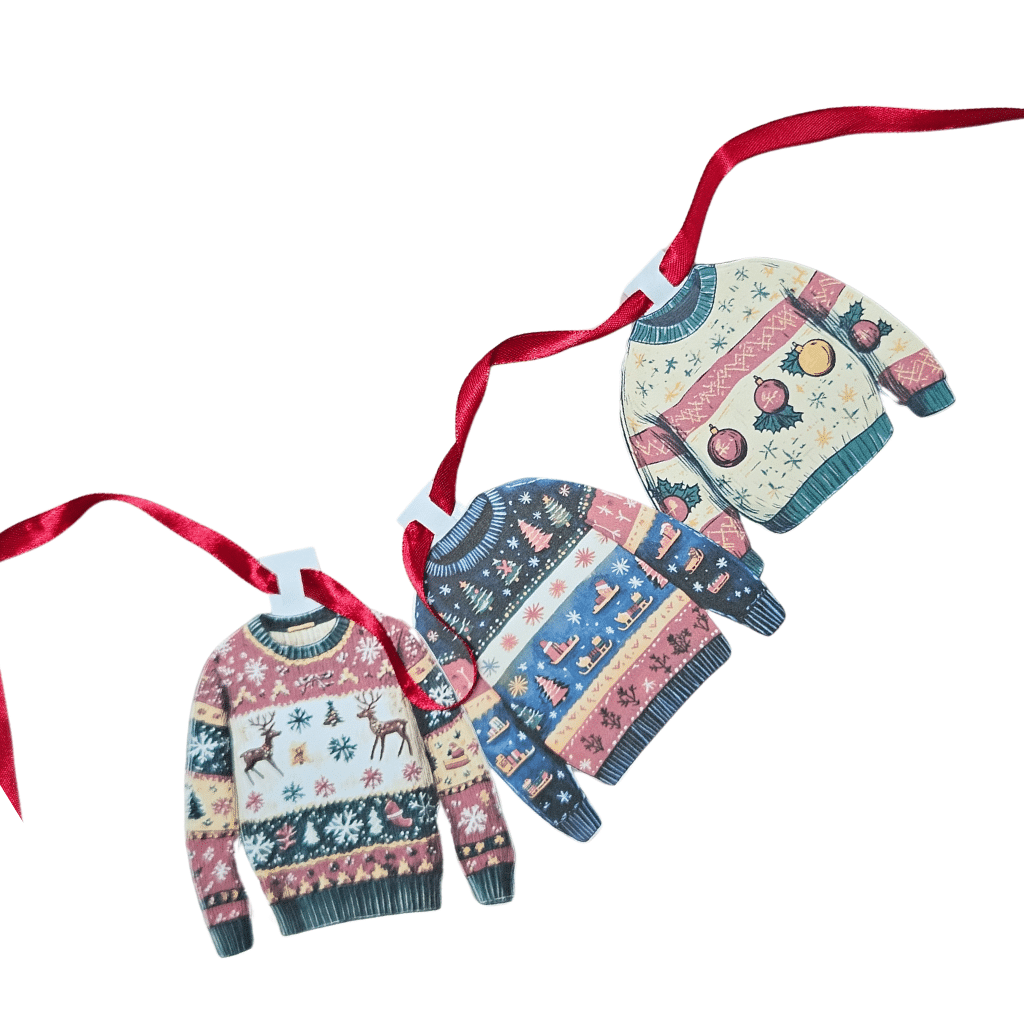
6. Paper Garland
Deck the halls with custom garlands that reflect your unique style! These garlands are perfect for creating a festive atmosphere and can be customized to fit any color scheme or theme.
Materials:
Patterned or solid-colored paper
String or ribbon
Glue
Steps:
- Cut shapes like stars, circles, or trees using your Cricut. Or download our Ugly Sweaters (Asset #507)
- Attach the shapes to the string with glue or by threading them through.
- Hang on mantels, staircases, or doorways.
Here is an example of a garland
Video: "Ugly Sweater Garland"
Link: https://youtu.be/2KVsNAznc6Q
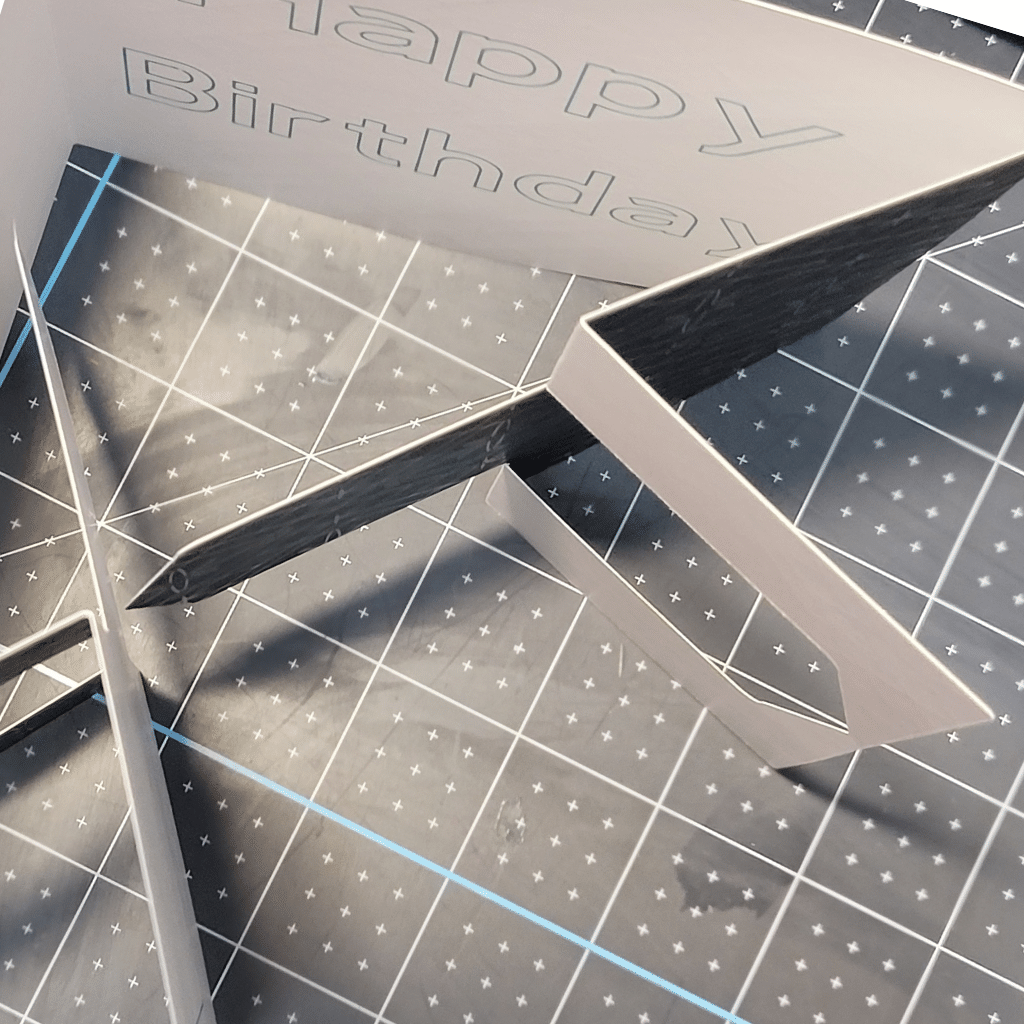
7. Pop-Up Christmas Cards
Surprise your loved ones with cards that have a delightful pop-up element. These cards show off your creativity and make every recipient feel extra special.
Materials:
Heavyweight cardstock (Christmas colors)
Cricut scoring stylus
Glue
Steps:
- Grab our Trifold popup template (Asset #501).
- Cut and score the design.
- Fold and glue the pieces carefully to create the pop-up effect.
- Personalize with a message. Although we used Happy Birthday, you may want to change it to Happy Holidays.
Video: "Pop-Up Trifold Card Tutorial for Christmas"
Link: https://youtu.be/mLKMOUALQMg
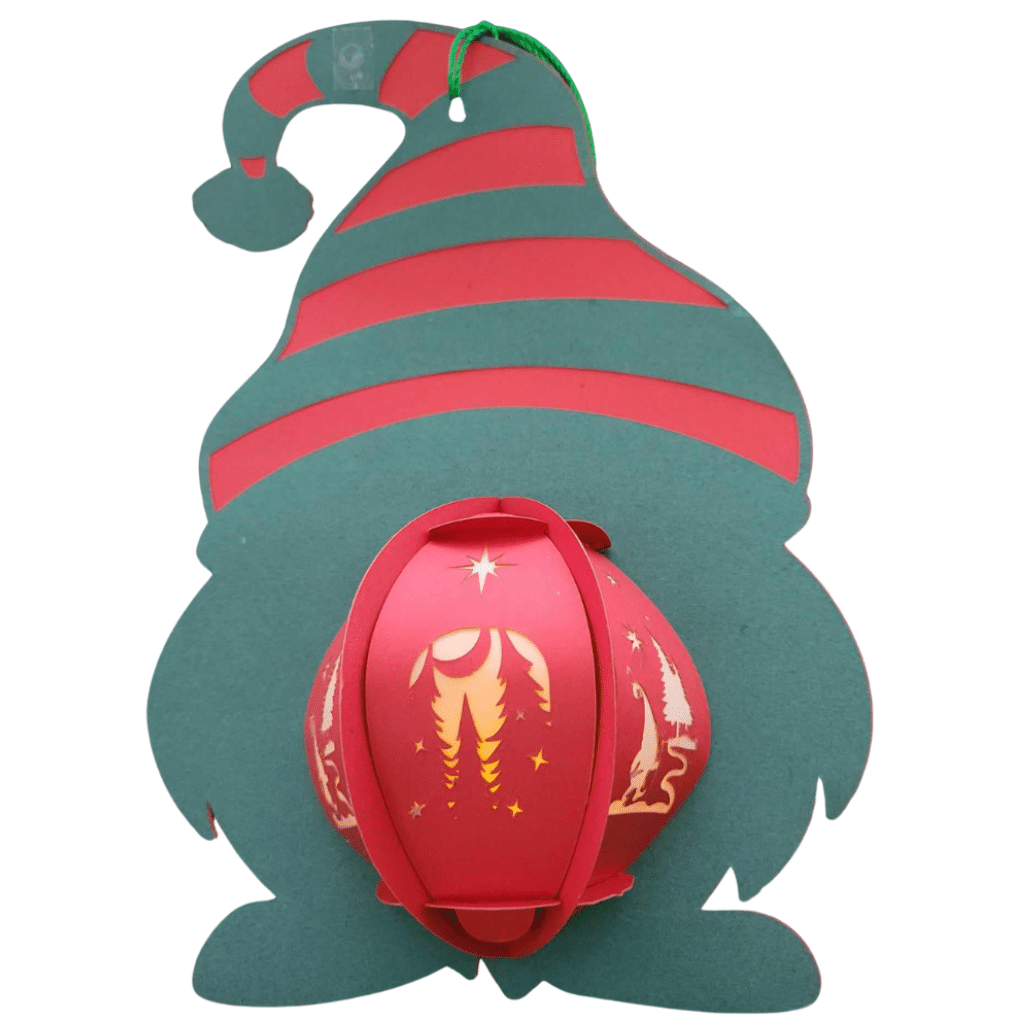
8. Christmas Luminaries
Set a warm and inviting mood with handmade luminaries. These glowing decorations are perfect for creating a cozy atmosphere during holiday dinners or evenings by the fire.
Materials:
Vellum paper
4 sheets 12x12 Cardstock (medium in Christmas colors)
LED tea lights
Glue
Steps:
- Grab our Gnome luminary template. (Asset #506)
- Cut the outer frame from cardstock and the inner part from vellum.
- Assemble the luminary by gluing the vellum to the cardstock frame.
- Place an LED tea light inside for a cozy glow.
Here is a video to help you assemble the luminary
Video: "Gnome Lantern"
Link: https://youtu.be/a0XDM8Ny2uY
9. Paper Nativity Scene
Celebrate the true meaning of Christmas with a beautifully crafted nativity scene. This project is a meaningful way to reflect on the season’s spiritual significance and create a stunning centerpiece.

Materials:
12 x 12 cardstock (Blues for Sky and Black for Silhouettes)
Cricut fine-point blade
Glue or tape
Steps:
- Download our nativity scene template (Asset #505).
- Cut the different characters and elements.
- Arrange and glue them onto a base for display.
10. Mini Paper Wreaths
These mini wreaths are versatile and adorable. Use them as ornaments, gift toppers, or table decorations to add a festive touch to your holiday celebrations.
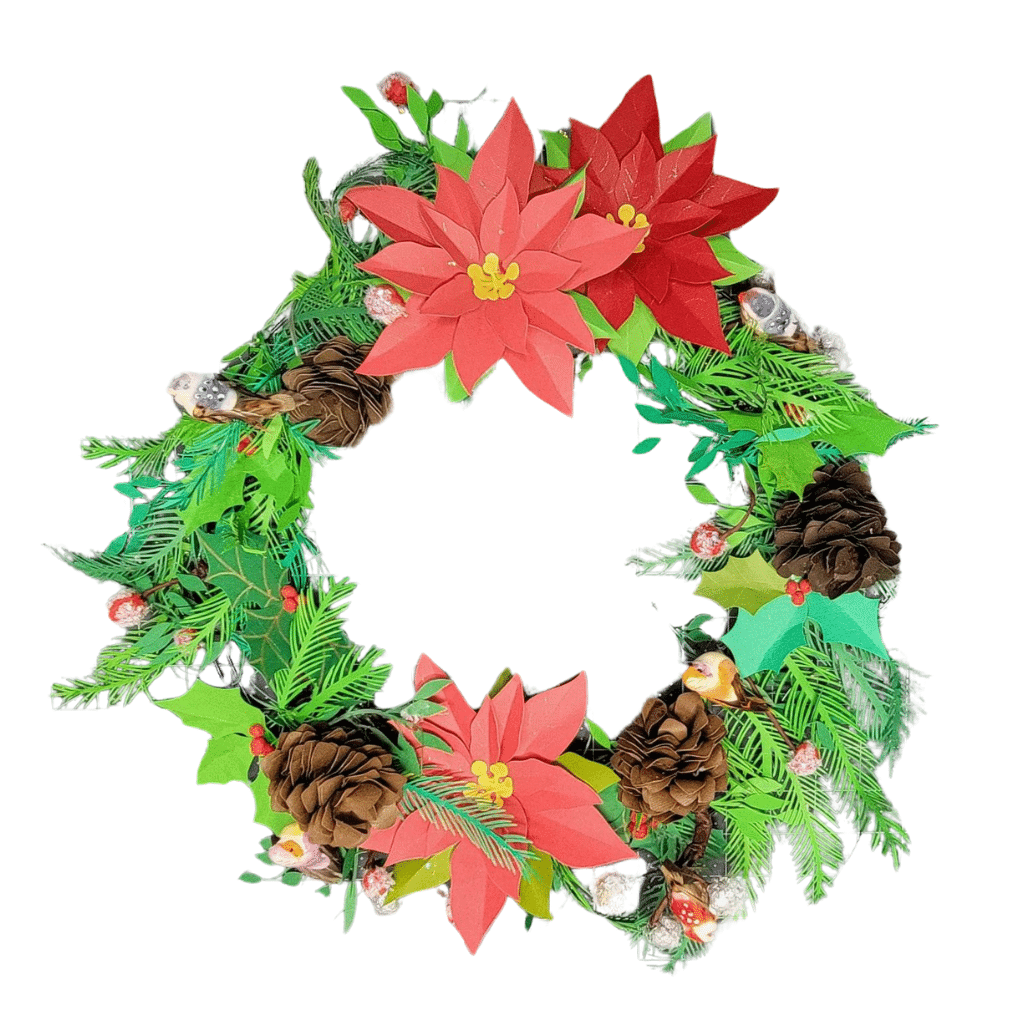
Materials:
Green, red, and brown cardstock
Circular frame (from the collar store)
Glue
Ribbon
Steps:
- Grab our wreath template.
- Cut out the leaves and decorative elements.
- Assemble by layering and gluing the leaves in a circular pattern.
- Add a bow and hang or use as gift toppers.
Here is how to do it:
Video: "Christmas 3D Paper Wreath"
Link: https://youtu.be/ijiQO1IOggc
11. Paper Candle Holders
Light up your holiday nights with charming paper candle holders. These delicate creations bring a warm and festive glow to any room.
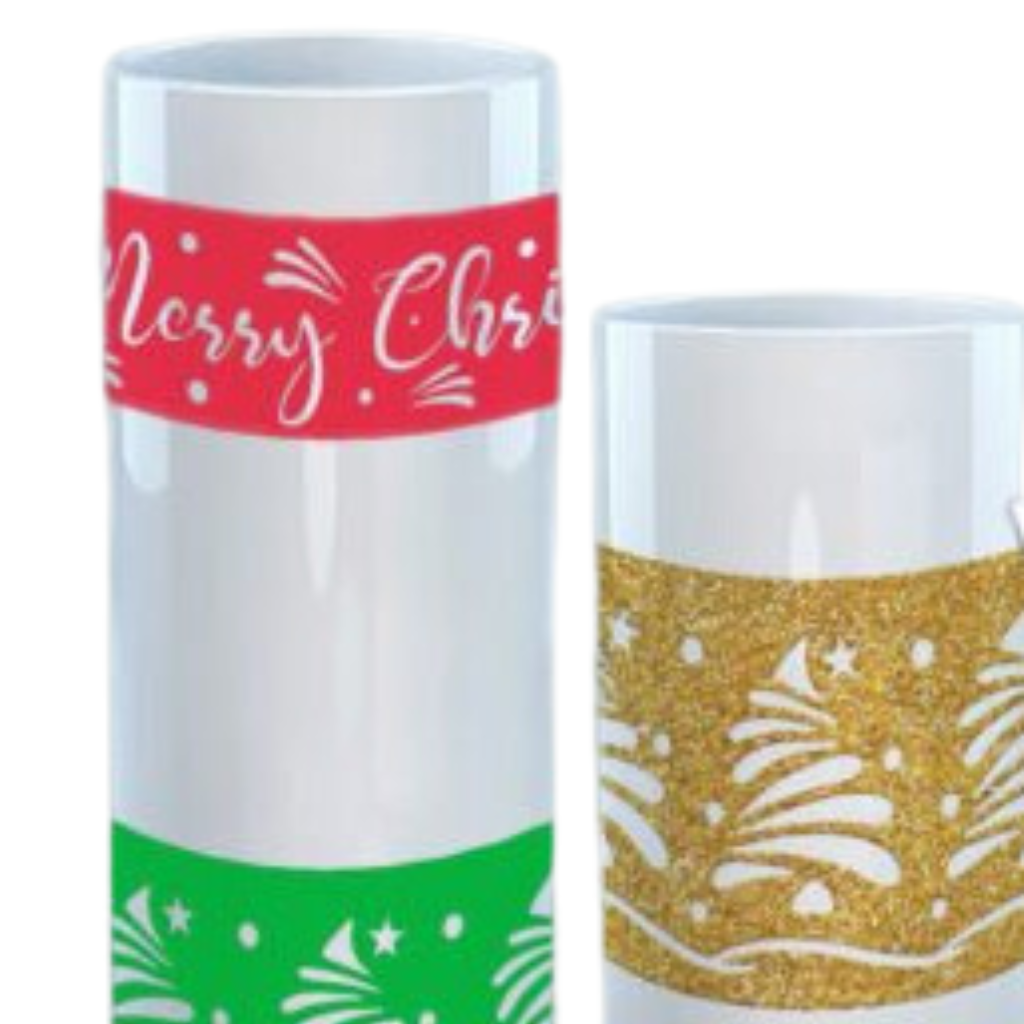
Materials:
Glitter Adhesive Vinyl
LED candles
Glue
Steps:
- Download our candle wrapper designs (Asset #499)
- Cut the base designs from Glitter Adhesive Vinyl
- Wrap the vinyl design around your LED Candle and glue in place.
12. Festive Place Cards
Add a personal touch to your holiday table with beautiful place cards. These make your guests feel extra special and bring elegance to your gathering.
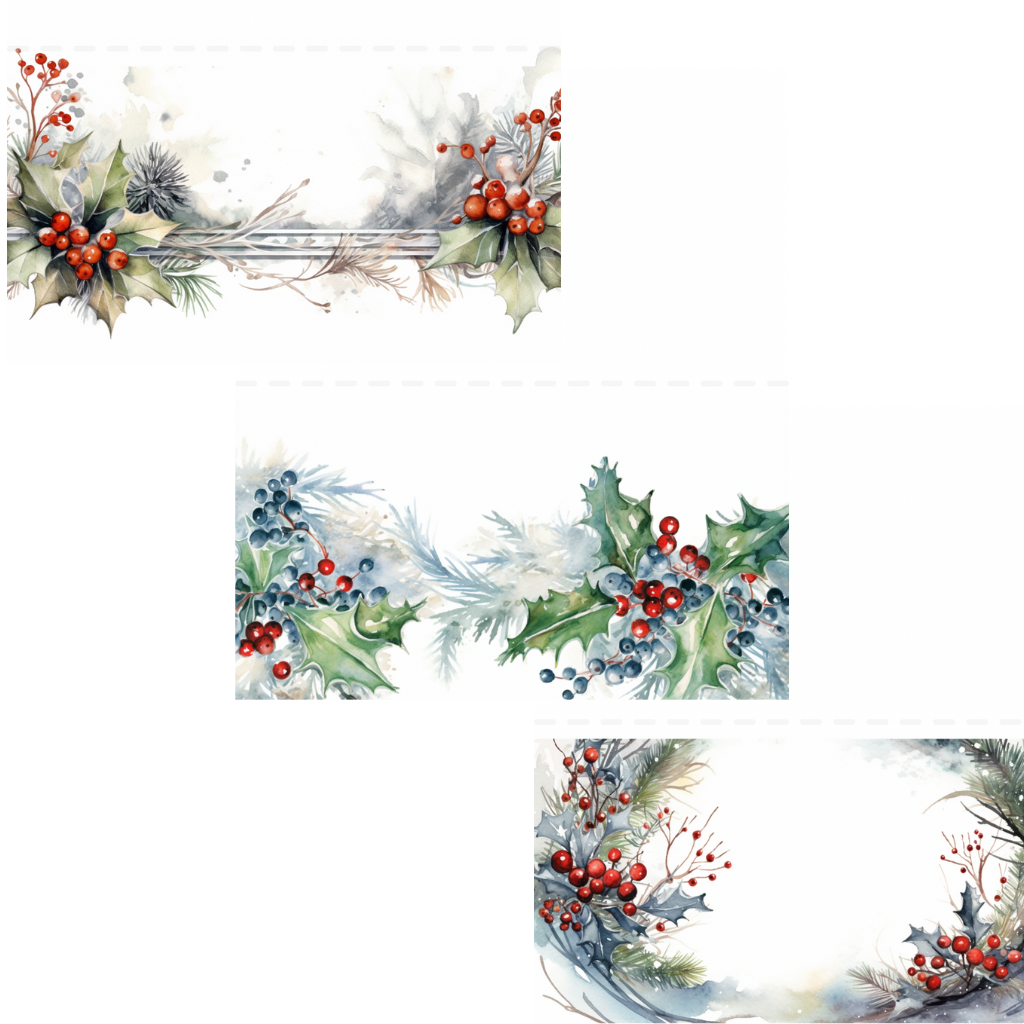
Materials:
Color Printer
Cricut pens
Adhesive gems (optional)
Steps:
- Grab our template (CreativeFabrica Asset #498)
- Design place cards in Cricut Design Space, adding names with Cricut pens.
- Cut and fold the cards.
- Decorate with adhesive gems or other embellishments.
Video: "Place Holders"
Link: https://youtu.be/1EJaAlLrjZk
13. Paper Tree Centerpieces
Create a whimsical forest of paper trees to use as a centerpiece for your holiday table. These can be customized to match your theme.
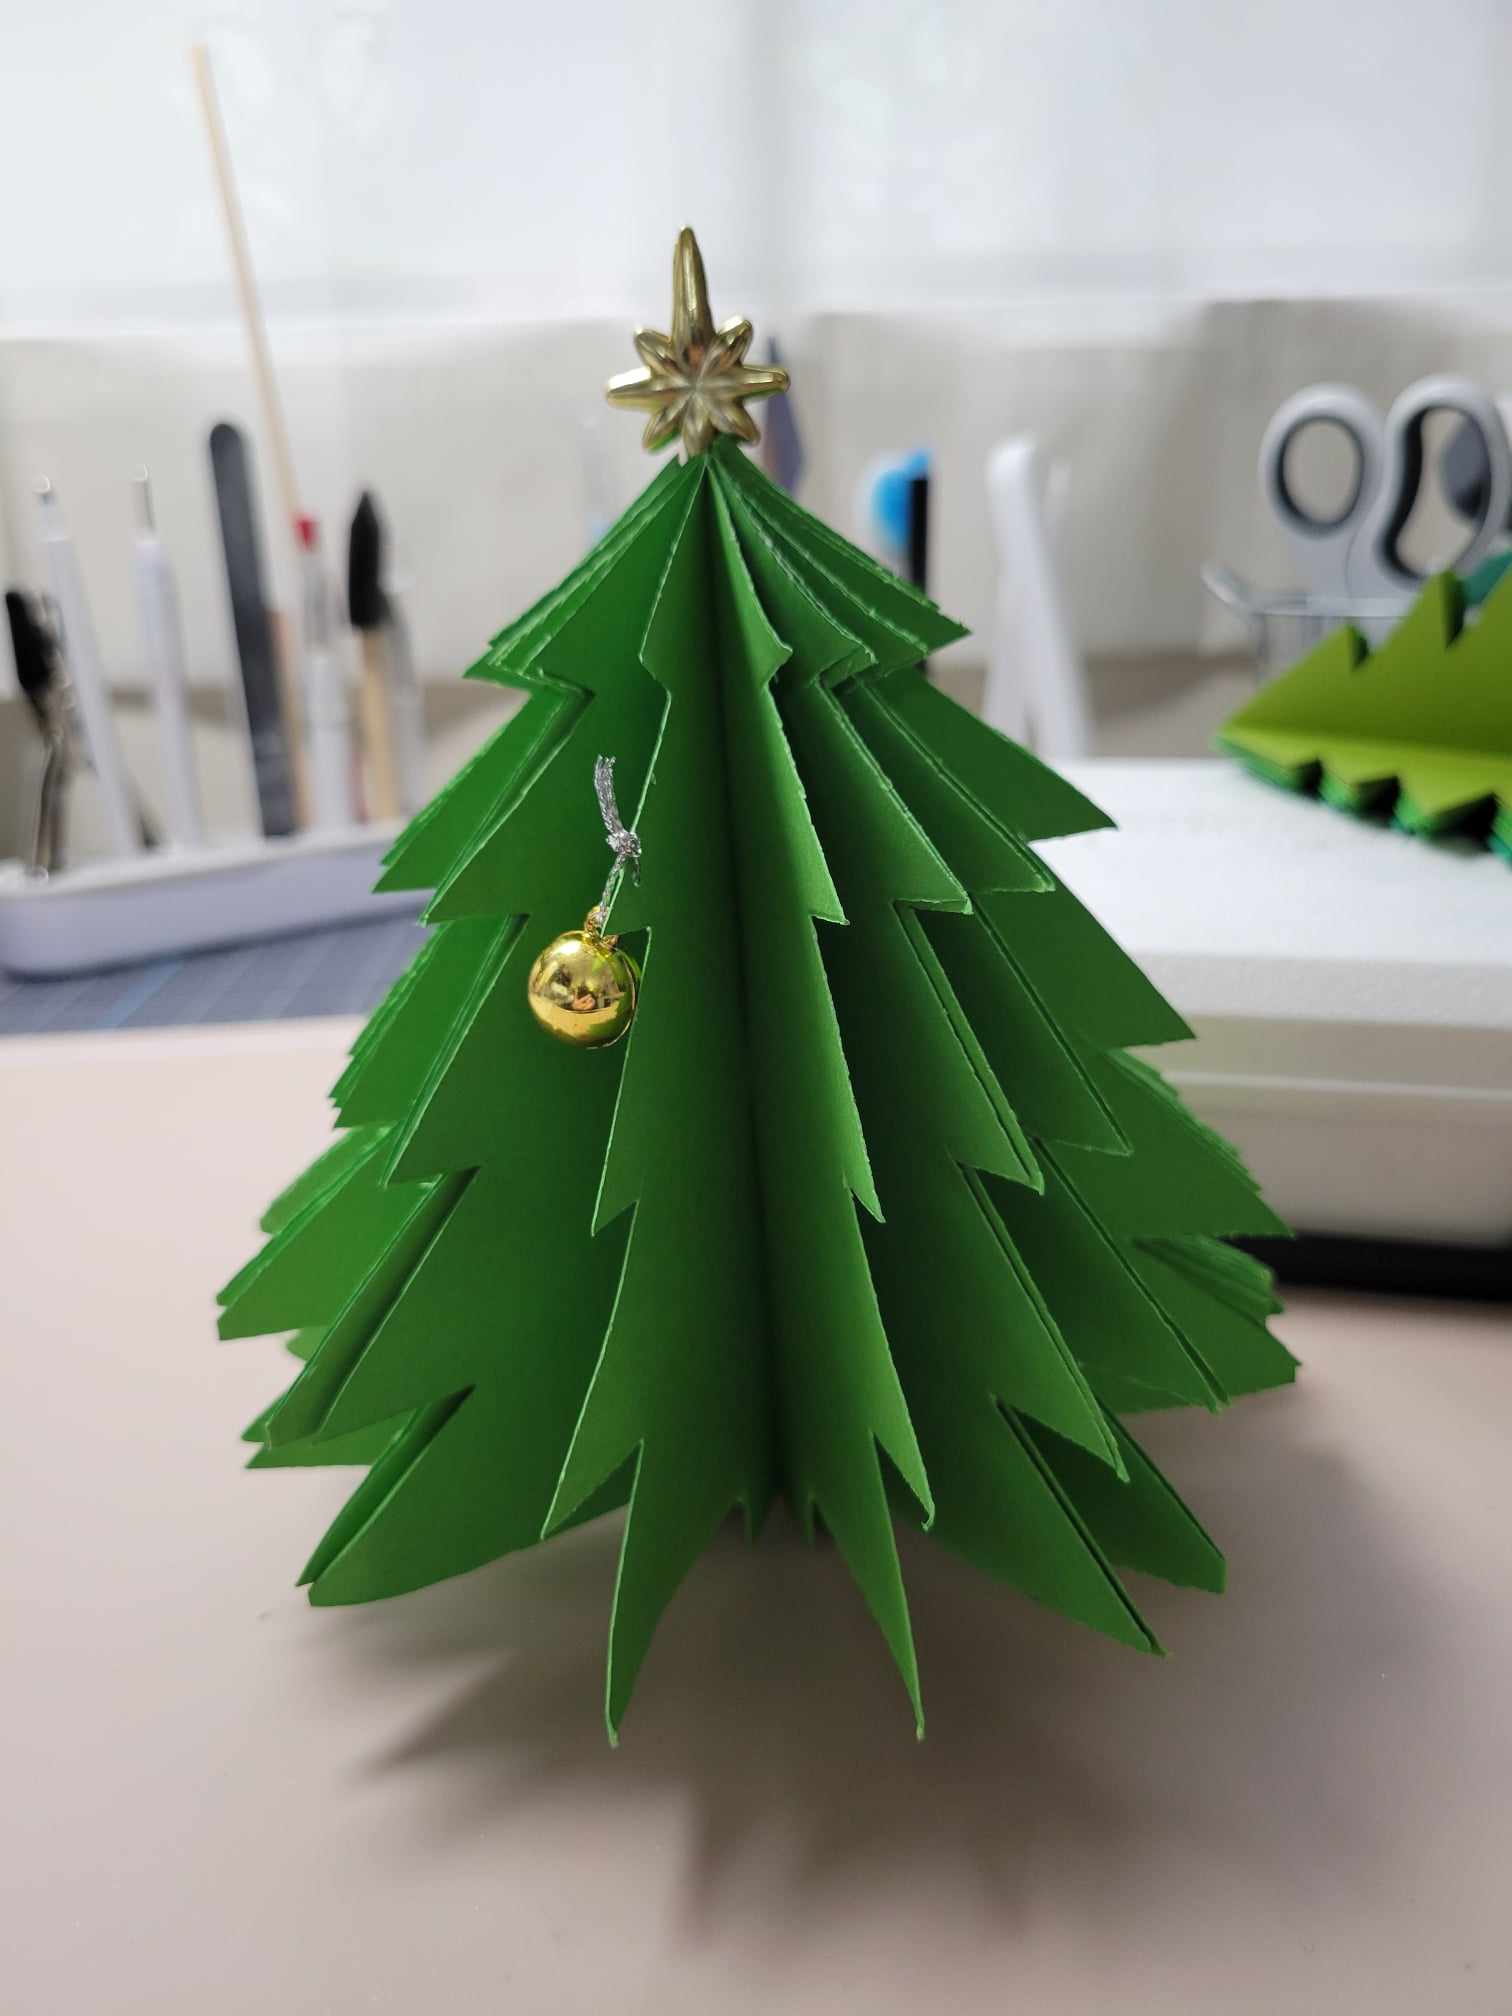
Materials:
Green cardstock
Glue
Decorative stars or beads
Steps:
- Download our tree template (Asset #494).
- Cut and assemble the layers to create a 3D effect.
- Add stars or beads as decorations.
Video: "Making Paper Tree Centerpieces with Cricut"
Link: https://youtube.com/live/e2WkU_dFNTM
14. Santa Hats for Cups
Dress up your holiday drinks with adorable paper Santa hats for cups. These add a festive touch to any party!

Materials:
Sublimation Printer
Sublimation Paper and Ink
Mug Press
Steps:
- Download the Santa Hat Template (Asset #504).
- Open the design in Design Space and adjust the size to fit the cup or mug you will be using.
- Print the design on sublimation paper (don't forget to mirror the image).
- Tape the design to you cup and place it in the Mug Press (follow the directions for your mug press).
15. Paper Poinsettias
These elegant paper poinsettias are perfect for decorating gifts, wreaths, or your holiday table. They look stunning and last all season long.
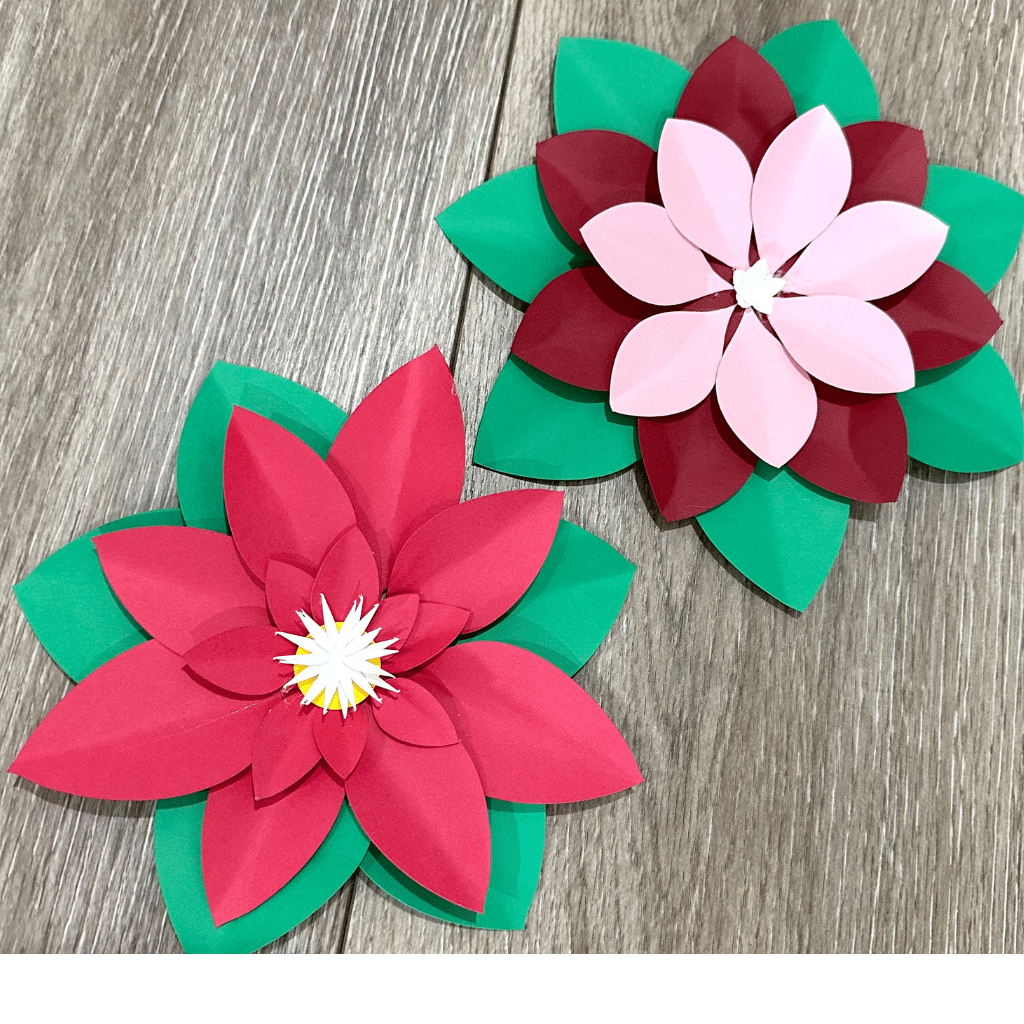
Materials:
Red, green, white and yellow cardstock
Glue
Steps:
- Download our poinsettia template (Asset #289).
- Cut the petals and leaves.
- Layer and glue the pieces together, adding a floral wire if desired.
Video: "Poinsettia Cake Topper"
Link: https://youtu.be/ps39-C4WUCo
16. Holiday Countdown Sign
Keep the excitement alive with a Merry Christmas sign right at your front door. You can make these with ease on different shaped porch signs!.
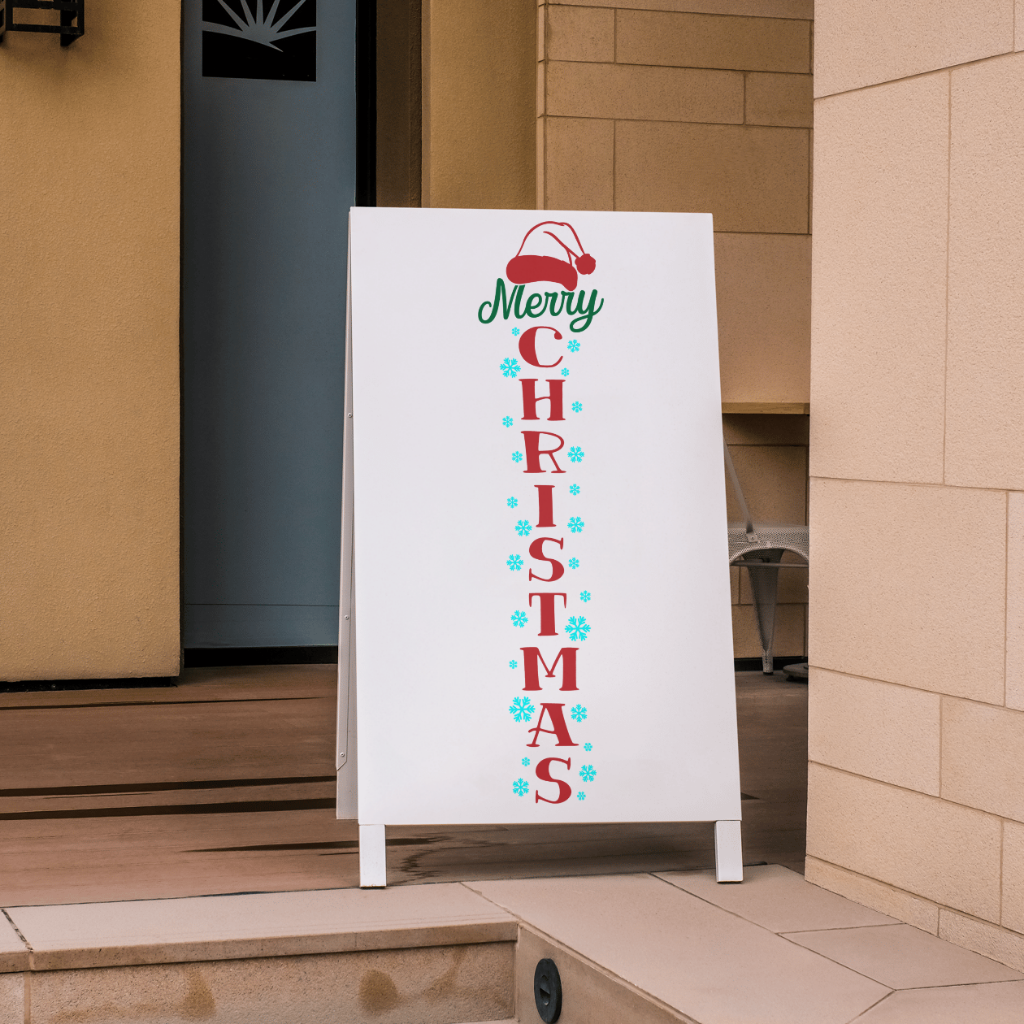
Materials:
Adhesive Vinyl in Christmas Colors
Steps:
- Download our Christmas Porch Sign Template (Asset #503).
- Cut and assemble the pieces on your sign.
17. Elf on the Shelf Accessories
Enhance your Elf on the Shelf’s adventures with custom accessories. From tiny props to festive outfits, these are sure to delight your kids.
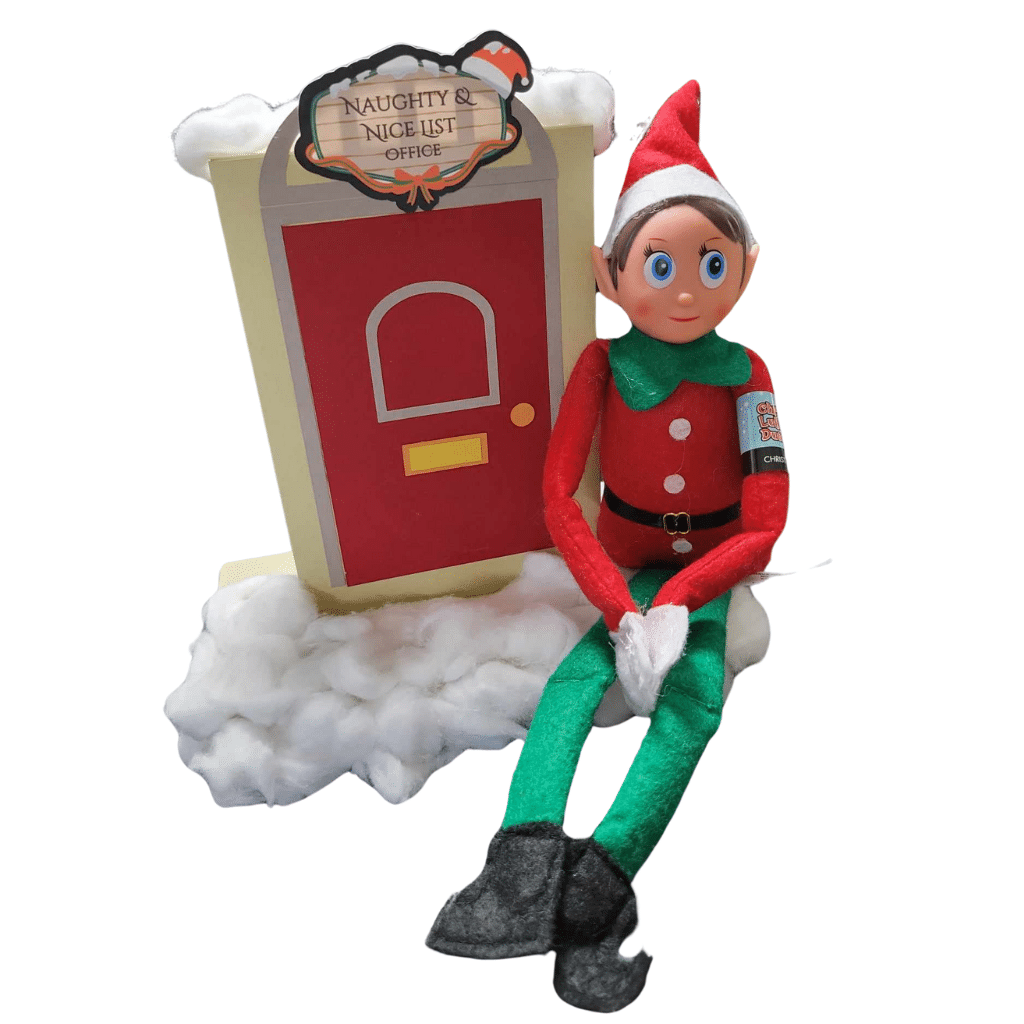
Materials:
Cardstock in various colors
Glue
Cricut fine-point blade
Steps:
- Download our Elf Door template (Asset #502) or Design accessories like hats, sleds, or signs in Cricut Design Space.
- Cut and assemble the pieces as per the videos below.
- Arrange them with your elf for creative setups.
Video: "Countdown Project Elf Door"
Link: https://youtu.be/OyrkKZAnUsI
These Cricut paper projects are not only fun to make but also add a personal touch to your holiday celebrations. Crafting is about more than the final product—it’s about the joy of creating, the memories you make, and the love you share.
Get Your Annual Pass to the Creative Crafters Club
Make sure you join our Facebook Group so you can ask any questions!
 DIY Home Decor DIY Craft Tutorials, DIY Paper Flowers
3 replies to "17 Creative Cricut Christmas Projects You Can Make With Paper"
Thanks for the great ideas. I’m going to try to make at least one of them this year.
Hello, I was looking for access to your library so I could download SVGs of #497 and 395. I couldnt find the access link.
Thank you
https://bettesmakes.com/library