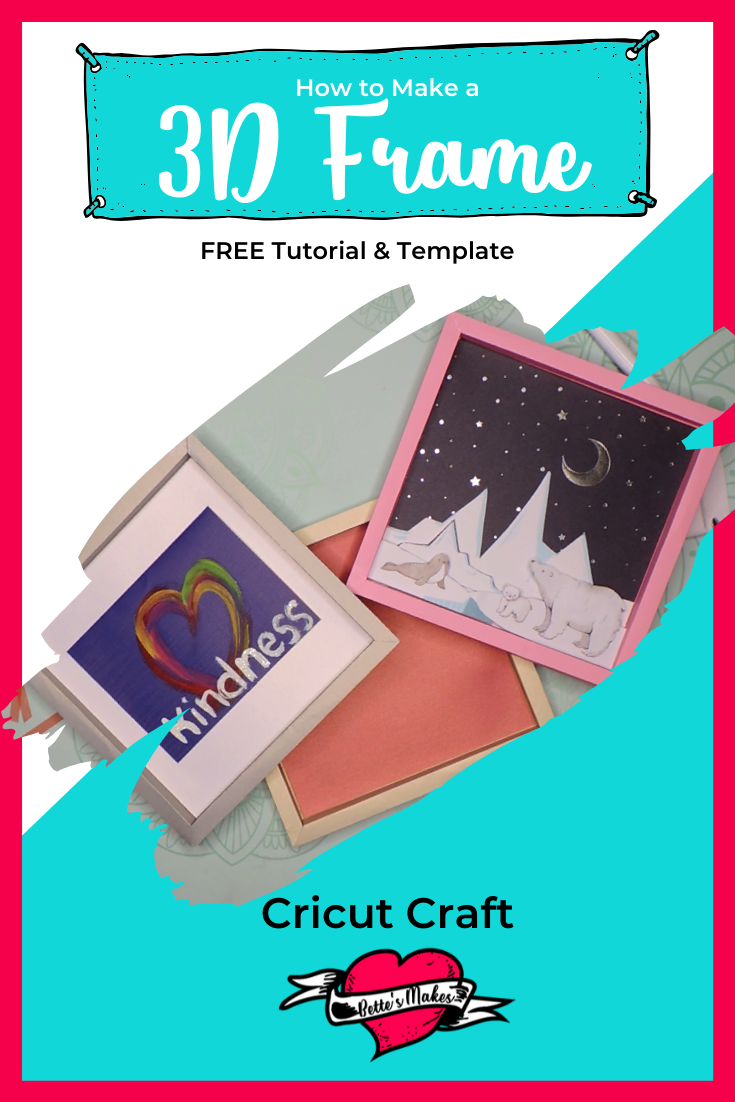
3D Frame Box - Build Your Own with Cardstock
3D Frame box hype! Over this past season there was a lot of talk about frames and where you could buy them - those ones had a place for adding light to the image as well. I considered this and finally decided that is would be nice to make my own 3D Frame right from scratch.
I played around with many different iterations of the design as I wanted the corners to appear as if they had mitre joints. It took a few days, but I finally got to the point where I was very happy with the design - especially happy because I could adjust the sizing quite easily. 3D framed art wall decor works so well with this design!
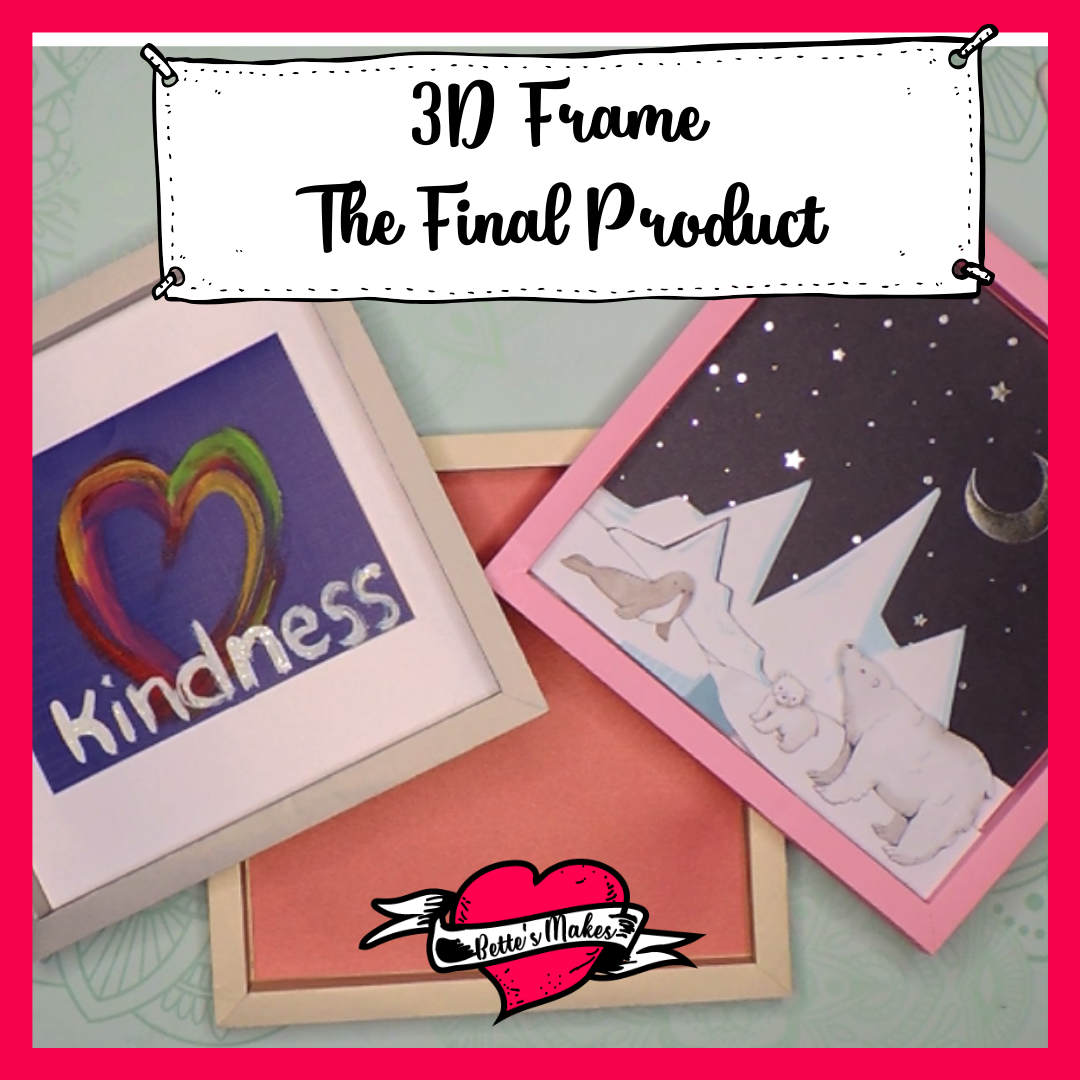
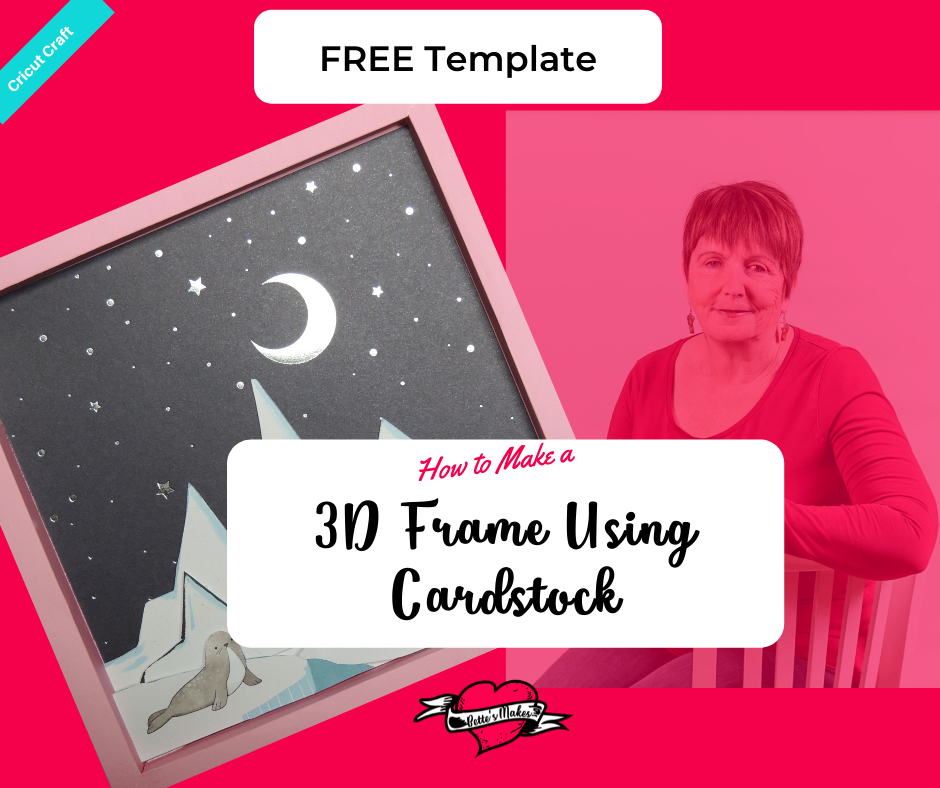
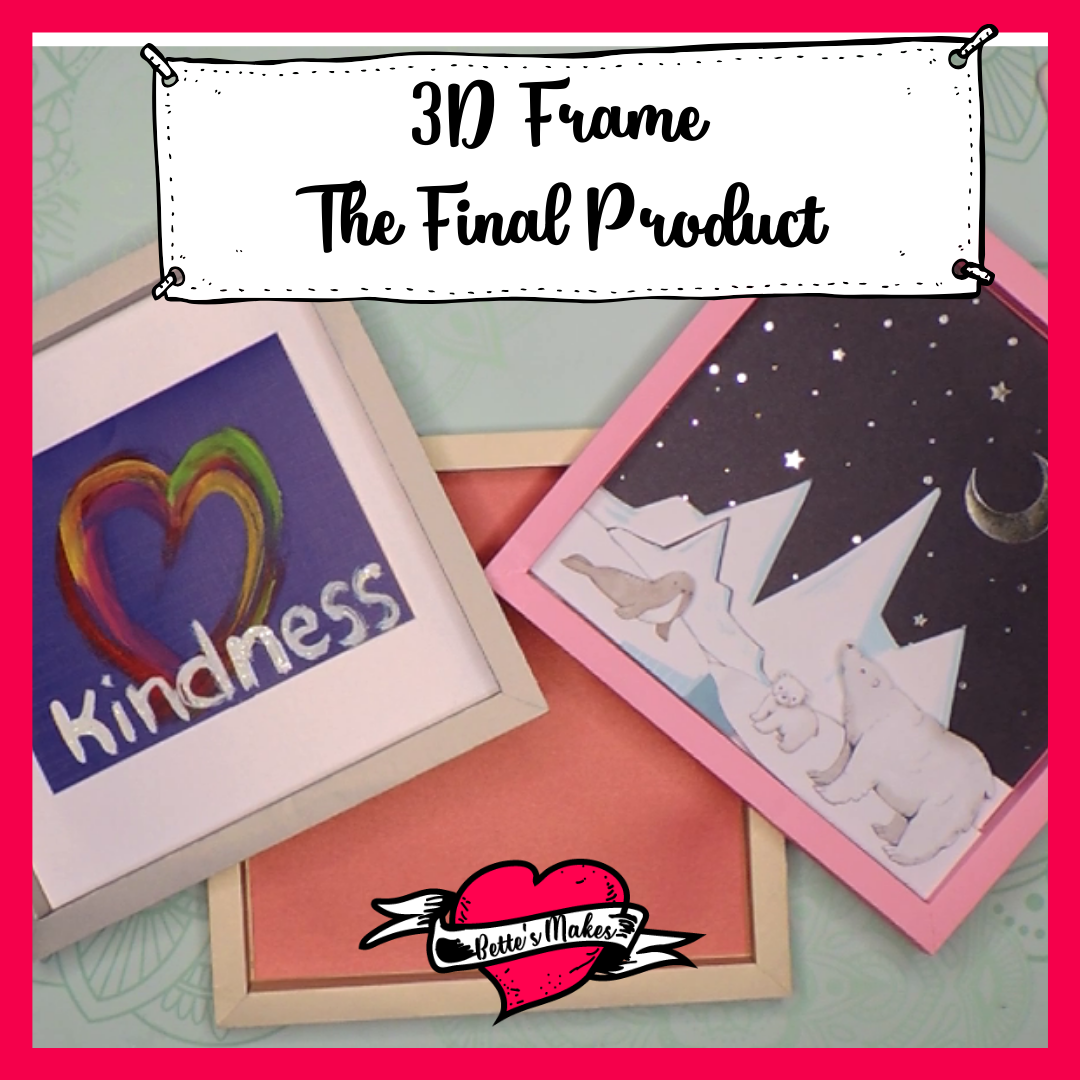
As part of this tutorial, I have added the template into my resource library, so you, too, can make your own unique and fun 3D frame. At the end of the assembly, you will be able to cut out your own designs to add inside the frame for that amazing textured look. For me, I stuck to a winter theme, buy you do not have to do so - choose anything you want. I used some cardstock with printed pages and cut out the parts I wanted. I also added little foam pads behind each cut out to make those bears really stand out!
Here’s what you need to make your Frame. This post does contain some affiliate links for your convenience (which means if you make a purchase after clicking a link I will earn a small commission but it won’t cost you a penny more)! Read my full disclosure policy.
Quick Links to Information in this Post
3-D Frame Materials
3-D Frame Step-by-Step Guide
Step 1 - Template
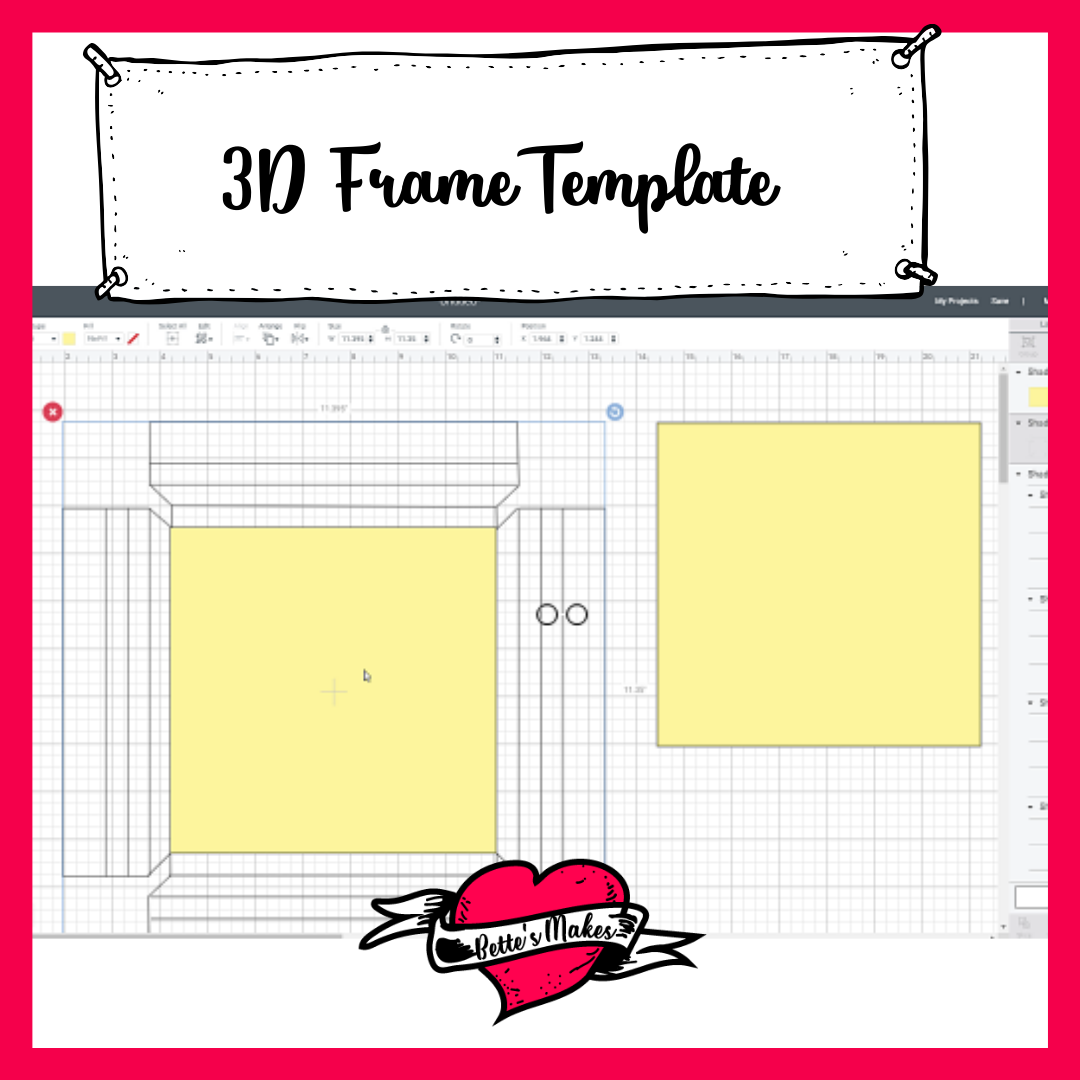
Download the template files (resource library) for this project and upload them to Cricut Design Space.
There will be only 1 file:
1. 3D Frame Template
Please note that you will want to have images from cardstock printed pages or other "cut-outs" for decorating the interior of the 3D Frame.
Step 2 - Design Space Adjustments
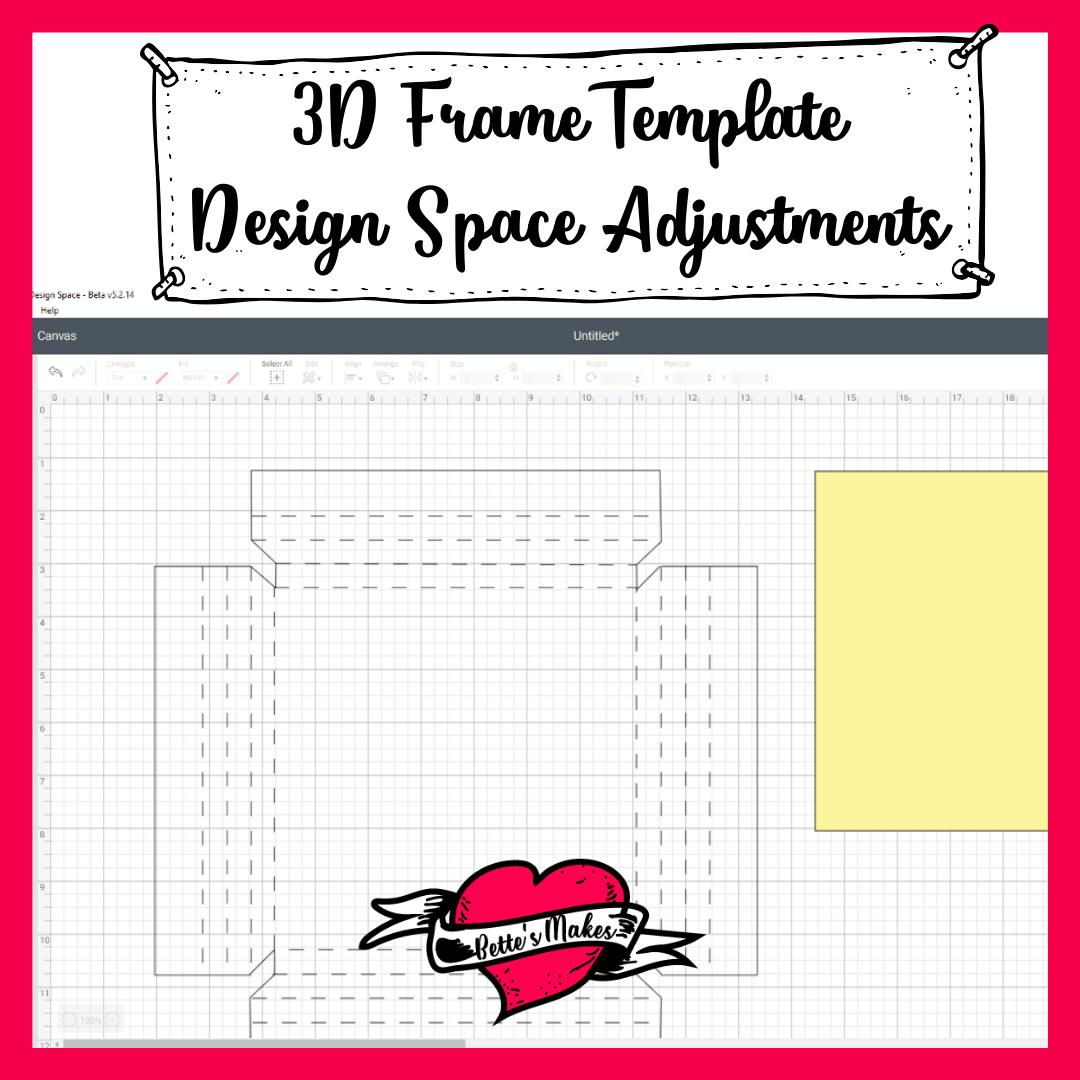
Make changes to the SVG files so that you have two sets of lines.
1. The outside cut line.
2. All interior lines should be set to score.
NOTE: You will need to select the entire project and ATTACH the lines. This will ensure that you are going to have scoring on the 3D Frame in the correct location.
Step 3 - Make it!
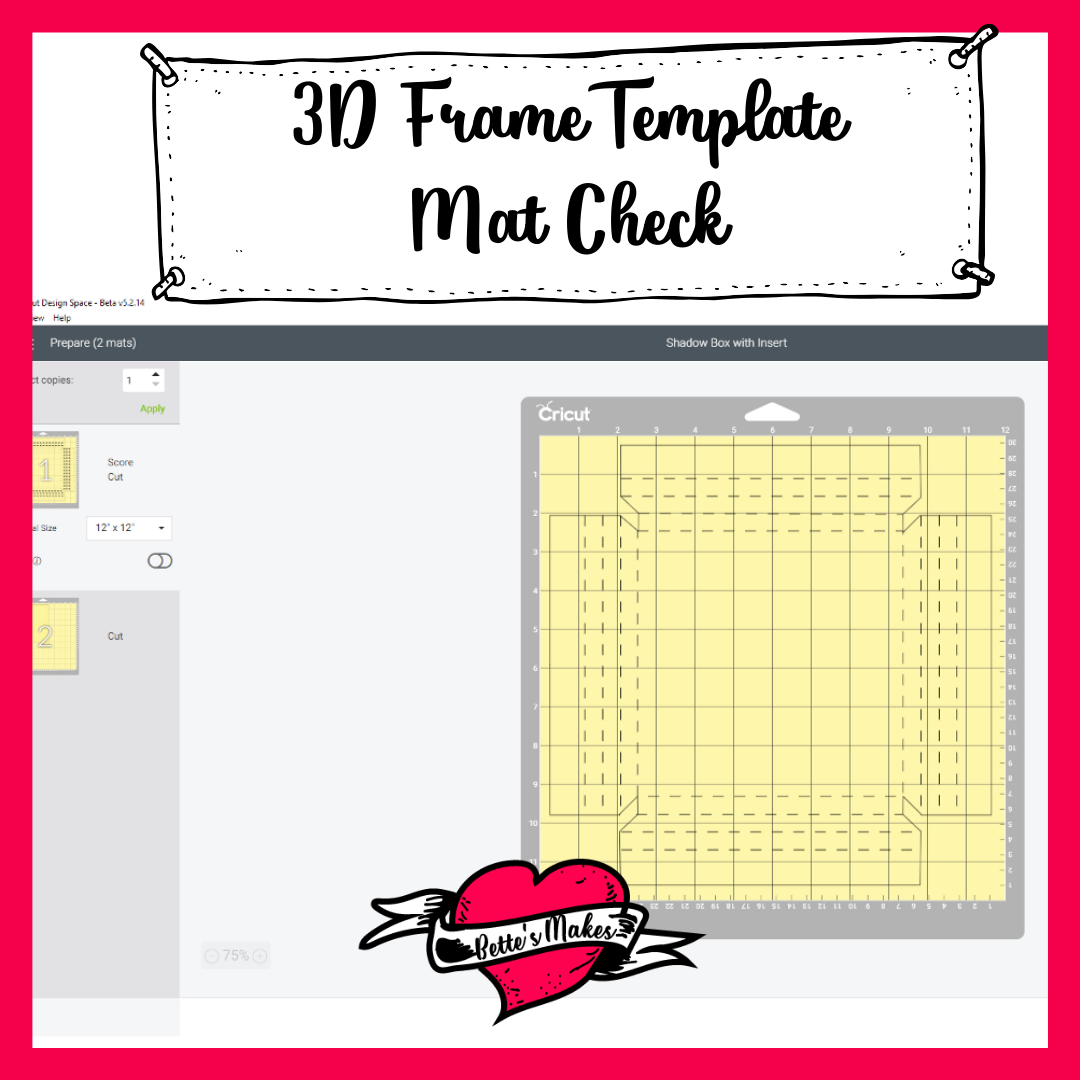
Check your mats and the processes to make sure all the lines are being processed correctly. In other words, make sure you are scoring and cutting in the right locations, while cutting is only the outside of the shape.
All interior lines should be set to score.
Step 4 - Assembly
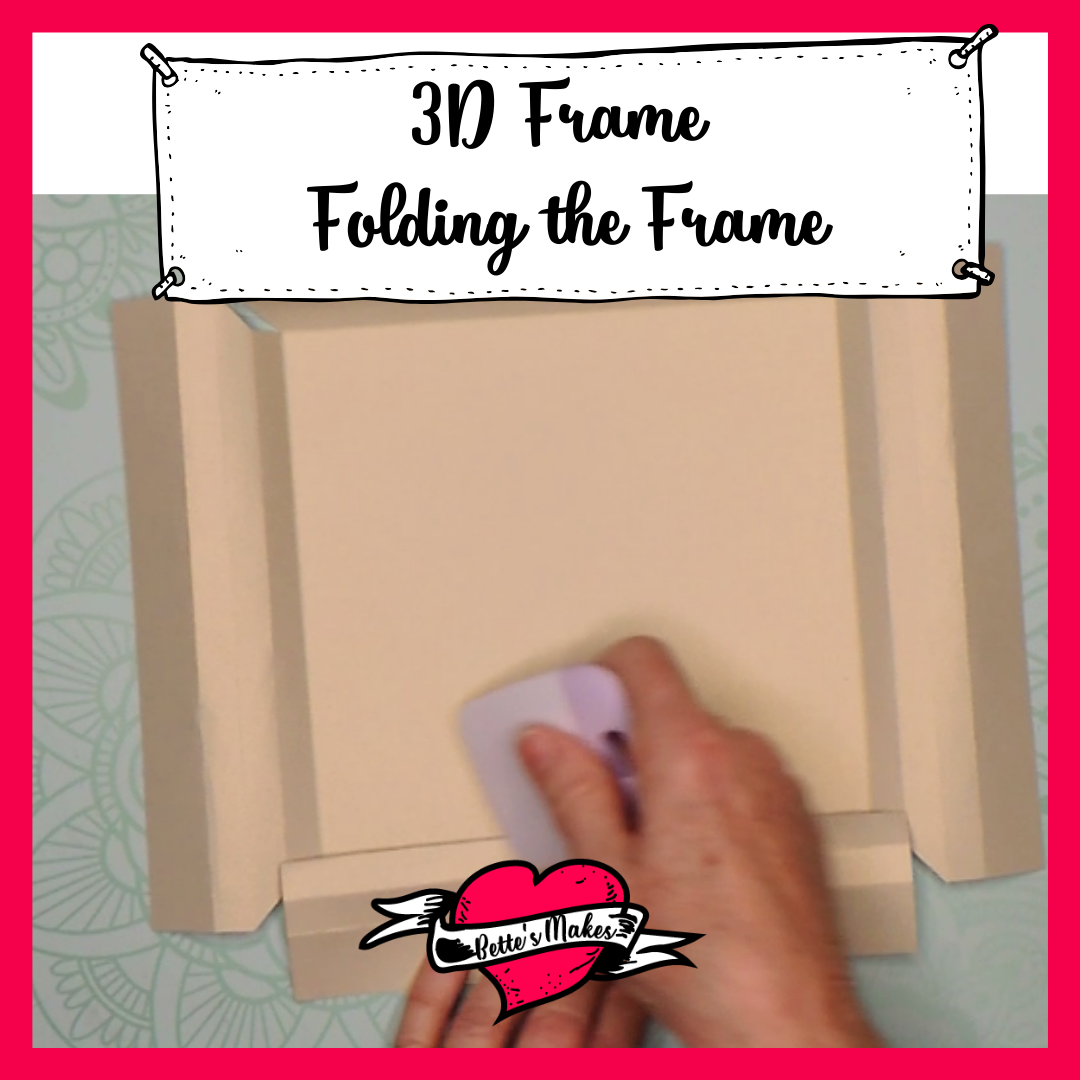
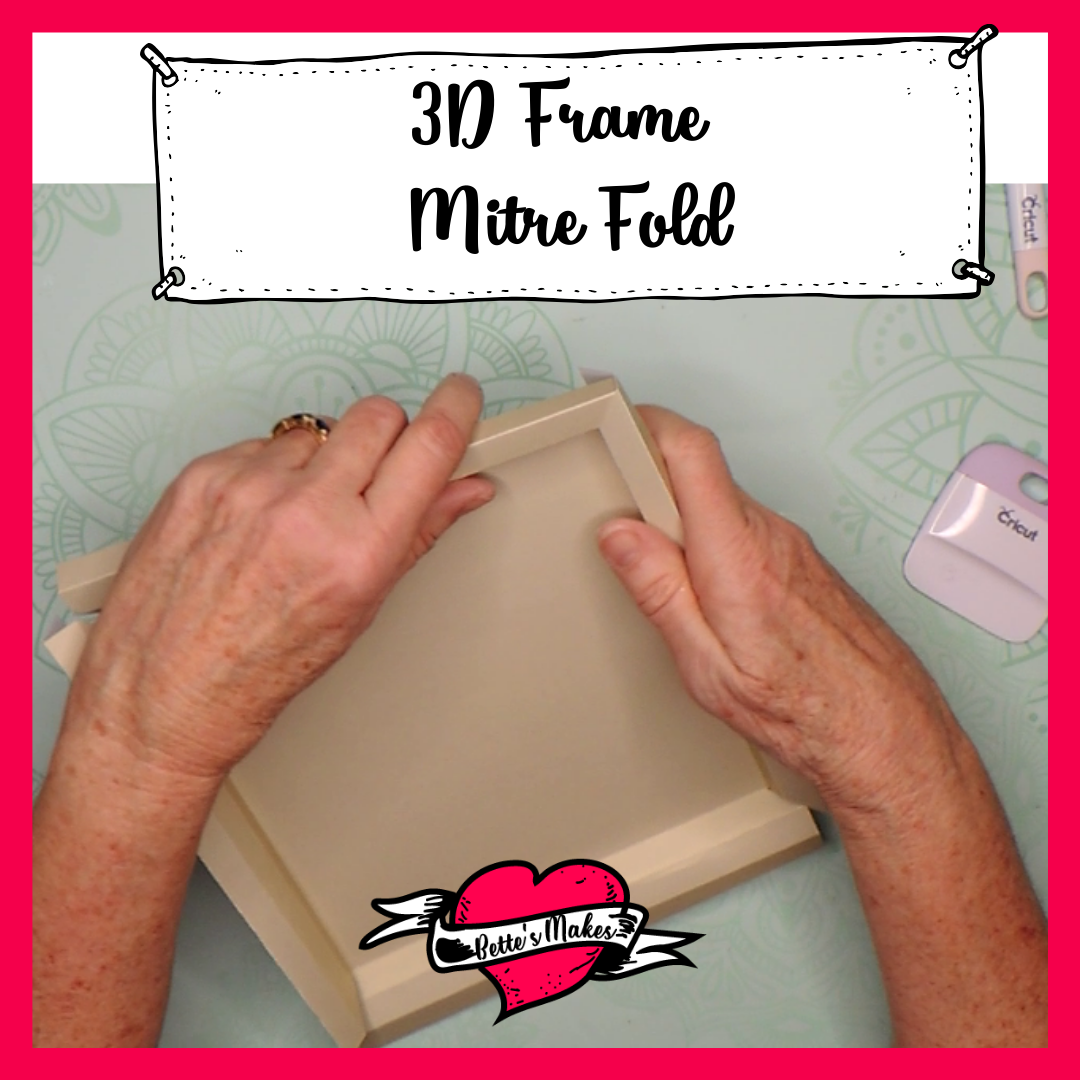
Fold each score line as follows:
1. Inside lines are a Valley Fold.
2. The next 3 lines are Mountain Folds.
Take one side at a time and make the "frame".
1. Working from the inside, fold the first fold so the remaining paper is straight up and down.
2. Fold over the remaining pieces so that the 3 Mountain folds form the "frame.
3. Make sure all lines are straight, then glue the bottom long piece to the outside of the main frame. See the diagram for details.
4. Make the next part of the frame but when folding over to the back, make sure the "angle cut" is on top of the other frame piece. This will give your project a "mitre" cut look.
5. Repeat the process
Share your project on https://facebook.com/groups/BettesMakes
Last Step is to place your images or 3D effects inside the frame!
Reading About Paper Crafts
Making your own 3D Frame is not the only way to display your art or photography! I thought you might like to explore these ideas that I found on Amazon.
Hanging Kids Art Project Picture Display
Check out My Latest Videos
Last Word
Did you try and make this 3D Frame? I use them for my family art projects and a way to make a display without breaking the bank. Initially, I was buying all my frames but it got very expensive quite quickly. I knew there had to be a better way! And, there is! A 3D frame box is so versatile, you can use them not only for art, but a way to display those special cards!
By working on my design over a few weeks, I finally found one that works and is easy to put together. So easy, that the whole family can make their own frames.
The template I put in the resource library is for you to use without any worries, no need to ask permission to use this design in any of your makes. The template is in both SVG and PDF format - this will give you the flexibility to change the sizing to fit your own personal needs.
I am using mine for a kindness card I received from another artist plus I have a few more precious art pieces I want to save. Saving art was never easier when you add it to a frame and display it on your wall!
Did you get some precious art from your kids? This is the perfect time to frame them and use them as DIY Home Decor! Imagine the delight when they see their art displayed in your home!
If you made a Frame, please share it on our Facebook group. https://Facebook.com/groups/BettesMakes
Until next time,
Happy Crafting!


Join my Facebook
group: https://facebook.com/BettesMakes
Follow me on Instagram:https://Instagram.com/BettesMakes
Subscribe to my YouTube Channel: https://www.youtube.com/channel/UCzMHoceK1XiXi8IykicnUmQ
NEW Pinterest Profile: https://www.pinterest.ca/BetteMakerCreations
Please pin this image to your favorite board, the more saves, the easier it is to share this tutorial to other crafters. The pin will truly be appreciated!
