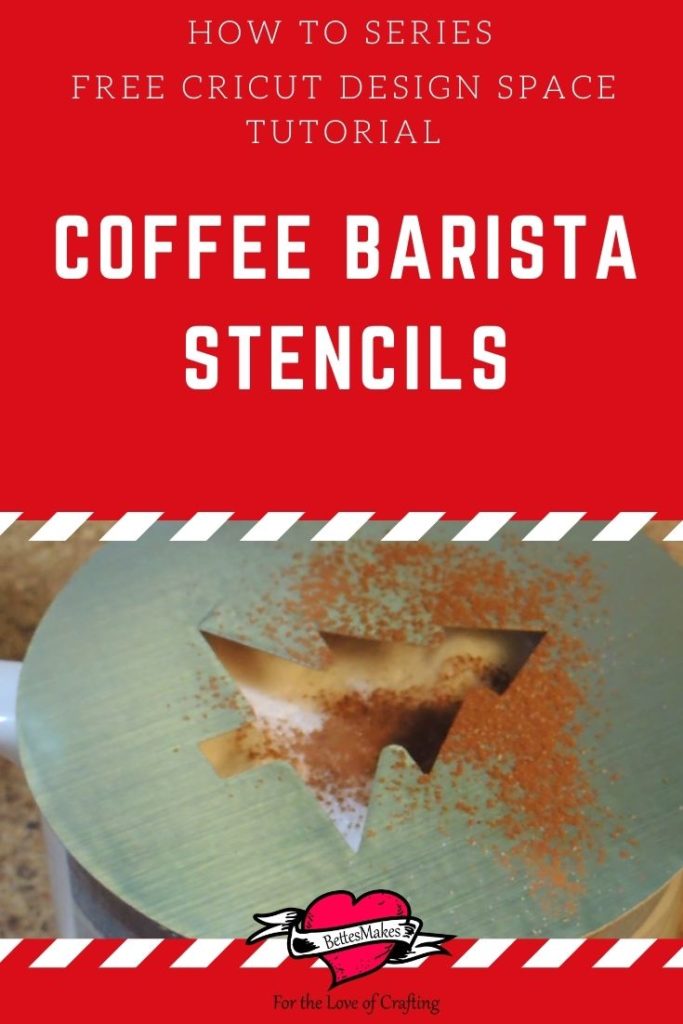
Have You Ever Wanted to Make Your own Coffee Barista Stencils?
Coffee Barista Stencils Made Easy
I love a good cup of latte and I really love those designs baristas make. This is something that takes a lot of practice to come even close to what those amazing people can do. I have tried but ended up having just a blob of white in the middle instead of an incredible design. This is where I finally decided to make some of my own stencils so I could finally make designs without having to worry about how I poured the crema!
I did have some metal stencils on hand but they were way too small for the big mugs I had on hand and sprinkling and holding the stencil at the same time was not working well.
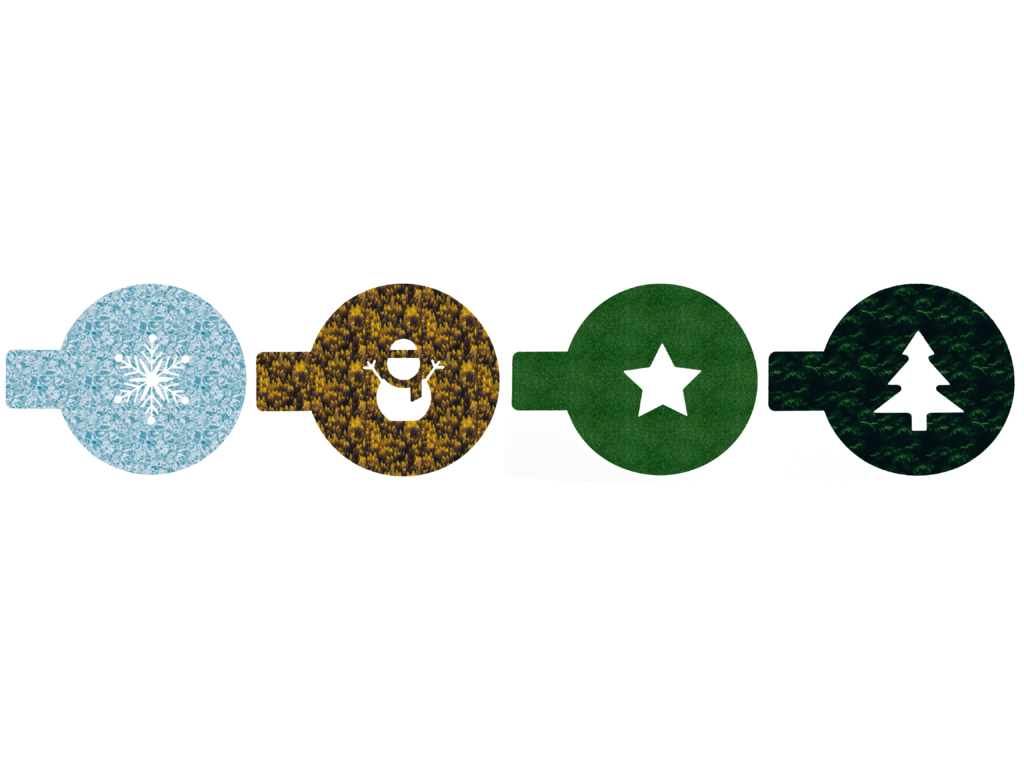
The designs I am giving you are just over 4 inches in diameter with a handle so you can lay it flat on the top of your drink. This way you can sprinkle chocolate (yum), powdered sugar, or anything else on top without juggling the sprinkles and the stencil.
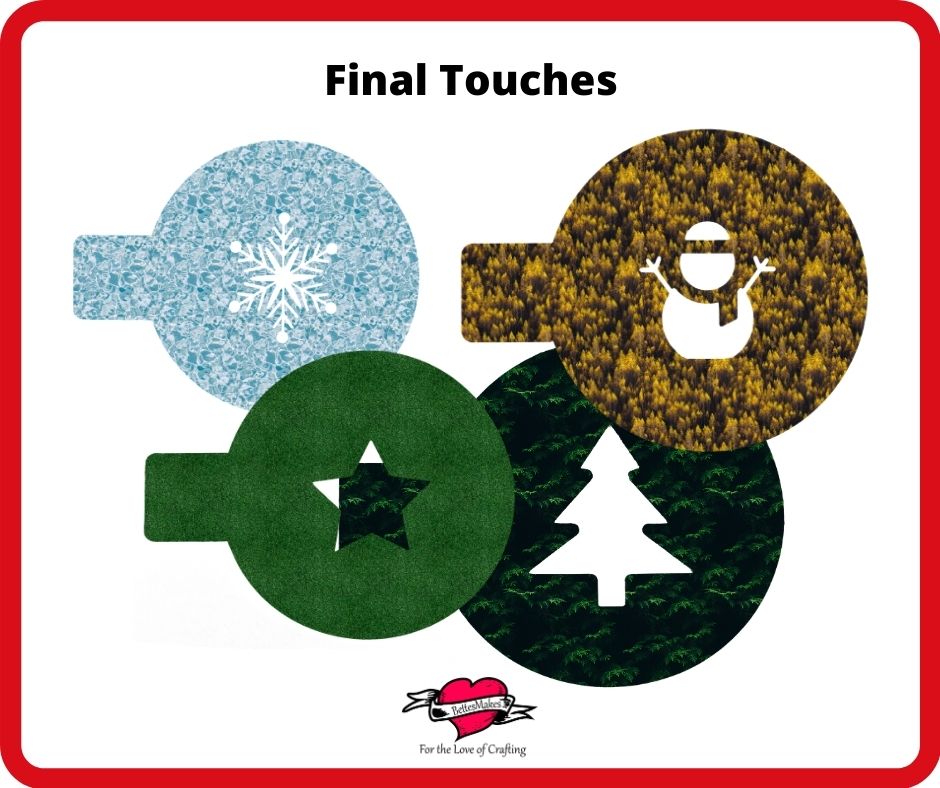
In this make, you will find 12 different stencils you can use. Find these in my resource library as asset #290. Here are 4 of them I put together.
Here’s what you need to make your Coffee Barista Stencils. This post does contain some affiliate links for your convenience (which means if you make a purchase after clicking a link I will earn a small commission but it won’t cost you a penny more)! Read my full disclosure policy.
Quick Links to Information in this Post
Coffee Barista Stencils Materials
Coffee Barista Stencils Step-by-Step Guide
Step One - Download the Template
Go to the Resource Library and download Asset #290
Extract the files and choose the designs you want to use. If you are cutting my hand, choose the PNG files and print them.
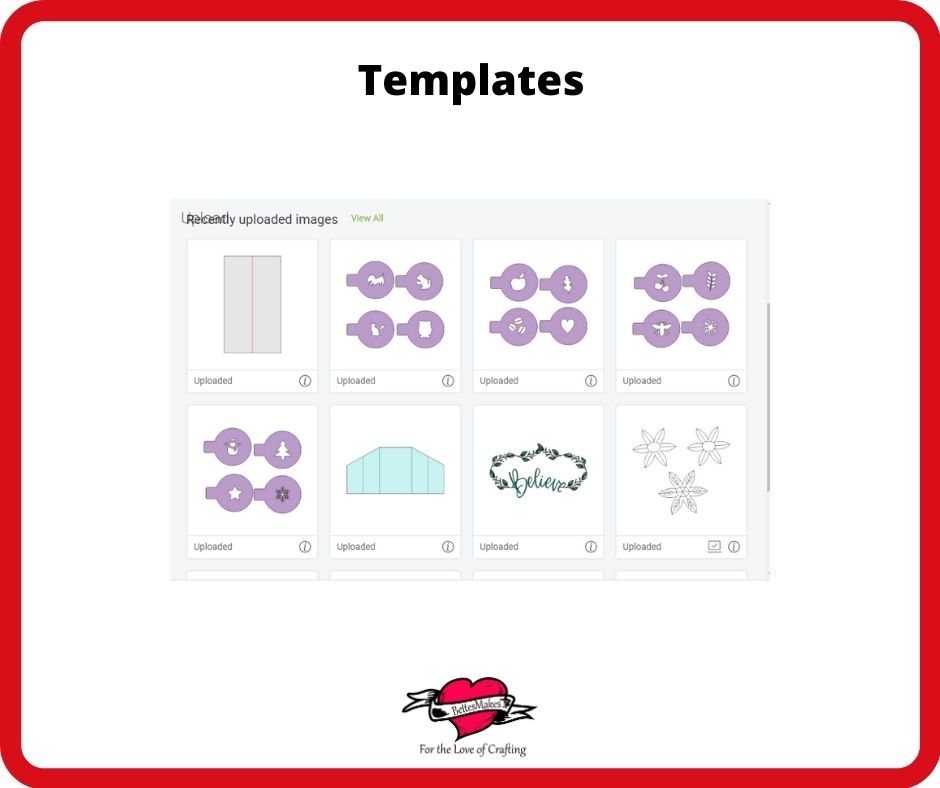
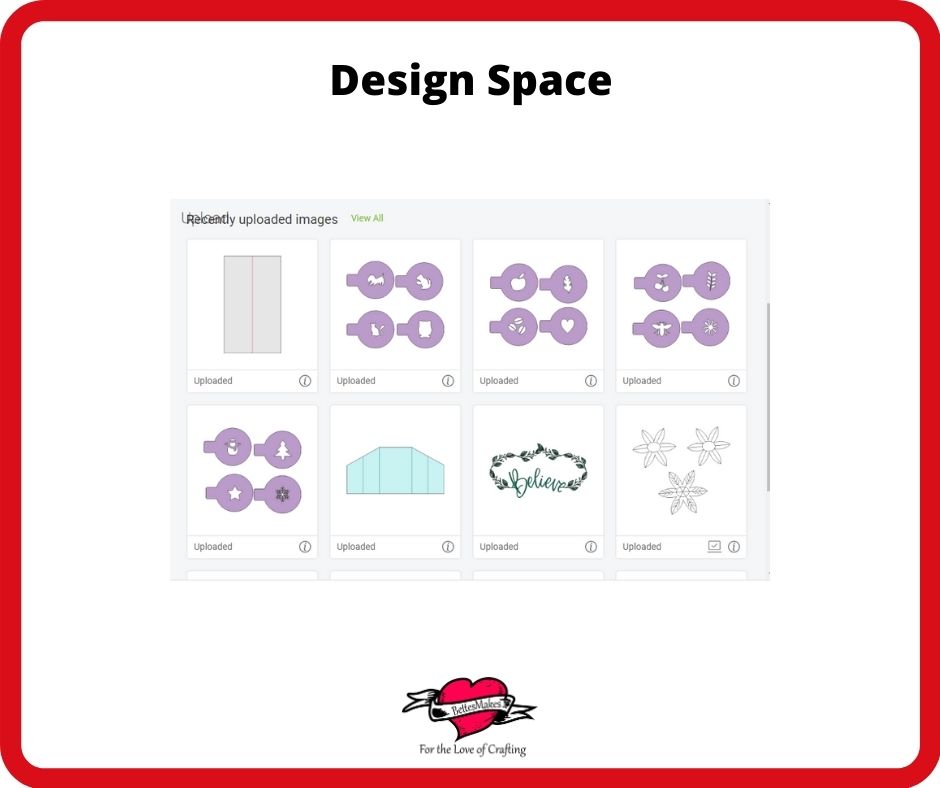
For cutting machines, such as the Cricut, upload the SVG files to your software (Cricut Design Space).
Insert the Coffee Barista Stencils you want to make onto your canvas.
Step Two - Design Space Adjustments
In this project, there are no adjustments to make.
You could change the sizing but if you do, it may affect the size of your stencil. Larger is OK but smaller makes it more difficult to see your design.
For cardstock you will want to cut a duplicate in vinyl (I used permanent).
For the backside you will want a third copy in vinyl but with the image flipped or mirrored.
Step Three - Cutting
The most important part about this project is the material you will use when cutting.
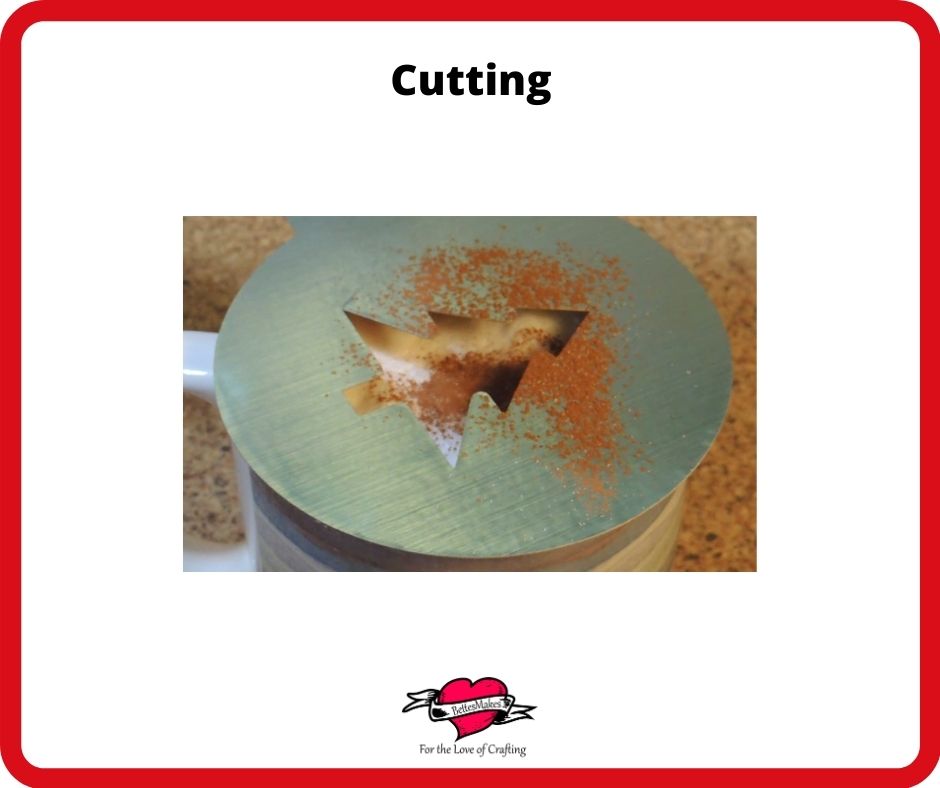
Use a heavy cardstock or waterproof material for this project. Waterproof will allow you to use a damp cloth to clean the stencil after usage.
For my project, I cut in heavy cardstock as the center, then two layers of vinyl (permanent). One of the layers was flipped so it could be fastened to the stencil with the design fitting perfectly. See the image
Step Four - The Finishing Touches
After your Cricut (or other machine) has finished with the cutting, it is time to assemble your coffee barista stencil parts.
Weed one of the vinyl pieces and match it perfectly to the stencil outline before securing it down. This may take a bit of time to match everything in place.
Do the same thing for the reverse side.
Now all you need to do is make that latte, place the stencil over the cup and sprinkle away! You can use these for decorating pastries and more.
More Craft Ideas from BettesMakes
Here are some amazing crafts you can make from BettesMakes.com
This is just a sampling of the dozens of crafts you can find on my website.
Disney: Storybook Collection Advent Calendar
Last Word
Wasn't this project easy? Just think of all the stencil designs you can make suing this simple tutorial! You can use the basic shape with the handle then punch out your own stencil design. Just remember if that liquid will be a game changer when you use cardstock. Try using thick vinyl or other materials so you can hold the handle and not let the stencil flop around!
The biggest issue I had was the lining up the pieces together!
I hope you enjoyed this project as much as I did.
If you made a latte, please share it on our Facebook group. https://Facebook.com/groups/BettesMakes
Until next time,
Happy Crafting!


Please join me on Pinterest: https://Pinterest.ca/BetteMakerCreations
Join my Facebook group: https://facebook.com/BettesMakes
Follow me on Instagram: https://Instagram.com/BettesMakes
Subscribe to my YouTube Channel: https://www.youtube.com/c/BettesMakes
