Do you own a Cricut but have never thought about what tools and materials you need to make it work better for you?
Do you have tools for your Cricut you have never used and wondering why you have them?
Is your Cricut sitting there staring you in the face and wondering when you are going to turn it on?
Cricut Owner Ideas & More
You are simply stuck! As a beginning Cricut user, you have some of the tools and materials but not necessarily the essential ones. Are you still wondering what to do with the machine and what you can create with it? You are not alone!
Learn the secrets of the right tools and materials you need to get the most out of your Cricut.
As a reminder, this post does contain some affiliate links for your convenience (which means if you make a purchase after clicking a link I will earn a small commission but it won’t cost you a penny more)! Read my full disclosure policy.
Quick Links to Information in this Post
Don't just buy a Cricut machine because others have it, buy it because it will be saving you a lot of time when making your crafts! I could not imagine how much extra time I would need when making new projects. Often you need to test designs to make sure the sizes are correct, and cutting by hand would take forever! With a cutting machine, the world of possibilities opens right up.
Here is a list of some of the basic things that you can do with your Cricut machine.
You may be quite surprised to know that you do not need every bell and whistle that comes with your Cricut. You can make many things with just a few essential tools. Here is what you truly need in order to do many projects: Look at the deals on the Cricut site!
2. Scoring Stylus or Scoring Wheel
4. Cardstock and Vinyl (both permanent and non-permanent)
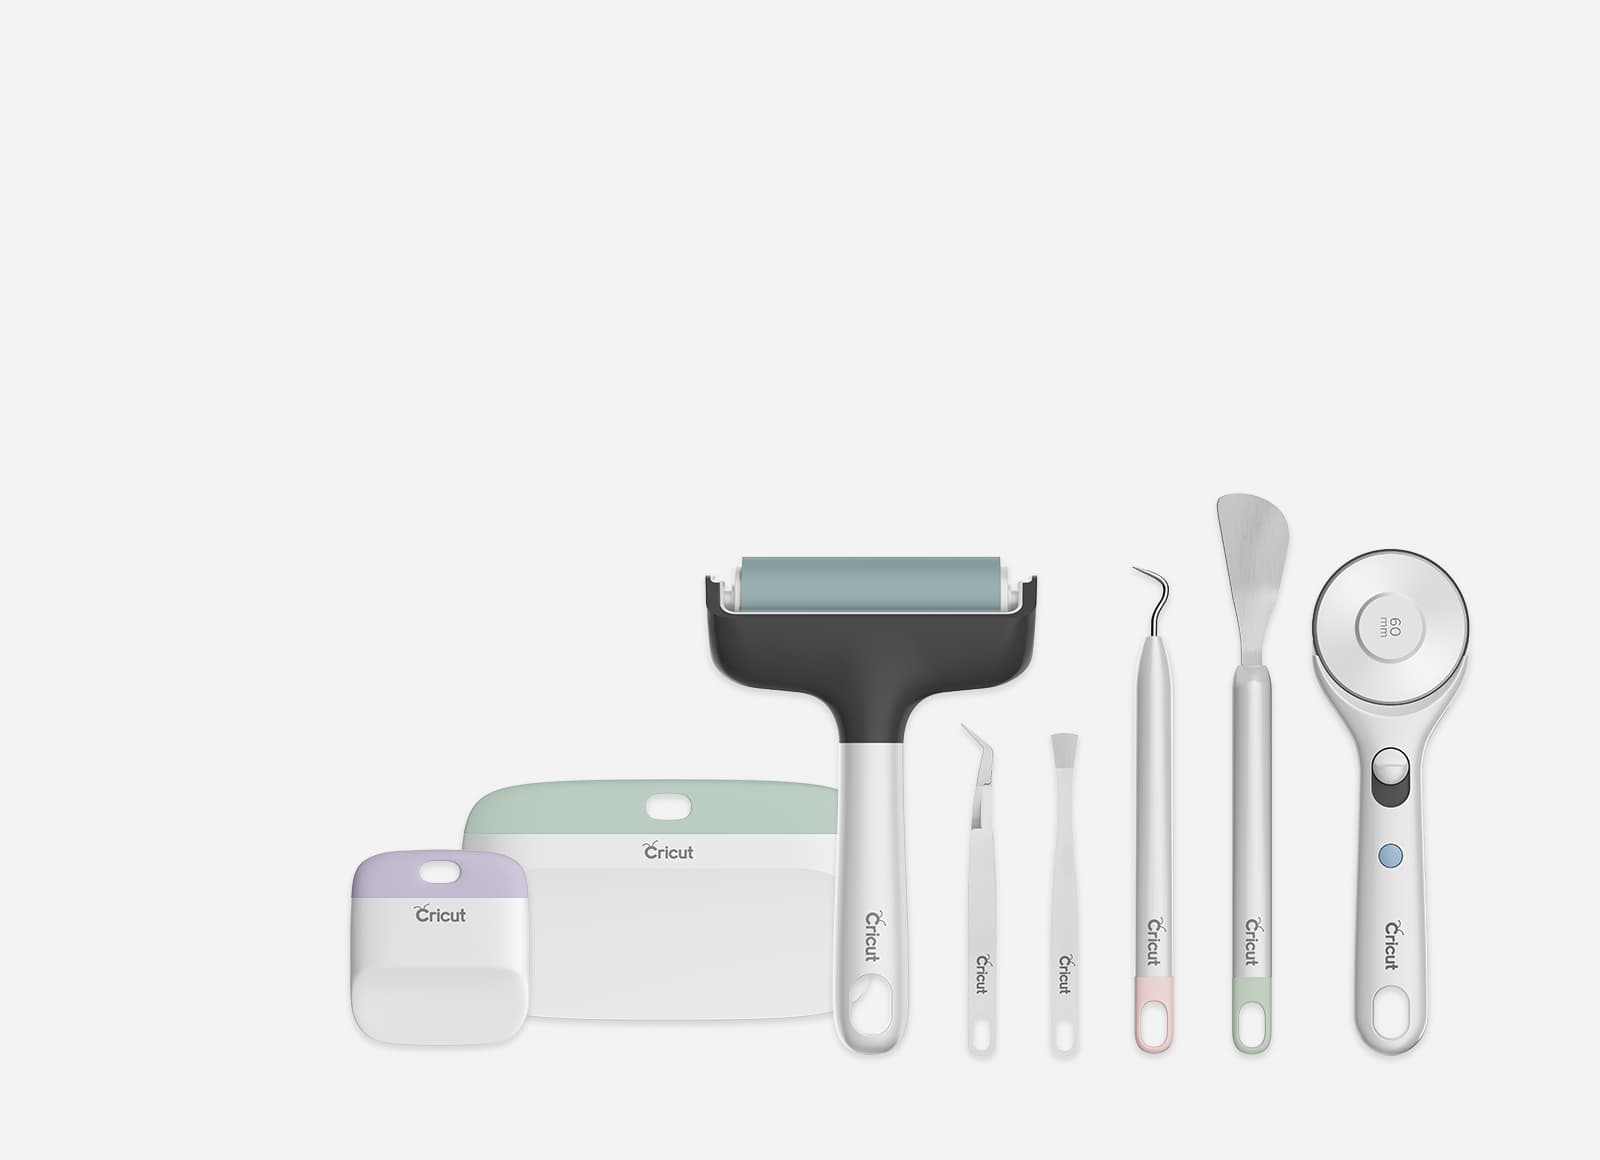
If you are like me, you love trying out new things all the time and if you have the budget, you should consider buying other tools such as:
3. Scraper (I love the Cricut Wide scraper)
4. Cricut Tweezers (so perfect for weeding!)
You can get some really great deals during sales events with Cricut. For example, a tools package can be discounted as much as 30% or more - plus you can get a further discount with being an Access member (10%) and another 10% plus free shipping with using a coupon code. When you buy $50 worth of supplies, the discounts really add up in a hurry and you get a really incredible deal.
Are you concerned about wearing out your mats? I know I am and I have actually used mine so much they are practically taped together (actually 2 of my mats are taped together). No worries, you can clean your mats by gently washing them with soap and water to remove the extra debris.
As for the stick, most of it will come back and you can always use painters tape to hold the material in place. I also use a special glue to bring back some of the stick (I only do this for projects that do not need a firm hold).
Keep an eye out for a sale on mats, whether it is at Cricut.com, Michael's or Joann's - and buy in bulk if that is an option for you. You can never have enough mats when it comes to making crafts.
Generally, you will be using the standard grip mat and the light grip mat. You will rarely use the strong grip or the fabric grip unless you are into sewing.
Here is where you will have a lot of fun picking materials to use. This may seem strange but I usually wait for a Mystery Box or Tool Sets to become available and buy one or two of them so I can add to my paper, vinyl, iron-on, and tool collection! Yes, those mystery boxes are perfect! It also means that I can plan new things with what comes in the box.
I hate to admit but I do have a fairly substantial collection of vinyls from buying these boxes, but it does not stop me from buying more. Those boxes have saved me a TON of money and I can make do with the patterns and paper choices in my makes.
A great way to experiment with sampler packs and more.
Here are my top 10 projects for using simple supplies and the basic tools:
1. Embossing with the Scoring Wheel or Stylus. It is easy when you have the scoring wheel (stylus) go over the same lines 2 or more times. It deepens the groove and looks like your surface has been embossed!
2. Experimenting with paper folding - An Exploding Gift Box
3. Cutting Holes for Design sake - Handmade Birthday Card
4. Mixing Materials - Button Art
5. Foiling with the Foil Quill Tool - Foil Quilled Card
6. Making ornaments with glue and glitter - Christmas Ornaments
7. Flower Making using mixed materials - Perfecting Paper Flowers
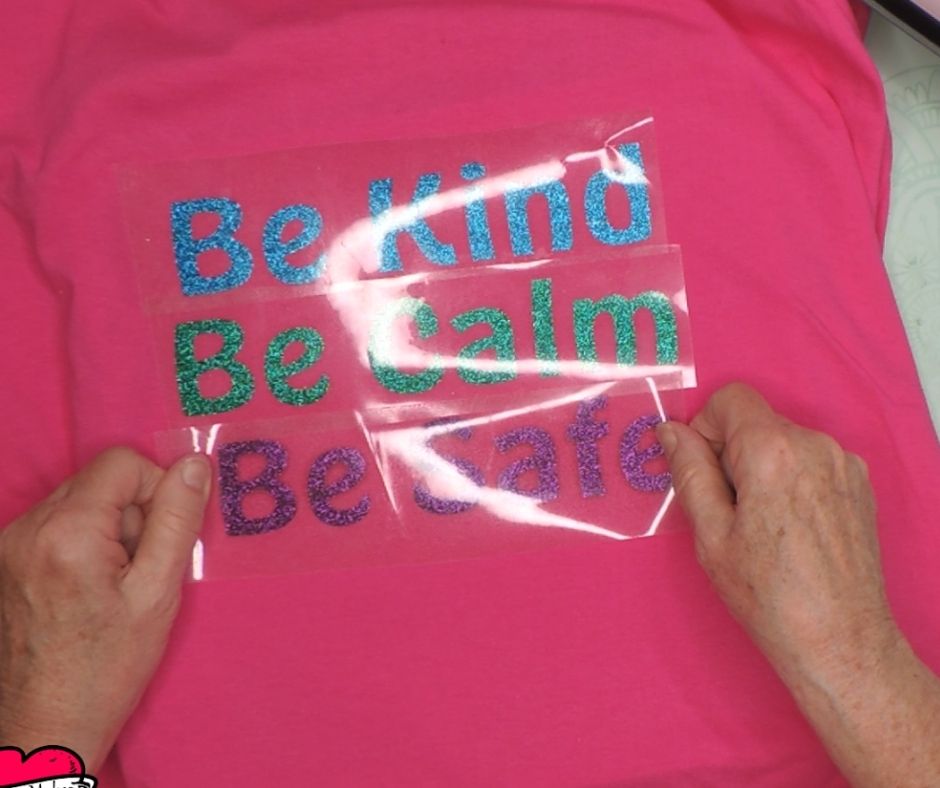
8. Iron-On names to pillows and more - Heat Iron-on Transfer
9. Pinwheels for your Garden - Pinwheel Magic
10. Embossing Techniques - 4 Techniques you can use
There are so many mixed opinions on the best way to weed a project. If you are not sure what weeding is, here is a brief explanation. Weeding means removing pieces of your design that you do not want to use in your project. These are often called negative parts.
To weed, many people, myself included, prefer to leave the design on the mat and remove the negative parts from the project right from the mat. The biggest issue with weeding is the fact that the cut lines are often really difficult to see.
Sprinkle talcum powder over the entire design, then blow it off. This will leave a residue that falls into the cracks where the vinyl is cut. Instantly you will be able to see all the cuts making the removal of the negative parts so much easier!
To really save money (and time), trim your vinyl or cardstock to close to the size of the cut. This way you will not waste material.
This also opens up the opportunity to place more than one color or design of vinyl or cardstock onto the same mat.
To place all objects on one mat, you can move an object from one mat to another and adjust it's position. Click on the object you want to move, click on the three dots (ellipse), and select Move Object. Choose the mat you want to use for this object.
Move the image on the new mat to a new position and make note of the size of the vinyl or cardstock you wish to cut and place a scrap piece of vinyl in position.
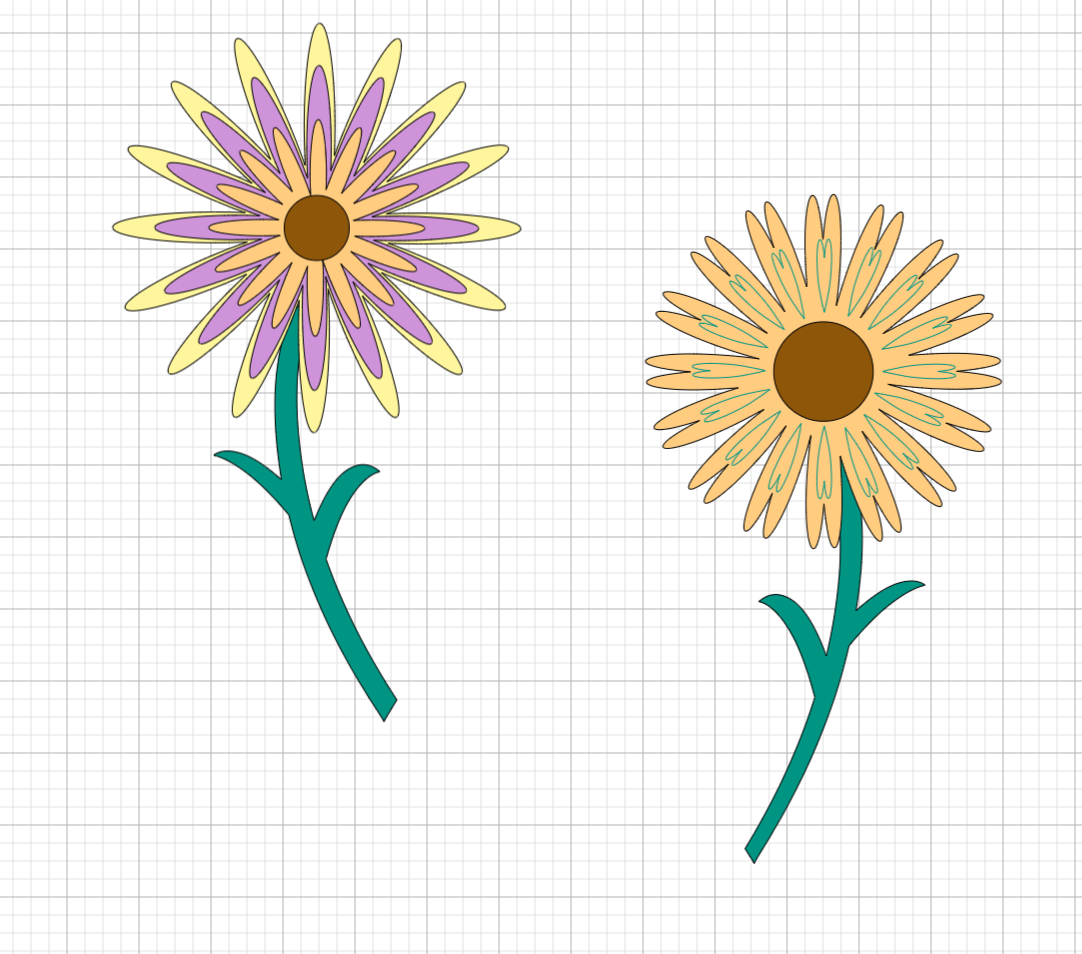
Almost every shape on earth is made out of basic shapes. You can create so many items by using basic shapes for the outline, then using slice to remove parts you do not want.
See the flower as an example of just using circles and hearts to make a whole new look.
Cricut Design Space has dozens of ready made templates you can use. This makes the process really simple. But what if you want to iron-on or transfer vinyl to a surface that is not in the list of templates available?
There is an easy solution here!
Upload an image or photo of the surface you want to use. Add the image to your Canvas and size it to it's normal size in real life.
Create your design and place it over the photo and adjust as needed.
Turn off the image or photo by clicking on the eyeball in the Layers Panel. Your design will be the only thing visible and you are ready to cut the new design.
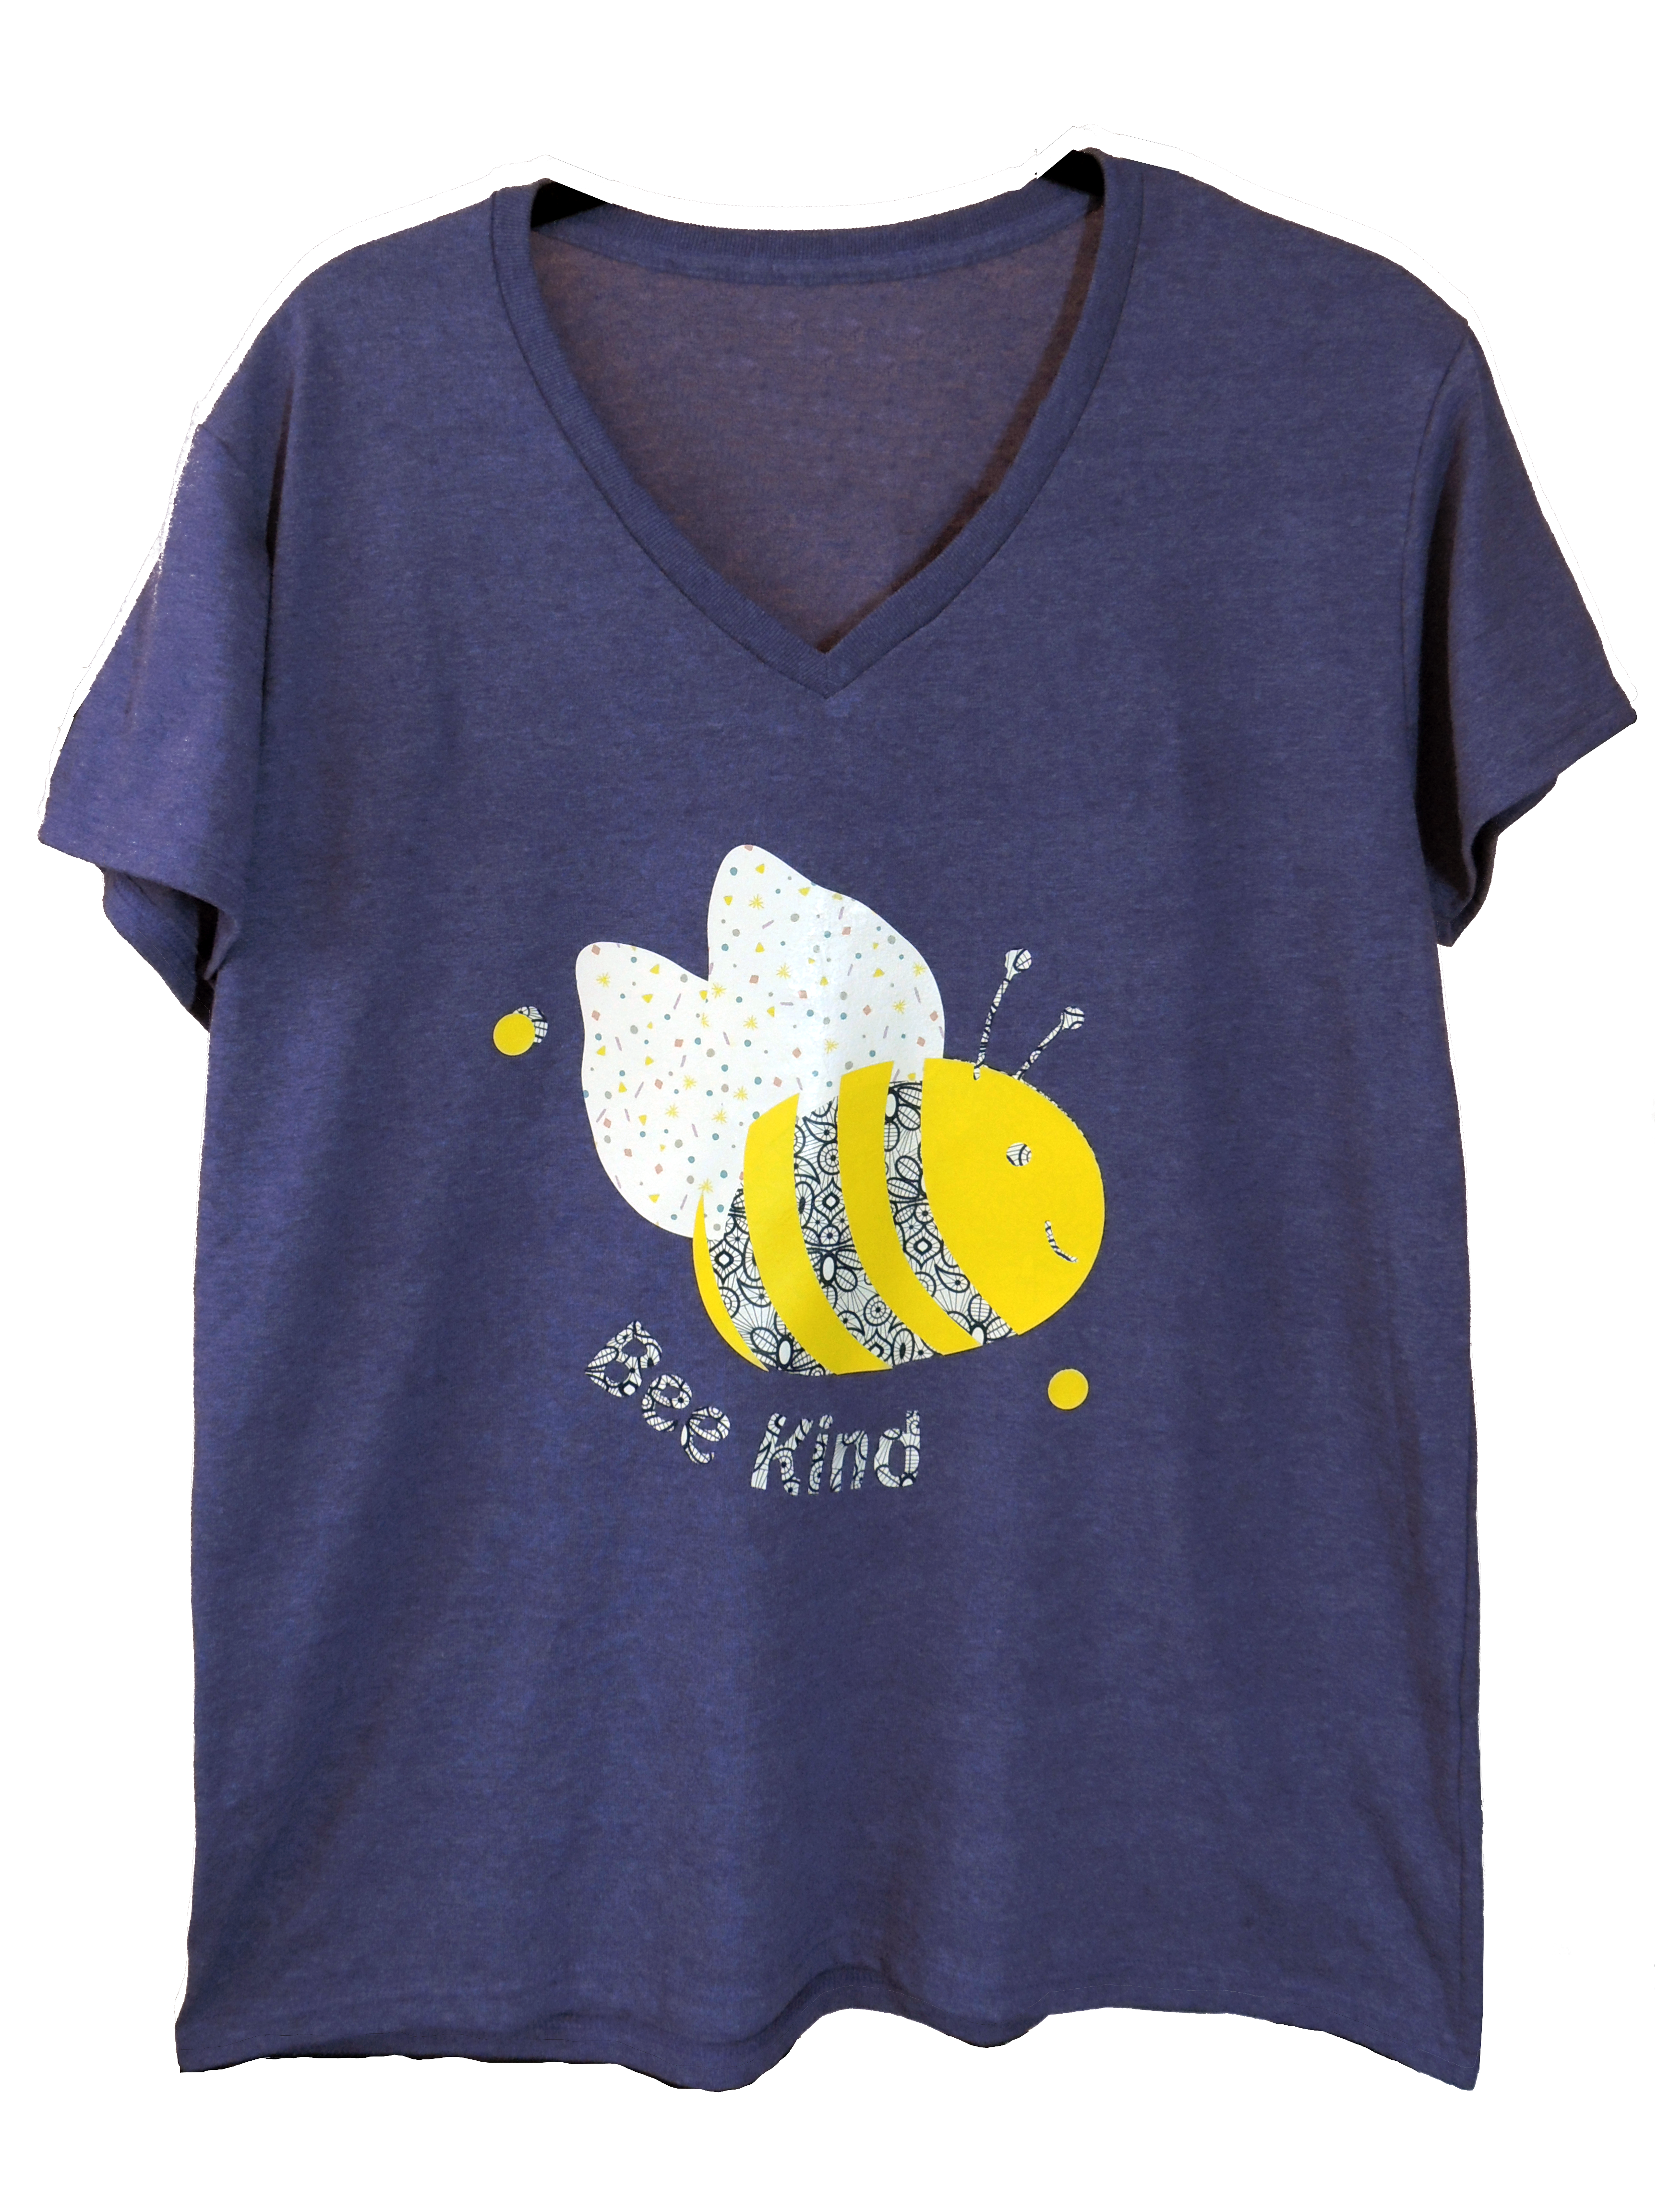
Layering does not have to be difficult! It totally depends on what you are trying to accomplish! For Mandalas and heavy weeding projects you really need to make sure you design is perfect. But, for the rest of us, simple layering is all we want!
The trick here is to have a background of the entire shape at the bottom and then build the remaining colors on top.
The Bee Kind image above has the pattern at the bottom, the wings, then the bee face and stripes. a 3 layer project that is easy to put together - here is the link to the video so you can give it a try. BEE Kind Layering Project
Last Word
Did you know all of these ideas? I do hope you were able to use at least one of them and make your crafting experience more enjoyable.
Try some of them out and make something amazing!
Share it on our Facebook group. https://Facebook.com/groups/BettesMakes
Until next time,
Happy Crafting!


Please join me on Pinterest: https://Pinterest.ca/BetteMakerCreations
Join my Facebook group: https://facebook.com/BettesMakes
Follow me on Instagram: https://Instagram.com/BettesMakes
Subscribe to my YouTube Channel: https://www.youtube.com/c/BettesMakes








 DIY Home Decor DIY Craft Tutorials, DIY Paper Flowers