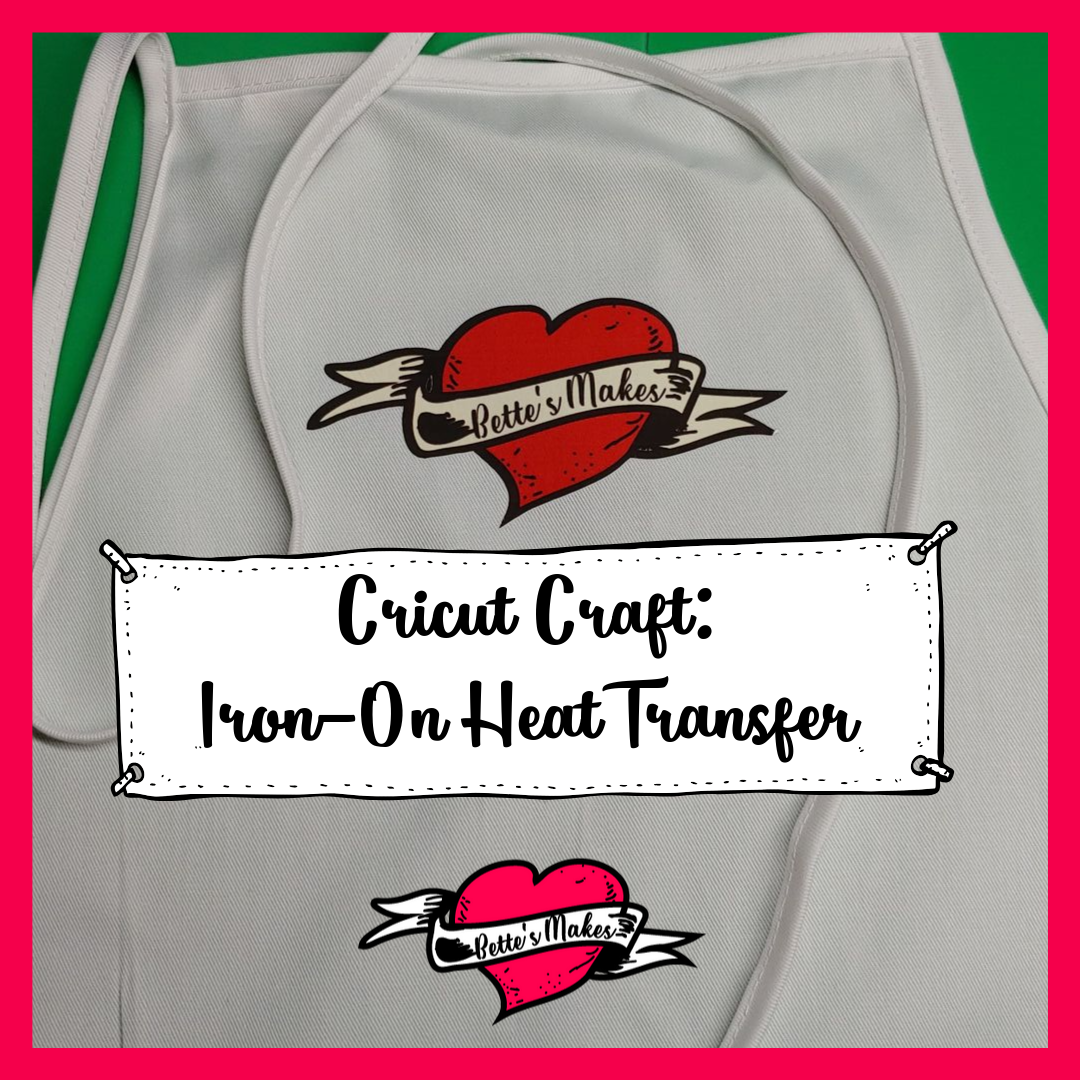
Cricut Craft: Why Iron-On Heat Transfer is Incredible
Cricut Craft is not just cutting something and making a card. Cricut Craft is a whole new world of making amazing creations. If you are making your own text and image designs, there is nothing better than adding them to a wearable item. Through trial-and-error, I have discovered a few ways that iron-on heat transfer does not work! I even discovered that some colors and designs will bleed through to other parts of your material.
In this article, I am going to take you step-by-step through the entire process of taking a design (such as my logo), prepping it, printing it, and pressing it into place. Although I have not added anything new to my resource library, I did make a video of the whole process (which you can see below).
Quick Links to information in This Post
Here’s what you need to make your own Cricut Craft Iron-On Heat Transfer Project. This post does contain some affiliate links for your convenience (which means if you make a purchase after clicking a link I will earn a small commission but it won’t cost you a penny more)! Read my full disclosure policy.
Cricut Craft Materials for Iron-On Heat Transfer
- Iron-On Heat Transfer Paper for Dark Items (this works the best even if you use light materials)
- EasyPress from Cricut (you can use an iron but you will not get the same temperature control)
- EasyPress ironing pad that fits the EasyPress size
- Butcher paper (if you do not have any, you can use plain parchment paper)
- 2 sheets plain (preferably white) cardstock 12" x 12"
- A design of your own to transfer to an article of clothing or material
- Scissors
- Ruler
- Visit my resource library for ideas
Cricut Craft Step-by-Step Guide for Iron-On Heat Transfer
Iron-On Heat Transfer is not a difficult process. As with any craft, if you follow the steps in order, you should have amazing results in the end. I have spent time messing up the whole project so that you will not need to make the same mistakes! The goal is to have fun and make something incredible.
Step 1
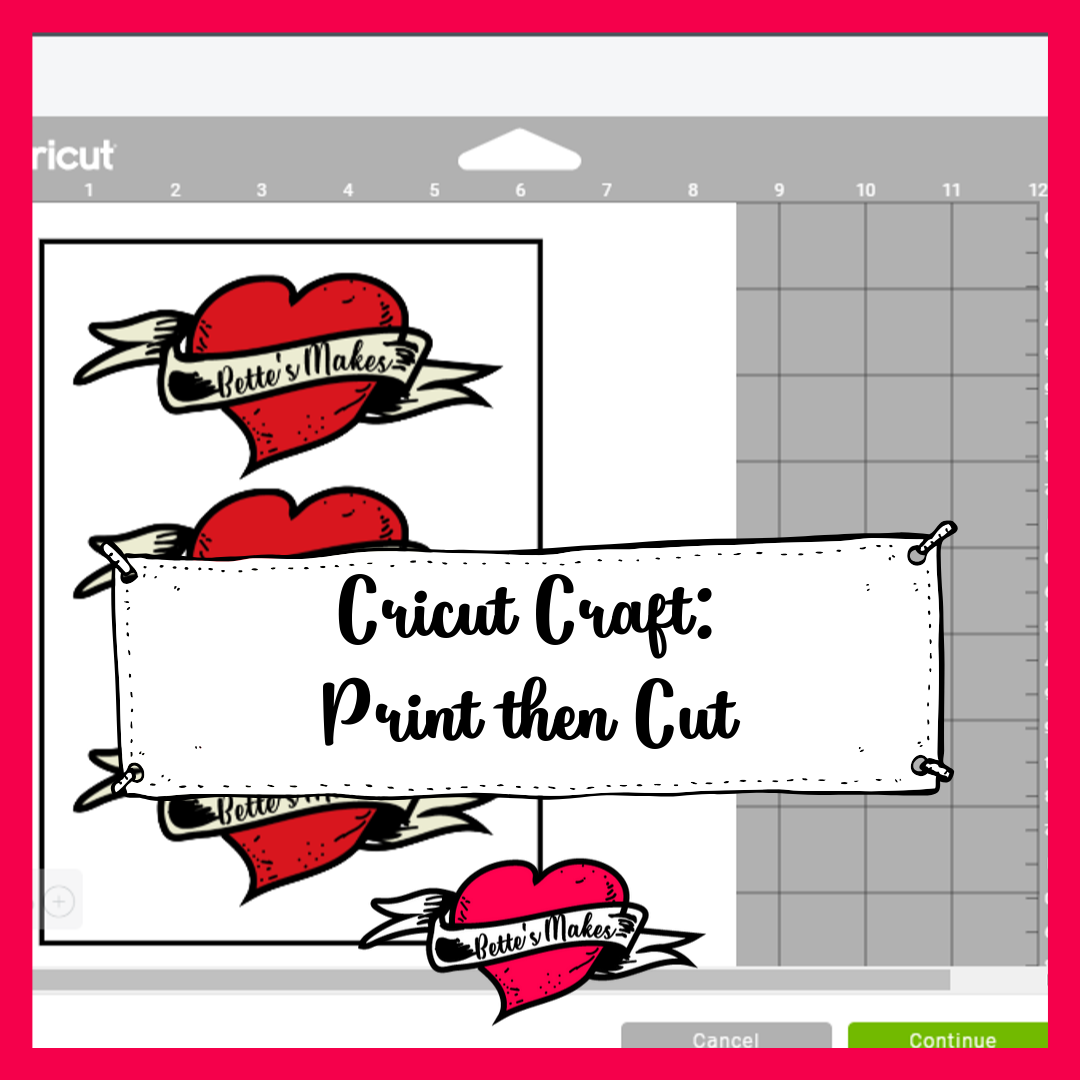
Preparing your design in design space. Upload your image to design space and make sure it is sized to fit on an 8.5 x 11 heat transfer paper. This means you will set up design space to print then cut your design.
The important thing to remember here is that design space has size restrictions when it comes to print and cut. The actual width of your design cannot be more than 6.75 inches wide. If the image is larger than what is allowed, you will get an error message to resize your graphic.
Simply adjust the size, then save and make your design.
BTW there is a work around for making larger cuts than allowed. if you want to know more just email me at bette@bettesmakes.com
Step 2
Print your design on an ink jet printer. Because this is a heat transfer project, you will not be able to use your laser printer as it heat adheres the ink to the paper. To save a little paper, you might want to consider filling up your design page with multiple images before printing. This way you will save a little money and paper (smaller amount of waste material).
Feed the printer with your iron-on dark heat transfer paper (make sure you have it facing the correct direction for your printer).
Step 3
Once your page is printed, you are ready to place it on your mat and feed it into the Circut. The black lines you see around your design are the registration marks which your Cricut needs in order to make the perfect cut.
Line up your mat, place the correct blade into the machine, then press the load mat button. Load the mat then press the GO button so your Cricut can do the cutting.
Step 4
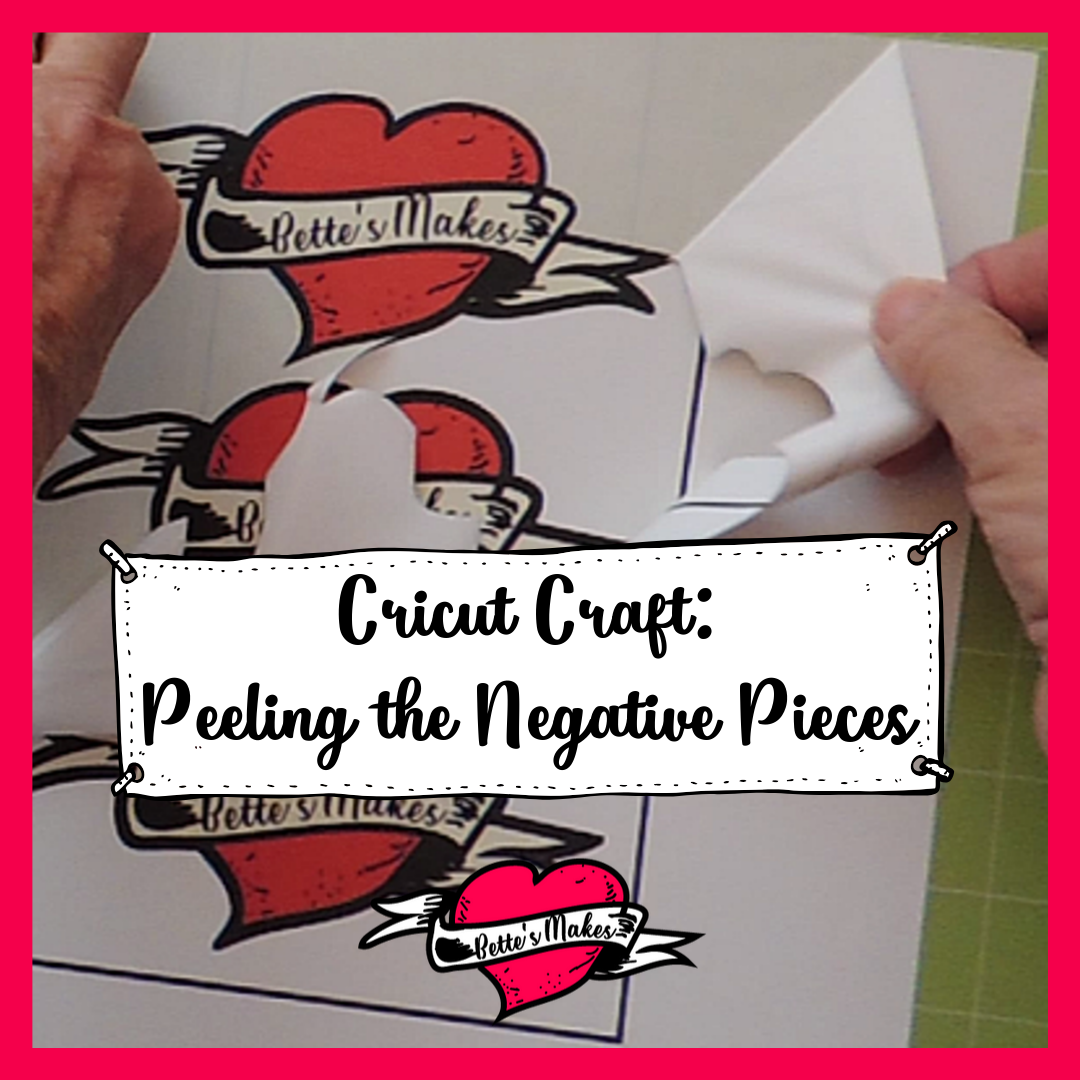
Now that you have your page with the images cut, you will want to remove the negative parts of the paper by peeling it off of the backing. You will need to separate the backing sheet from the transfer sheet then slowly remove all the pieces you are not going to use.
You will be left with your design(s) on the mat.
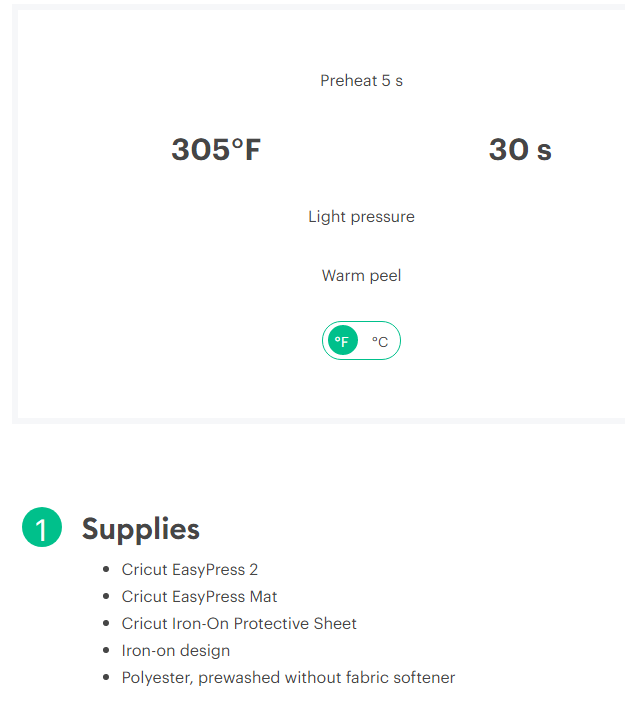
At this time you should turn on your EasyPress and set it to the correct temperature for the materials you will be using. To find the correct temperature, go to the Cricut Heat Guide. See the example below for how to use the Heat Guide.
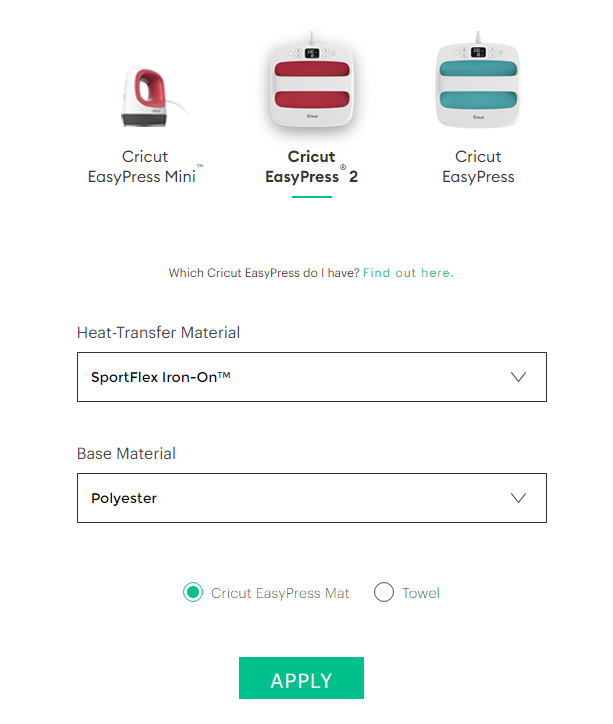
After you click on the Apply button, you will need to scroll down the page to find the results - as shown below. Remember that these images are an example only.
Step 5
It is time to prepare your transfer article of clothing before ironing it on. Smooth out your material and then iron out any wrinkles.
Next, take a lint brush and go over the area you want to use so that there is no extra threads or debris.
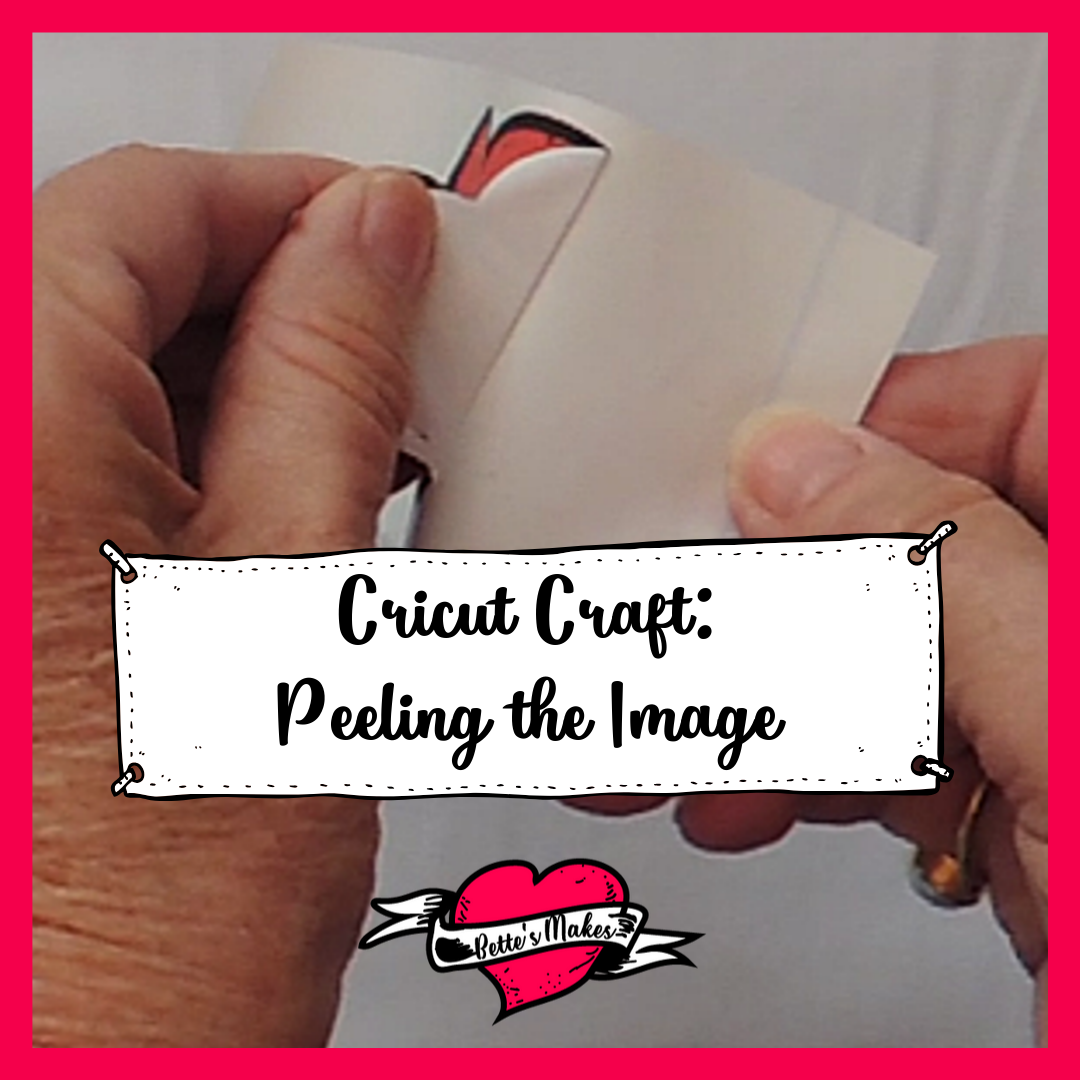
You will now want to peel your design off the mat. I suggest you peel the mat off the page so it will not curl. For details, watch the video on how to do the heat transfer that is posted after the reading resources.
If you printed and cut more than one design, you will want to take your scissors and separate the images for use one at a time.
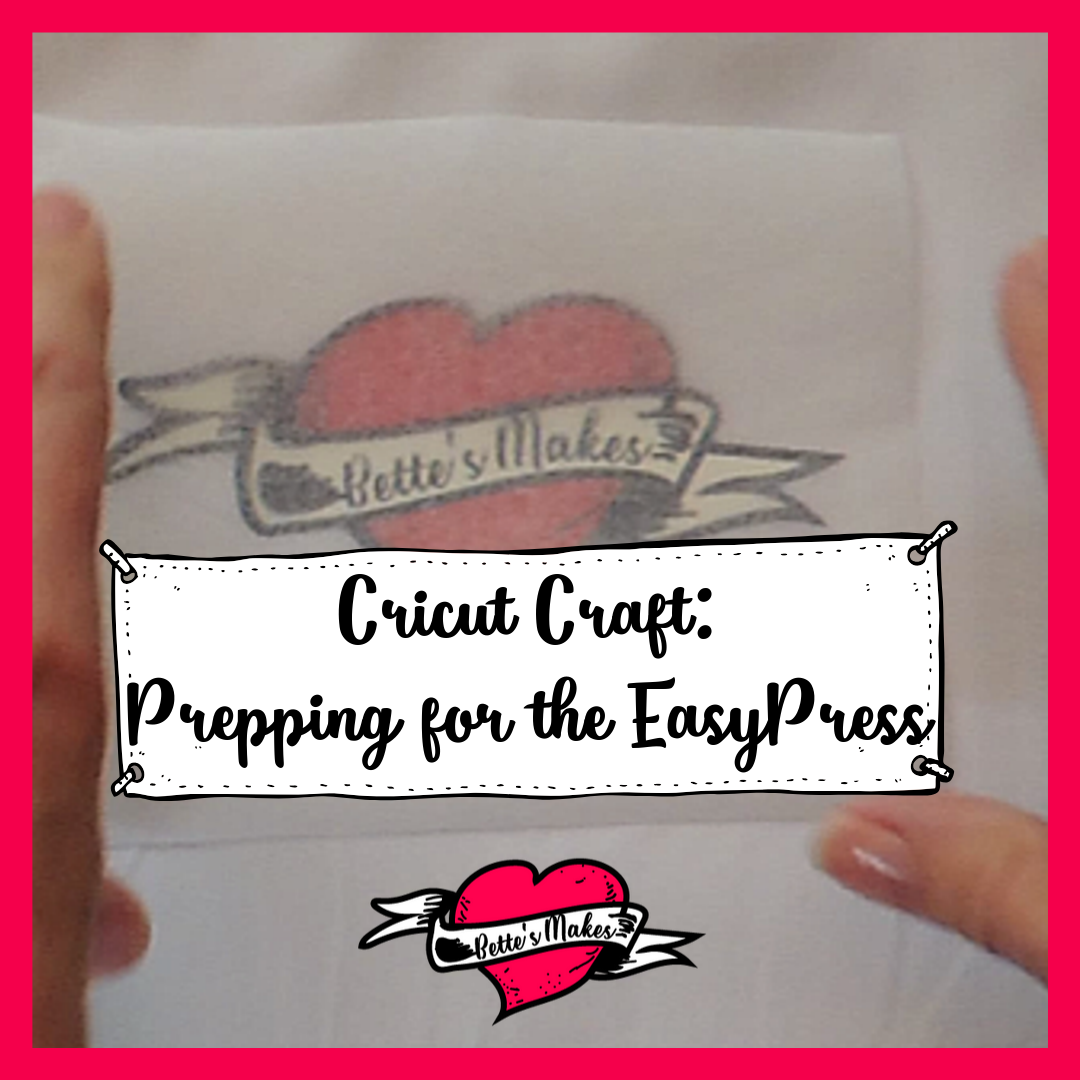
Peel the image off the backing and then place it face up on your article in the position you wish to have it stuck on permanently.
Step 6
Put your EasyPress mat on a flat surface and cover it with at least one sheet of plain cardstock. This is all about protecting your ironing pad from color bleed through!
if your article of clothing is more than one layer thick, you will also want to place another piece of cardstock between the layers. Once again, this is about not letting the colors seep through to another layer.
Carefully stack all the paper and material in the center of the ironing pad, then place your design (face up) on your article. Double check the placement before you apply the heat.
Now, take a piece of uncoated butcher paper or parchment paper and place it over your design. You want the design to stick to the material and not the iron!
Set the timer and make sure the heat is correct (you can also check with the directions on the heat transfer paper package).
Place the EasyPress on top of the design (make sure it covers the entire design) and set the timer.
For the project I completed, I needed to move the EasyPress around a bit to get a good stick. I also repeated the heat timing 3 times. For me this worked the best (I experimented quite a bit to find the right way to make this work).
Step 7
Replace the EasyPress into it's cradle and turn the power off. It will take some time for the iron to cool down.
Wait for your project to also cool down before you peel off the butcher or parchment paper.
After the appropriate cooling down period, remove the butcher or parchment paper from your design and admire your work!
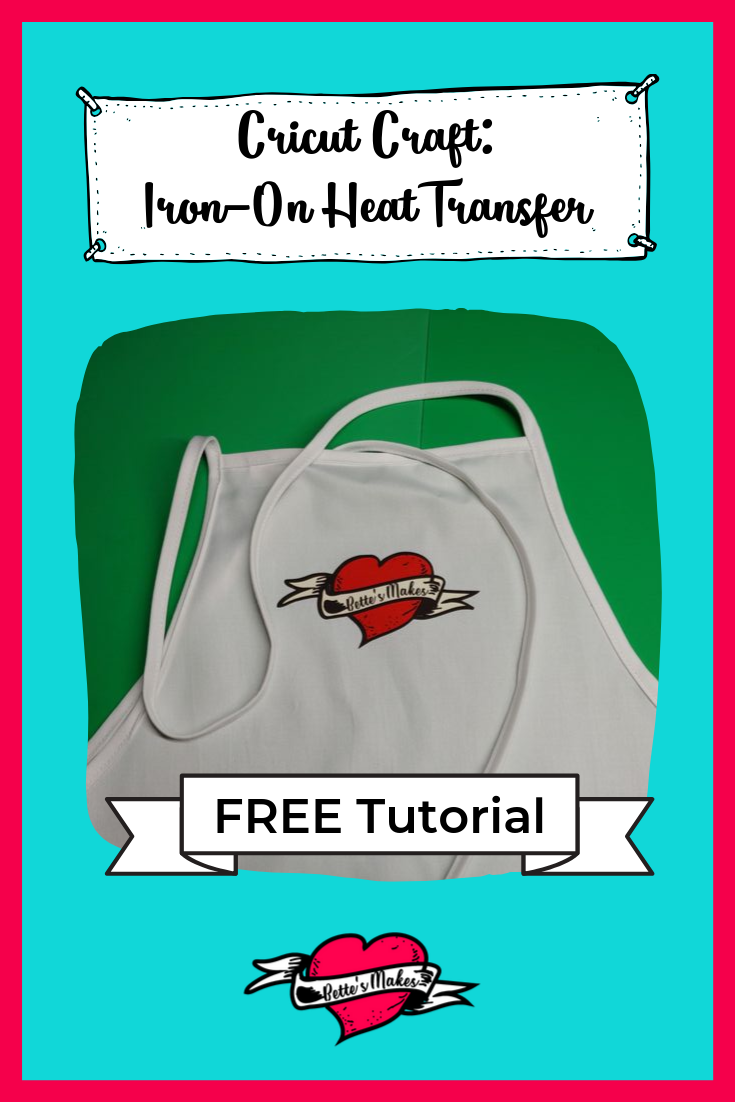
The apron below is the one I created!

Cricut Craft Reading Resources
Want to learn more about how to use your Cricut?
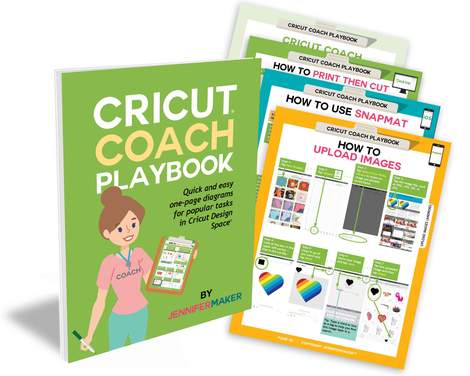
There are many resources out there you can use but my favorite book of all time is this one by Jennifer Maker!
Cricut Coach Playbook: Quick and Easy One-Page Diagrams for Popular Tasks in Cricut Design Space
Cricut Craft Video: Iron-On Heat Transfer
Last Work on Cricut Craft: Iron-On Heat Transfer
I am totally happy with the results for my aprons. The logo is crisp and clean with vibrant colors! Using the dark material heat transfer paper was the key for success with my project. I had experimented with the light transfer paper with results that made my project look like nothing and there were many flaws in the final result.
if you stick with the dark transfer sheets, you will not be disappointed with the results.
Did you try this project? if so, why not share it with my group on Facebook? Https://Facebook.com/groups/BettesMakes.
Until next time, Happy Crafting...

Are you on Social Media? I am and would love to connect with you there.
BTW the password for the resource library is love
Pinterest Pin for this Post. Please pin this to your favorite board so you can return here often.
1 Response to "Cricut Craft: Iron-On Heat Transfer Project"
Nice article, waiting for you next article