Are you looking to make a really cute handmade birthday card?
Cute Handmade Birthday Card with Heart!
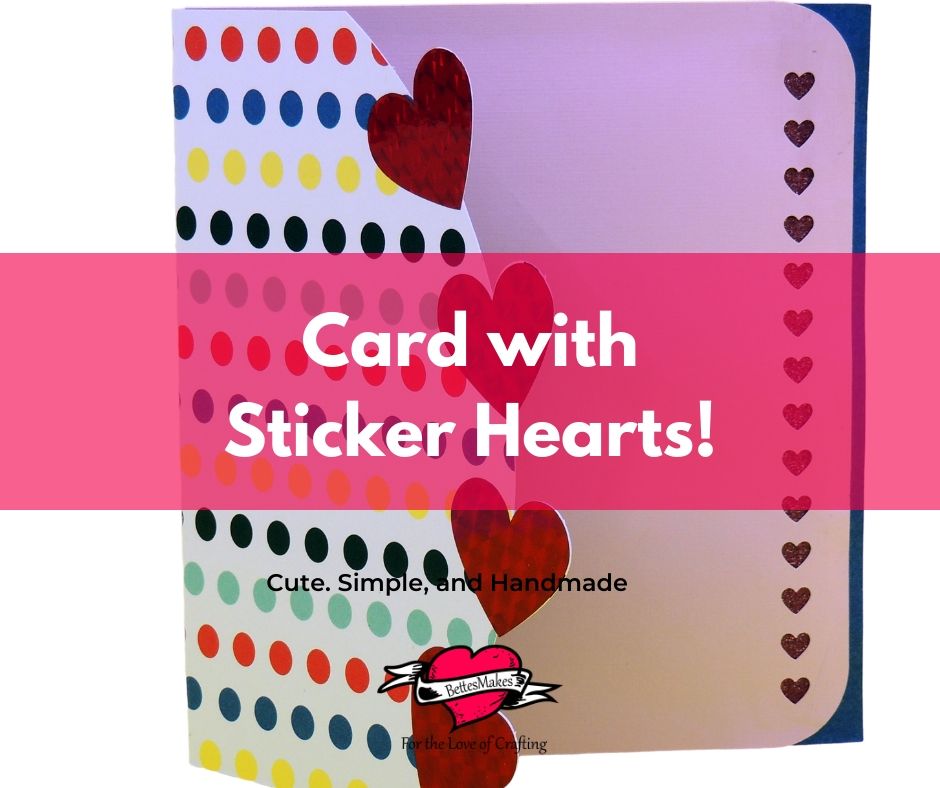
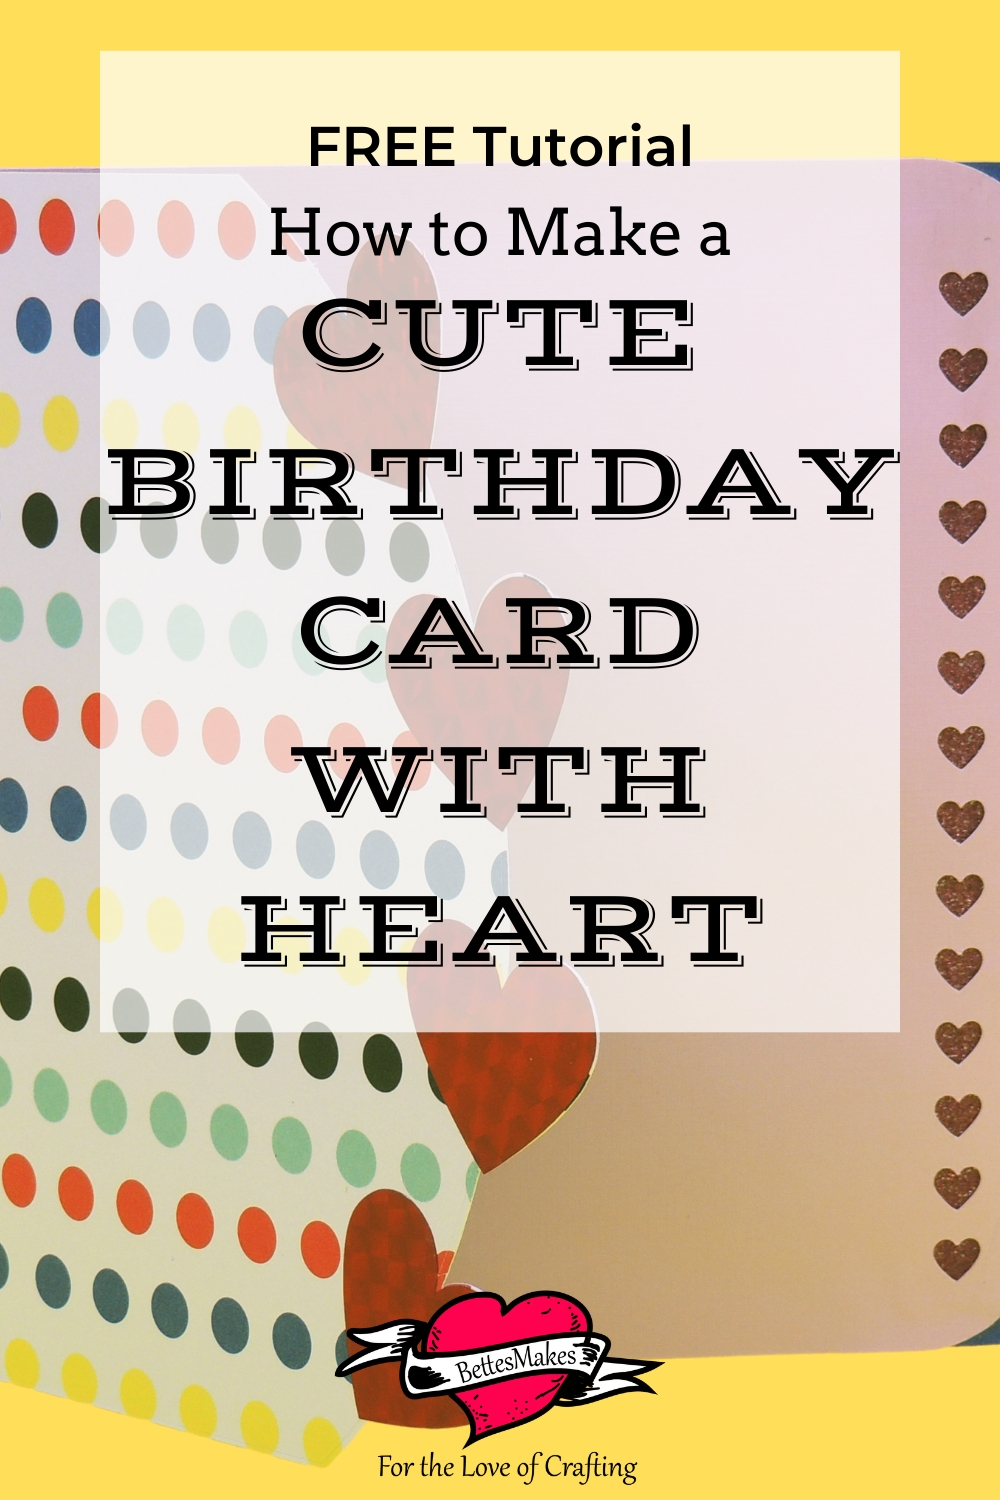
This cute handmade card has lots of cut outs and stickers to make your heart sing. This card was designed based on some cards I viewed over the past few weeks. I always design my own and this one is no exception. I used some double-sided cardstock for the outside to keep the card sturdy but other than that, you can use any type of material you want or have on hand. This card is easy to make and absolutely perfect for beginners!
The project includes an envelope template - so when you are finished, you can mail out the card!
As with every tutorial I write, the template for this card is FREE and available in my resource library.
The details on how to put this cute card together are below. And just a note - you can make this on any Cricut cutting machine. For the Joy - you may just need to make a sizing adjustment but there should be no problem making this adorable card.
Cricut Tips & Shortcuts
Secrets Every Cricut Owner Should Know
Every Cricut owner needs to know these SECRETS in order to save time & money so they can craft more. Insiders know these secrets but do you? Are you ready to make your Cricut work better for you?
Get the insider information you never knew and save money at the same time. This FREE Tip & Shortcut guide will show you how you can have your equipment and machine supplies last longer so you can make even more!
Here’s what you need to make your cute, DIY Birthday card. This post does contain some affiliate links for your convenience (which means if you make a purchase after clicking a link I will earn a small commission but it won’t cost you a penny more)! Read my full disclosure policy.
Quick Links to Information in this Post
Cute DIY Birthday Card Materials
Cute DIY Birthday Card Step-by-Step Guide
Step One - Download the Templates
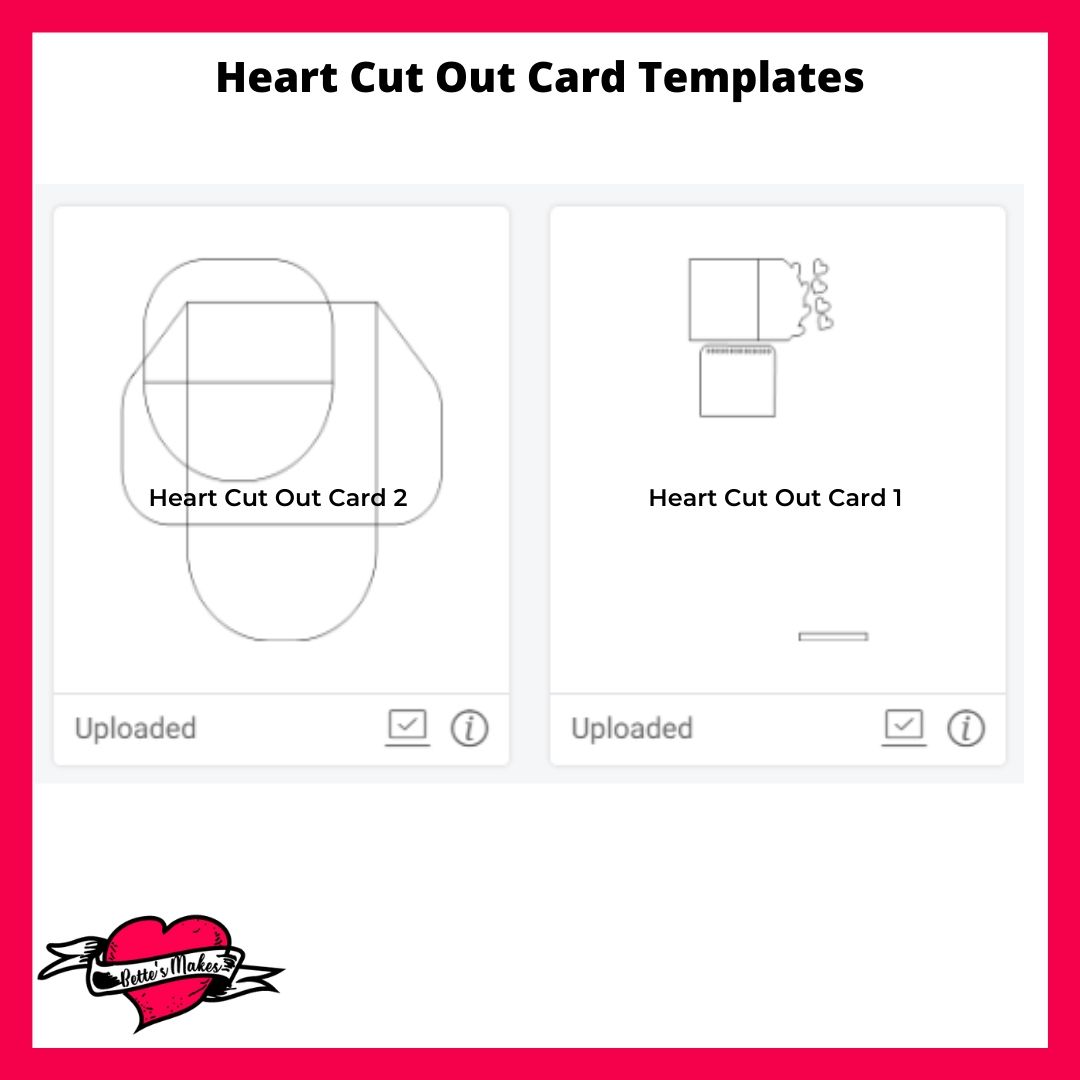
There are 2 templates for this make.
File one is Heart Cut Out 1 - this is the file with the card pieces.
File two is for the envelope that fits the card.
Download both these files from my resource library then upload them into Design Space.
Reminder: Both these files are in SVG format.
Step Two - Design Space Adjustments for the Card
As with any SVG you upload, there are always some adjustments you need to make.
Every SVG tends to come in black and you will need to change the colors in order to see the other lines in the project.
Since there are two files in this project, one is for the card and the other is for the envelope. Make these two different colors so they are cut on separate sheets of cardstock.
Let's work with the card piece first.
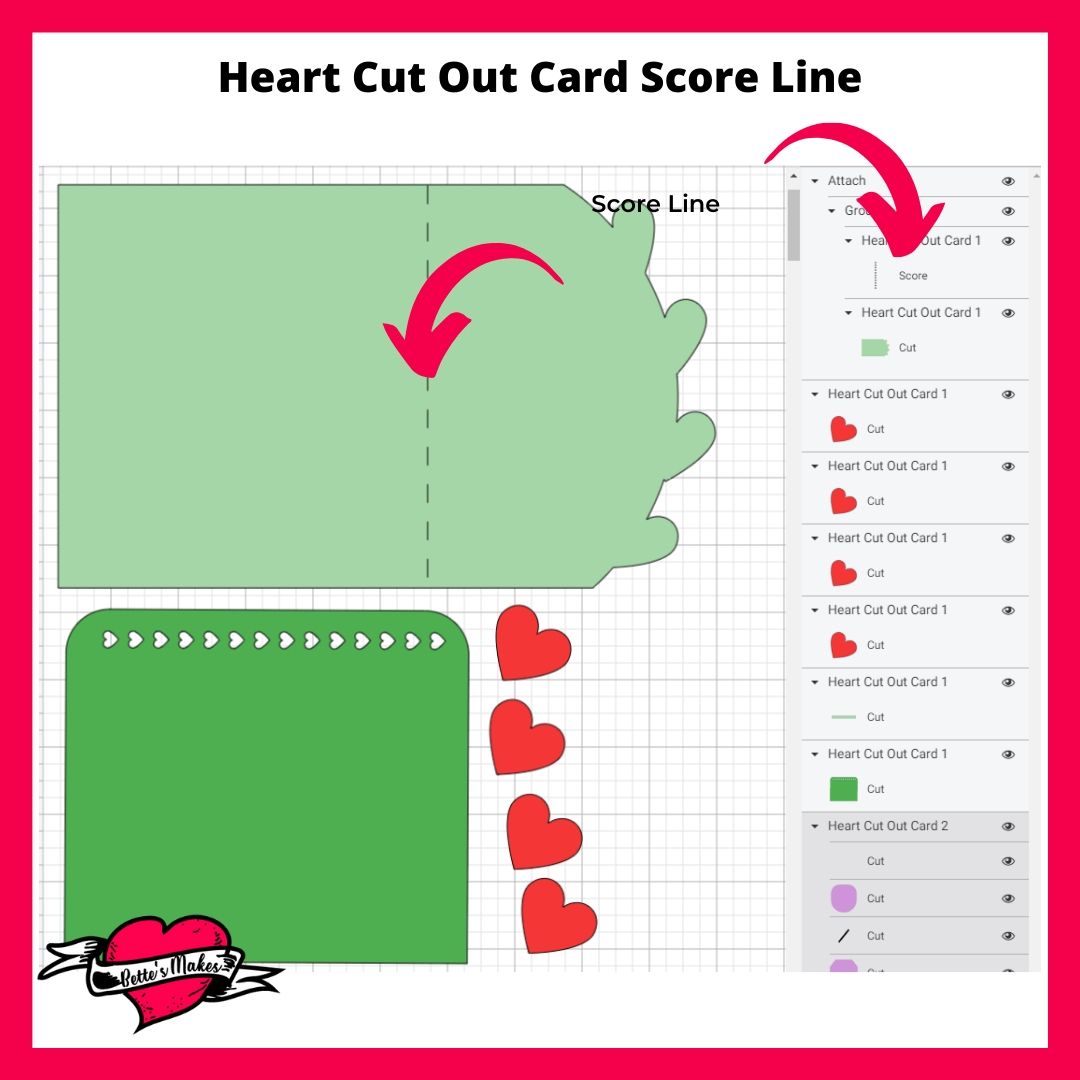
Everything is set to cut which is ok, except for the center line which needs to be a Score line. You can select this center line in the Layers Panel and change it from cut to score.
Next, Ungroup the card (you will need to do this twice), then select the score line and the outer part of the card. Group these together, then Attach them.
Here is where you may want to change the color of the inside piece and the hearts.
There is one more piece to the card and it is hidden down on your canvas. Scroll down to find a rectangle! This rectangle is what you will be placing underneath the cut out hearts for the card center. Just make this a unique color as you will want to cut it out of a glitter cardstock to shine through.
Step Three - Design Space Adjusts for the Envelope
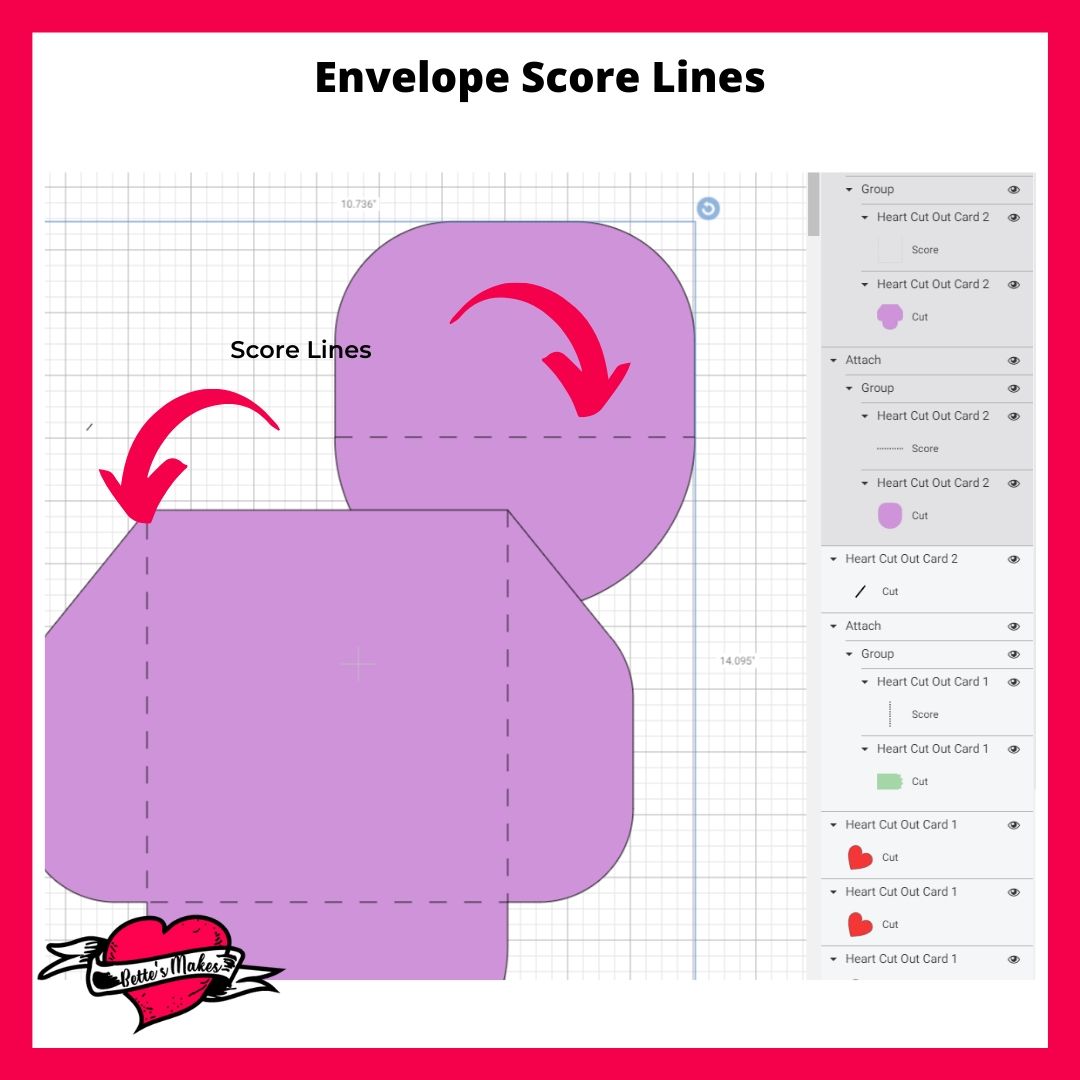
Start with Ungrouping the envelope parts - this envelop is in two pieces, the lid and the body.
Look in the Layers Panel and you will see several lines for the envelope. the top 2 should be the lid.
Change the center line to a Score line. Then select your score line and the rest of the lid (you can do this by selecting the first item then holding down the Shift key and selecting the second item, Group it, then Attach it.
Move the lid out of your way while you start to work on the body of the envelope.
Look in the Layers Panel and you will see other lines that are not visible. This means that the body is on top of the lines and you will want to change this. Click on the body of the envelope then go to the Toolbar and click on Arrange. Choose Send to Back. The lines will now show on the screen.
Select the 3 lines (you should be able to just click on one of the lines and it will select all 3). Change these to Score lines.
Finally, select the body and the score lines then Group and Attach them.
You are now ready to Save your project and Make It.
Step Four - Cutting the Card and Envelope
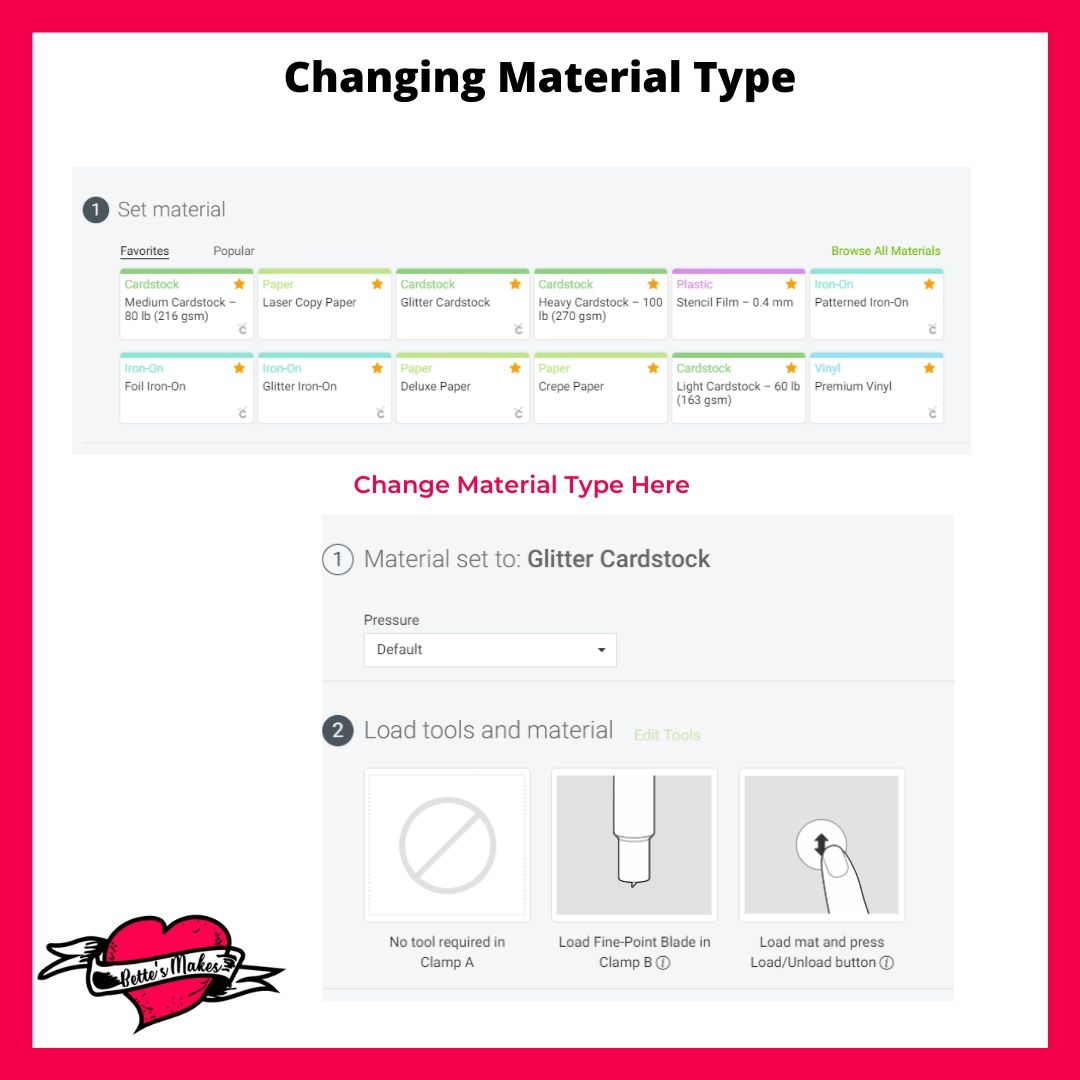
Material selection for this card will be important.
For the card outside, choose a double-sided medium cardstock.
For the inside piece that has the hearts cut out, choose either a medium or lighter card stock in a matching color.
For the rectangle, choose glitter cardstock or something shiny.
For the hearts, use a sticker paper or vinyl in red.
The envelope will be cut in two parts and a lighter cardstock works best for mailing.
When you have selected all your materials, remember that you will need to change the material being cut with each mat.
Step Four - Assembling the Card and Envelope
You should have 4 hearts from sticker paper, the inside of the card, the rectangle, and the outer part of the card all cut and ready.
For the envelope, you will have 2 pieces.
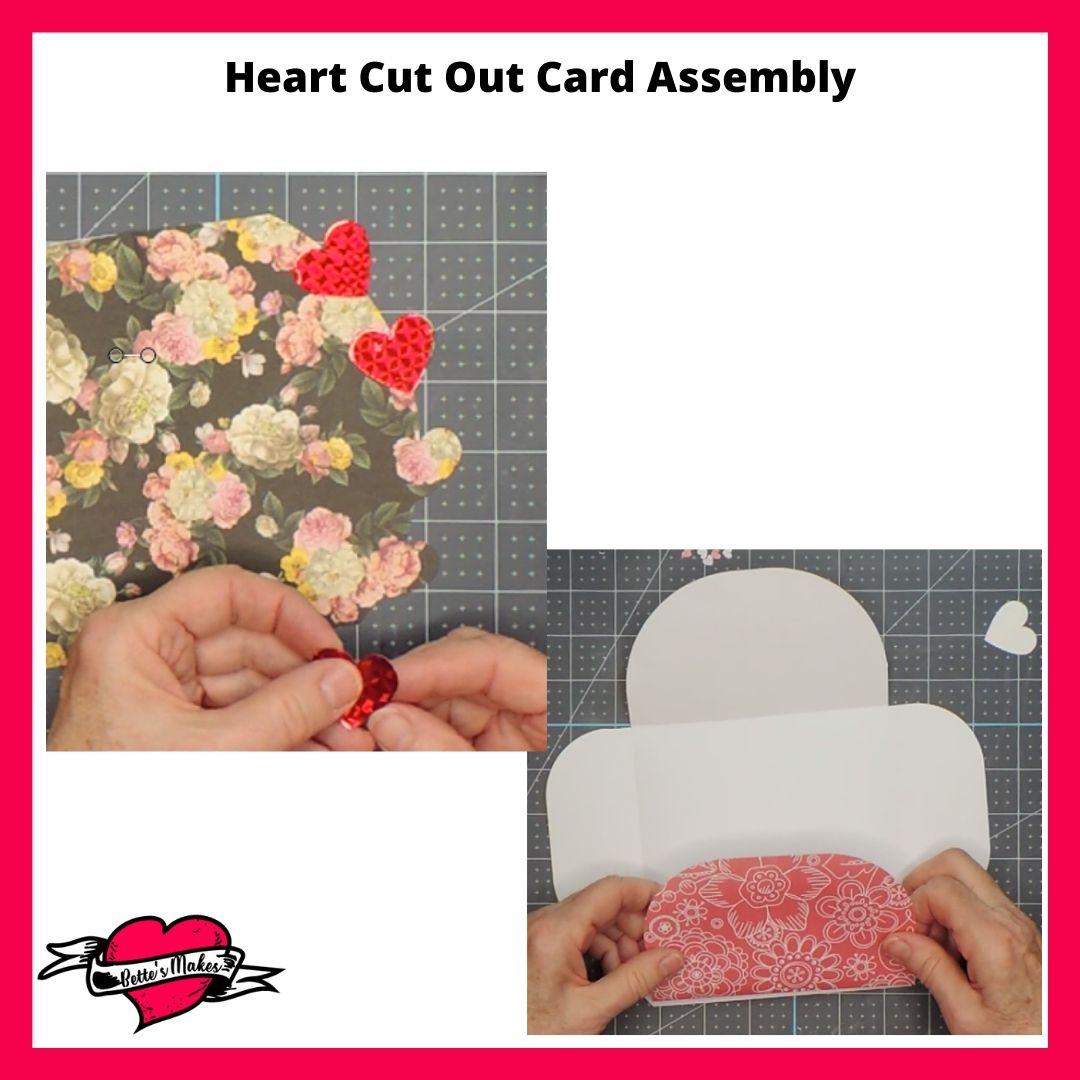
Let's start by placing the stickers on the front of the card. Each sticker should fit into one of the heart shapes of the front of the card. See the diagram.
Fold the card at the score line.
Next, Glue the rectangle to the backside of the card inner piece so that the shine shows through the heart cut outs.
Glue the inner part of the card to the inside.
For the envelope, you will be folding all the score lines to the inside for both the body and the lid.
Glue the shorter piece of the lid to the top of the body on the inside.
More Craft Ideas from BettesMakes
Here are some amazing crafts you can make from BettesMakes.com
This is just a sampling of the dozens of crafts you can find on my website.
How to Make a Cute Handmade Pleated Birthday Card
How to a Cute DIY Birthday Card Video
Last Word
This is the prefect card for beginners to make. It has enough detail to keep it interesting, and yet it is simple enough that beginners do not get frustrated. I have used this card for many of the birthdays in my family this year as it has the hearts that show how much I love them.
I hope you enjoyed this project as much as I did.
If you made a card, please share it on our Facebook group. https://Facebook.com/groups/BettesMakes
Until next time...
Happy Crafting!


Please join me on Pinterest: https://Pinterest.ca/BetteMakerCreations
Join my Facebook group: https://facebook.com/BettesMakes
Follow me on Instagram: https://Instagram.com/BettesMakes
Subscribe to my YouTube Channel: https://www.youtube.com/c/BettesMakes


 DIY Home Decor DIY Craft Tutorials, DIY Paper Flowers