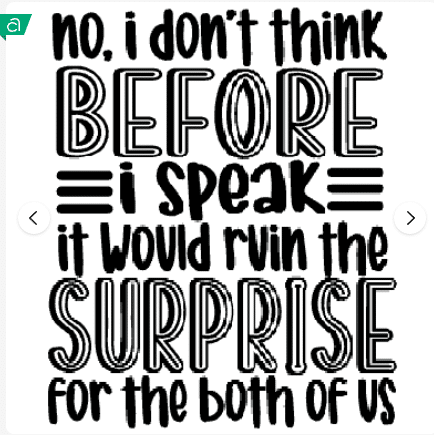
The Ultimate Guide to Finding, Customizing, and Perfecting Phrases in Cricut Design Space
When crafting with your Cricut machine, adding phrases to your designs can take your projects to the next level. However, coming up with the perfect phrase can be a challenge. Fortunately, Cricut Design Space offers a collection of pre-made phrases that you can customize to suit your needs. In this guide, we’ll walk you through how to find, edit, and personalize phrases in Cricut Design Space.
Step-by-Step Guide: Working with Phrases
Step 1: Accessing Phrases in Cricut Design Space
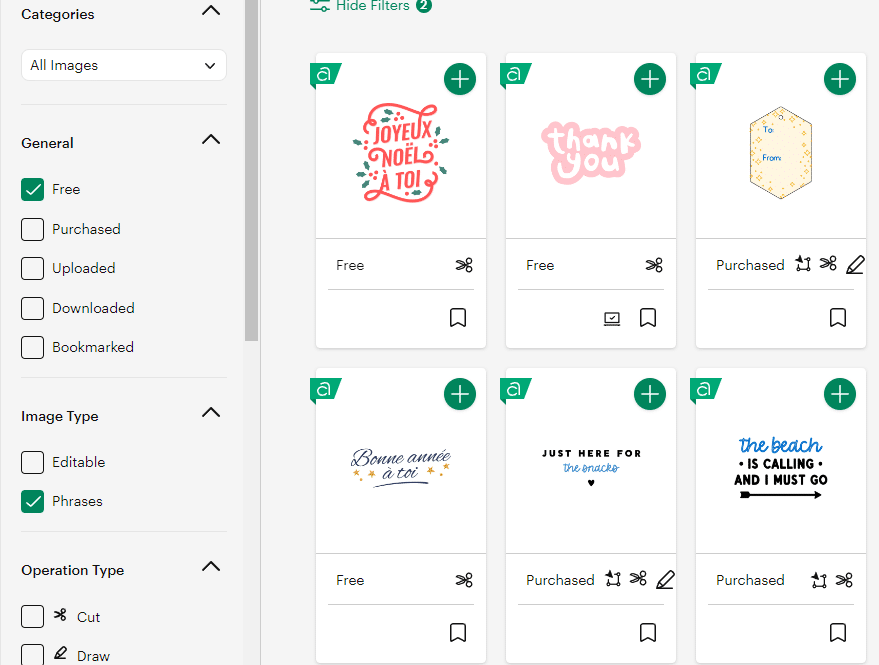
Open Cricut Design Space and navigate to the Advanced Search feature.
- Select Phrases from the available categories.
- Browse the vast collection of phrases available. Some are included with a Cricut Access membership, while others may require purchase.
- If you don’t have Cricut Access, click on the Free filter to view only the available free phrases.
Step 2: Choosing and Adding a Phrase to Your Canvas
- Scroll through the available phrases and select one that fits your project.
- Click Add to Canvas to place the phrase into your design workspace.
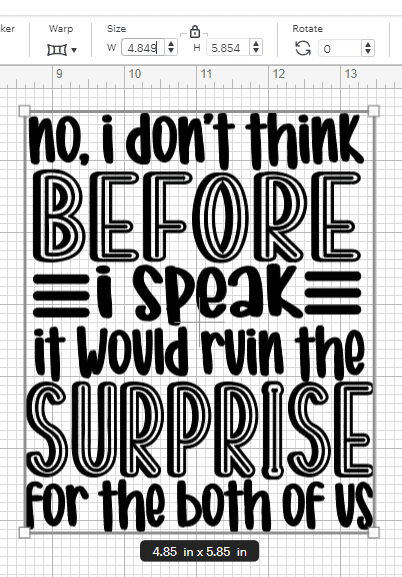
- Resize the phrase if necessary by adjusting the height and width.
Tip: If the phrase appears too large for your screen, adjust it to fit within your viewable area.
Step 3: Matching Fonts to Your Phrase
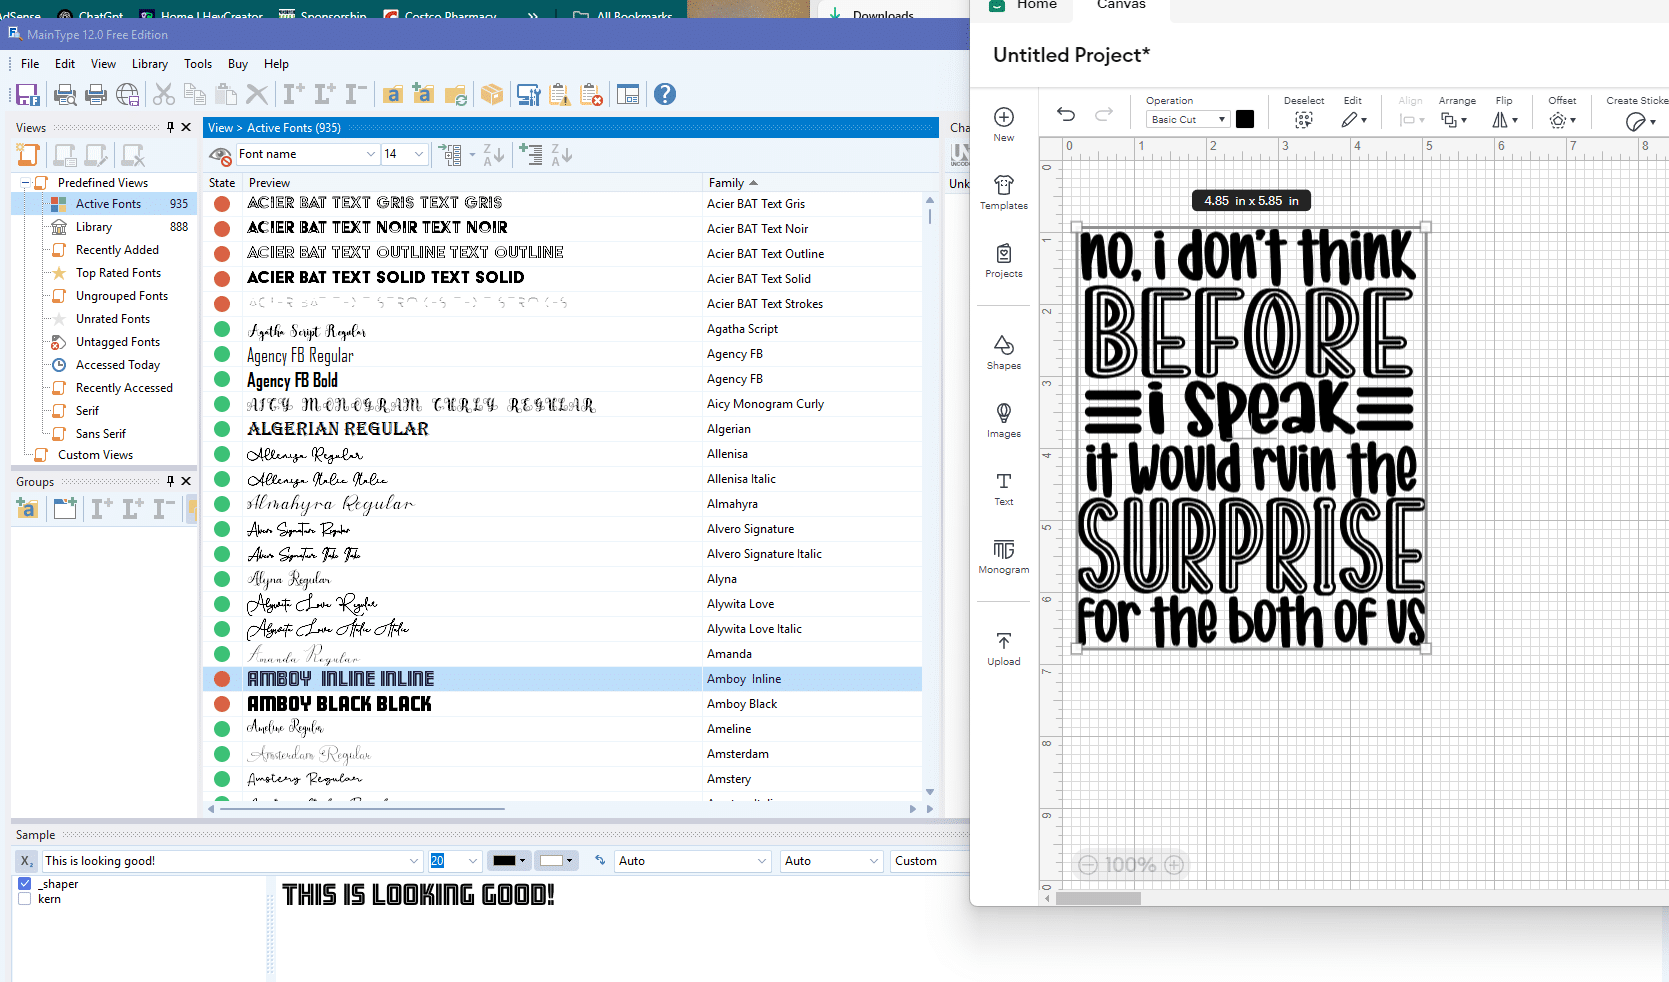
- Observe the fonts used in the selected phrase. While you may not know the exact font, you can find a close match.
- Click on the Text tool and type out a word you want to match.
- Browse through your system’s fonts or use Word Market or MainType to find a similar font.
- Select a font with decorative elements, swirls, or a style that complements your phrase.
Step 4: Customizing Phrases with the Contour Tool
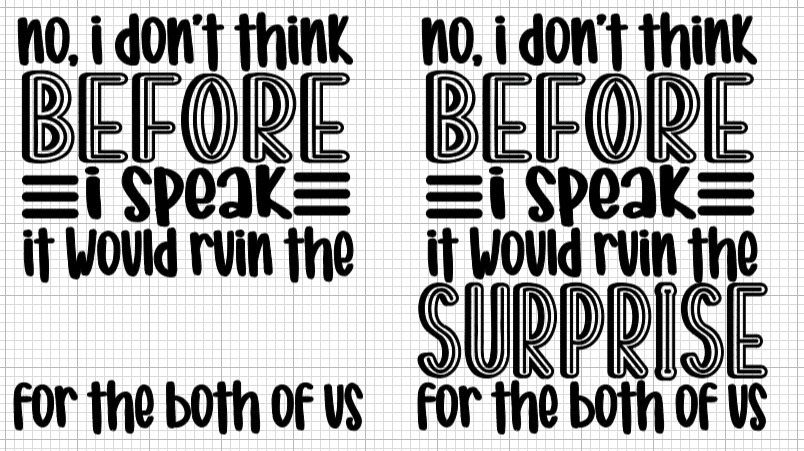
The Contour Tool allows you to separate or remove parts of a phrase to customize it further.
- Select your phrase and click on the Contour button.
- Click on any elements you want to remove. For example:
- If a phrase contains unwanted words, click on them to hide them.
- If you want to isolate a specific word, hide the other parts of the phrase.
- Once you’ve removed unnecessary elements, click Close to apply the changes.
- Move and adjust the phrase to fit your project’s design.
Step 5: Creating a Custom Word or Border
If you want to create your own design using parts of a phrase, follow these steps:
- Duplicate the phrase so you have an original copy before making changes.
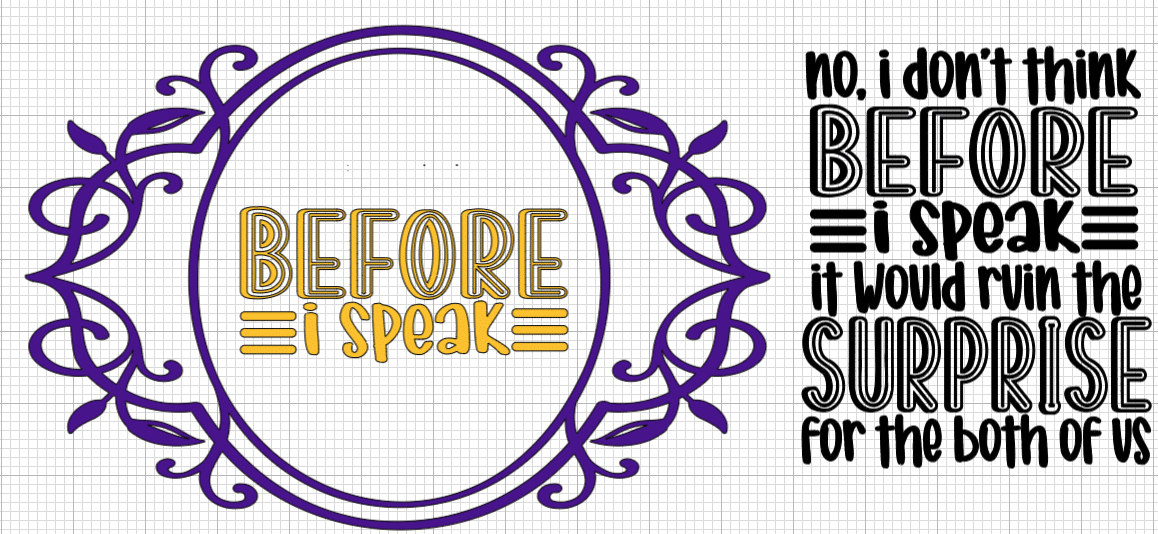
- Use the Contour Tool again to isolate different words or design elements.
- Experiment with adding a border or decorative elements around the text:
- Hide everything except the main word you want to keep.
- Adjust the placement and size to create a balanced design.
- Add additional embellishments like pumpkins, leaves, or flourishes.
Step 6: Experiment and Personalize Your Designs
- Now that you have customized your phrase, try the following:
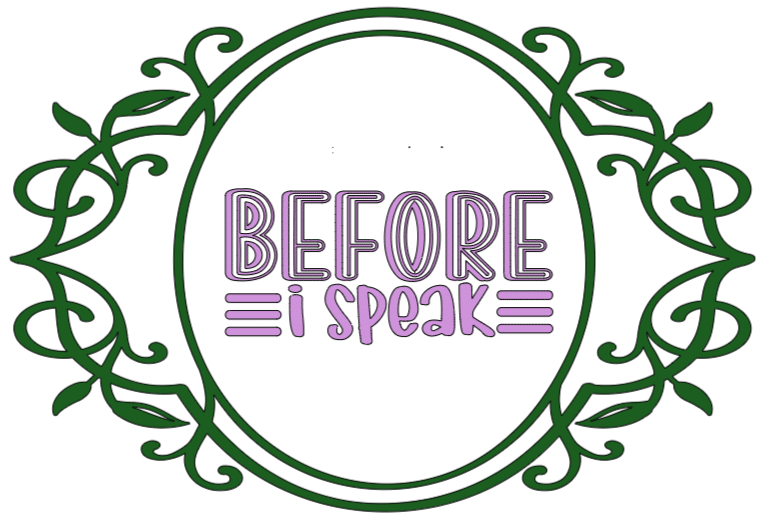
- Change the font color to match your project’s theme.
- Add additional text to complement the phrase.
- Layer different elements for a unique effect.
- Combine multiple phrases to create a larger composition.
Final Thoughts
Working with phrases in Cricut Design Space gives you endless opportunities to personalize your crafts. Play around with fonts, contours, and embellishments to make your projects truly stand out.
Have fun crafting with phrases, and let your creativity shine!
You can grab an Access membership at anytime to use this feature.

 DIY Home Decor DIY Craft Tutorials, DIY Paper Flowers
1 Response to "Master Cricut Phrases Like a Pro: Unlock Stunning Designs!"
Excellent tutorial Thank you
Sue