
Making Your Own Fonts
When it comes to choosing a font for a project, it is sometimes very difficult or expensive to get just the right one. There are tons of free fonts around and using these is a good start. Owning a font or creating your own font is much better. If you decide to create your own, then you will certainly stand out from the crowd. DIY Fonts are fun and easy to do.
At first, I was skeptical about making a font as I felt it would entail too much work or detail. Although it did take time to perfect the result, it has been well worth it. My daughter created one for her Felting Panda line of felting kits and has used it on her packaging and titles. See below:
Carina used a printed font for this part of her font creation project and it fits in with her hand-designed logo (made by my granddaughter Thalia Grace, whose work can be seen on Deviant Art).
Tools to Create Your Own Font
You will need a template sheet to write your own font and upload that to a site for rendering. I have used this process without any issues. For the downloadable template to add your own font go to our resource library to get it. Be sure to print several copies as you will need some practice.
Here is a great place for you to get ideas and resources: https://www.websiteplanet.com/blog/best-free-fonts/
How to Produce Your Font
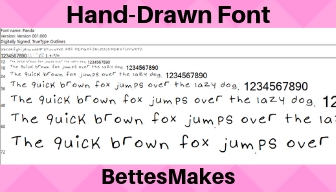
I recommend that you use your own handwriting or printing to make your first font. For those who use calligraphy, you will have a head start on perfecting your font images. Here is an example of a sheet I filled out as my first attempt at making my own font:
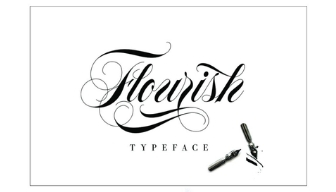
Another item to think about is glyphs (pictographs). Some fonts have additional glyphs such as swirls at the end of letters or flairs on the top. These are additional letters added to the font and can be used when you need an extra flourish. I find these extremely helpful when I am designing a new set of words for cards, posters, t-shirts, or other craft.
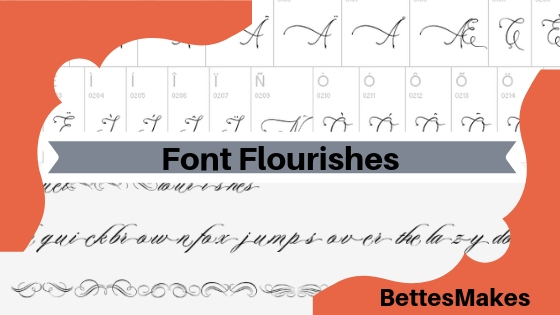
In order to create those glyphs, just add them to your worksheet – for the website, you can download an additional worksheet to add your glyphs. Here is an example of what glyphs could look like for your font.
Rendering Your Font
Are you ready to have your font created? Make sure you use the template in the resource library so you will be ready to go.
You will need to scan in your worksheet and save it as a pdf file in order to have it ready for uploading.
Upload your file to this site Calligraphr.com
How to Use Your Font
Your font is now ready to install as any other font would be.
Try adding some flourish to your Canva creation, upload it to your own system and use it with Illustrator, Photoshop, and your productivity software such as Microsoft 365.
Once you start using your font you may find you want to make some changes. All you need to do is fill out a new template sheet correcting and adding what you want to see.
Resources
- Draw Your Own Fonts: 30 alphabets to scribble, sketch, and make your own!
- Graffiti Alphabets: Street Fonts from Around the World
- Just My Type: A Book About Fonts
- These books will also give you additional tips and tricks when it comes to making your own font.
Last Word
Did you know that you can also sell the fonts your create? There are several sites that will buy good fonts. I am not ready for that step yet as I still need to perfect my own fonts first. Is this something you would like to try?
Remember you can make all your crafts even more personal when you create your own fonts!
Do share your results by leaving a comment here or on Facebook.
Until tomorrow…
Bette
PS the password for the resource library is love
 DIY Home Decor DIY Craft Tutorials, DIY Paper Flowers