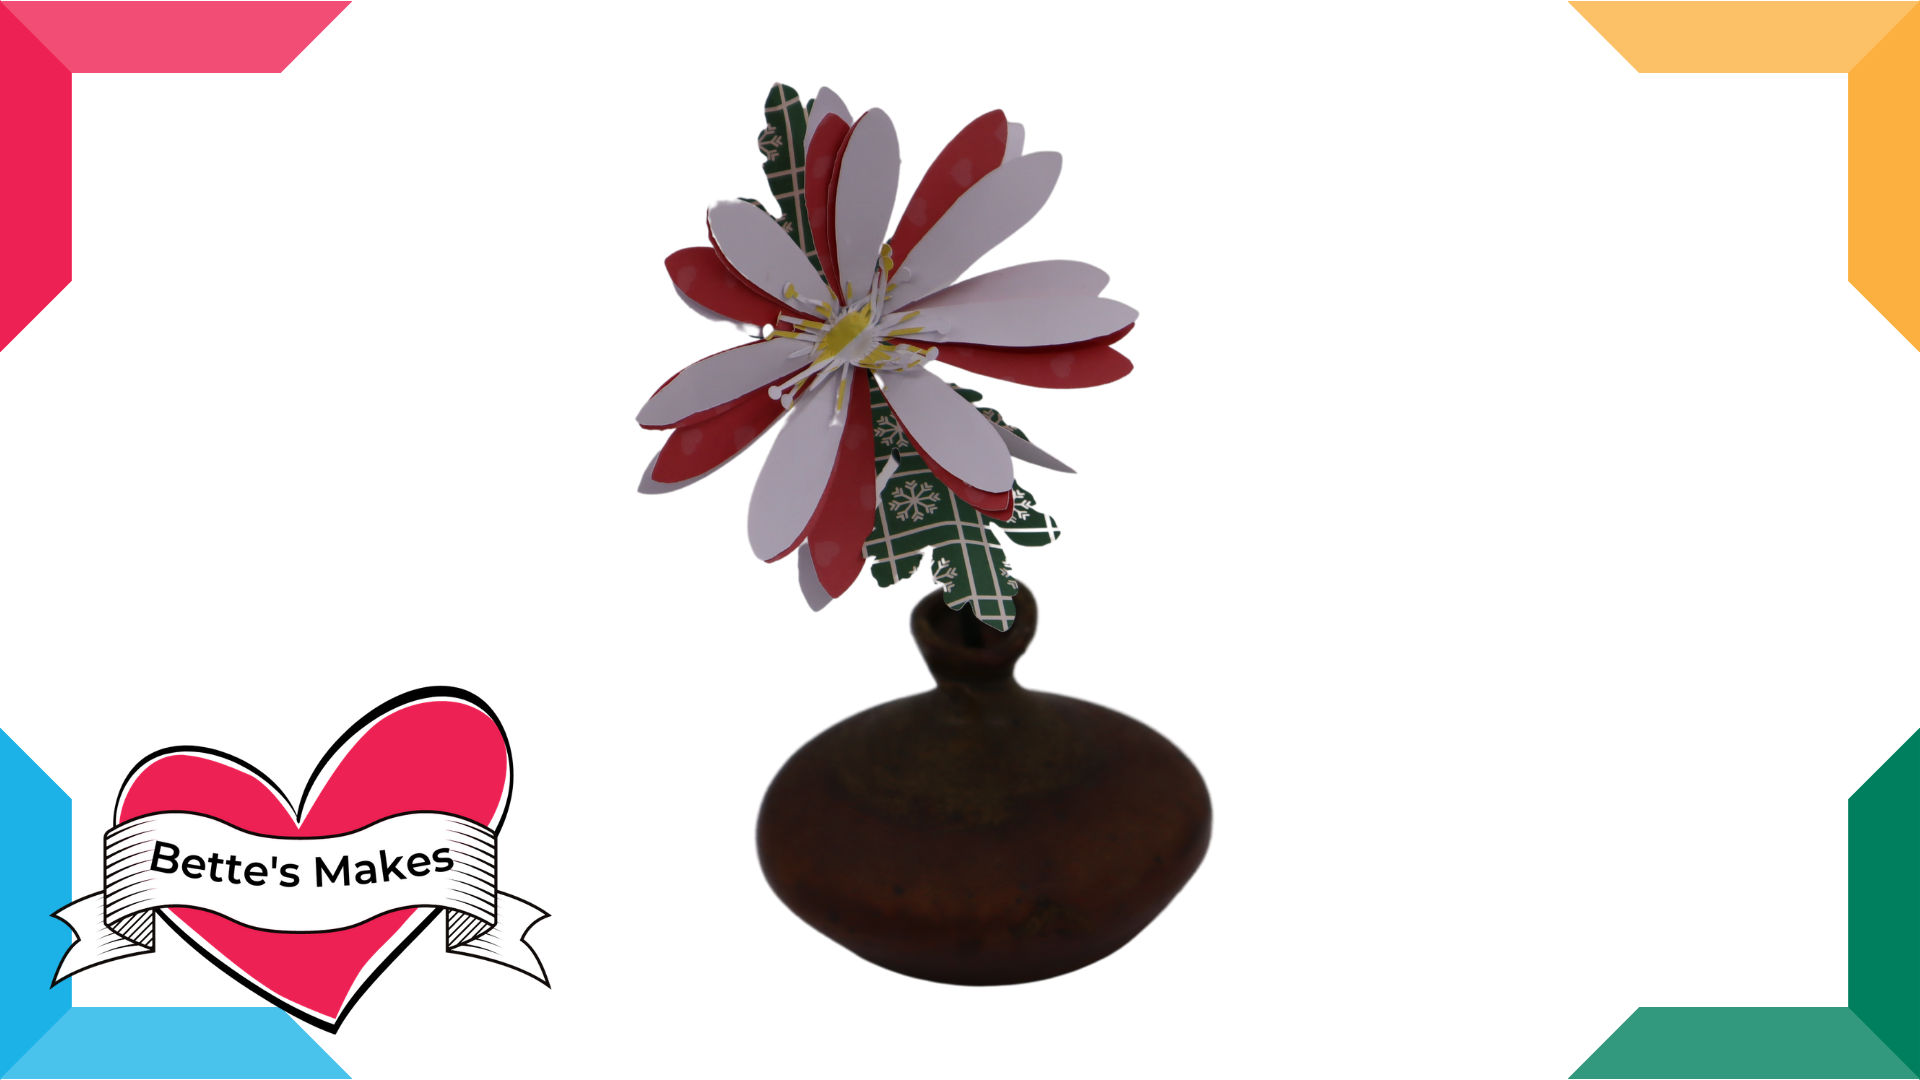
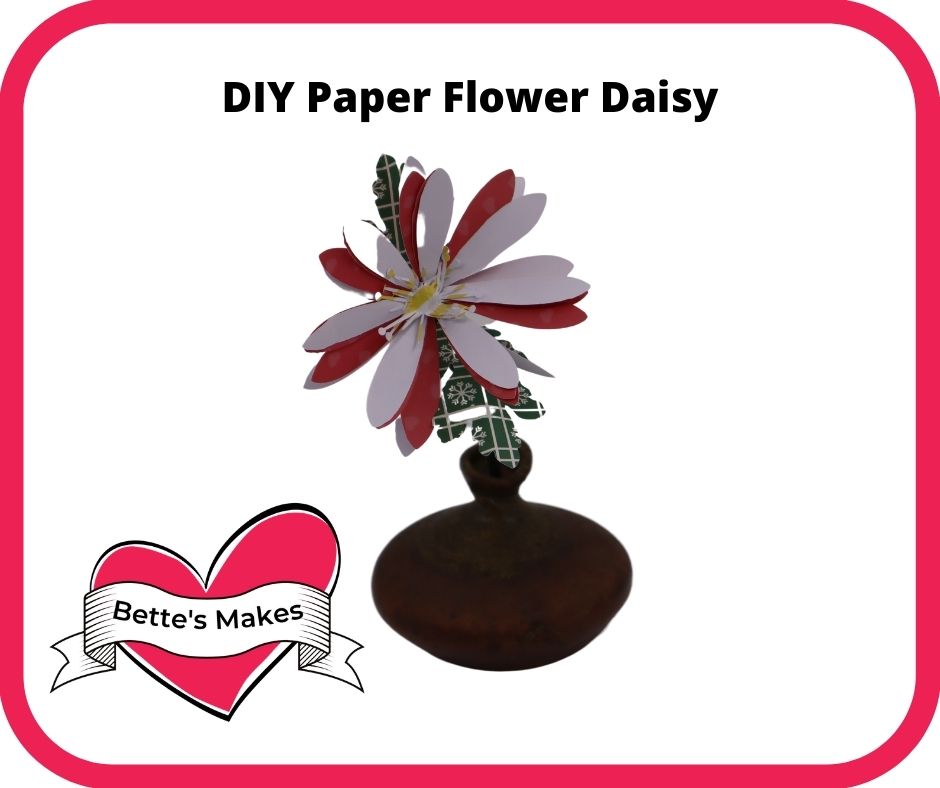
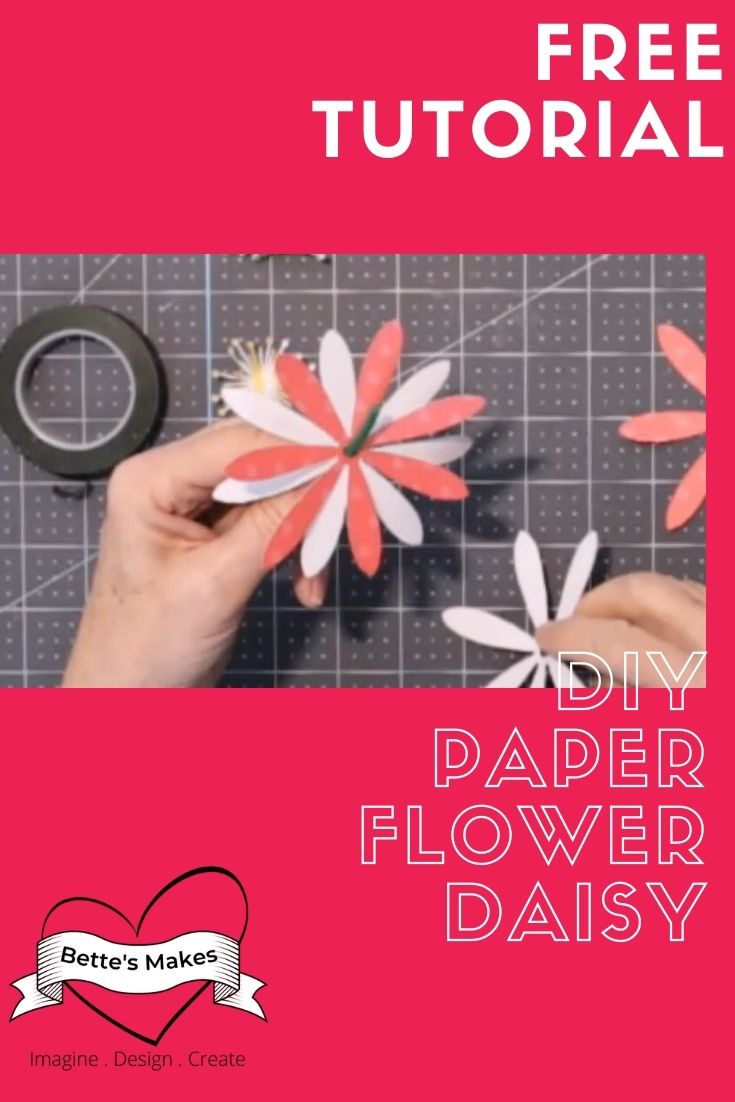
Making a paper daisy is so easy when you use your Cricut.
Do you love making paper flowers? I know I do and I also like to make a variety of them to add to my vase of handmade paper flowers. I have made many different types but this daisy template I created is so easy to make. You can make this one with a stem or without. In this tutorial, I used a stem. You can get the template for this free paper daisy template in my resource library (Asset#332).
Are you ready to start making this cute little paper daisy?
You will also find the template already to go in my resource library (asset #332)
Here’s what you need to make your DIY Paper Flower Daisy. This post does contain some affiliate links for your convenience (which means if you make a purchase after clicking a link I will earn a small commission but it won’t cost you a penny more)! Read my full disclosure policy.
Quick Links to Information in this Post
DIY Paper Flower Daisy Materials List
Cardstock or any other paper - 2 different colors (use a plain color for the leaves)
Glue (liquid, double-sided tape or foam pads)
Dowel or any other material for the stem
Floral Tape
Scissors
Asset #332 from my resource library
Daisy Step-by-Step Guide
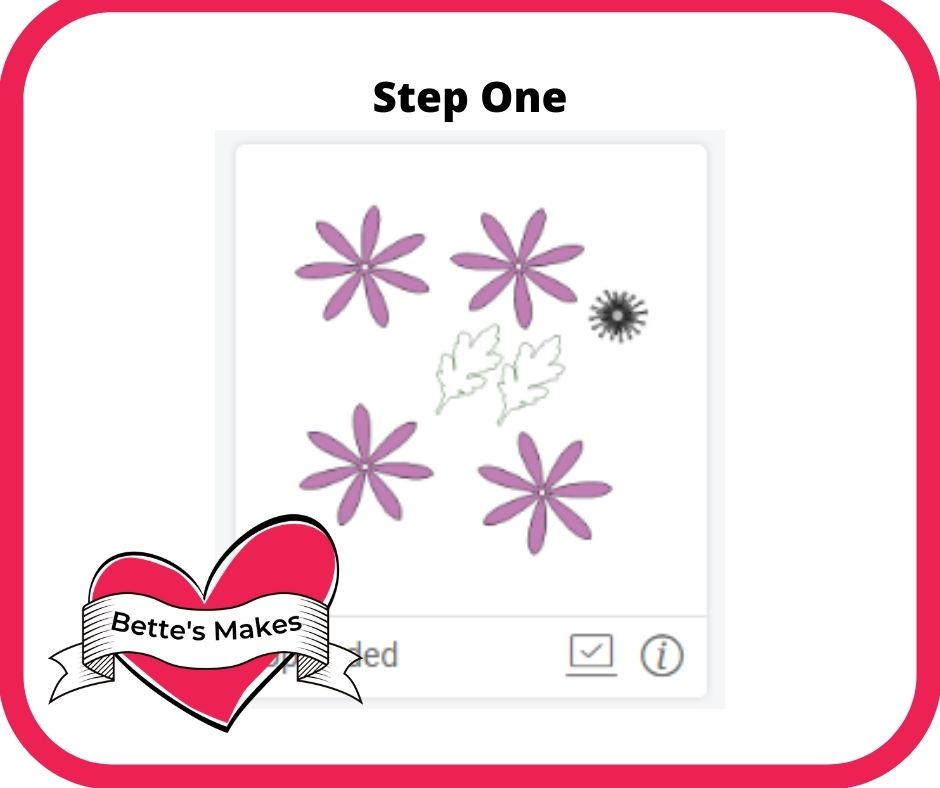
Step One - Download the Template
To start you will want to download the template (asset #332) from my resource library.
Unzip the file and upload the SVG file only to Cricut Design Space
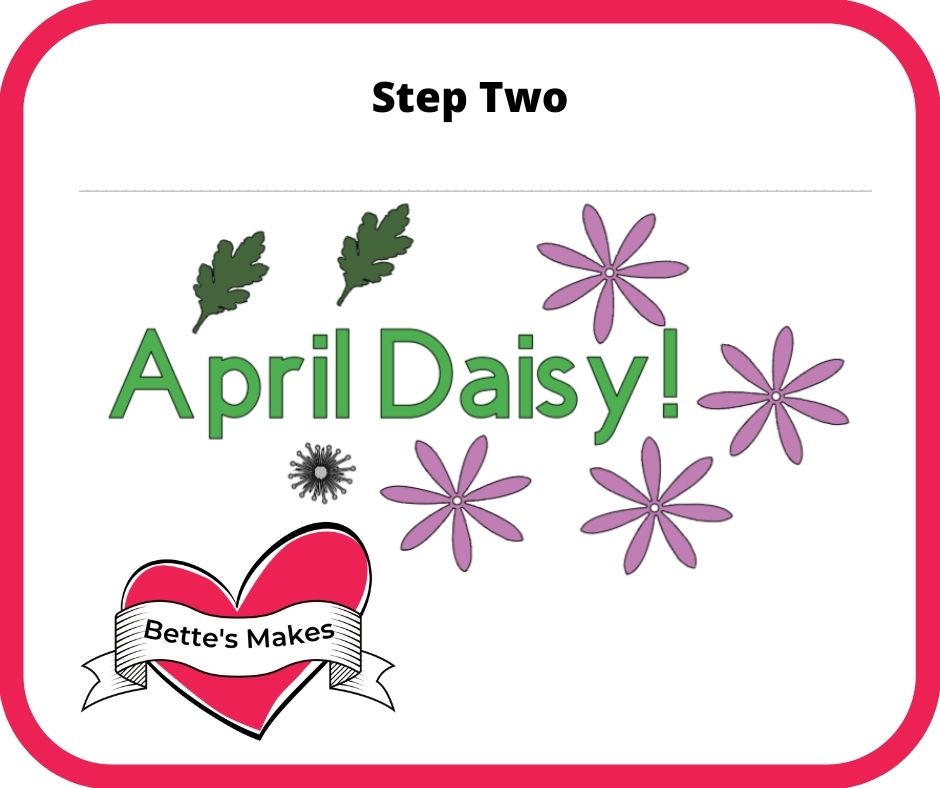
Step Two - Design Space Adjustments
Other than sizing your daisy parts, there are actually no changes that you need to make. This project is set for a small DIY paper daisy but you can enlarge them to any size you wish.
Go ahead and click on Make It and then select the material you are going to use.
Follow the directions for doing your cut.
Step Three - Assembling Your Daisy
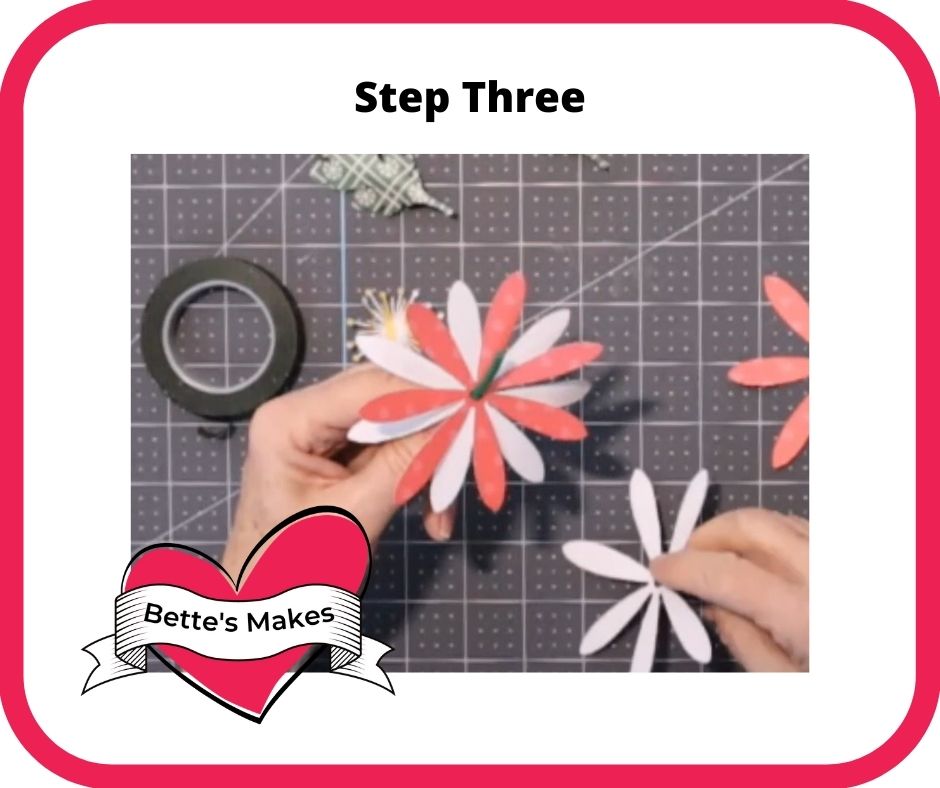
Glue the petals in place but just around the center. This way your petals will stay in place when you add the stem.
Insert the stem through the center hole and use your floral tape to secure the petals in place.
Glue the stamens in place in the center - you can glue these to the top of your stem.
Using the floral tape, work the tape around the stem and add in the leaves.
The Final Product - The Finishing Touches
Time to share your final make in a vase of as a bouquet.
Share your project in our Facebook group. https://Facebook.com/groups/BettesMakes
More Craft Ideas from BettesMakes
Here are some amazing crafts you can make from BettesMakes.com
This is just a sampling of the dozens of crafts you can find on my website.
Last Word
Paper flowers can be so real and yet so artistic at the same time. There is nothing like flowers made from crepe or tissue paper! This daisy is so easy to make and the stem you use will make a difference in how bendable your make will be. You can use any type of paper for this daisy!
I look forward to seeing what you will make.
Please join our Facebook group - https://Facebook.com/groups/BettesMakes and share what you have done plus join in the fun.
I hope you enjoyed this project as much as I did.
If you made a Daisy, please share it on our Facebook group. https://Facebook.com/groups/BettesMakes
Until next time,
Happy Crafting!
Please join me on Pinterest: https://Pinterest.ca/BetteMakerCreations
Join my Facebook group: https://facebook.com/BettesMakes
Follow me on Instagram: https://Instagram.com/BettesMakes
Subscribe to my YouTube Channel: https://www.youtube.com/c/BettesMakes



 DIY Home Decor DIY Craft Tutorials, DIY Paper Flowers
2 replies to "DIY Paper Flowers – Daisy"
Hello Bette.
Concerning your giveaway, you are asking us to comment on your blog, but I cannot find where , even with the link on the email you sended us… Is it HERE we have to comment? I have tried to find projects I could do a comment, but all I choosed where unavailable for comments…
This is a wonderful tutorial as always! Thank you for all you do for us!