Easter Egg Card Idea Anyone Can Make
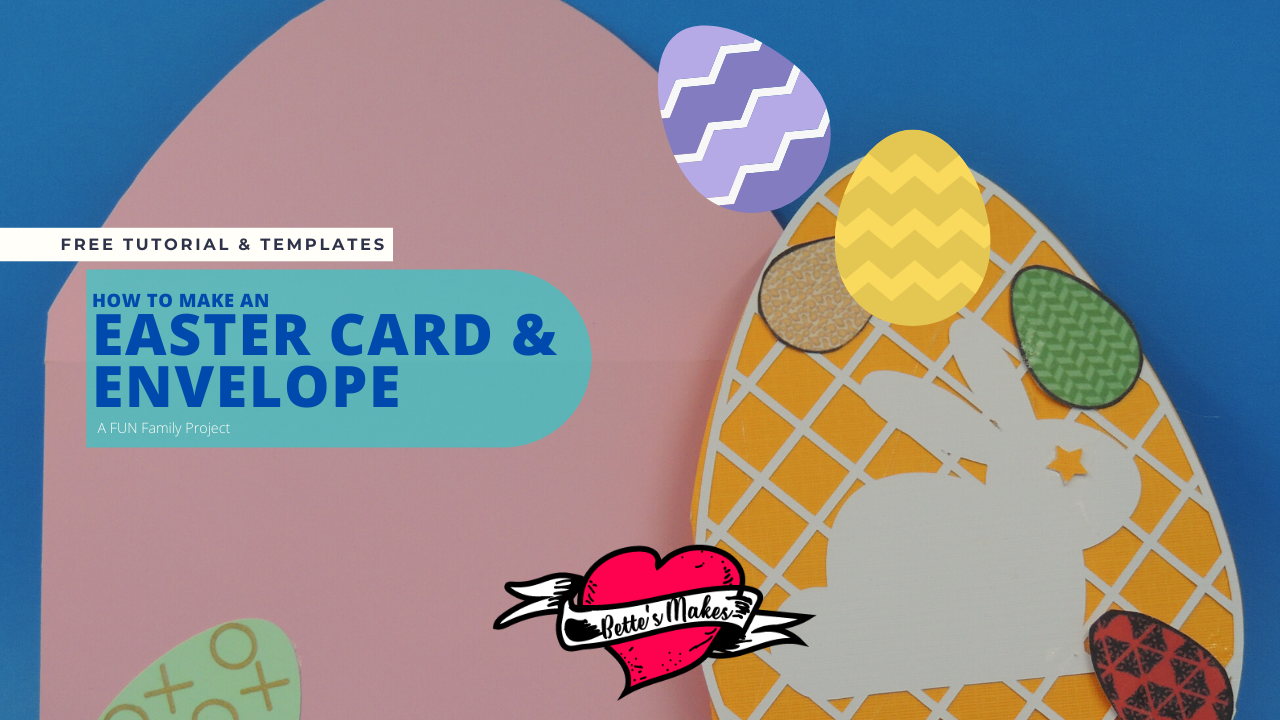
Are you ready for Easter? Have you thought about how you can transform your house into a magical experience even when you cannot get outside for that all so much fun Easter egg hunt? Did you know that your Easter egg hunt does not have to involve buying candy? This project was designed so you could give cards to each other and use some of the assets in the project for your egg hunt at home. This is an easy make where your entire family can get involved and make some super cute cards and also to make those great eggs for hiding!
Quick Links to Information in this Post
Here’s what you need to make your Easter Card and Envelope. This post does contain some affiliate links for your convenience (which means if you make a purchase after clicking a link I will earn a small commission but it won’t cost you a penny more)! Read my full disclosure policy.
Egg Card and Envelope Materials
Egg Card and Envelope Step-by-Step Guide
Prepare Your Cuts
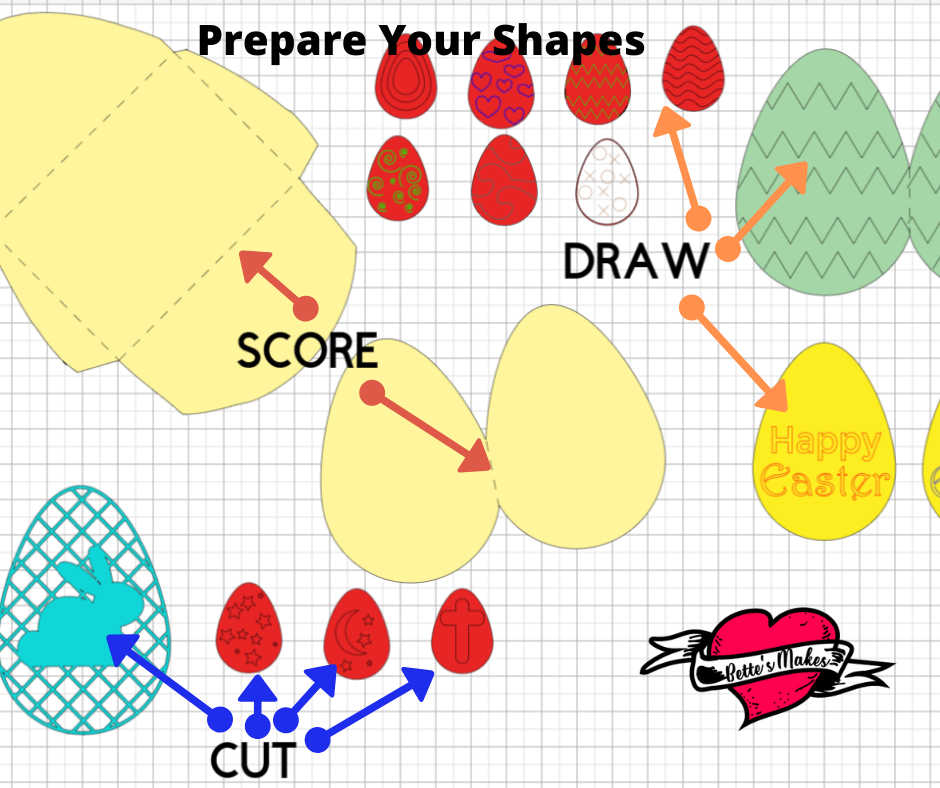
As with any SVG file when you bring it into Design Space or other application, you need to make adjustments to the color and what happens with each line in the artwork. Here are the adjustments you need to make for this project:
SCORE LINES
Set up score lines as shown in the diagram - one for each card, and four lines for the envelope.
DRAW LINES
Each of the inner designs on the small eggs will need to be set to DRAW along with the Wording.
CUT LINES
The outside of each shape will be set to cut along with the inside of 3 of the egg shapes as shown. The trellis with rabbit should also be set to cut.
Assemble Your Card
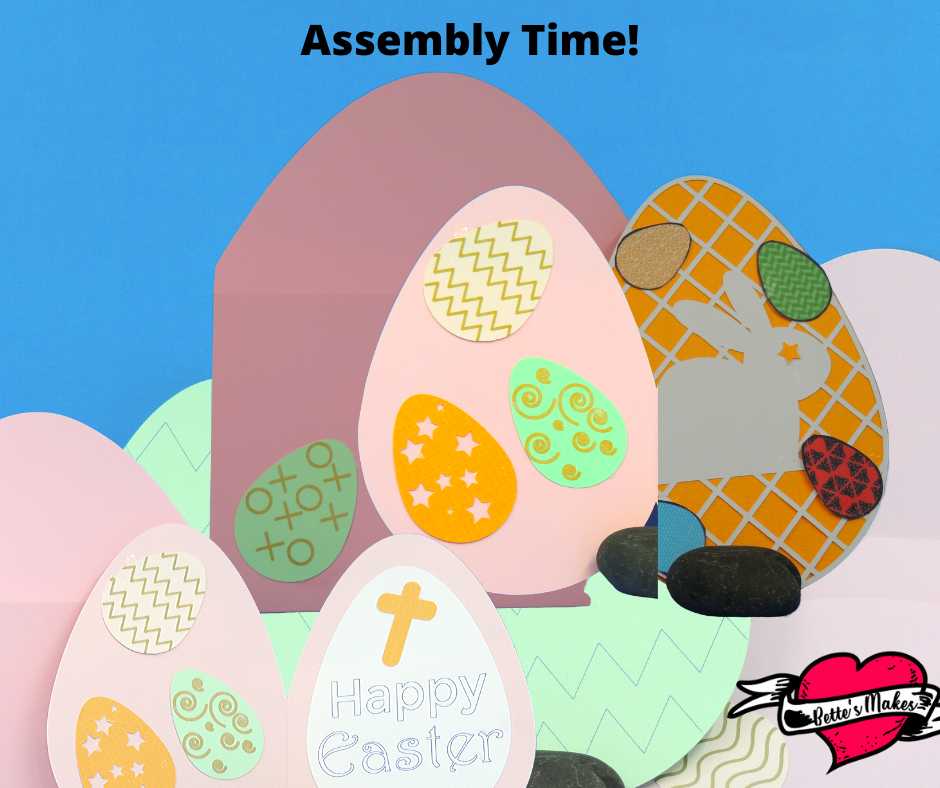
Now for the fun part! There is not a lot of gluing but there is enough for you to have these cards personalized with your own touch.
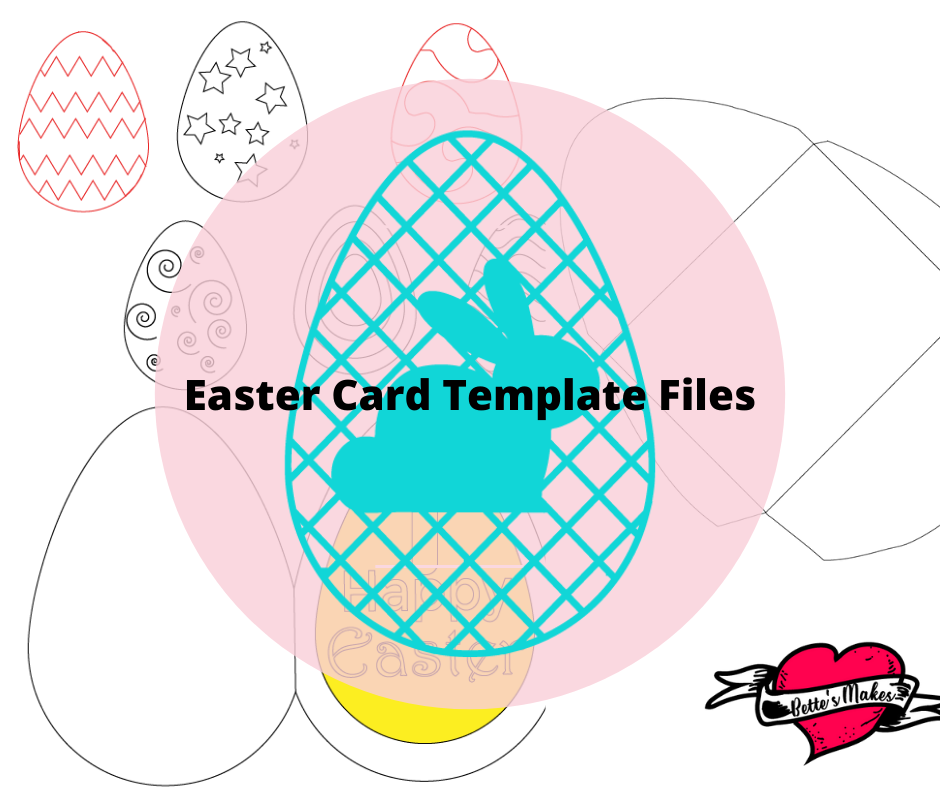
For the large card, glue the trellis design to the front and glue the greeting on the inside. You can also embellish the inside with more egg designs.
If you are using the egg card with the zig-zag lines, paint or color the strips before you add a greeting on the inside.
To assemble the envelope, fold the sides in toward the center (you will apply the glue to these later), and then fold up the bottom.
Open the bottom, then apply the glue to the sides, then fold the bottom back up. Hold in place until the envelope is glued securely.
All is now ready!
The Final Touches
For this step you may want to add some of the egg designs to the outside of the envelope. There are plenty of eggs to go around so that you can color them yourself or use them as is. You may want to consider adding some silver or gold paper behind the eggs with cut out designs to give your eggs and elegant look.
Experiment with how you want your card and envelope to look.
One last thing, you can use the left=over eggs as part of your Easter egg hunt on Easter Sunday!
All About Easter Reading Ideas
There are so many other things you can do for Easter, more than what I can present you with in this tutorial. There are puzzles, making stuffed animals, and even making candy! For me, it is always reading and getting more ideas.
I found these books you may want to read to add to your crafting library!
The Try Not To Laugh Challenge - you are going to love this family game!
The Great Big Easter Coloring Book - certainly lots of entertainment here
How to Draw 101 Animals - I love this book, it is a great idea book for art
There are many more books you can purchase at Amazon. I do hope you have a chance to check some of the above books out.
How to Make an Egg Card and Envelope Video
Last Word
Easter is a time of year where Spring is in full swing and we feel the need to celebrate. Although 2020 is offering some restrictions on how we join to together, this easy project will help your family work together making crafts! These Easter cards , once cut, can be decorated in a number of ways - the choice is yours. Adding coloring pencils, watercolor, or even Washi tape makes each card so very unique.
The method you use to cut out the shapes can be with a cutting machine, or you can use your scissors. Although I love using scissors, I do prefer my Cricut for cutting out the basic shapes. As for the adding color, that is where you can combine your artistic talent with your crafting skills.
I truly hope you and your family have fun with this project.
If you made a card, please share it on our Facebook group. https://Facebook.com/groups/BettesMakes
Until next time,
Happy Crafting!


For the Love of Crafting
Please join me on Pinterest: https://Pinterest.ca/BetteMakerCreations
Join my Facebook group: https://facebook.com/BettesMakes
Follow me on Instagram: https://Instagram.com/BettesMakes
Subscribe to my YouTube Channel: https://www.youtube.com/c/BettesMakes
 DIY Home Decor DIY Craft Tutorials, DIY Paper Flowers