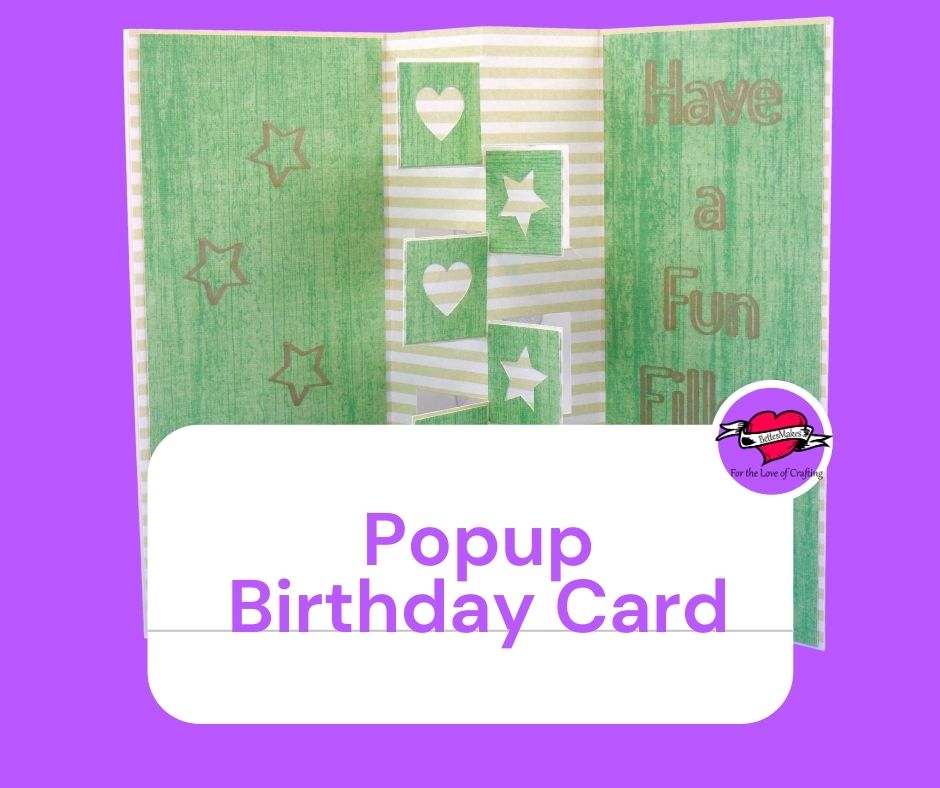
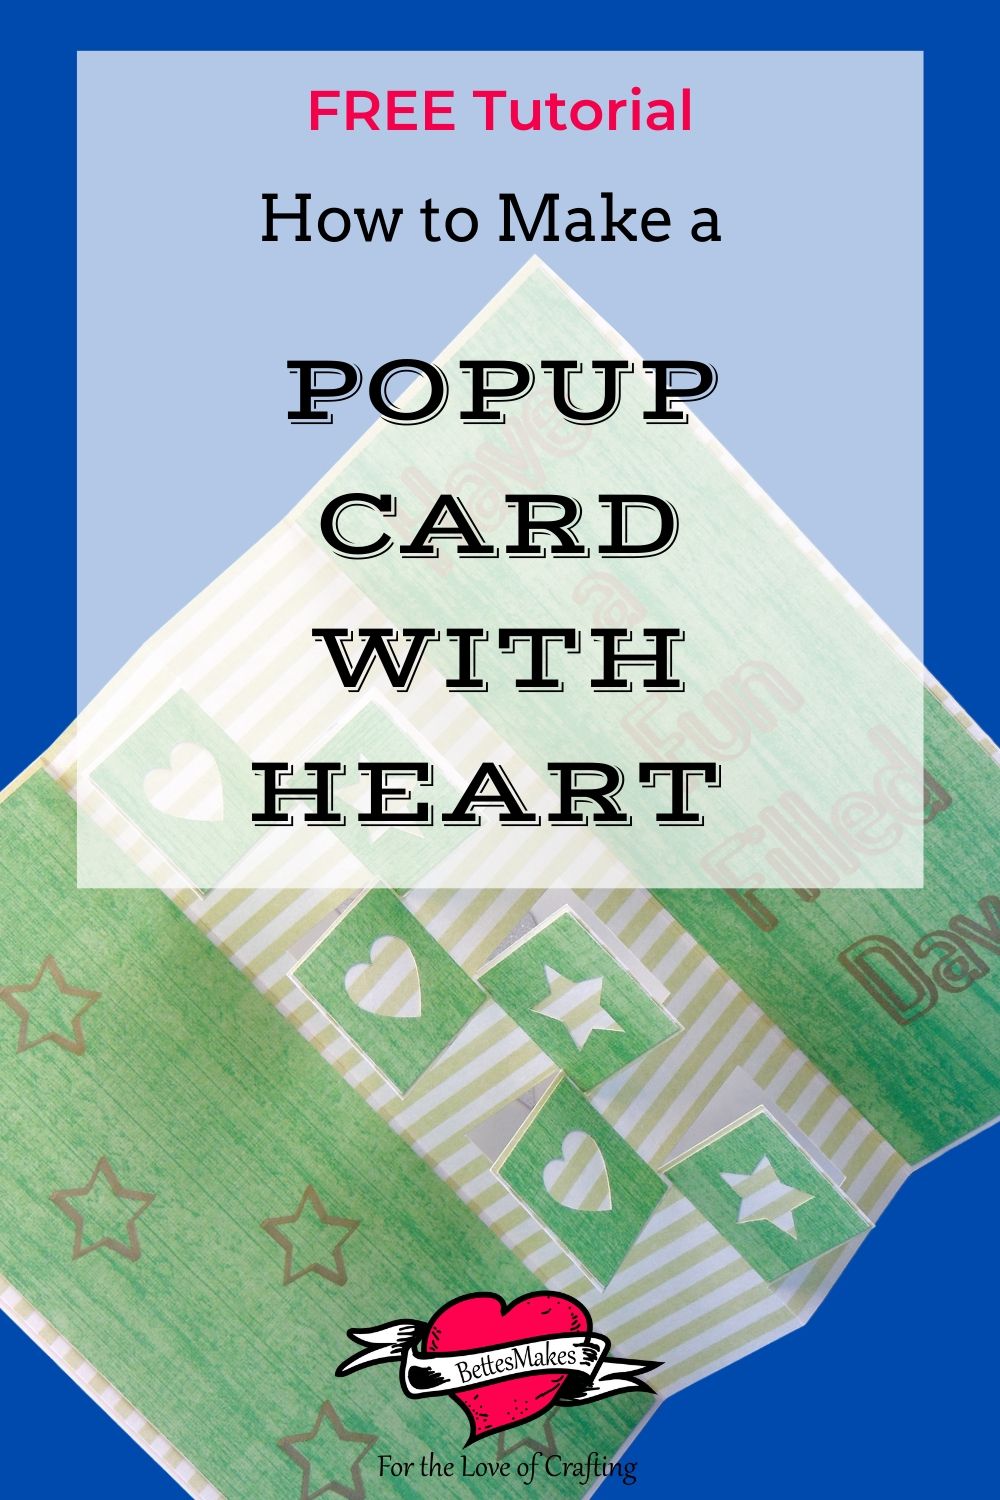
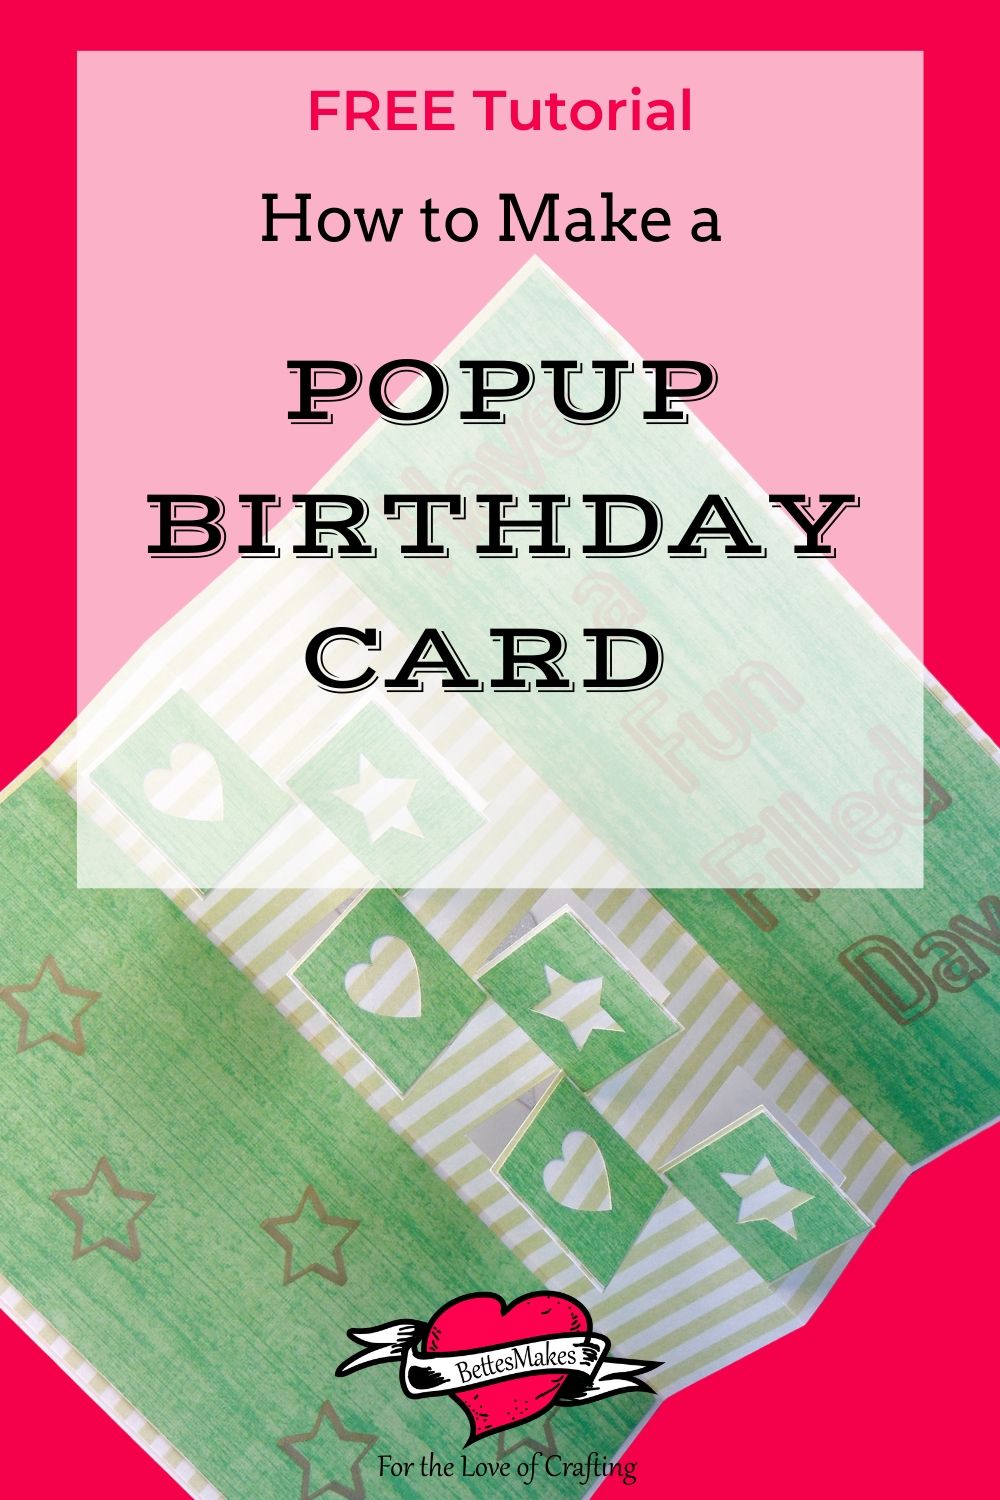
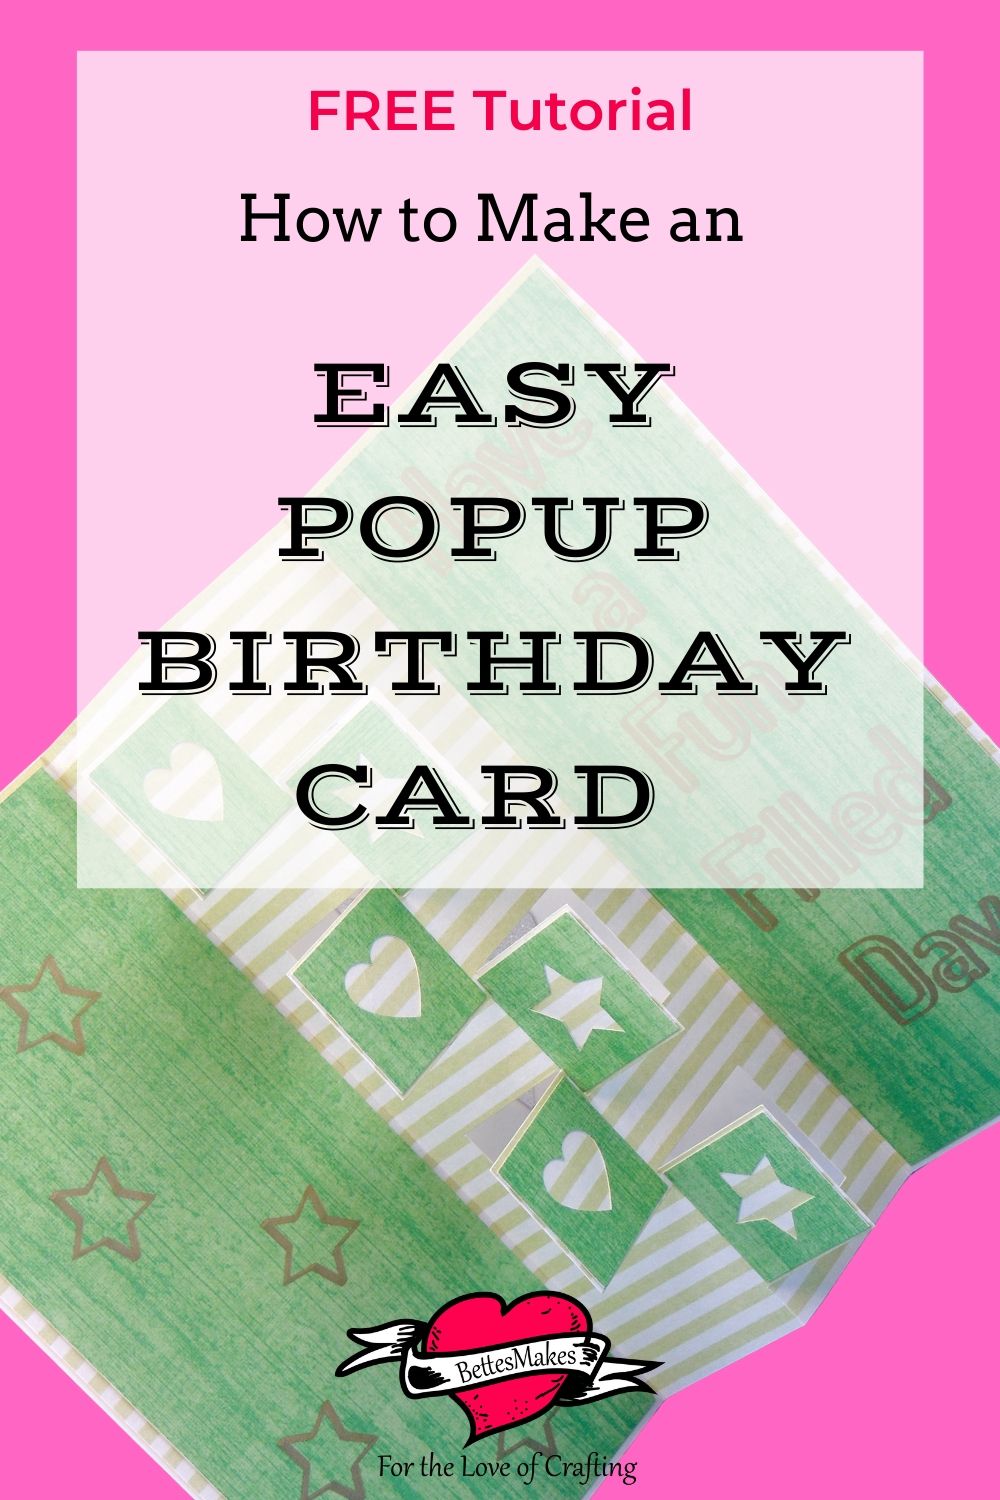
Do you want to make a cute popup birthday card?
Are you concerned that it is too difficult?
Look no further, this easy to make greeting card idea is perfect for beginners!
The Popup Birthday Card with Heart!
Creating popup cards is certainly a lot of fun and a lot of frustration at the same time. This is especially true when you are designing the popup from scratch. Today I have been messing around with a simple yet complex popup set of cuts.
I started making popups over a year ago and found that they can be very easy as long as you have a good understanding how they work.
In this article, I will show how to make the perfect cuts plus other details to make this process so simple you will be amazed!
Here’s what you need to make get started designing your own popup cards. This post does contain some affiliate links for your convenience (which means if you make a purchase after clicking a link I will earn a small commission but it won’t cost you a penny more)! Read my full disclosure policy.
Quick Links to Information in this Post
Designing Popup Cards Materials
Designing a Popup Step-by-Step Guide
Step Two - Design Space
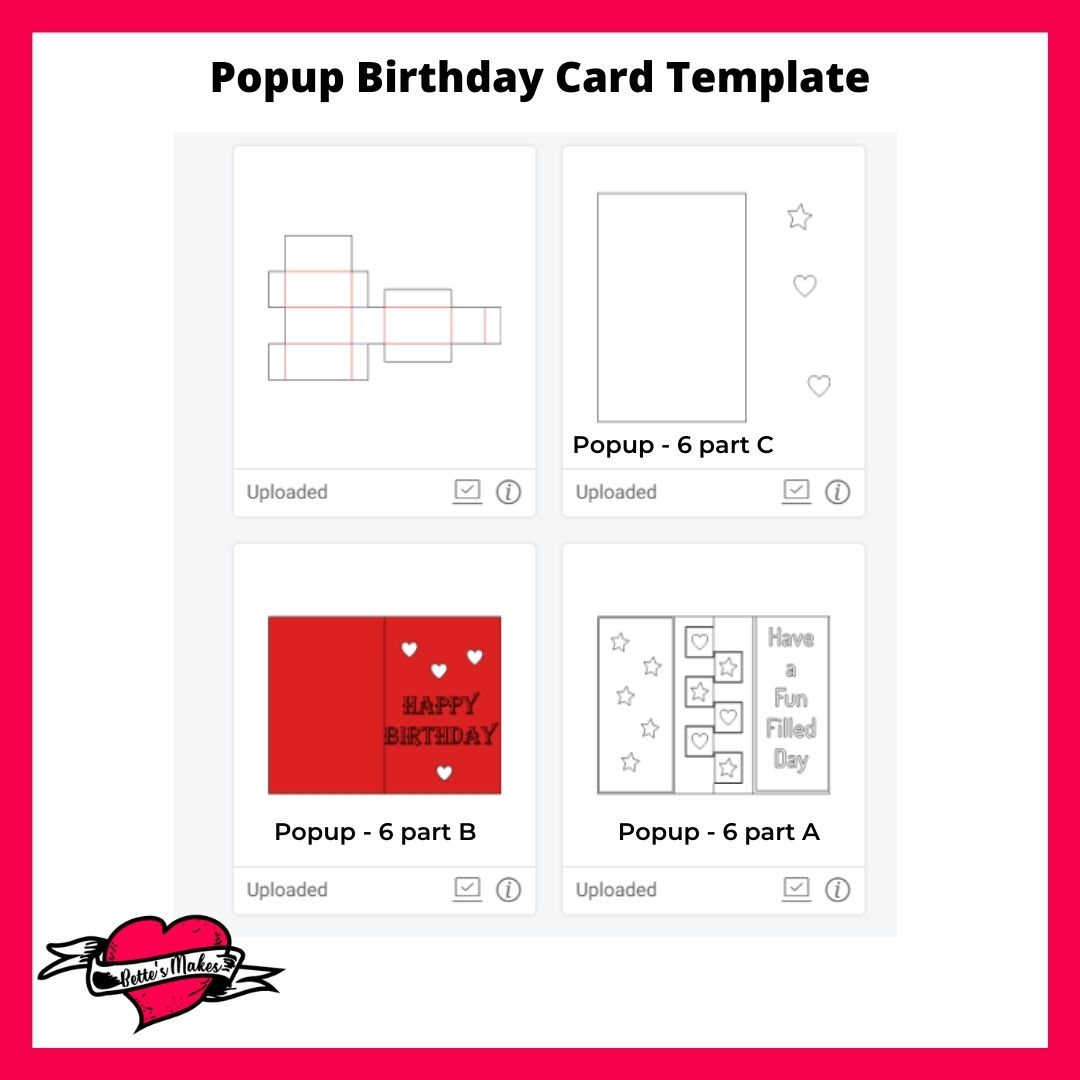
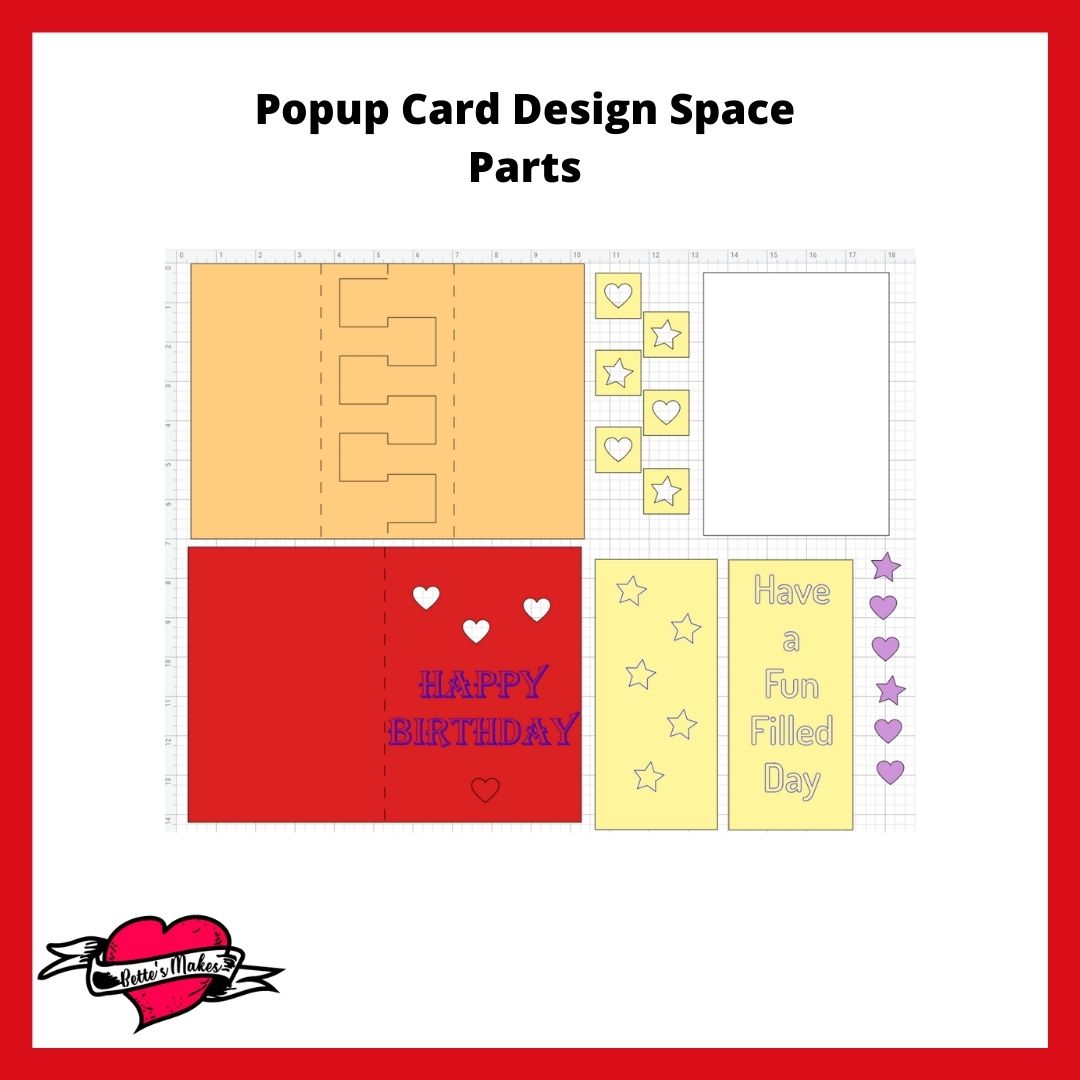
You will not need to make any adjustments with Popup - 6 part C. These will simply be cut as is. See the diagram above.
Ungroup Part A so that you can start to work with the pieces.
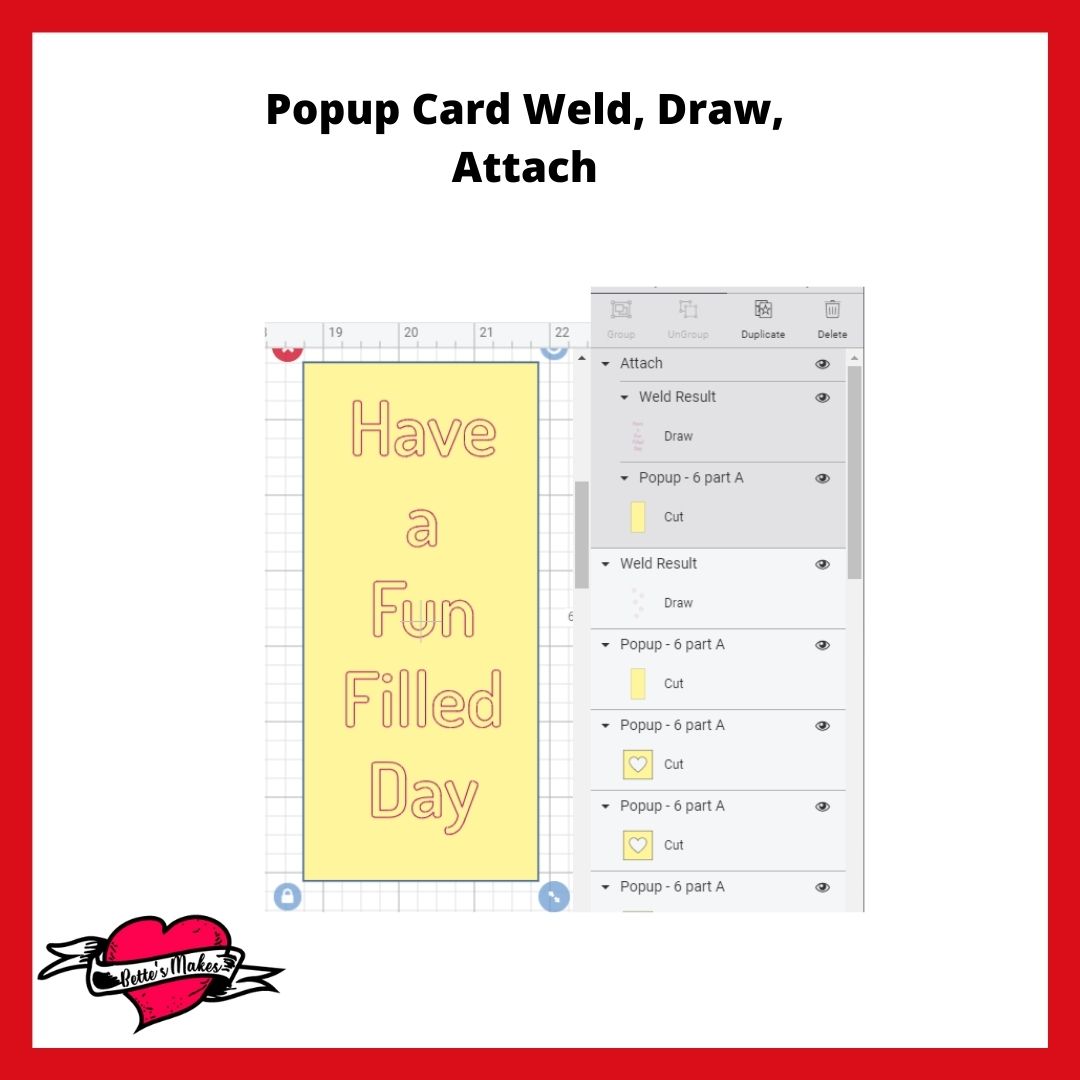
First, you will want to select all the letters in the Have a Fun Filled Day and Weld them together. Then change them to Draw. (you can Align the words to the rectangle using the Align Tool) You will also want to Attach the words to one of the long rectangles.
Do the Same for the set of 5 stars. Weld them together, change them to Draw and Attach them to the other long rectangle piece
Step Five - Design Space
Set the "Happy Birthday" to Draw as in the diagram above.
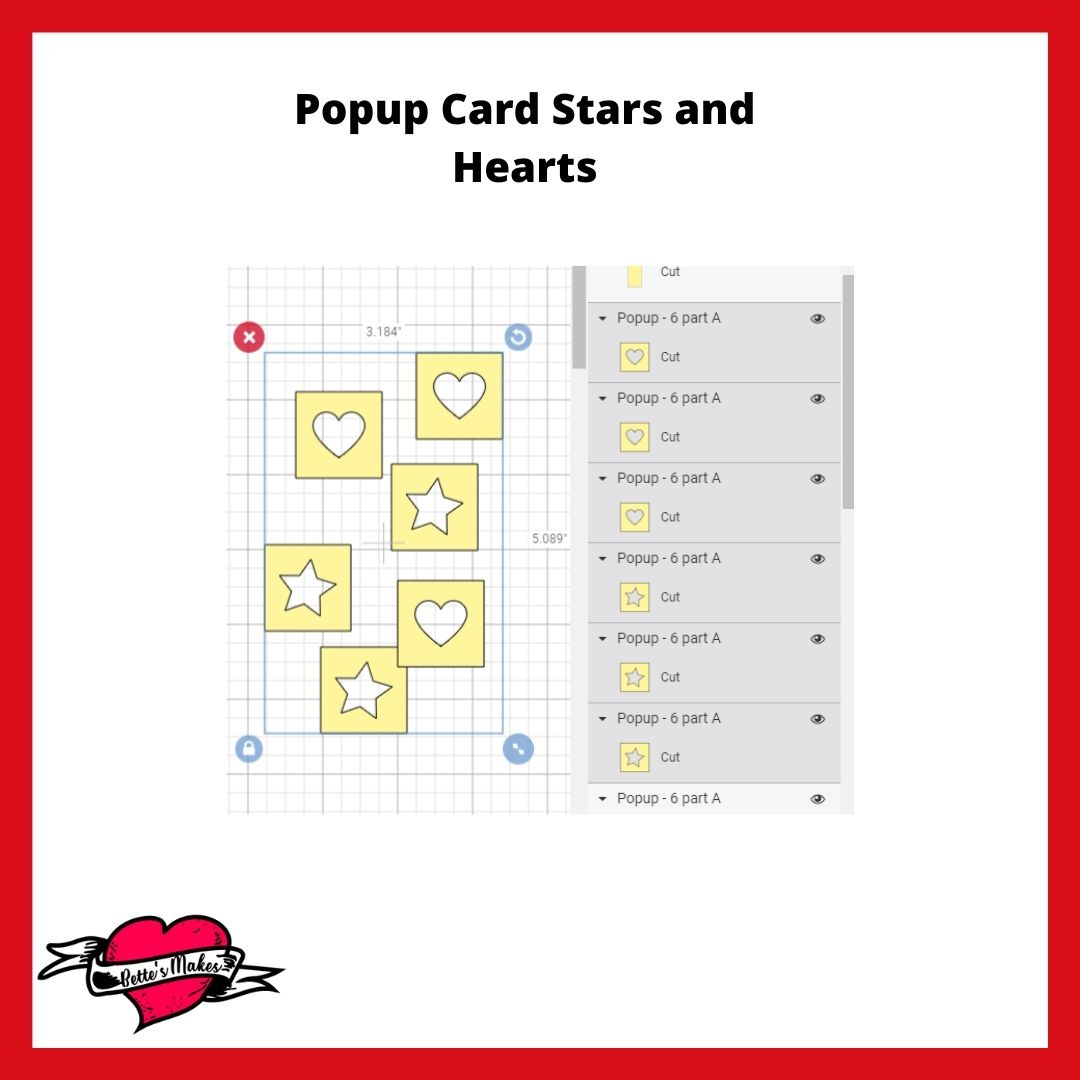
The extra stars and hearts can be duplicated as many times as you wish - these are extras you can use for decorations!
Step Seven - The Assembly Part 1
1. Glue the long rectangles in place on the inside of the card.
2. Glue the backing behind the hearts for the front of the card.
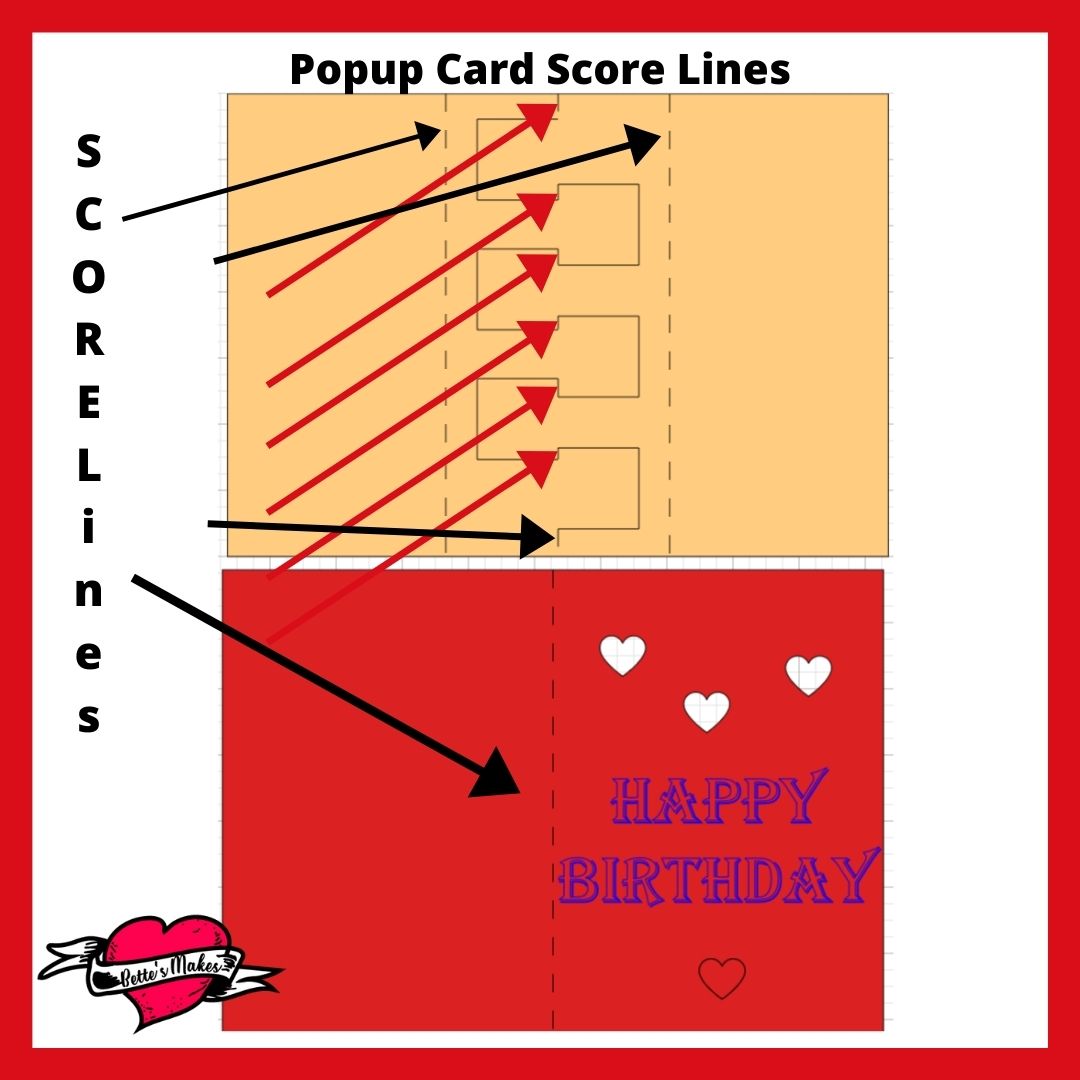
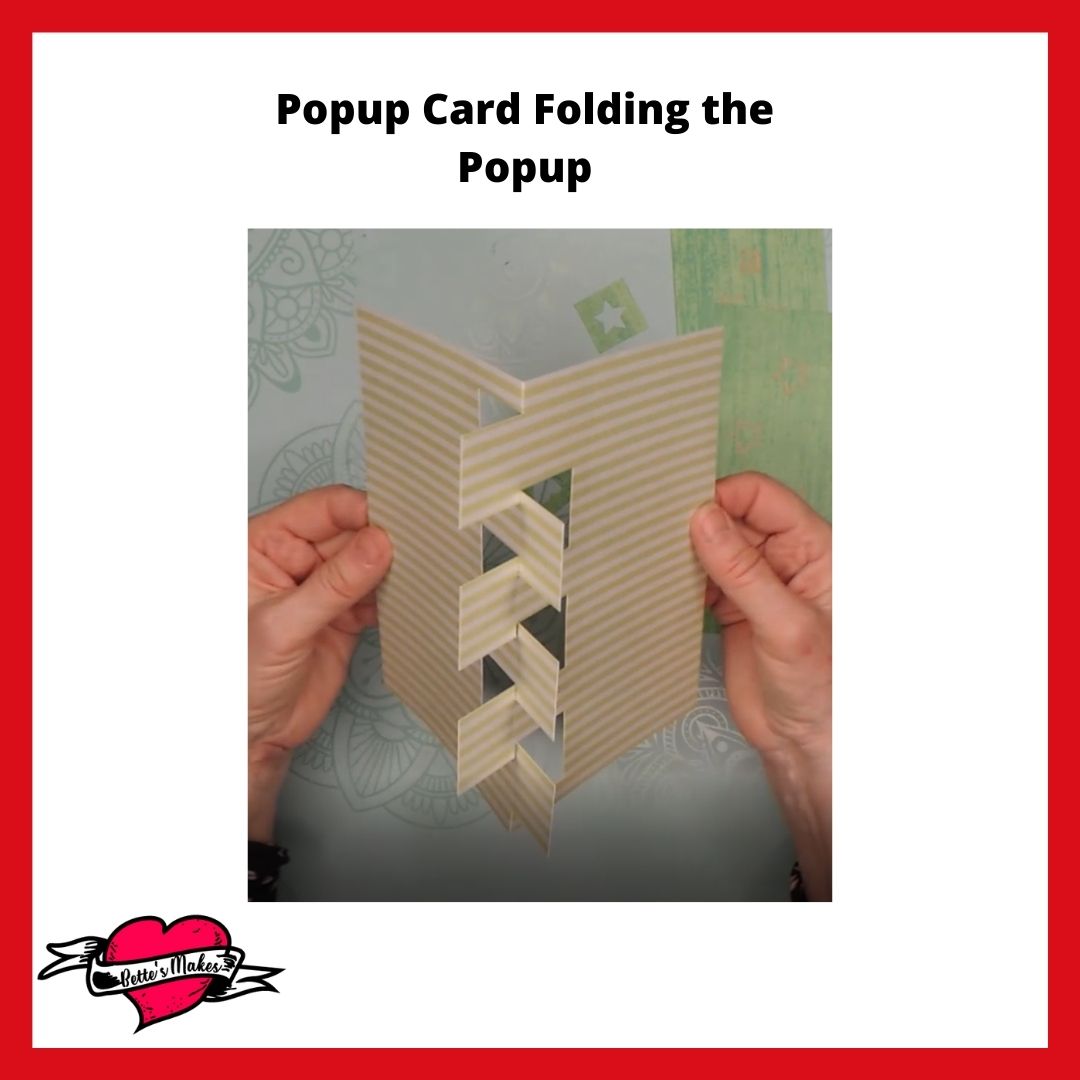
3. Fold all the Score lines and make sure the center piece pops out.
4. Glue the small squares onto the pop out pieces in the center.
5. Add any other decorations you wish.
Step Seven - The Assembly Part 2
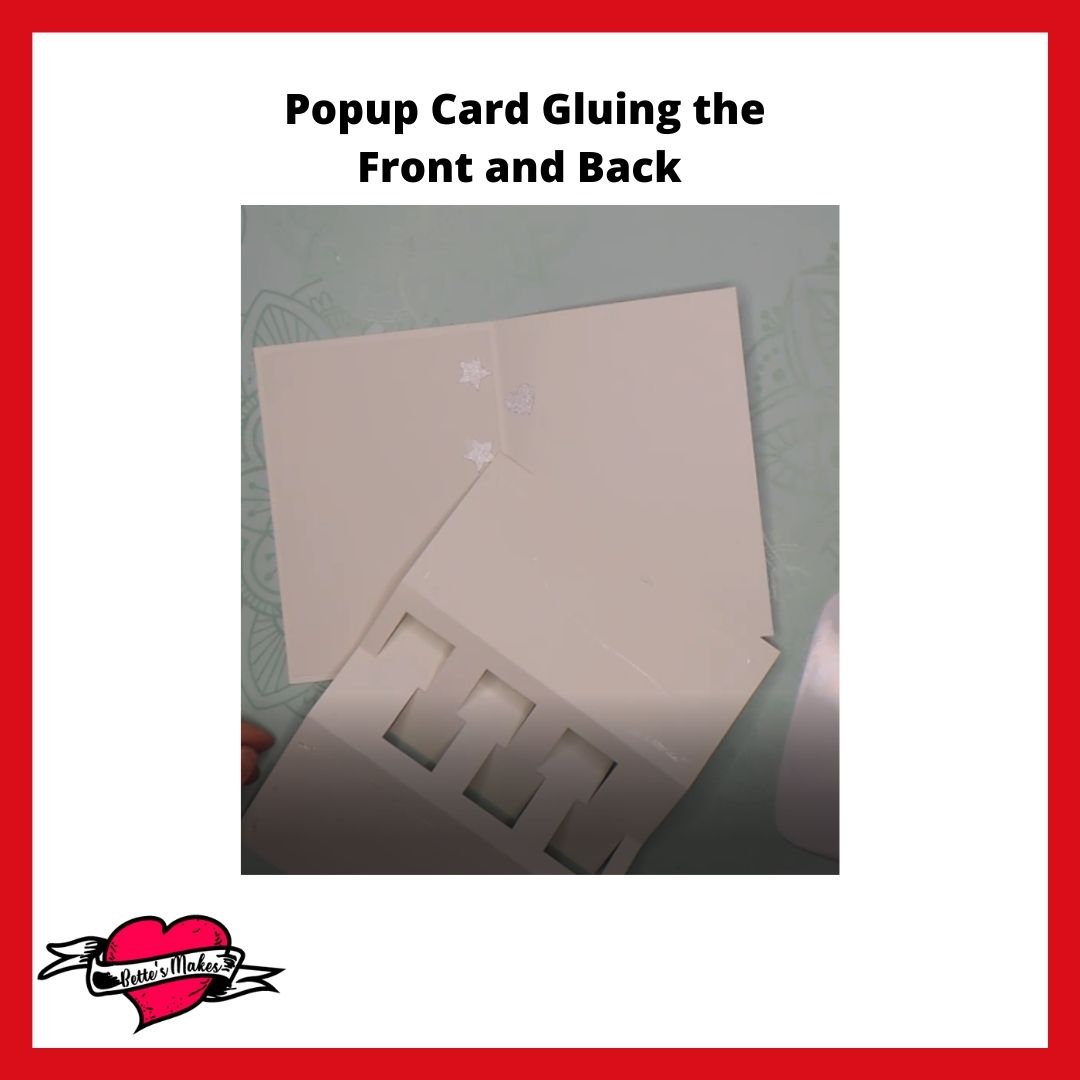
Now it is time to glue the inner and outer parts of the card together.
Line up the outer edges and hold them in place with a clip.
Spread glue on the two outer parts of the inner card piece making sure the glue is on the backside of the text pieces.
Secure the edges to the front of the card.
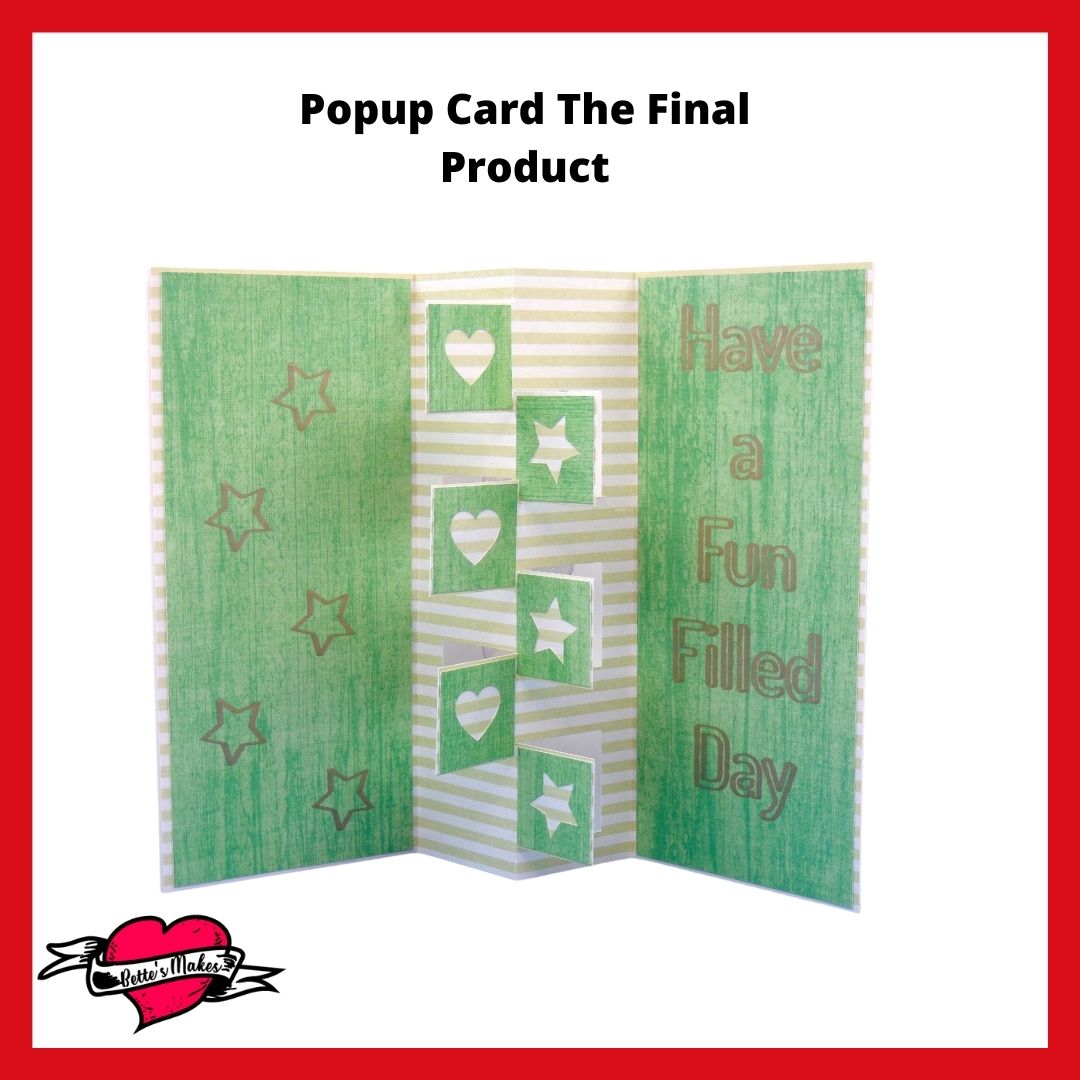
Step Eight - The Final Product
There were a lot of parts to this card but once you start the assembly process, the card is quite easy to put together.
Remember you can always change the original text on the card to something you want. It does not have to be Birthday, it could be any other occasion!
Share your finished project in our Facebook Group!
More Craft Ideas from BettesMakes
Here are some amazing crafts you can make from BettesMakes.com
This is just a sampling of the dozens of crafts you can find on my website.
How to Make Your Own Stencils
Last Word
Making a popup card does not have to be difficult. With this tutorial step-by-step guide, it is so easy! I have made a couple of these and already sent them to some birthday celebrators.
They absolutely loved them!
There are two ways you can make the popup piece, one with extra score lines, and one that uses extended cut lines. I like them both and you may want to try each one of them.
This tutorial used the extended cut lines.
I hope you enjoyed this project as much as I did.
If you made a card, please share it on our Facebook group. https://Facebook.com/groups/BettesMakes
Until next time,
Happy Crafting!


Please join me on Pinterest: https://Pinterest.ca/BetteMakerCreations
Join my Facebook group: https://facebook.com/BettesMakes
Follow me on Instagram: https://Instagram.com/BettesMakes
Subscribe to my YouTube Channel: https://www.youtube.com/c/BettesMakes
