Etching Aluminum Creates a Fantastic Look
Etching and engraving! At first thought, this is going to be a lot of work and I am not sure if it will add to my DIY Home Decor as I had imagined it. A shiny object without color? Hmmm...maybe it was time to open my mind about the possibilities! I love looking at etchings and engravings as I am sure there was a lot of love and heart into each piece.
One more thought and that was what could I design that would fit into my current small craft room?
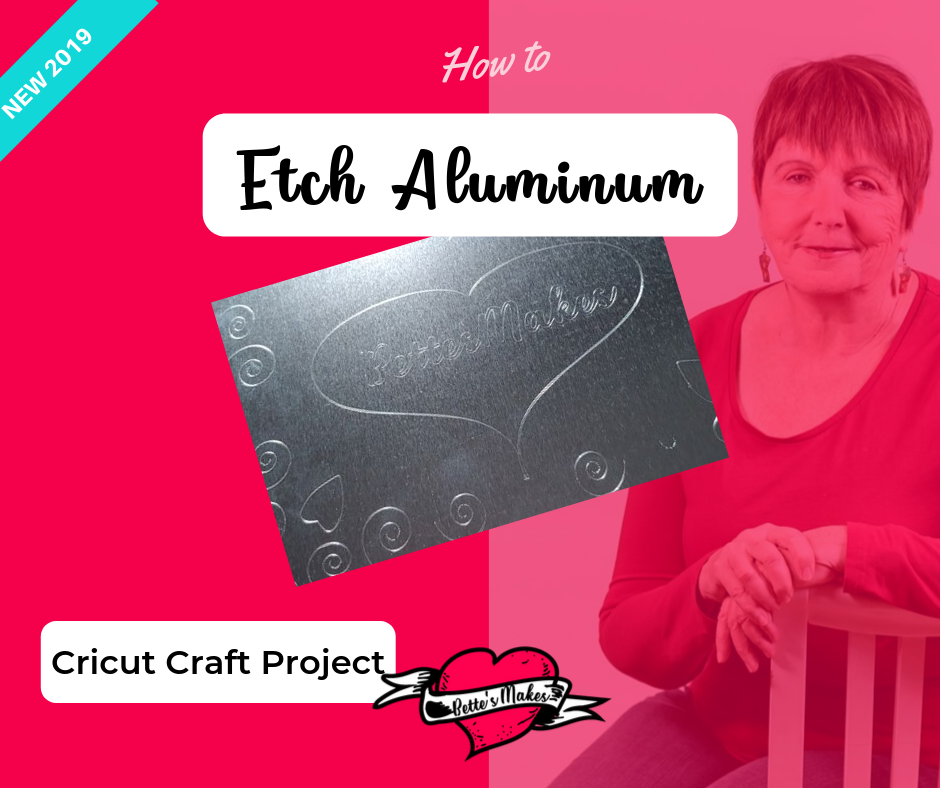
My first step was to come up with a design in Illustrator. I went through some of the patterns I had created and decided that something swirly with hearts would be ideal!
Normally I would just get my logo etched in place. This time I decided to draw a new heart shape for the center with BettesMakes (naturally) in the middle.
Now for the swirls! The spiral tool provided me with options to make nice corner pieces and fill in the gaps around the edges. Since I had purchased the Cricut Aluminum Sheets, I had to work within the 5" by &" frame. My final design was a winner and I am happy to share it with you in my resource library!
Quick Links to Information in this Post
Here’s what you need to make your own Etched Aluminum. This post does contain some affiliate links for your convenience (which means if you make a purchase after clicking a link I will earn a small commission but it won’t cost you a penny more)! Read my full disclosure policy.
Etching Aluminum Project Materials
Etching Step-by-Step Guide
Doing the etching from design space was quite easy - there are no major issues unless you do not have a Cricut Maker!
Step 1
Download the template to use for this project from my resource library
Load the design into Design Space (Cricuts design application)
Step 2
Use the Text tool and add the text for the center of the design. Place the text in position adding any embellishments such as a curve.
Change the type from cut to Engrave.
Step 3
Select the entire project and make sure the type is set to Engrave and not cut!
Step 4
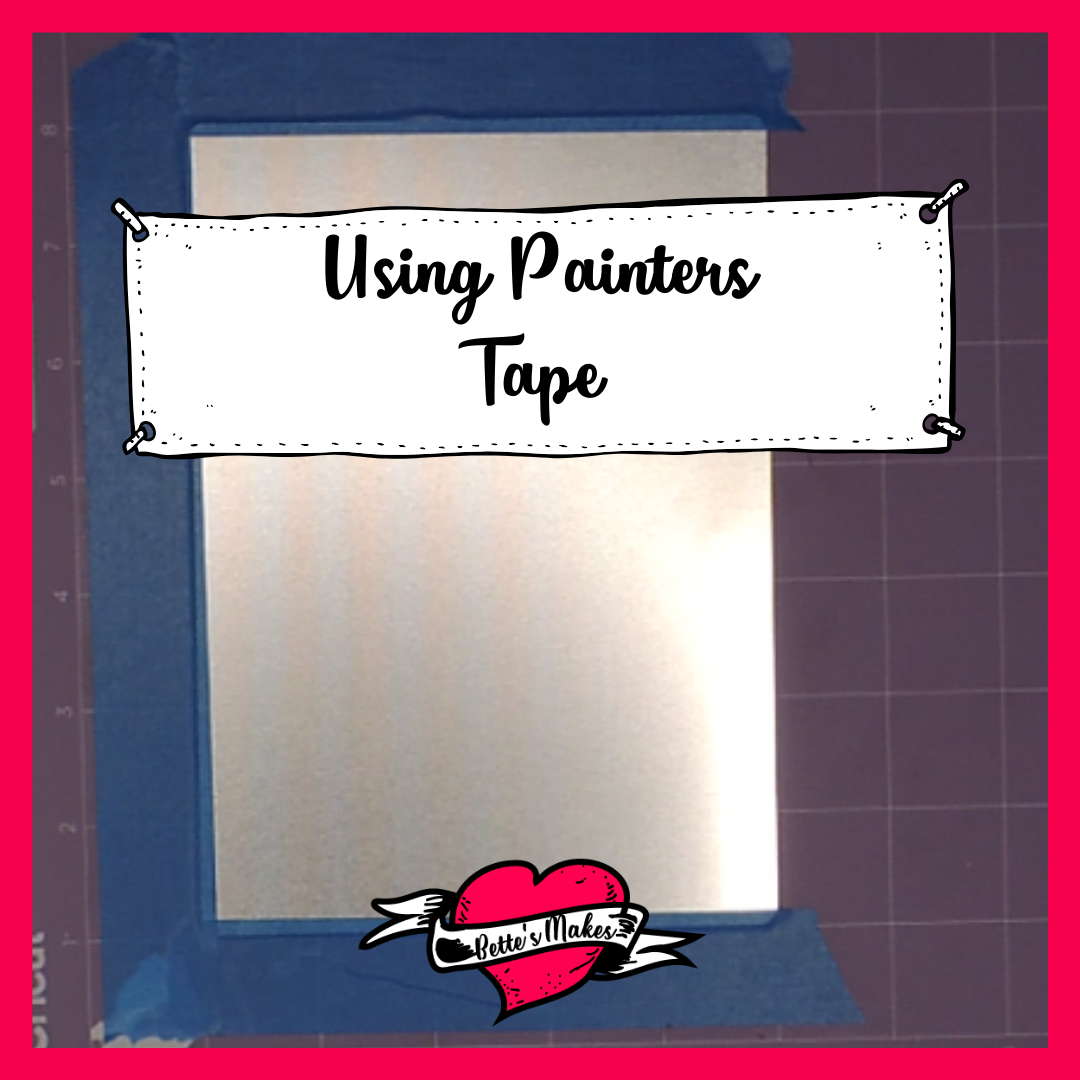
Remove any plastic sheeting from the top of your aluminum (the Cricut material has plastic on both the top and the bottom of the aluminum. I generally keep the bottom piece intact so my material is easier to remove once the engraving is complete). Place your aluminum sheet on your Strong Hold Mat at the 1" by 1" mark and use painters tape to hold the sides and top in position. See the video for further details.

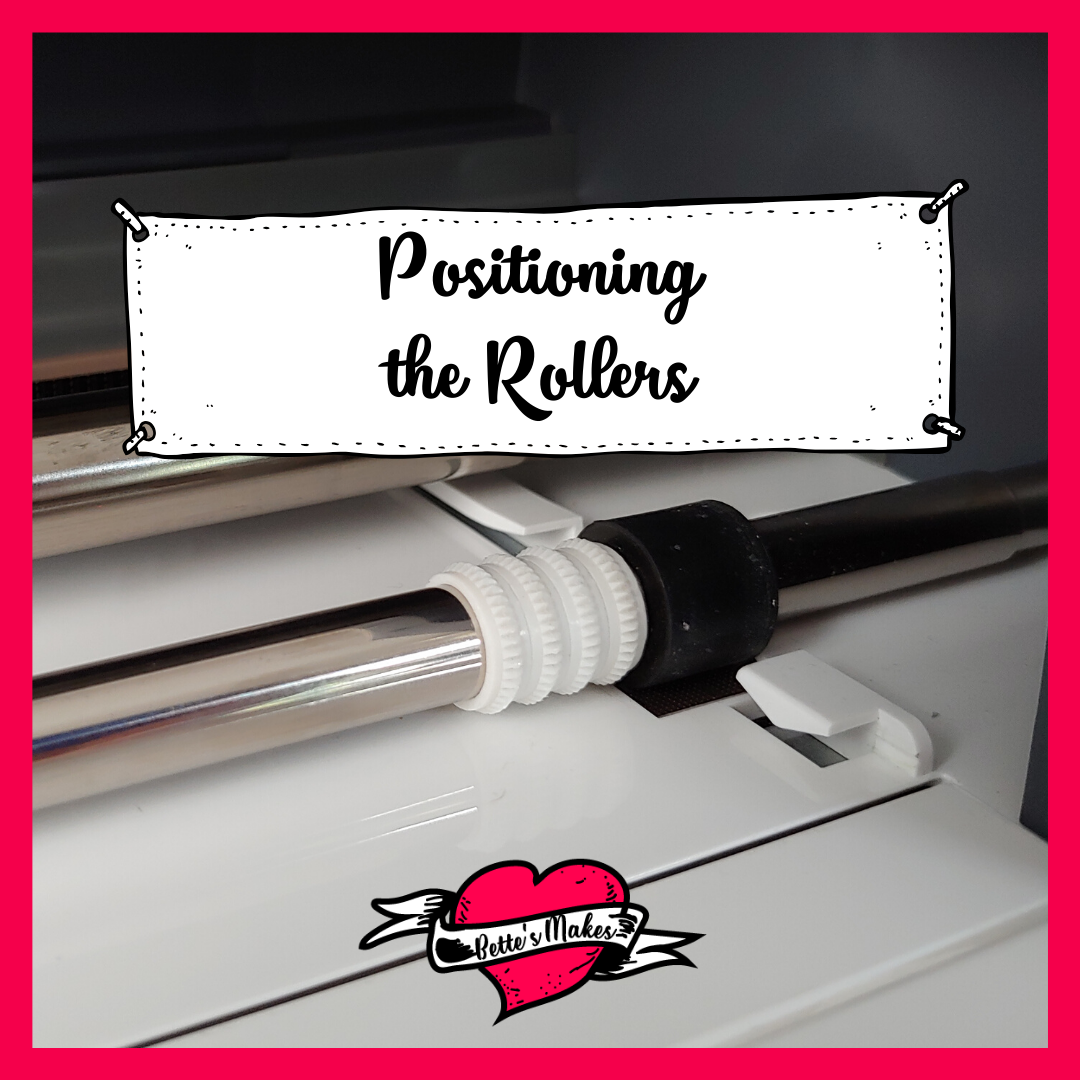
Move the white rollers of your Maker to the right hand side of the machine for a better project. Sometimes thicker materials will cause issues if you do not move the rollers (see image below).
Step 5
Click Make and set the material to Aluminum. Change the tool on the right hand side to the engraving tool. You will be able to use the same housing as the scoring tool. Depress the button at the top of the tool and pull the scoring blade off. While the button is still depressed, slide on the engraving tool. You are now ready to go!
Step 6
Load your mat, then start the project.
Step 7
When your project has finished engraving, release the mat, then gently remove the painters tape (be careful as I have pulled off some of the backing material from my mat by being too forceful).
Remove the plastic from the bottom of the aluminum and you now have an incredible new engraved project!
Reading About Etching
Etching or engraving is an ancient craft and it is often done by hand. When you use your Cricut Maker, the process is more on the design and placement of the material rather than holding a steady hand.
Here are some interesting books on etching (engraving) on metal.
All of these books are on Amazon (these are my affiliate links, in case your decide to buy - there are no extra charges for the books through any affiliate link).
Etching Process Video
Last Word
Although I love the design, I must admit, I did struggle with getting the alignment of the design correct. My first two tries were not stellar by any means of the imagination! LEarning how to line up a design for a specific size of aluminum took some time to mster. In the end, it worked perfectly and I am certainly pleased with the result!
Did I mention that I managed to tear off some of the surface of my strong grip mat?
That was very annoying since I had only used it twice before. Now, I will certainly be more careful. The mat will not be wasted as I can still use it for other wood and metal projects, as long as I tape the material in place before starting any cut.
BTW I did find some metal plates at Michael's they were a bit pricey but I used a 45% off coupon to get them. They came in a 4 pack and are much smaller than the Cricut ones. I paid around $10 for the 4 sheets.
All in all - this project was a success and I wil be making more etchings on aluminum in the very near future.
If you made an etching, please share it on our Facebook group. https://Facebook.com/groups/BettesMakes
Until next time,
Happy Crafting!


Please join me on Pinterest:https://Pinterest.ca/BettesMakes
Join my Facebook group: https://facebook.com/BettesMakes
Follow me on Instagram:https://Instagram.com/BettesMakes
Subscribe to my YouTube Channel: https://www.youtube.com/channel/UCzMHoceK1XiXi8IykicnUmQ
Please pin the following image to your favorite Pinterest board!

