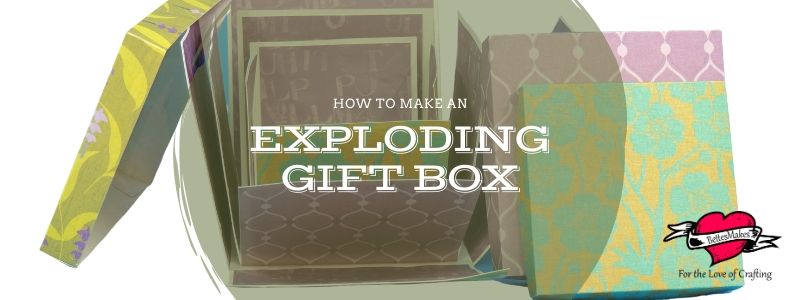
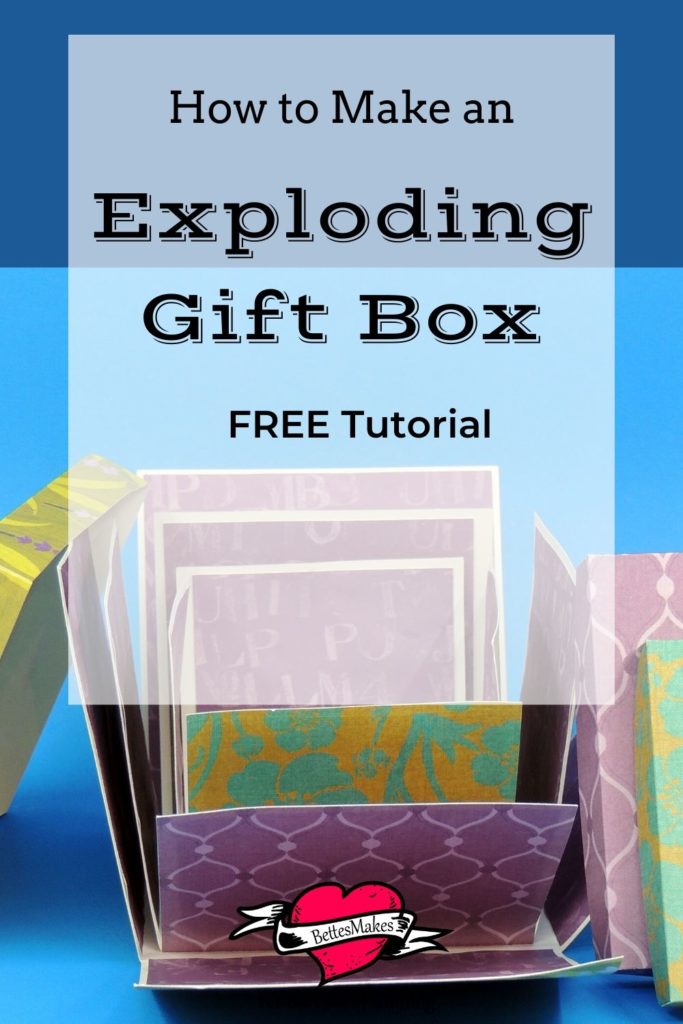
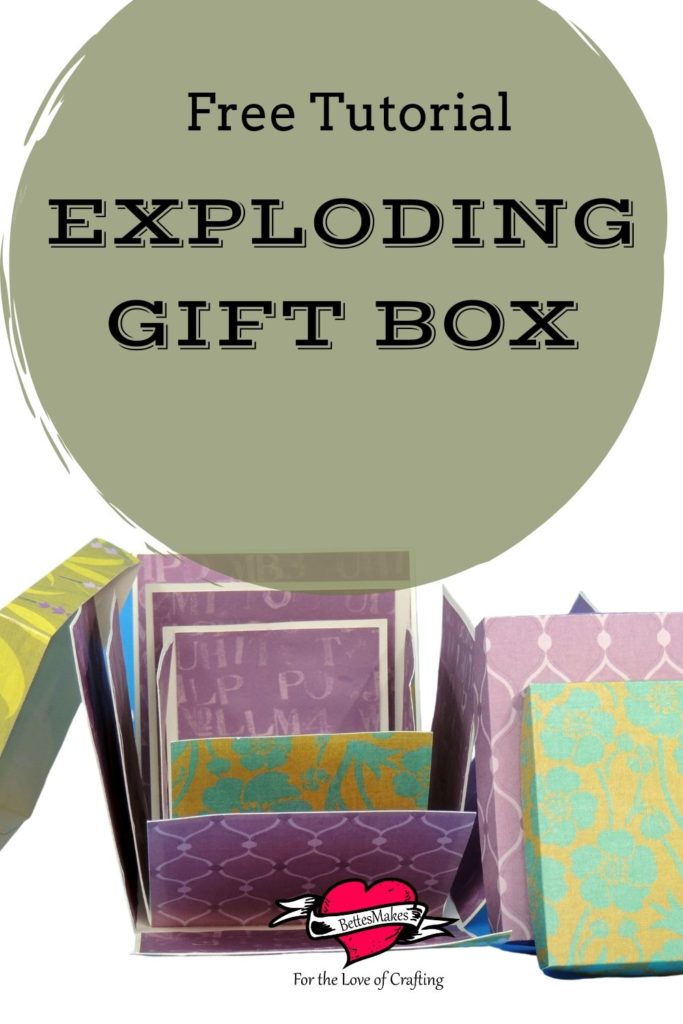
This Exploding Gift Box project all started when I was working with some beginners that wanted to do more than just a plain card with decorations. DIY exploding gift boxes have been a popular topic lately and after doing some research, I created this design from scratch using ideas I found on Pinterest, Facebook groups, and even a Google search or two. The exploding gift box step-by-step directions are all including in this post to make it easy for you. BTW you can make this an exploding gift box that hides layers of chocolate and candy! Yum...
Cricut Tips & Shortcuts
Secrets Every Cricut Owner Should Know
Every Cricut owner needs to know these SECRETS in order to save time & money so they can craft more. Insiders know these secrets but do you? Are you ready to make your Cricut work better for you?
Get the insider information you never knew and save money at the same time. This FREE Tip & Shortcut guide will show you how you can have your equipment and machine supplies last longer so you can make even more!
Here’s what you need to make your DIY Exploding Gift Box. This post does contain some affiliate links for your convenience (which means if you make a purchase after clicking a link I will earn a small commission but it won’t cost you a penny more)! Read my full disclosure policy.
DIY Exploding Gift Box Materials
More Craft Ideas from BettesMakes
Here are some amazing crafts you can make from BettesMakes.com
This is just a sampling of the dozens of crafts you can find on my website.
Exploding Gift Box Step-by-Step Guide
Step One - Download the Template
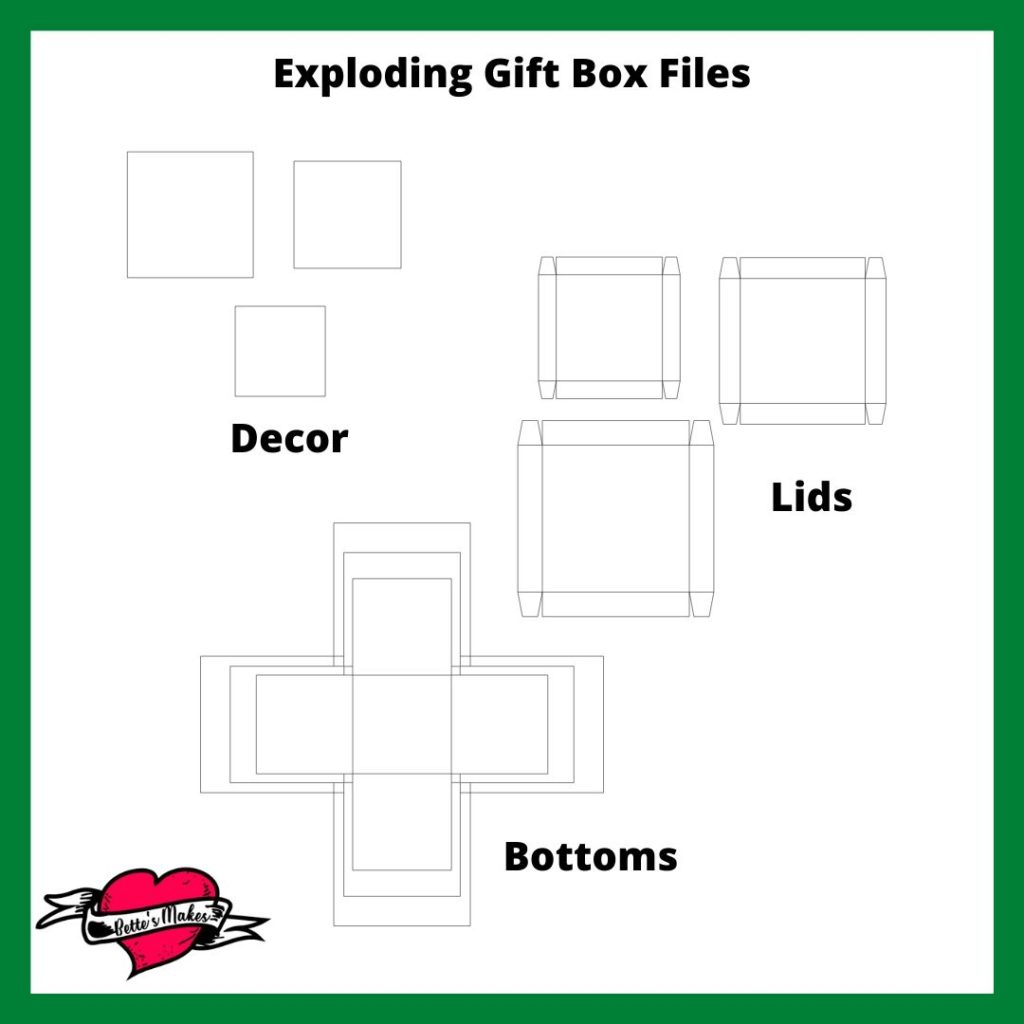
Before we begin, you will want to download the template for this project from my resource library. The file is called "Exploding Gift Box SVG Files in ZIP Format"
When you unzip the file, you will find 3 SVG files you will need for this project.
Exploding Box Bottoms,
Exploding Box Decor, and
Exploding Box Lids.
Upload all of these files to Design Space and insert them into a new project.
Step Two - Design Space Adjustments
The first step when looking at the SVGs in Design Space is make adjustments to the colors. Most often the images come in with a black fill and that makes it difficult to see all the other lines and parts. In our case the decorative pieces are black but the bottoms and lids are while.
DECORATIVE PIECES
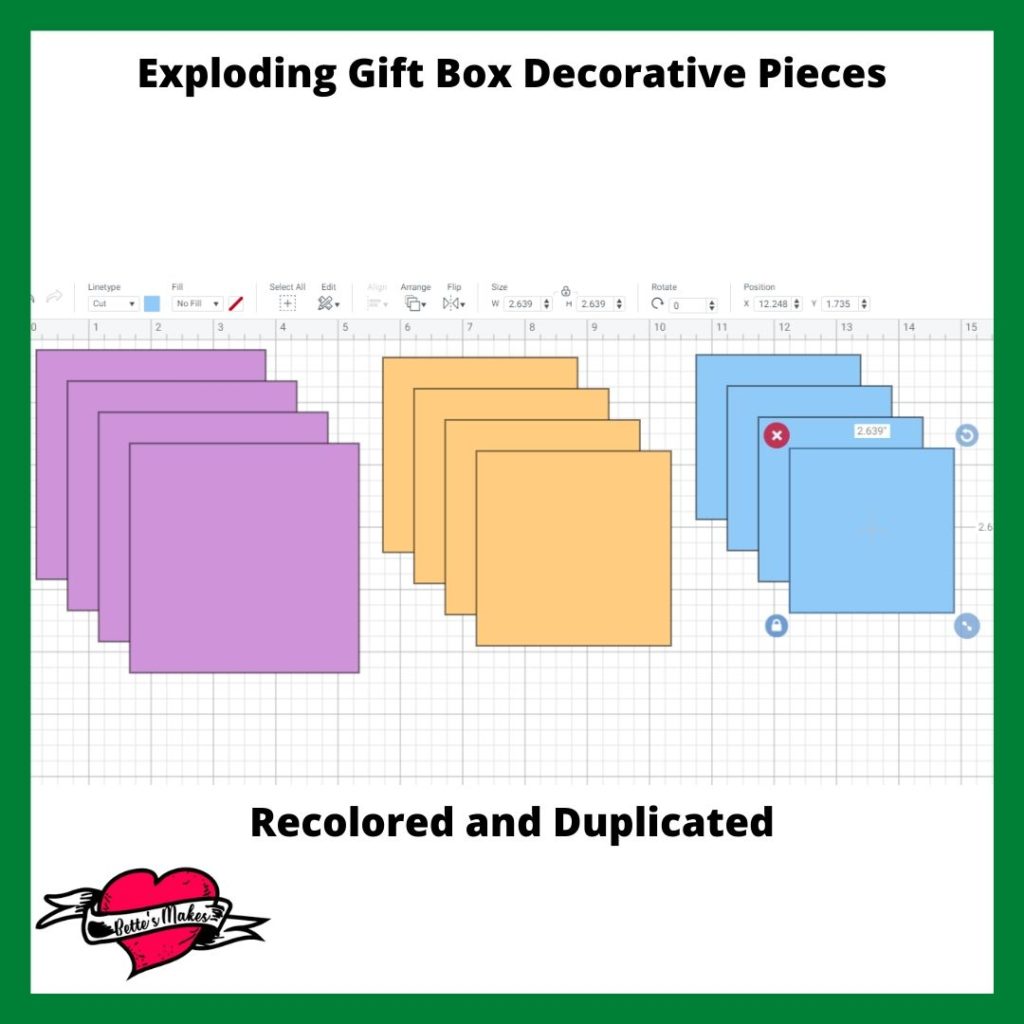
Change the color of the decorative pieces from black to another lighter color. You will be making 4 sets of these pieces for the inside of the box. You may want to use the same paper for all the inside parts or decide to make each layer a different pattern.
If you want to make each layer a different pattern, Ungroup the pieces and change each one to a different color.
Duplicate each piece so that you have four of each color. You will then be able to decorate the inside of the layers with different colors or patterns of cardstock.
BOX LIDS
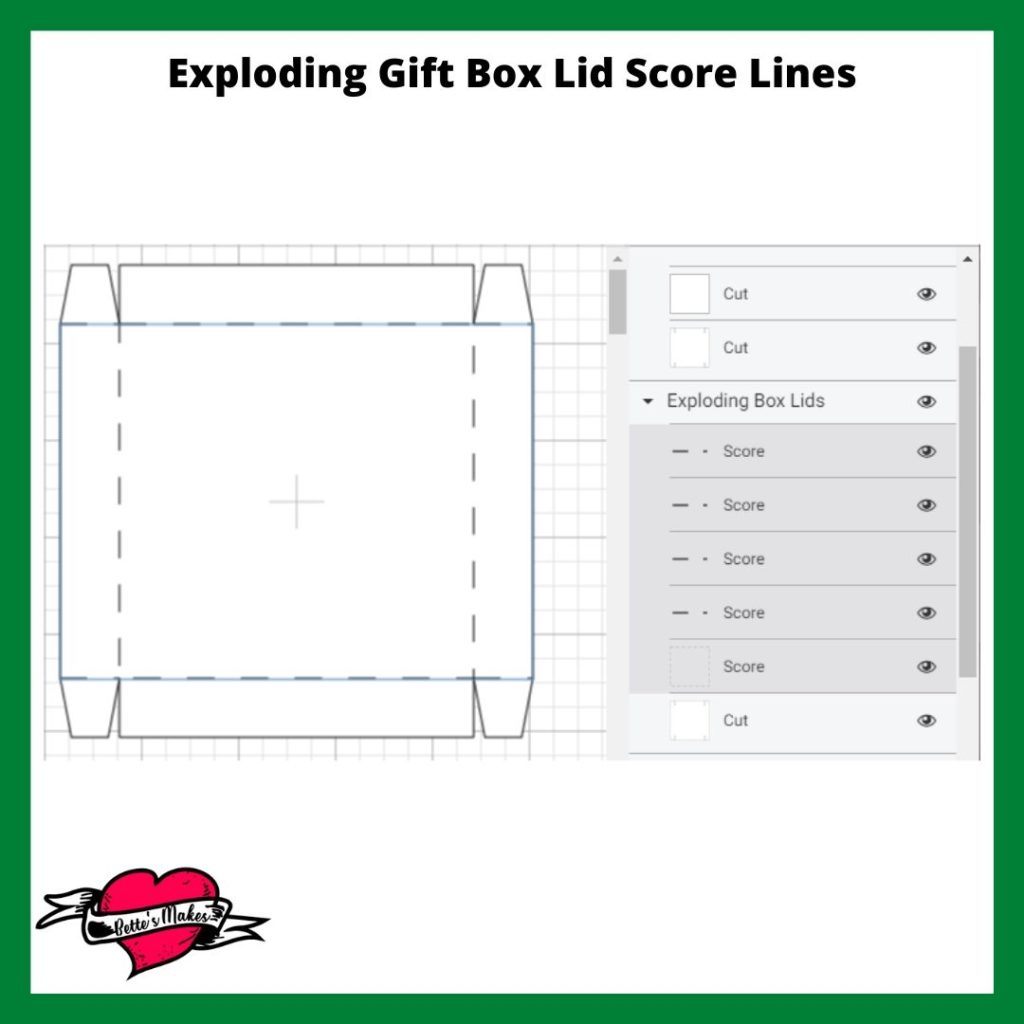
There are 3 sizes of box lids. Each lid will need to have the inside lines all set to Score Lines.
Start by Ungrouping the lids. You will 3 different lids groups to work with.
Select one of the lids then look in the layers panel. You should see 6 objects all set to cut. You will be changing all the lines, except the bottom outline to Score.
To do this, click on the first item in the group (in the Layers Panel) and hold down the Shift key then Click on the next 4 items. You should see a darker gray for the items you have selected.
Go to the Linetype box and change the Linetype to Score.
Select the entire group (outside line and the score lines), then click on Attach. This will ensure the score lines stay with the lid when it comes time to making the boxes.
Repeat the process for the other two lids.
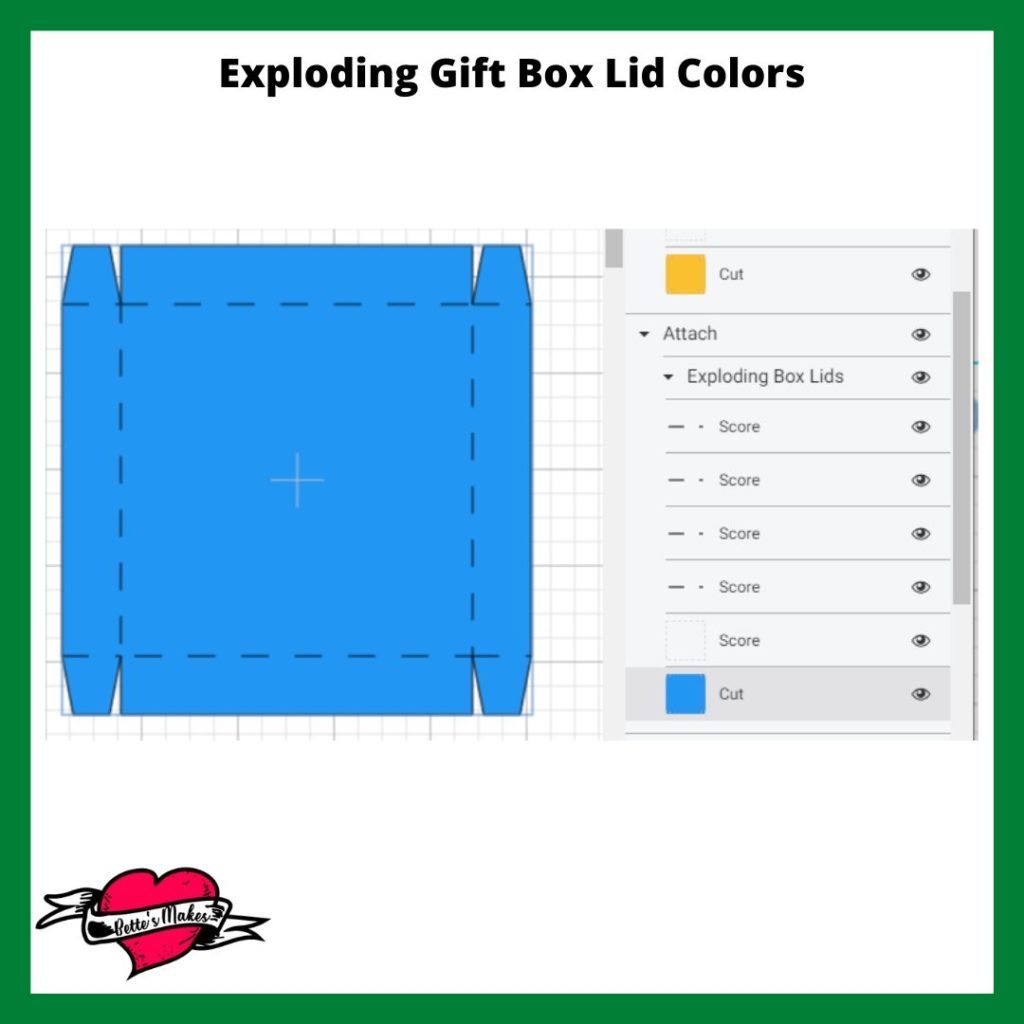
Change the color of each lid as you will want to have different cardstock for each layer. You will be matching these colors with the box bottoms later so each box is the same pattern or color. To change the color, click on the outside piece in the Layers Panel, then change the color.
BOX BOTTOMS
There are 3 box bottoms that fit with the box lids.
Start by Ungrouping the set. You will end up with 3 box bottoms with rectangles in the middle.
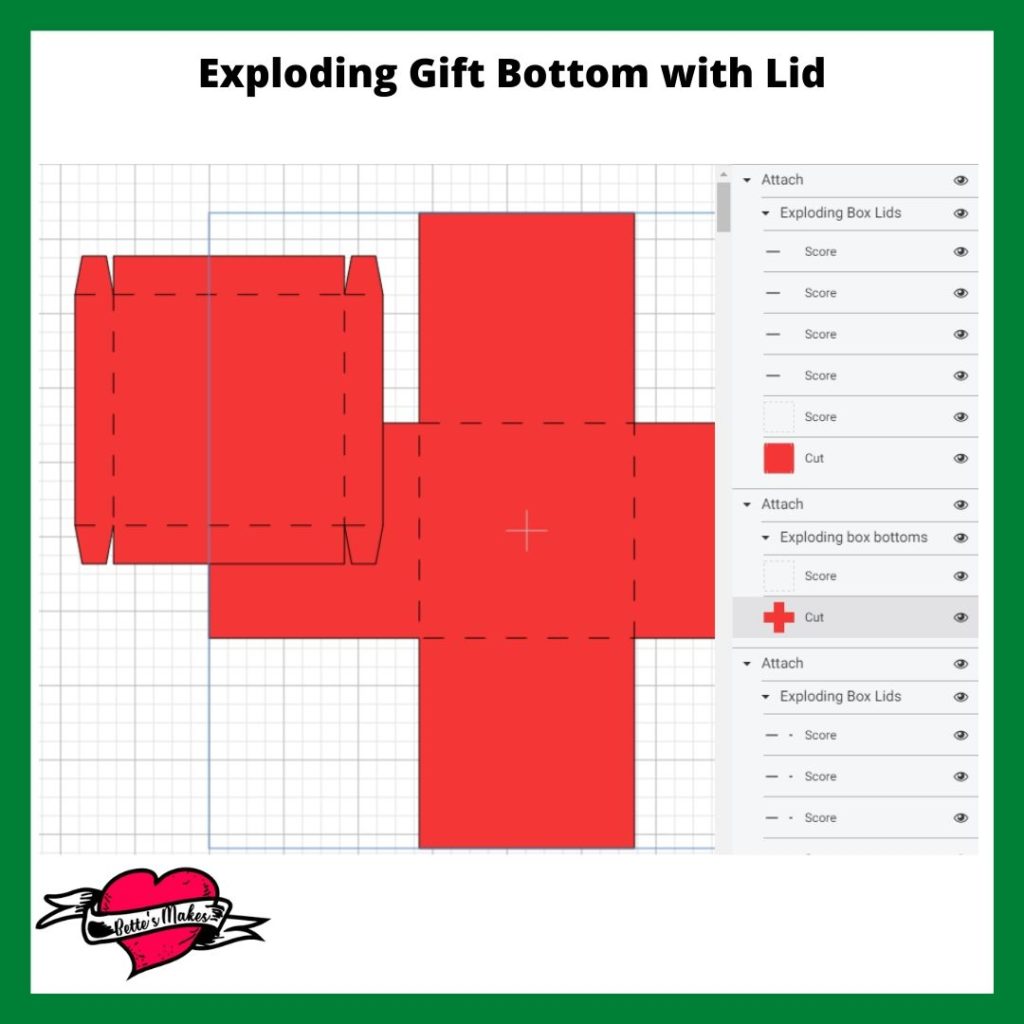
Working with each bottom, change the inner rectangle to a Score line. Now Attach the Score Lines to the Box.
In the Layers Panel, select the bottom shape then change the color of the box to match the lid color. See the diagram for what to select.
CHOOSING PAPER
The last step before you hit Make It, is to choose your paper and cardstock.
You will need the following for each box.
Each Box: 2 Sheets Cardstock 12 x 12, one sheet of either Cardstock or Laser Paper.
MAKE IT
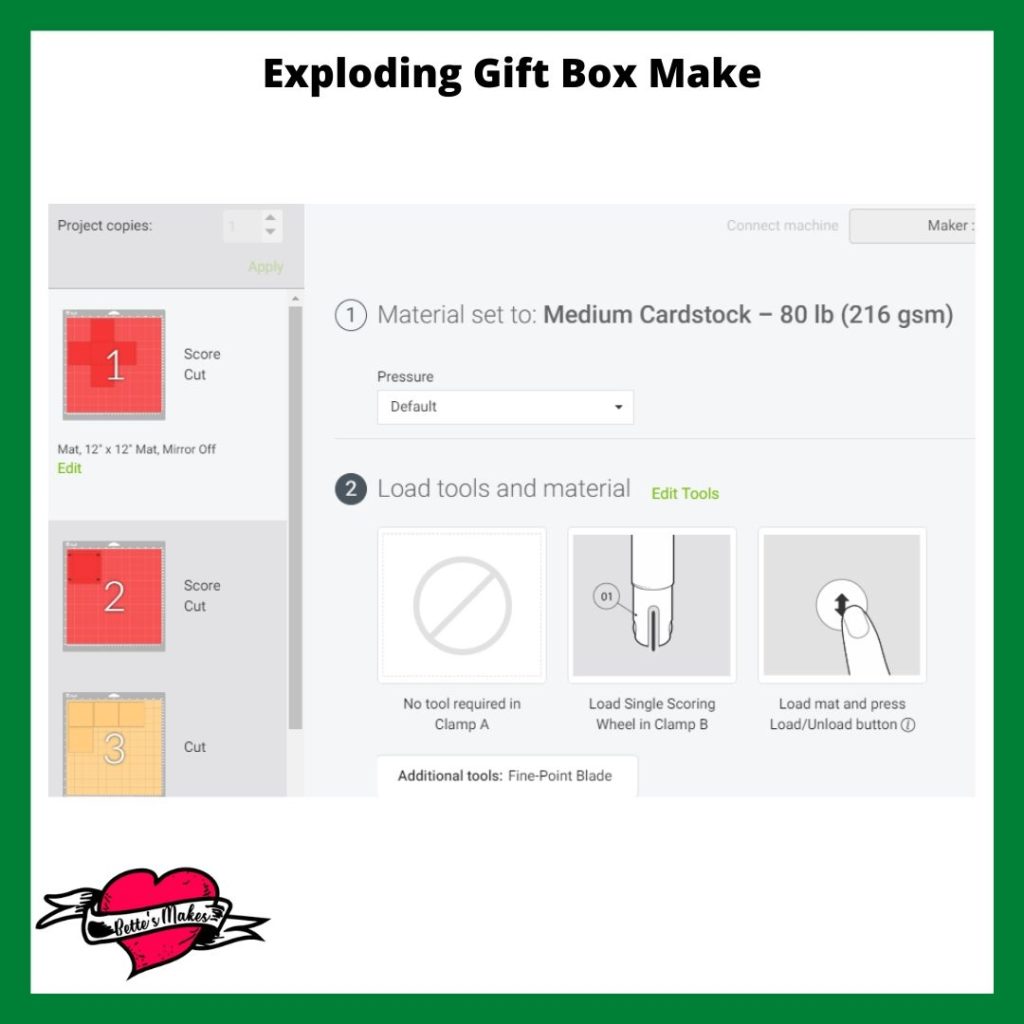
Now is the time to Save your project (although you should have probably been saving all along) and click on Make It.
Check your mats to make sure everything is in order. Do this to make sure all your score lines and colors match up the way you want them. If all is in order, click on the Continue button.
Select your materials type and do your cutting.
if you have different material for one of the cuts, simply change the material type for that mat. Remember to check each mat before it cuts to make sure you have the right selection.
Step Three - Assembling the Exploding Gift Box
Now for the fun part - putting the boxes together!
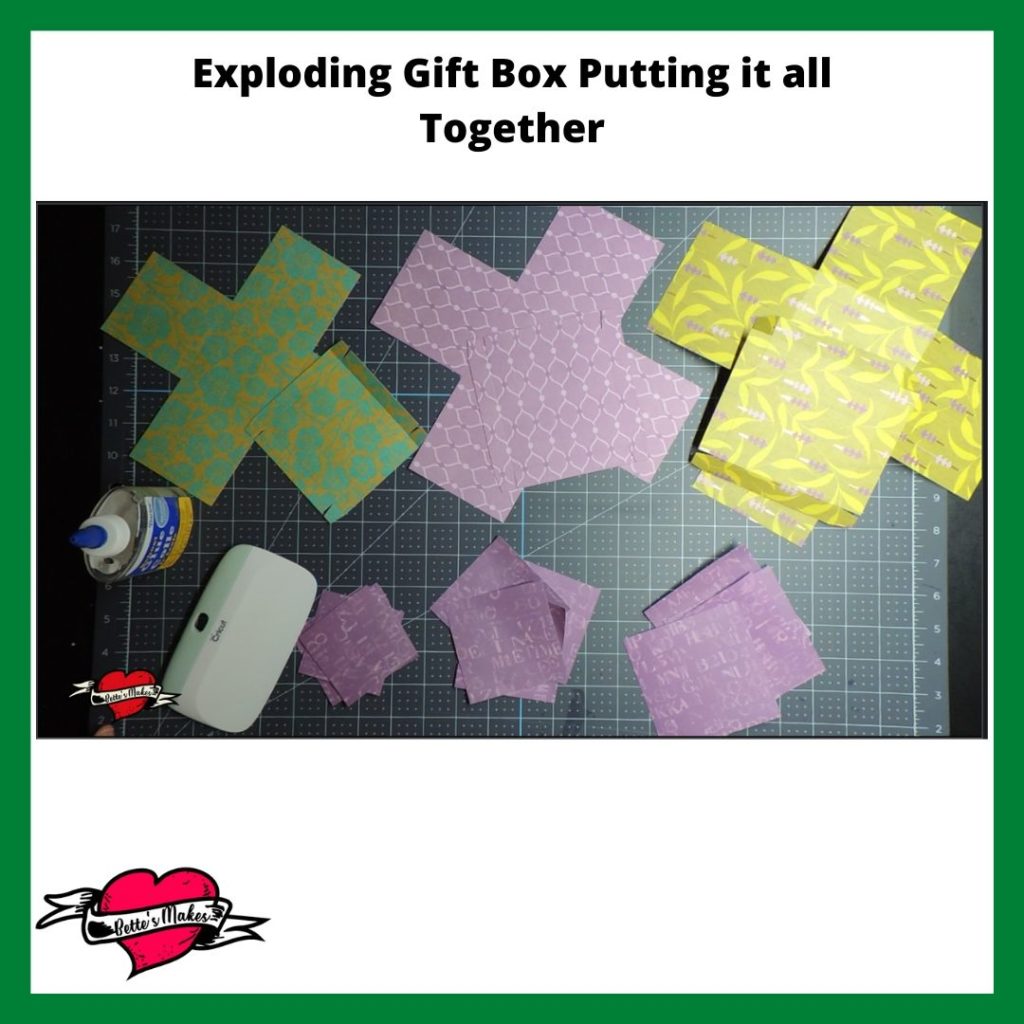
Sort out your pieces into piles to make sure you having everything cut. In our example, the decorative pieces have all been cut from the save laser copy paper. This means the inside decorations will all be the same.
You should also have one lid and one box bottom that will fit together. I used matching patterns of cardstock but you may have used other colors and not made the bottom and lid the same.
Fold all the Score lines for all your bottoms and lids.
GLUING DECORATIVE PIECES
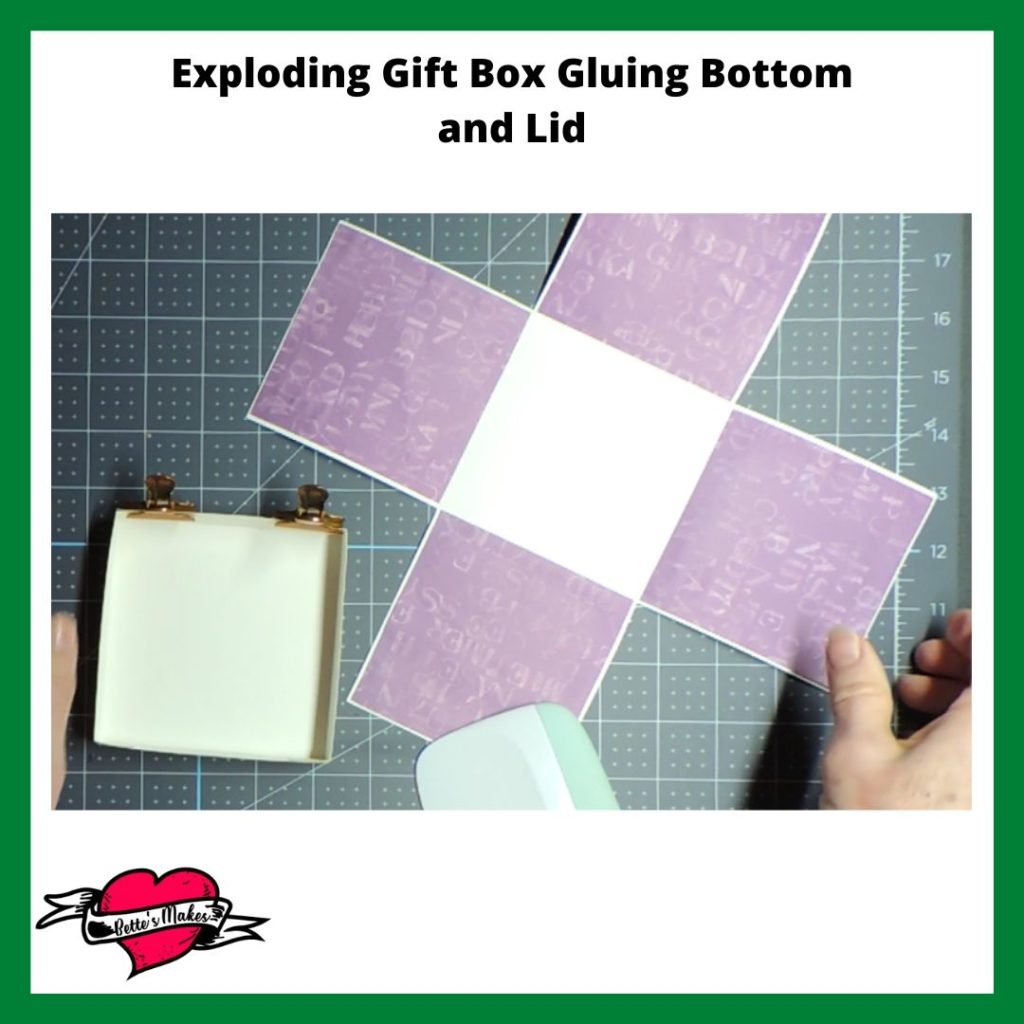
The first step is to glue all the decorative pieces on the insides of the large box bottom.
Next, glue the lid by folding in the side flap and gluing them in place. See the diagram.
Repeat the same steps for the other two boxes.
GLUING THE BOXES TOGETHER
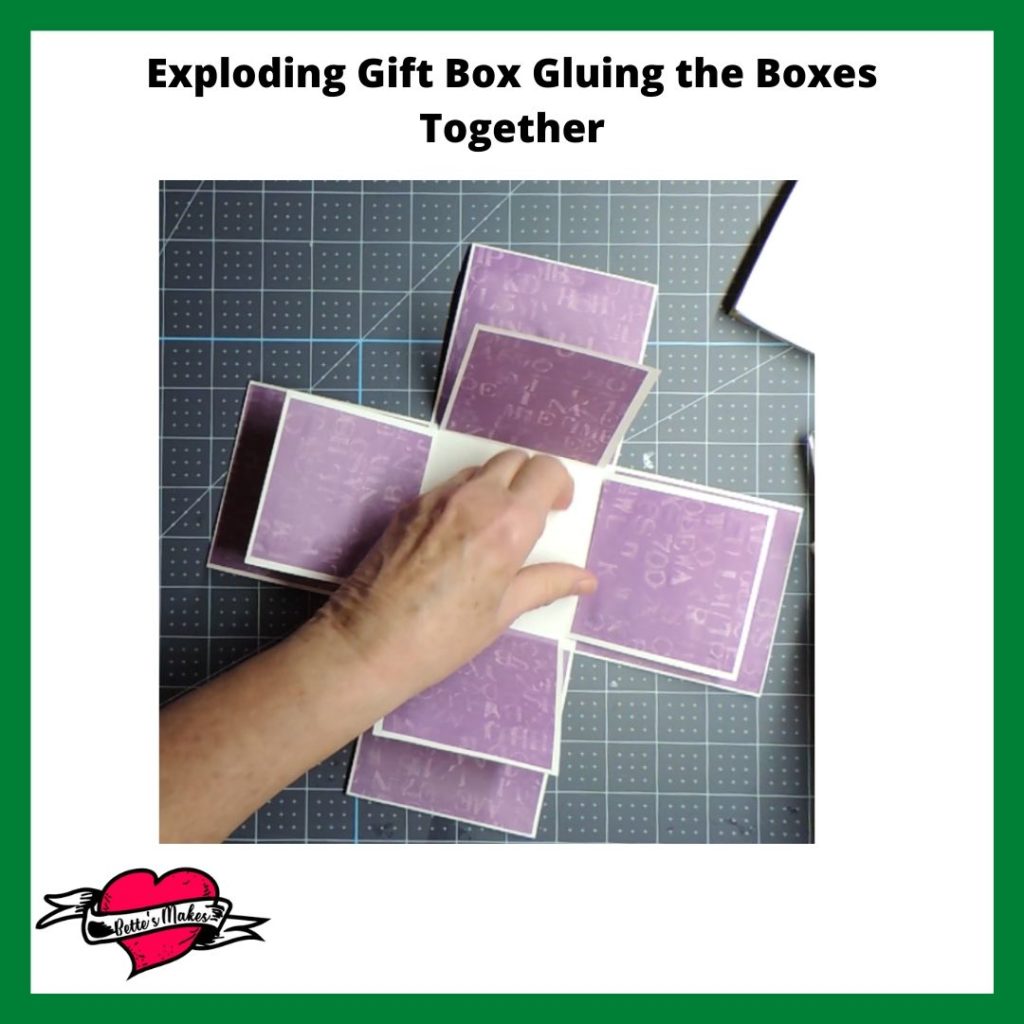
You will be gluing the centers of the boxes together so that they are nested.
Start by gluing the medium sized box to the large box then add the small box to the medium box.
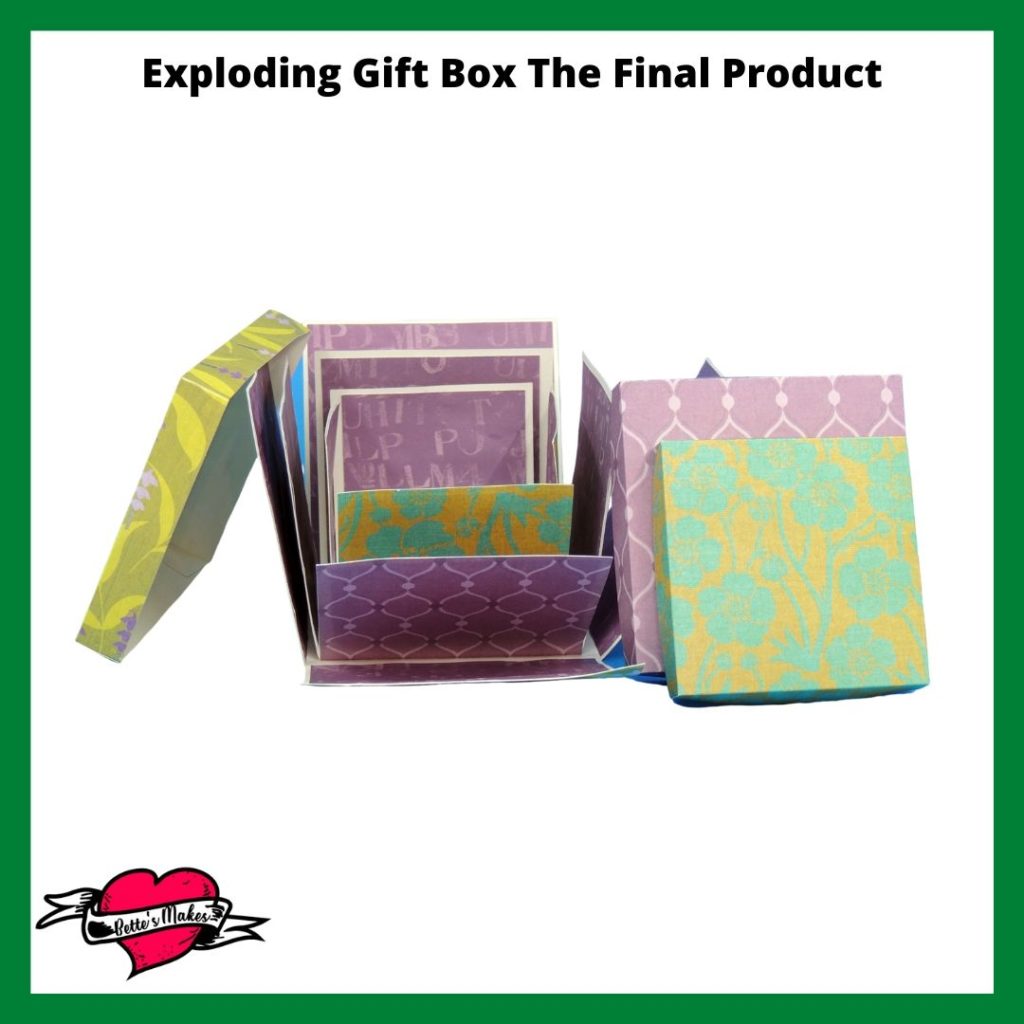
Once all of the glue is dried, you can fit the lids of each box onto the bottoms. It will take a little juggling to hold all the sides up at first.
How to Make an DIY Exploding Gift Box Video
Last Word
This DIY Exploding Gift box is perfect for beginners and also those of us who have been doing crafting for a longer period of time. I love it because I can quickly make these for special gifts and add a big variety of treats inside.
My family likes chocolate exploding gift box sets - must run in the family. I hope you enjoyed this tutorial and take some time to watch the video if you have any questions.
I hope you enjoyed this project as much as I did.
If you made a card, please share it on our Facebook group. https://Facebook.com/groups/BettesMakes
Until next time,
Happy Crafting!


Please join me on Pinterest: https://Pinterest.ca/BetteMakerCreations
Join my Facebook group: https://facebook.com/BettesMakes
Follow me on Instagram: https://Instagram.com/BettesMakes
Subscribe to my YouTube Channel: https://www.youtube.com/c/BettesMakesMedia
