Ready to start making solid letters?
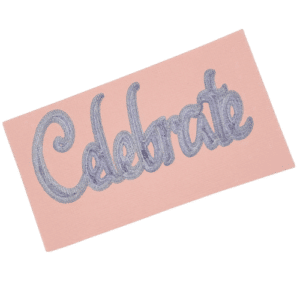
Start With Your Text
Let's start with just one word that you can use for practice. In my Case I used Celebrate but in our example we will just use the word Text which makes it a lot easier to work with when practicing, then just follow these simple steps:
You can watch the video in our Facebook Group: Https:facebook.com/groups/BettesMakes
Step 1: Start a New Project
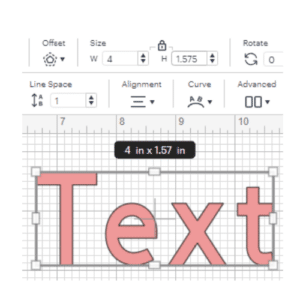
Just Add TEXT to the Canvas and enlarge it so it is easy to see - make it 4 inches wide.
Step 2: Select the Text Object
Select the text object (not the letters on their own). This means you will find the sizing handles all the way around.
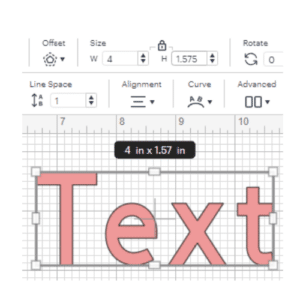
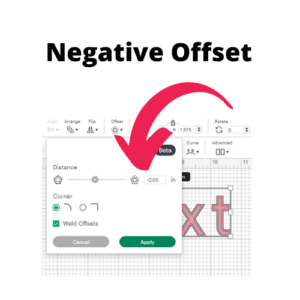
Step 3:. Select Offset
The Offset dialog box will appear on the screen. You will be making a negative offset. Change the numbers in the box to "-0.05" Then click Apply.
Step 4: Change the Offset Color
Change the color of the Offset from Black to something that is easier to see.
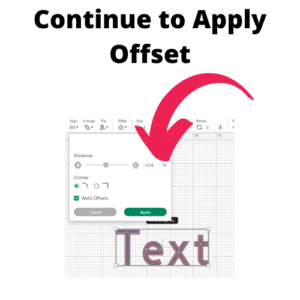
While the Offset is still selected, Click on Offset again. The numbers you put in there previously will be automatically populated. This will create another Offset inside the last Offset.
Continue to change the color of each Offset and then add another Offset until the letters look full.
Get Your Annual Pass to the Creative Crafters Club
Step 5: Test Make
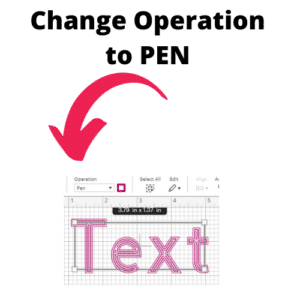
Now to test your process. Change the Operations from Cut to Pen. Then Attach everything together.
Simply Make your text with the color of your choice. If you find that the lines are too far apart, test another text but change the Offset number to a smaller negative number.
This will give you beautiful filled in letters!
Make sure you join our Facebook Group so you can ask any questions!
 DIY Home Decor DIY Craft Tutorials, DIY Paper Flowers
1 Response to "Cricut Craft with me: Filling in Letters"
The skills you teach are awesome! Thank you!