Simple Ideas for Using Foil
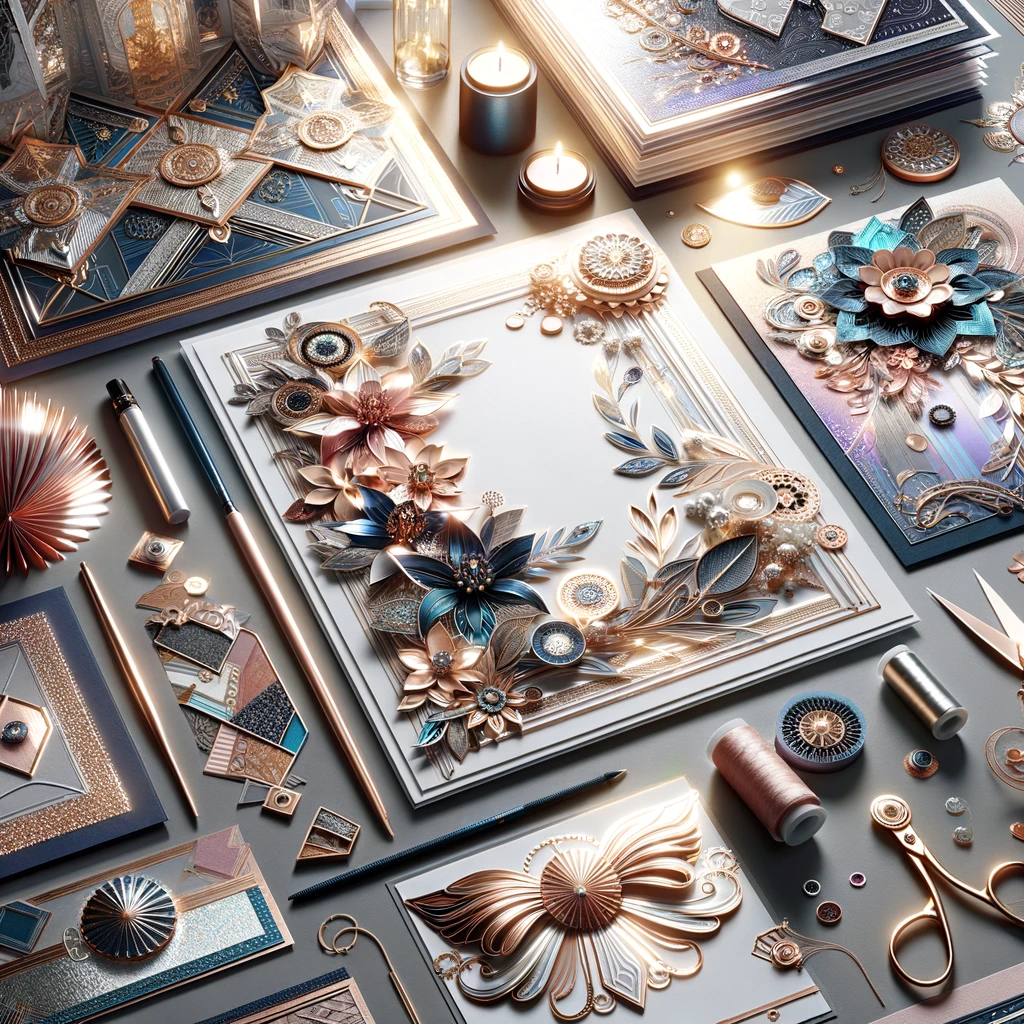
Foil crafting is not just an activity; it’s an artistic expression, a way to add a touch of luxury and sophistication to your creations. The allure of foil paper lies in its ability to reflect light and add depth, making each piece a little more special. Reactive foil, a key player in this craft, is specifically designed to interact with certain types of adhesives, allowing for precision and ease in creating intricate designs. This type of foil, when paired with the right tools and techniques, opens up a world of possibilities, from elegant greeting cards and vibrant scrapbook pages to custom decorations and unique gifts.
Introduction
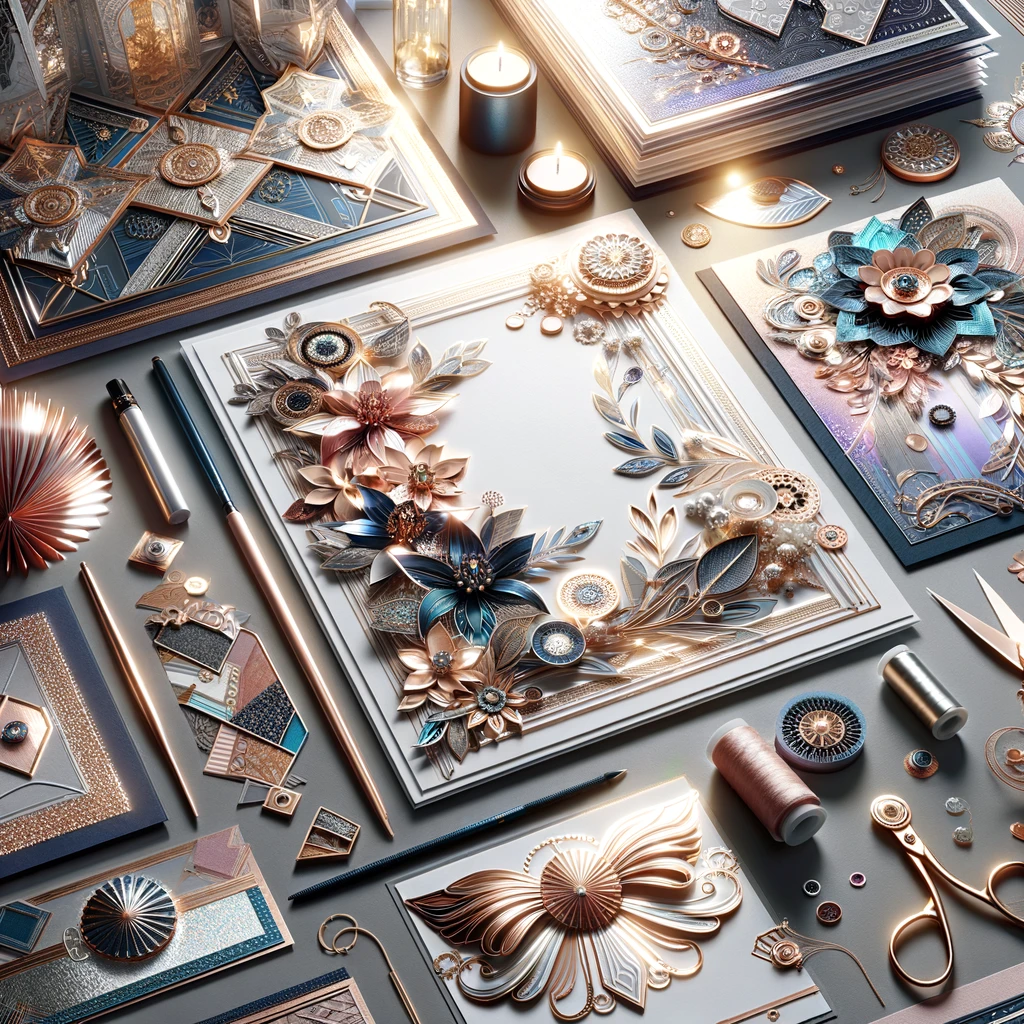
As we dive into this extensive guide on using foil sheets in paper crafts, we will explore the various types of foil, the essential tools and supplies needed, and the basic setup for successful foiling. We'll share simple yet effective techniques for beginners, fun and creative project ideas to inspire, and even touch on advanced methods for those looking to challenge their skills further. Our journey will also include tips for maintaining and storing your foil craft supplies to ensure they remain in perfect condition for your next creative project.
So, gather your foil sheets, prepare your crafting space, and let's get started on this glittering adventure together. Whether you're seeking to add a touch of glamour to your crafts or aiming to create something truly breathtaking, the world of foil crafting is ripe with potential. Be in awe of the radiance of foil paper and let your creativity shine through as we explore how to use foil sheets with easy papercraft projects. Welcome to the shimmering, creative world of foil crafting, where every project glows with potential and every craft tells a story.
Understanding Foil Sheets
At its core, foil paper is a thin layer of metal applied to a paper backing, creating a surface that catches light and adds a metallic sheen to any project. There are various types of foil sheets available for crafters, with reactive foil and craft foil being among the most popular. Reactive foil, in particular, is designed to react with certain types of adhesives or materials, allowing it to bond seamlessly to specific areas of your project, creating intricate foil elements with ease. The choice of foil not only adds a luxurious touch to your work but also brings an element of sophistication and depth that other materials cannot replicate. You can work with different sizes of surfaces plus use a variety of types of foil designs using a simple technique or even expand your ideas using different types of foil.
Getting Started with Foil Crafting
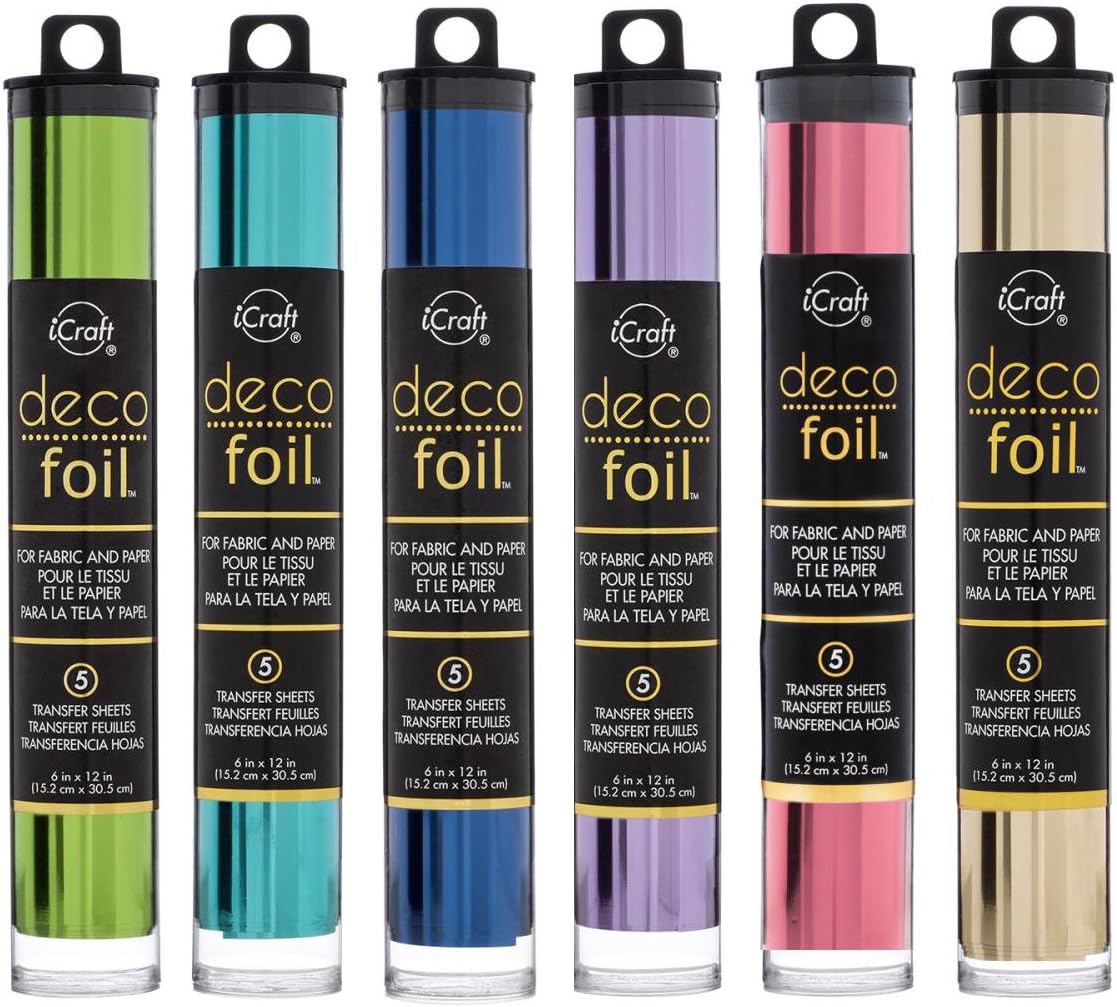
To embark on your foil crafting journey, you'll need a handful of essential supplies. The cornerstone of your toolkit will be the foil paper or foil sheet, available in a variety of colors and finishes. Next, a reliable foil tool is indispensable for applying heat and pressure, crucial in the hot foiling technique. This method involves heating the foil and pressing it onto your material, a process that creates stunning, professional-looking results. Additionally, gather your basic crafting tools like scissors, adhesives, and any specific foil stamp dies you wish to use for your designs. Setting up a dedicated crafting space will
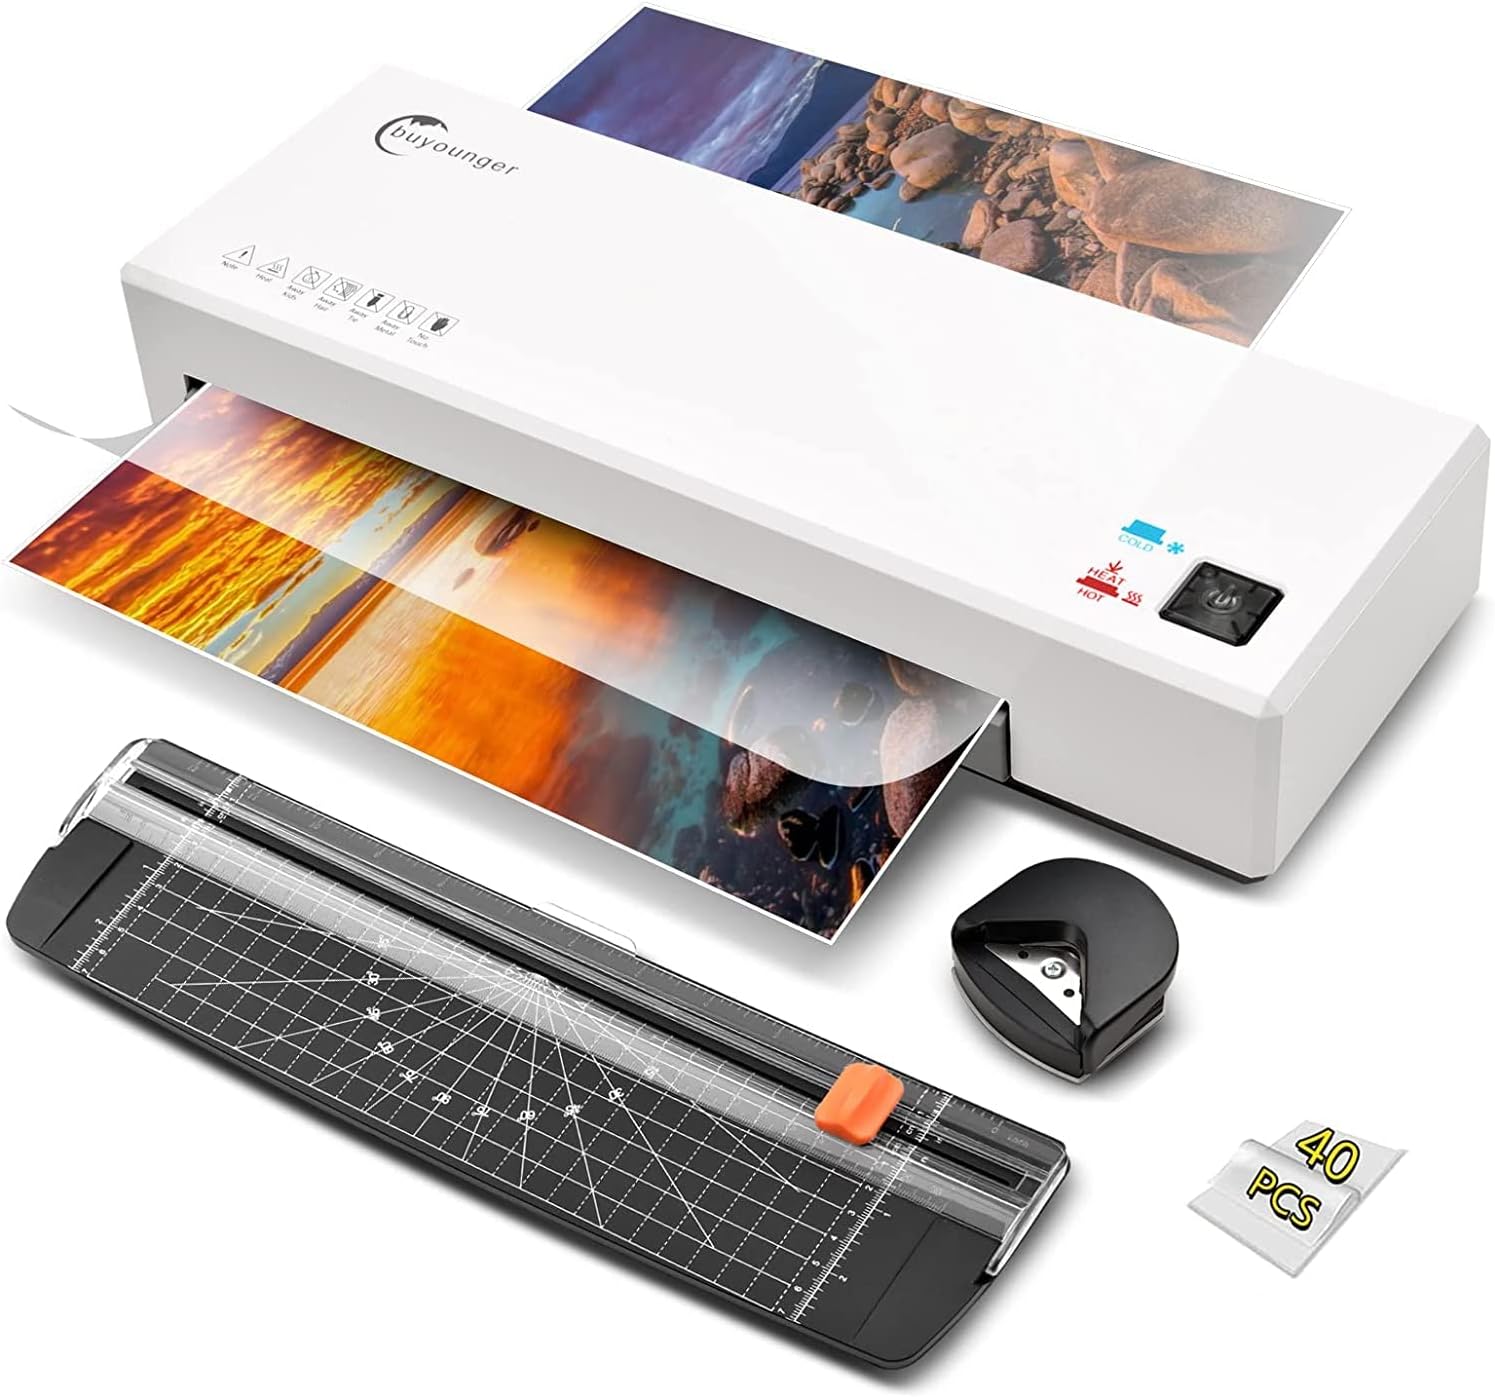
also streamline your creative process, making it easier to experiment and craft with joy and ease. For me, printing the design onto paper with a laserjet printer then pushing it through a laminator with the rose gold foil attached was a game changer. It made my homemade cards sizzle beautifully.
Simple Techniques for Beginners
Hot foiling, a popular and simple technique in foil crafting, offers a gateway into creating stunning foil elements with minimal effort. Here's a beginner-friendly guide to get you started:
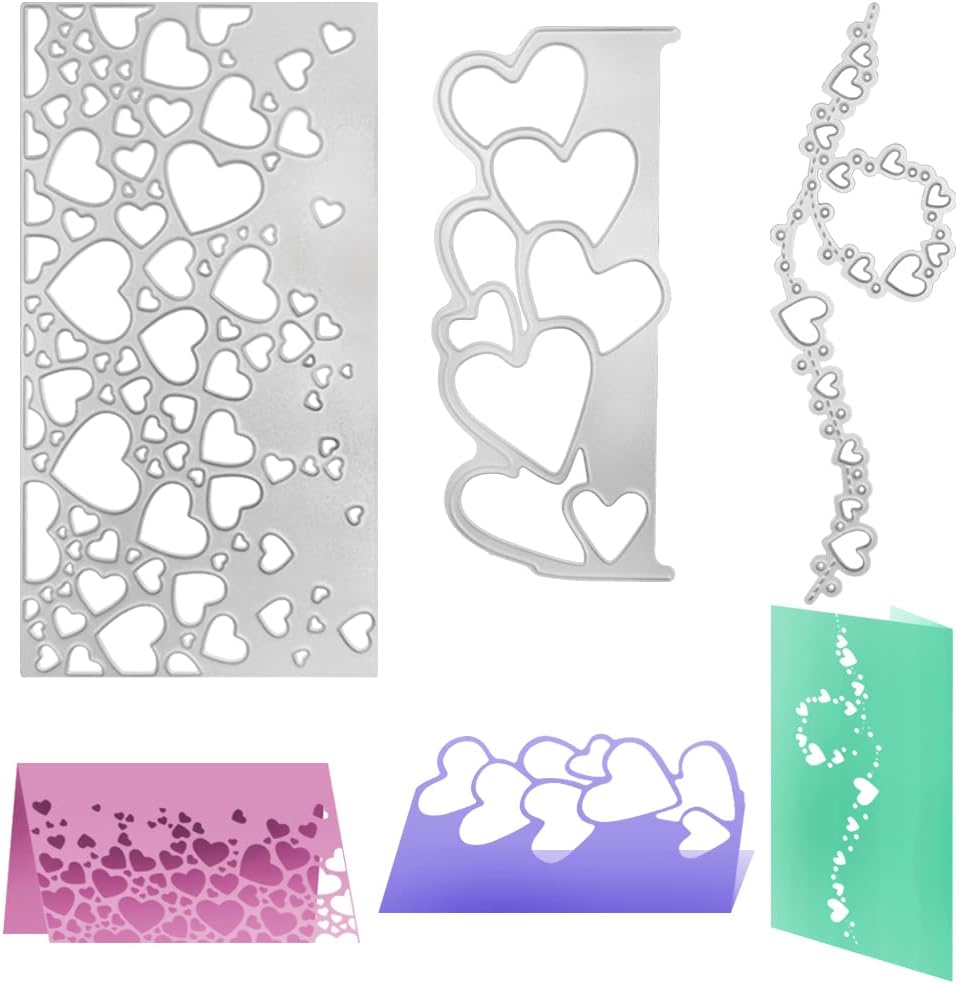
- Choose Your Design: Start with a foil stamp die or a pre-designed template. This will be the shape or pattern that will be foiled onto your project.
- Prepare Your Materials: Place the foil sheet over your material (like cardstock or paper), with the colored side facing up.
- Heat it Up: Use your foil tool to apply heat and pressure to the foil sheet. This process activates the adhesive layer, causing the foil to stick to the underlying material. Remember you can purchase a laminator inexpensively and use many of the same techniques using foil craft supplies.
- Reveal the Magic: Once cooled, gently peel away the excess foil to reveal your shimmering design. It's like unwrapping a gift – each reveal brings a sparkle of excitement! There is nothing like gorgeous metallic designs at your fingertips.
By following these steps, even beginners can achieve professional-looking foil designs. Remember, practice makes perfect. Don’t hesitate to experiment with different patterns and pressure levels to find what works best for you.
Our Favorites
Our Favorite Foil Supplies:
- Therm o web
- Cricut Machine Foil
- Heidi Swapp
Our favorite Foiling Tools:
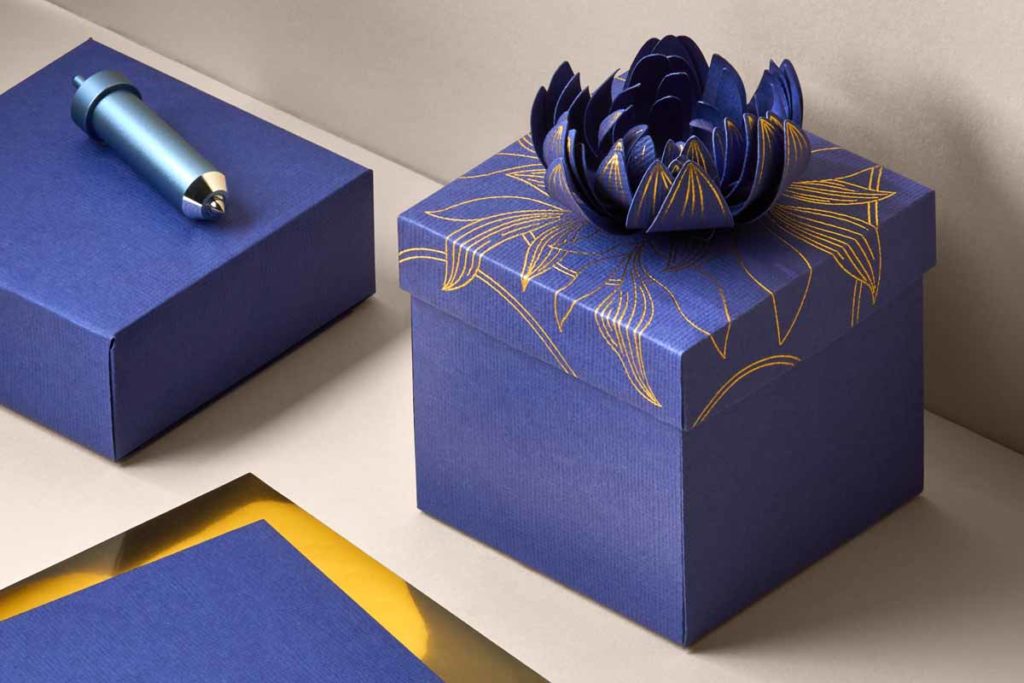
- Cricut Foil Tool
- We r memory keepers foil quill (Now We R Makers)
- Foil sheets used with a laminator
Fun Ideas with Foil Sheets
The real fun in foil crafting lies in the endless creative possibilities it offers. Here are some fun ideas to get your creativity flowing:
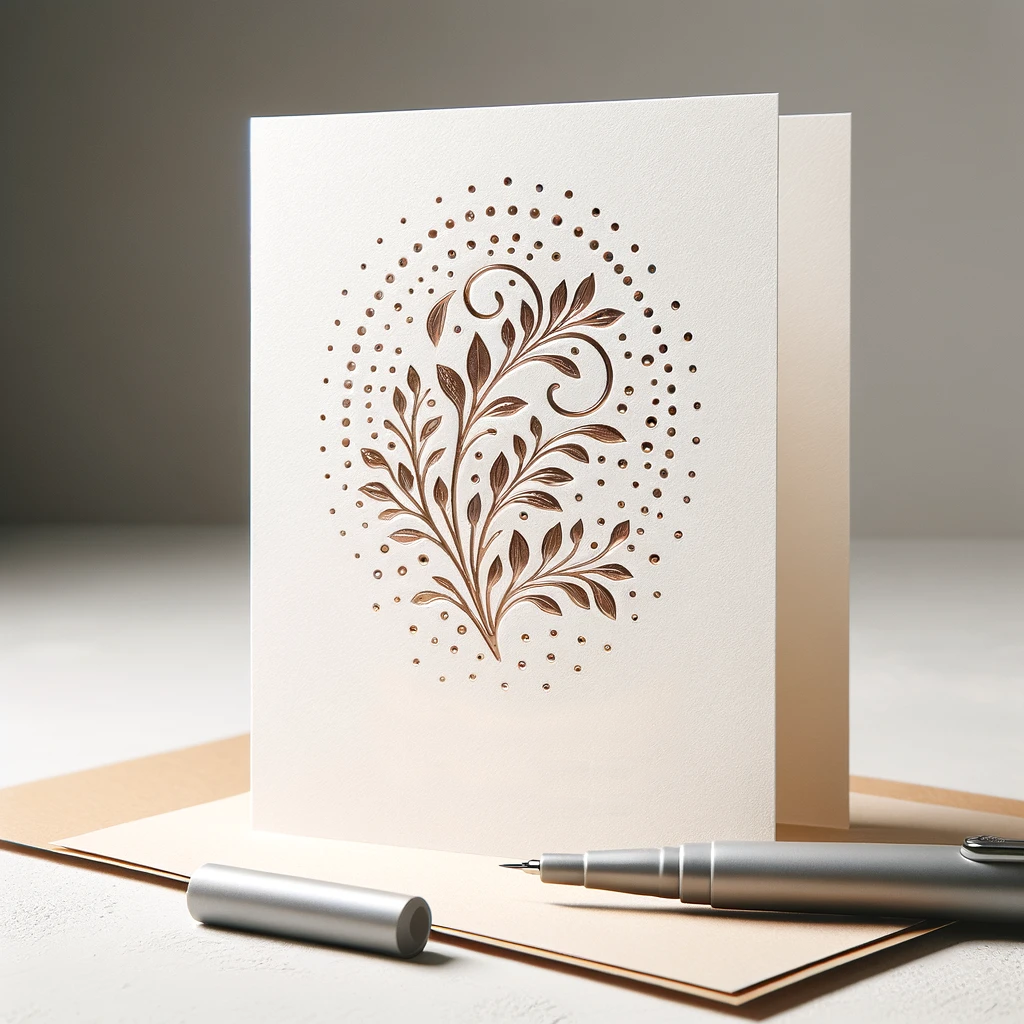
- Greeting Cards: Add a touch of luxury to your handmade cards with foil accents. Whether it’s a birthday card or a thank-you note, a bit of foil can make it extra special. Use a Cricut pen or foil colour sheets to snazz up your design.
- Scrapbooking: Elevate your scrapbook pages with foil embellishments. Use reactive foil to highlight titles, borders, or special memories. Imagine using transfer foil to really enhance your own designs. The possibilities are endless.
- Custom Artwork: Create unique wall art or personalized gifts by incorporating foil designs. Abstract patterns, quotes, or even foil landscapes can add a modern twist to your décor. Foiling does not need to be difficult, Simply draw an image, duplicate it with a laser printer, and then apply foil and heat to make your design stand out from the crowd.
Each project is an opportunity to explore the vibrant world of foil paper, experimenting with different colors and textures to find the perfect match for your vision.
Advanced Techniques
For those looking to dive deeper into foil crafting, exploring advanced techniques can be incredibly rewarding:
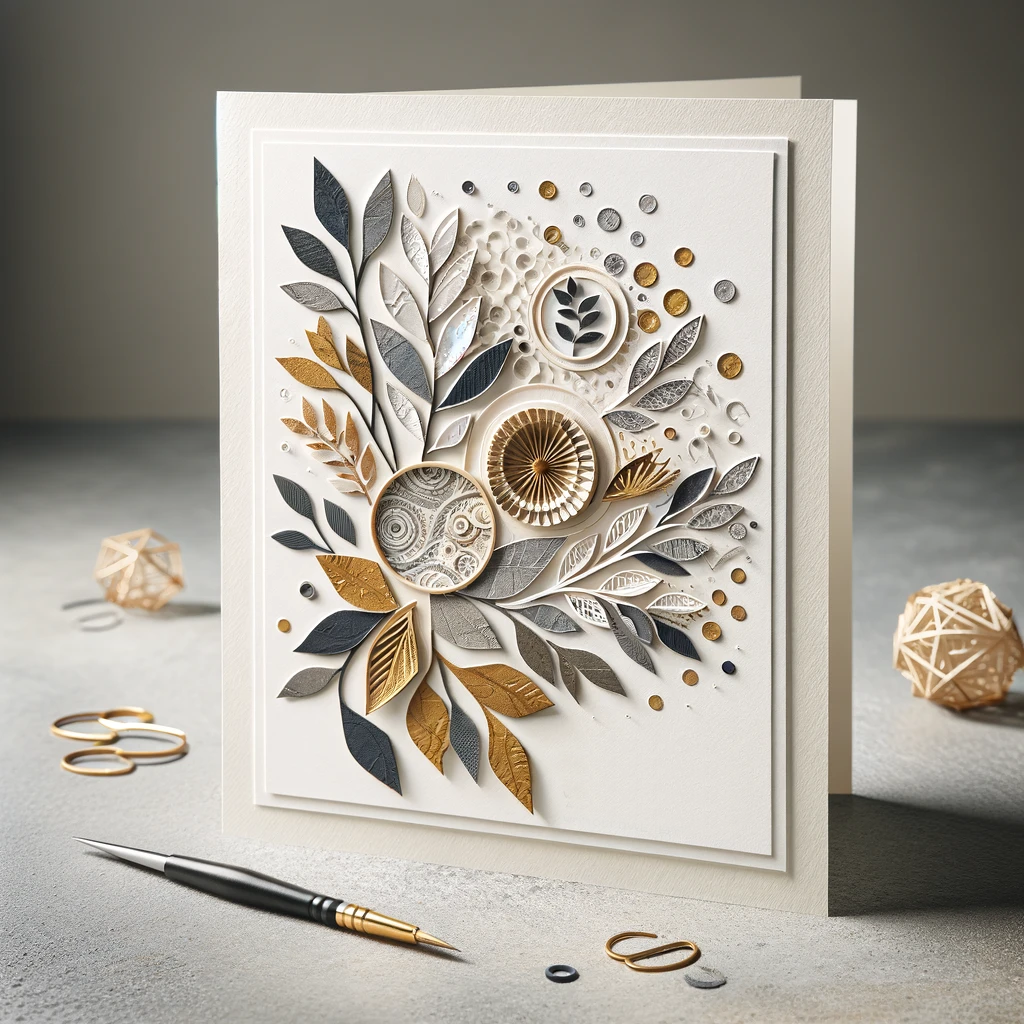
- Layering: Combine multiple layers of foil in different colors to create complex, multi-dimensional designs.
- Mixed Media: Integrate foil elements with other crafting techniques like embossing or watercolor for a mixed-media masterpiece.
These advanced techniques require patience and practice, but the results are truly breathtaking, offering a new depth and sophistication to your craft projects.
Maintenance and Storage Tips
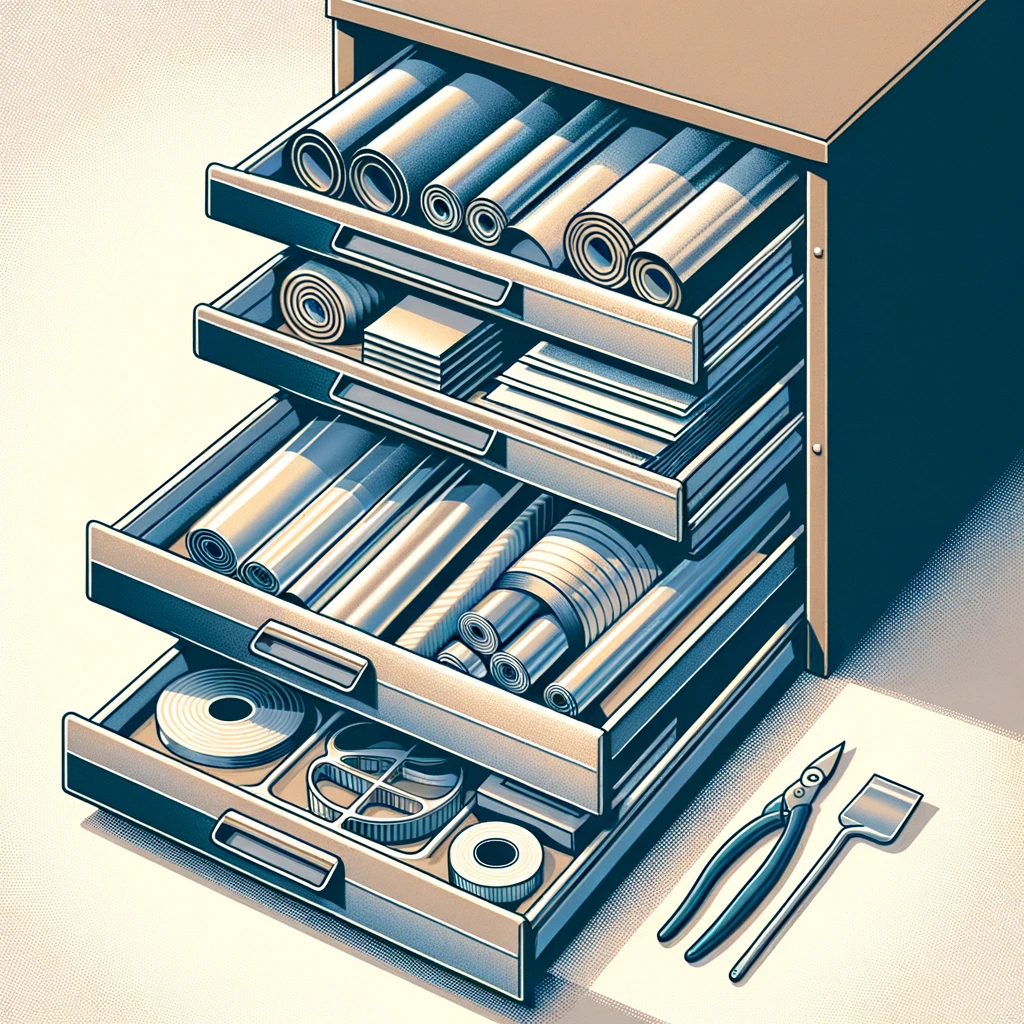
To ensure the longevity of your foil craft supplies, proper storage, and maintenance are key:
- Foil Sheets: Store your foil sheets flat or gently rolled in a dry place to prevent crinkling or damage. Treat your foil gently so you can get maximum usage.
- Foil Tool: Regularly clean your foil tool to ensure optimal performance and prevent any residue build-up. Think about a Cricut foil tool - make sure the ends are clean at all times for the best foiling experience.
Caring for your supplies not only prolongs their life but also guarantees that they are ready for your next creative endeavor.
Final Note
Embarking on the journey of foil crafting is an exciting adventure, filled with the joy of creating and the thrill of experimenting. From the simplest of projects to the most intricate designs, the addition of foil brings a unique charm and elegance. The world of crafting is full of fun ideas for making a great craft experience. Whether you're crafting for relaxation or creating personalized gifts, the world of foil sheets and foil paper offers endless possibilities to express your creativity. So gather your supplies, embrace the shimmer, and let your artistic spirit soar as you craft beautiful foil projects that sparkle with your unique touch. Happy crafting!
