Folded Butterfly: Make Your Own with Cardstock
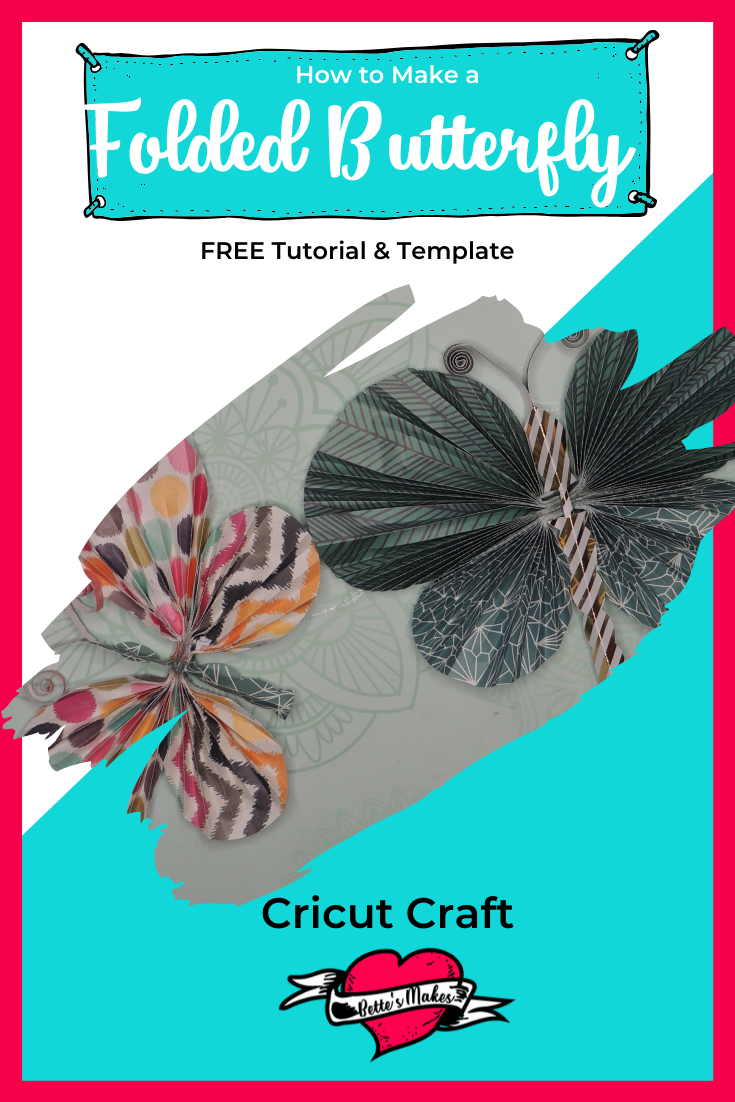
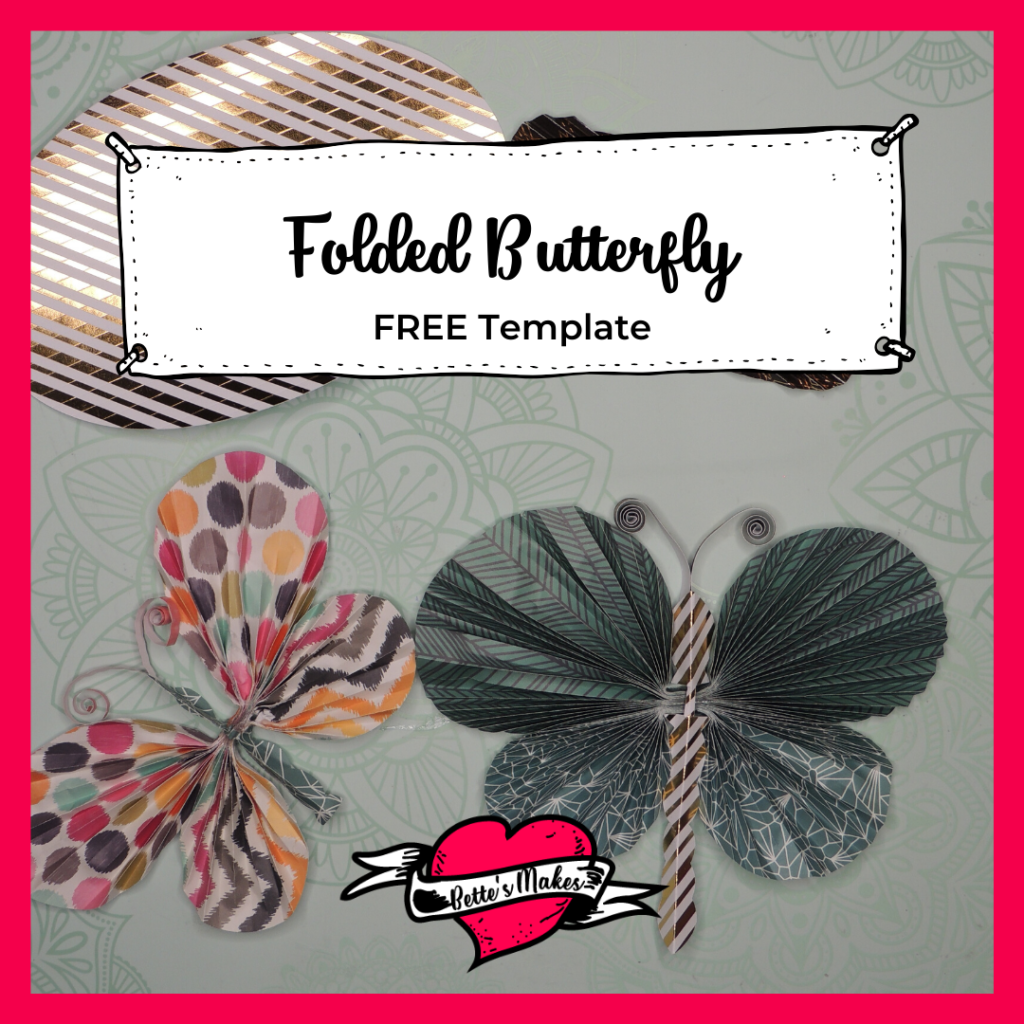
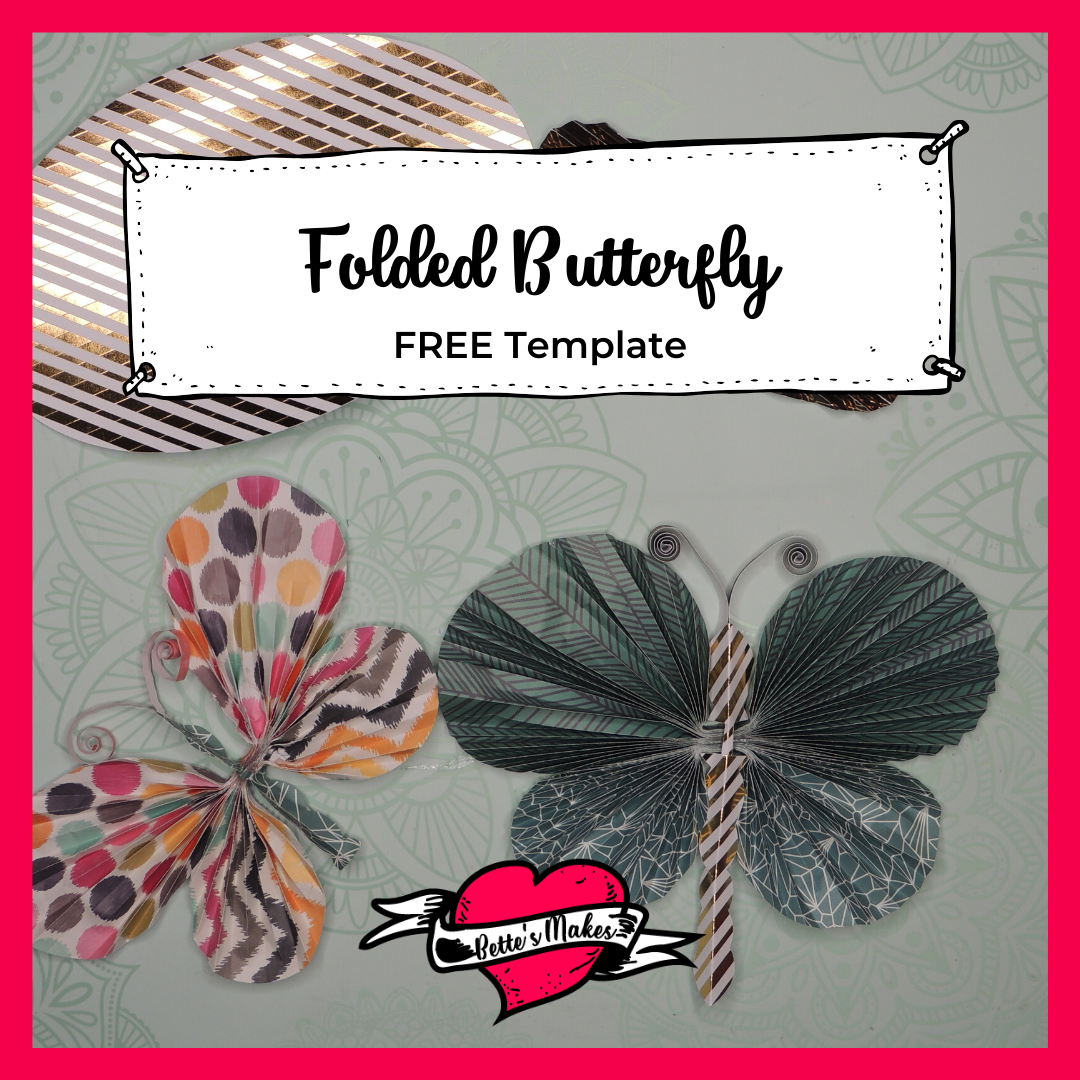
Folded butterfly decorations are so much fun to create! You can use your left over cardstock, pages of old books, even recycled wrapping paper. These butterflies (butterflies are my favorite) are easy to make and the whole family can make some. They make perfect wall decorations.
I have used them to make mobiles (you can make a mobile to go over the top of a crib with these cute designs). I am using a few as screen decorations so that I do not walk through the screen door by accident. These butterflies catch my attention long before I do damage to the door. Have you ever done that?
I often wonder why I love butterflies so much - maybe because they remind me of spring and summer. During these cold winter months all I can dream of is the return of the butterflies, birds, and leaves on the trees. How do you feel about winter?
Back to this project. I have seen a few samples on Pinterest that are similar, and they are also gorgeous. I know you will find this tutorial very easy to follow. So let's start making those butterflies!
Here’s what you need to make your unique folded butterflies. As a reminder: This post does contain some affiliate links for your convenience (which means if you make a purchase after clicking a link I will earn a small commission but it won’t cost you a penny more)! Read my full disclosure policy.
Quick Links to Information in this Post
Folded Butterfly Materials
Folded Butterfly Step-by-Step Guide
Step 1 - Template
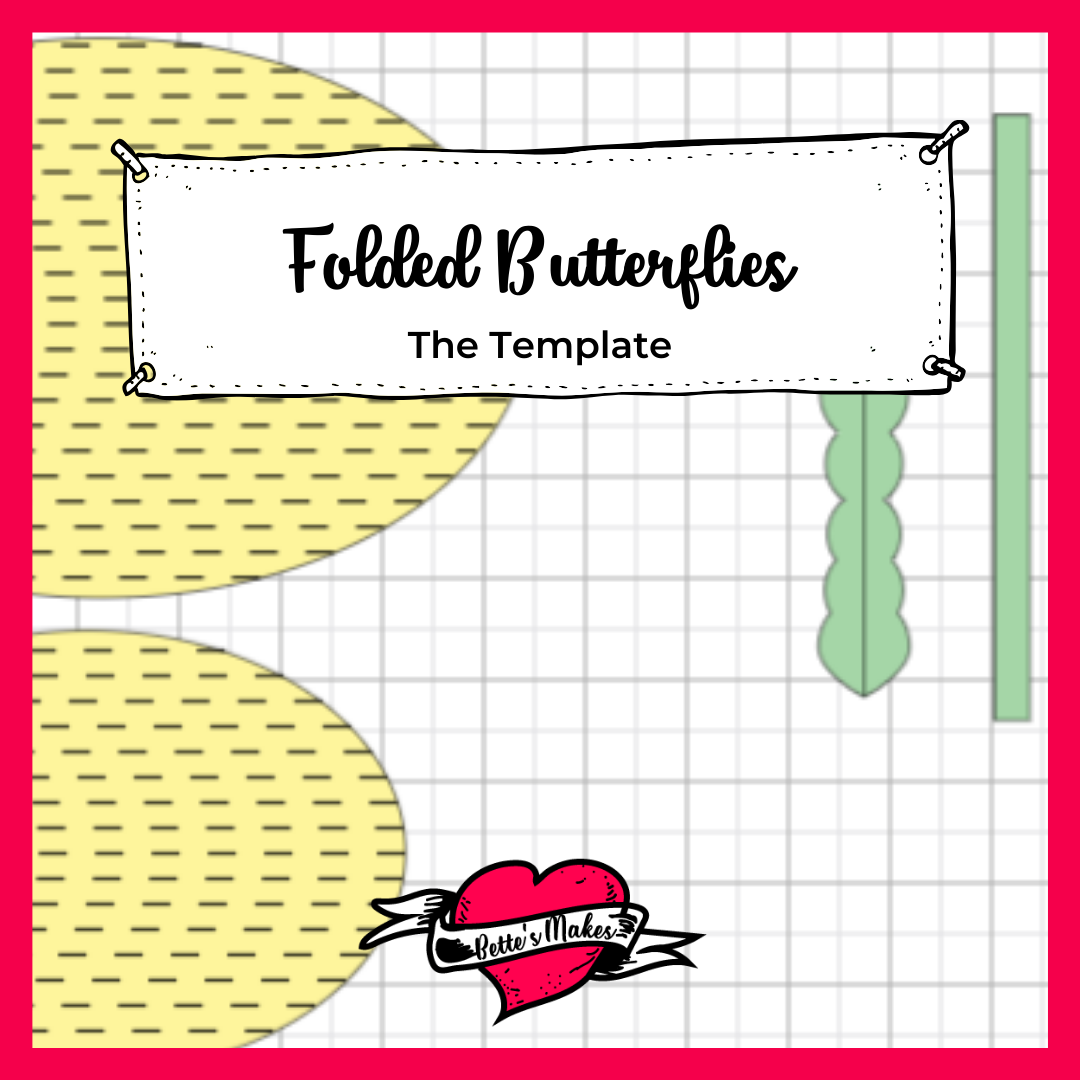
Download the template files (resource library) for this project and upload them to Cricut Design Space.
There will be only 1 file:
1. Folded Butterfly Template (SVG and PDF)
Please note you can use any type of paper for this project, you do not need to have card stock, you can even use newspaper and get the same effect.
Step 2 - Design Space Adjustments
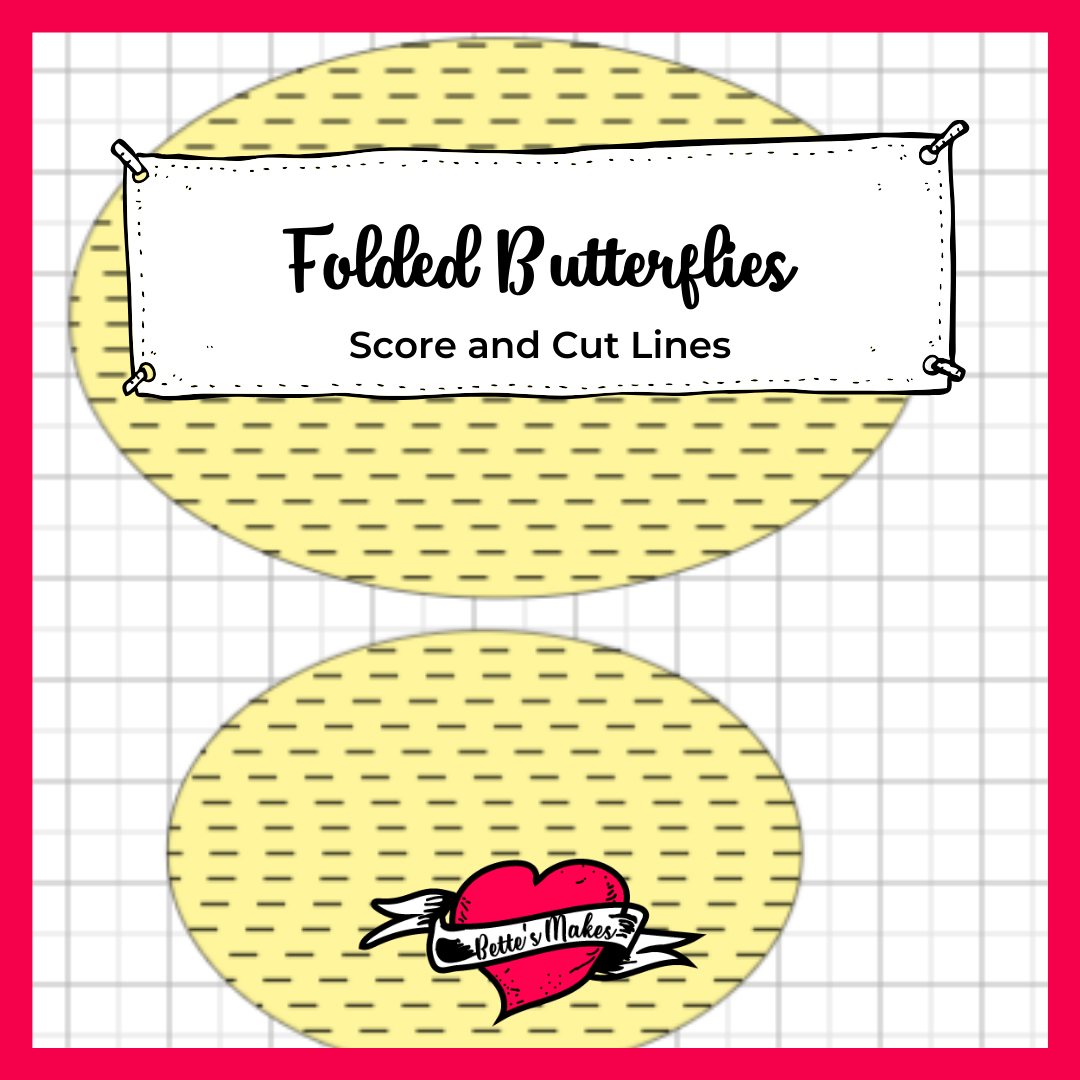
Make changes to the SVG files so that you have two sets of lines.
1. The outside cut line.
2. All interior lines should be set to score.
NOTE: You will need to select the each of the wings and their score lines then click on ATTACH. This will ensure that you are going to have scoring on the wings in the correct location.
3. Select different colored paper for the wing top, the wing bottom, the body, and the antennae. This way you will have a multicolored butterfly. You can cut all of these on one mat by placing each part in a different section of the mat, then cutting out pieces of paper to fit in those spots.
Step 3 - Make it!
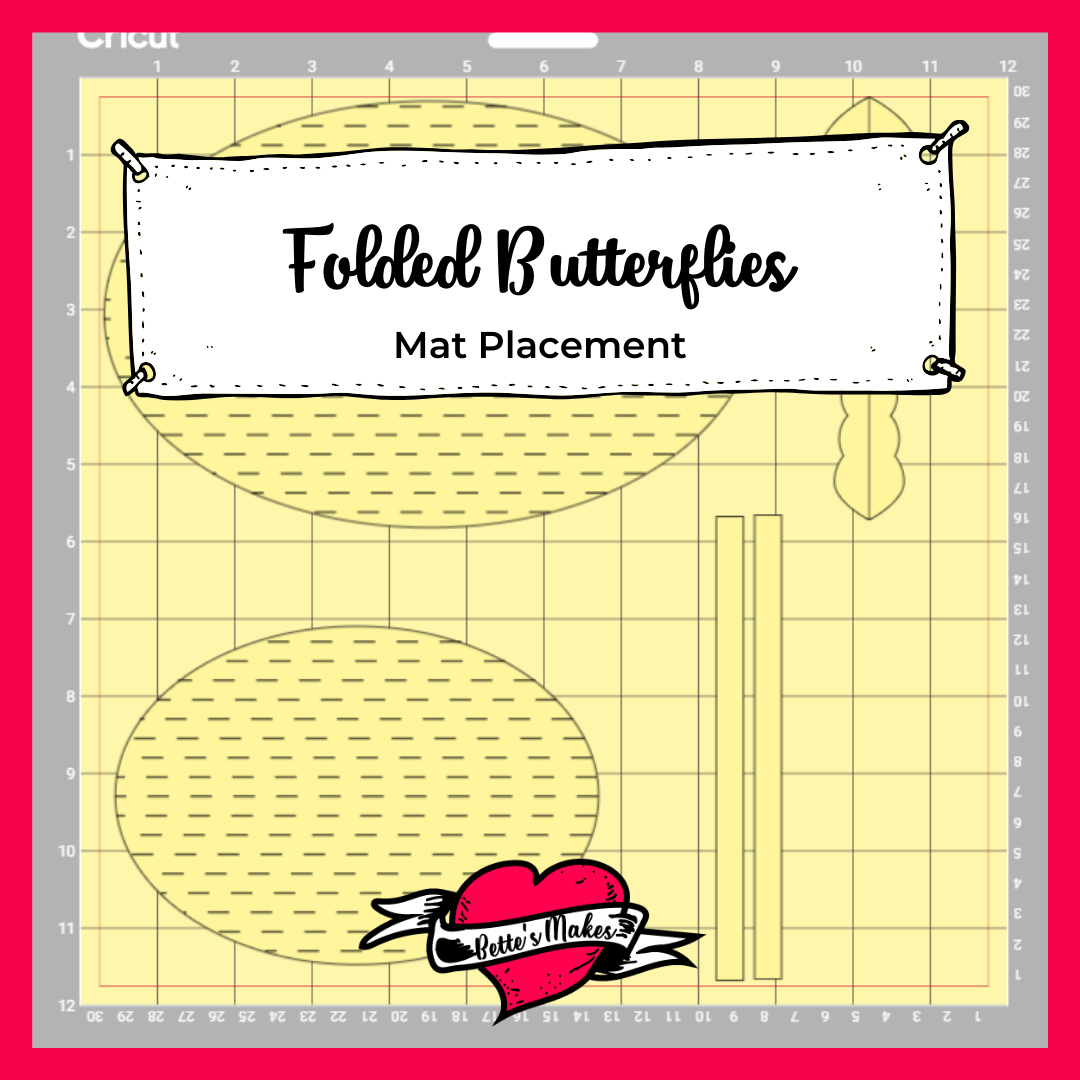
Check your mats and the processes to make sure all the lines are being processed correctly. In other words, make sure you are scoring and cutting in the right locations, while cutting is only the outside of the shape.
All interior lines should be set to score.
Step 4 - Assembly
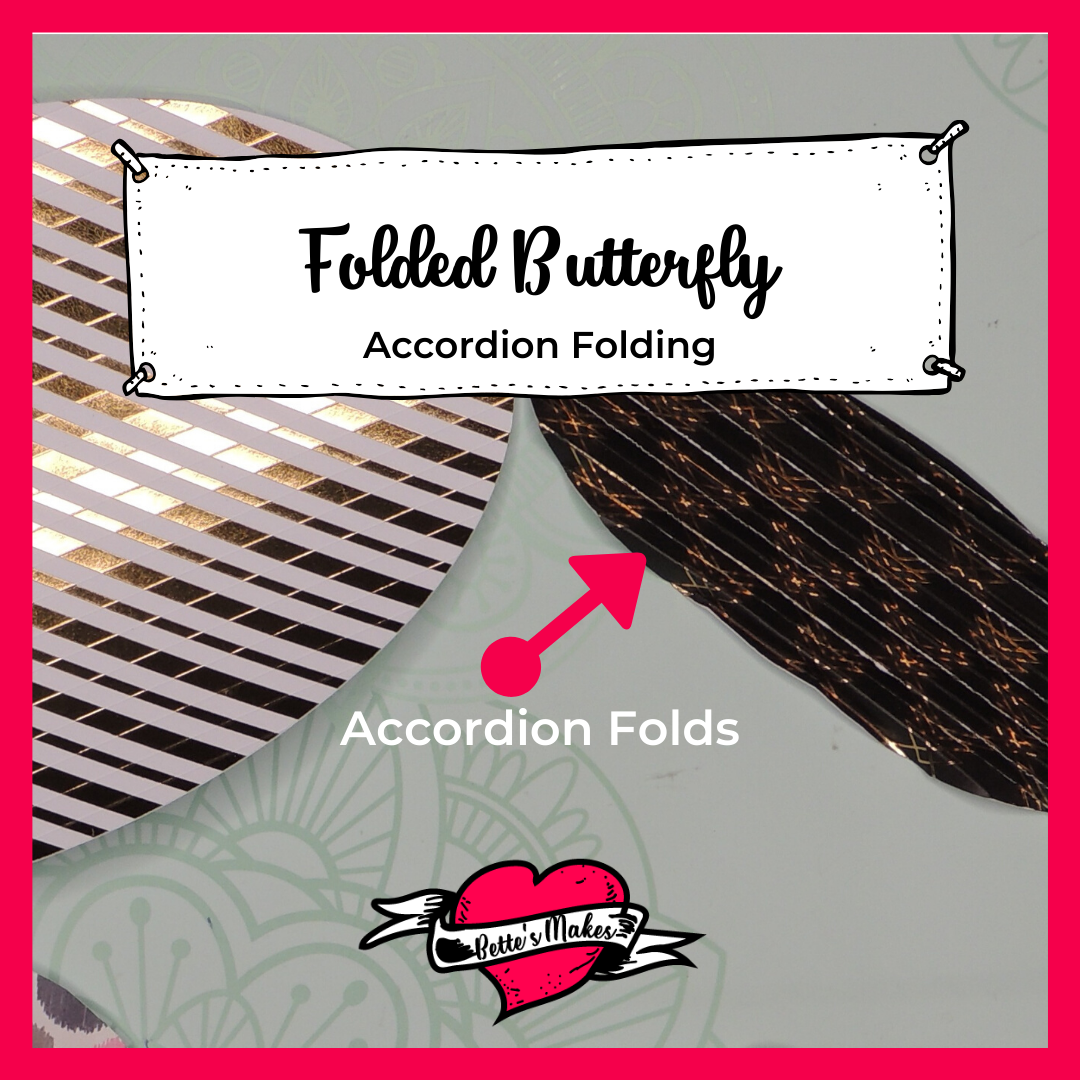
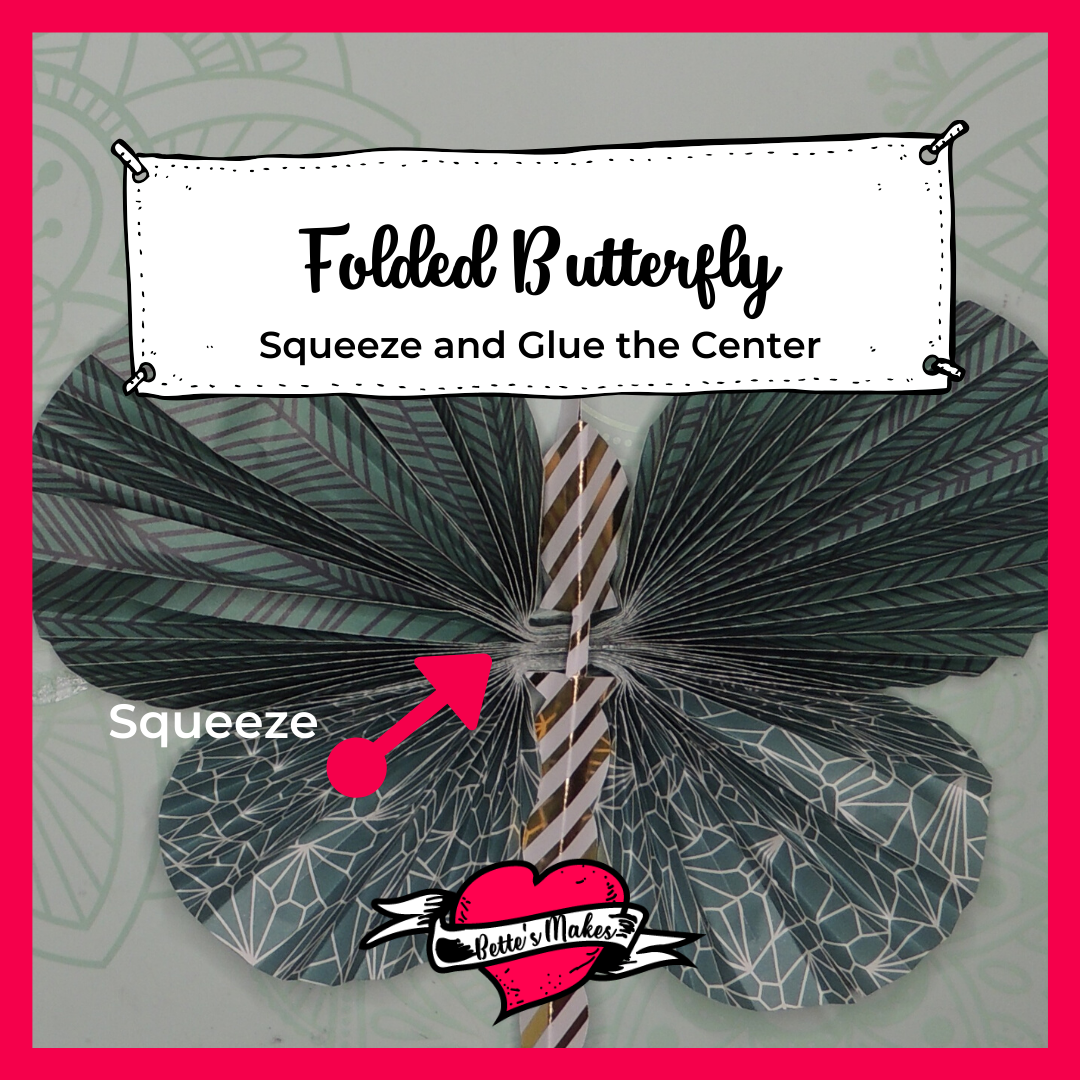
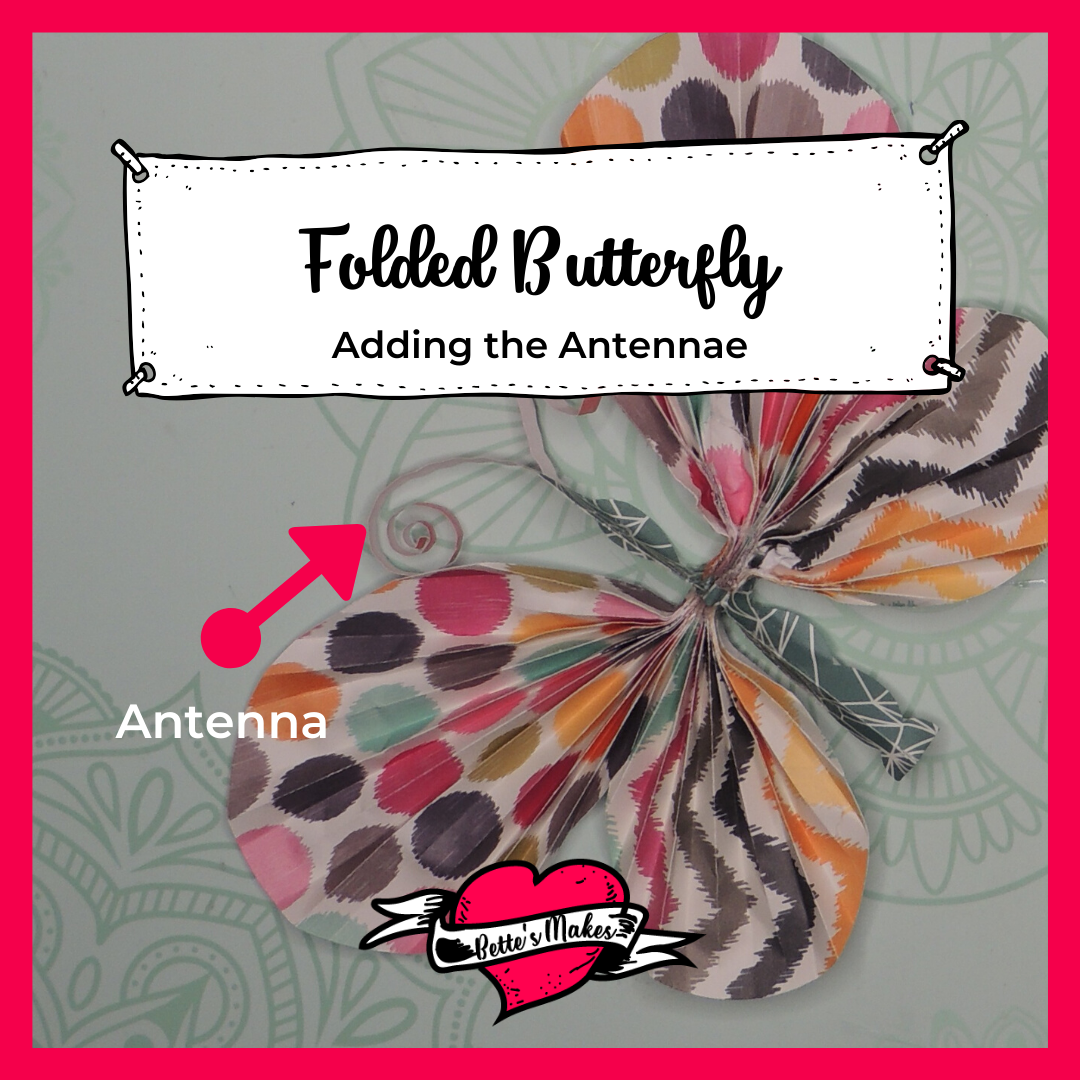
Fold each score line as follows:
1. The odd number lines will be a Valley Fold.
2. The even number lines will be a Mountain Fold.
Simply fold the score lines back and forth for each of the wings.
Assembling the Wings
1. Fold each folded wing in half so you know where the center point is located.
2. Glue the top wing to the bottom wing at the center point - you will need to help these in place until the glue is dry enough to hold the two pieces together.
3. Squeeze the wings together at the center so that the paper now starts to like a butterfly with wings. Apply glue across the top of the center section and hold in place with clips. You will want this to be dry before going on to the next step.
Assembling the Body and the Antennae
1. Fold the body in half along the score line then open in up slightly.
2. Use a quilling tool or a dowel to roll the antennae up into a swirl. Keep at least 2 inches uncurled.
3. Glue each antenna to the inside of the head of the body, making sure the swirls are facing outward on each side.
4. Attach the body to the wings. The cut indent in the body should fit over the center of the wings. Attach with glue.
Your project is now complete!
Show us what you made! Share your project on https://facebook.com/groups/BettesMakes
Reading About Paper Art
Making your own folded butterfly is just the start when it comes to paper art! I thought you might like to explore these ideas that I found on Amazon.
If You Can Cut, You Can Collage
Check out My Latest Videos
Last Word
Folded butterfly decorations are so much fun to make. This is a perfect craft for kids to make as well. You can cut these by hand or use your Cricut to do the scoring and folding. I used my Cricut as I always mess up my folds.
It is not necessary to have perfectly symmetrical folds for this projects. As a matter of fact, these butterflies take on shapes that make them so unique. Even nature has so many different varieties of butterflies. Why not color yours to match your room or just to be in your favorite colors!
The colors of butterflies in nature usually depend on their living habitat. No one set of colors will ever be wrong.
Add some flare with using old magazines, comic books, or packaging! This is the perfect upcycle craft!
I hope you had as much fun with these as I did.
Share your butterfly makes on our Facebook group. https://Facebook.com/groups/BettesMakes
Until next time,
Happy Crafting!


Join my Facebook
group: https://facebook.com/BettesMakes
Follow me on Instagram:https://Instagram.com/BettesMakes
Subscribe to my YouTube Channel: https://www.youtube.com/channel/UCzMHoceK1XiXi8IykicnUmQ
NEW Pinterest Profile: https://www.pinterest.ca/BetteMakerCreations
Please pin this image to your favorite board, the more saves, the easier it is to share this tutorial to other crafters. The pin will truly be appreciated!
