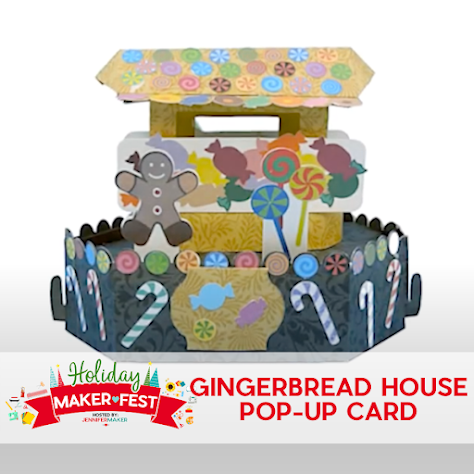
How to Fold the Gingerbread Cart Card

The video for this project is available from the Holiday Maker Fest All-Access area. You can still buy yours even though the event is long over. Just in case you do not want to buy one, I am including how to put this project together once you have it cut.

This is not perfect but if you have already seen the video, hopefully you will be able to get each step correct.

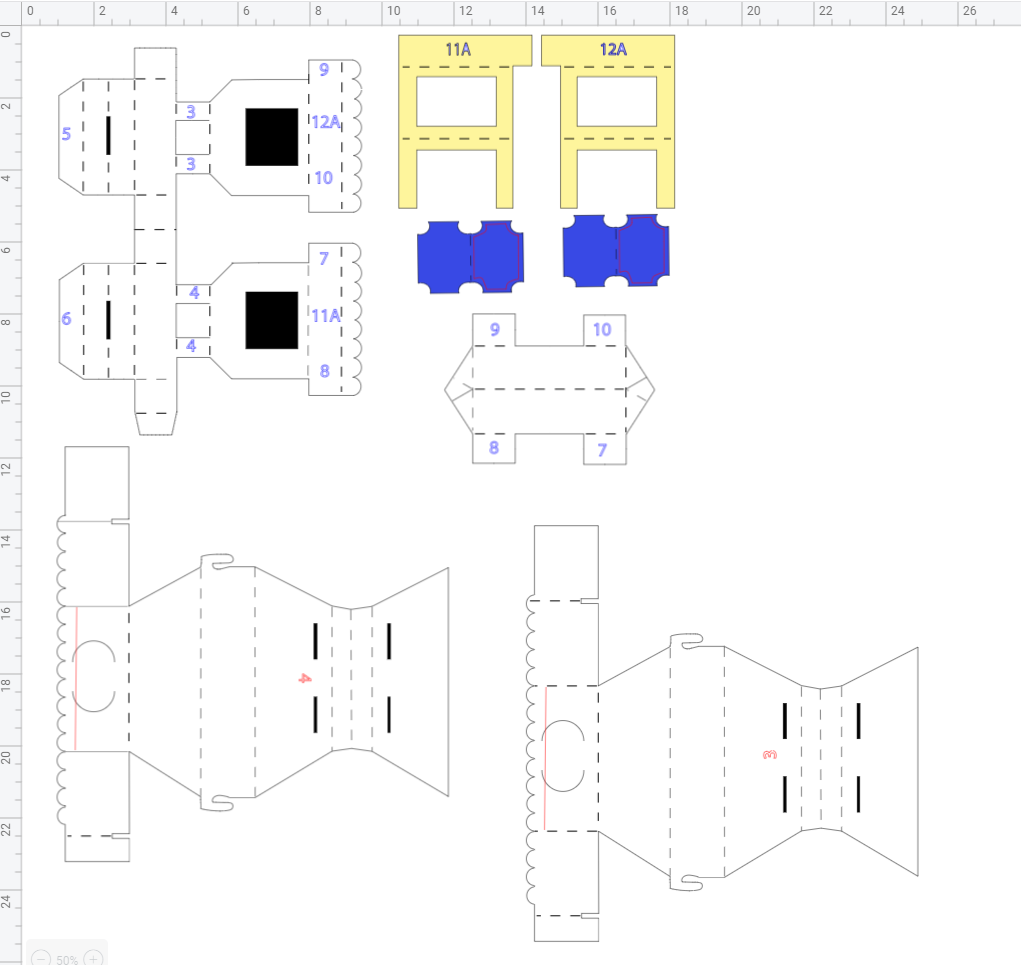
Before we begin, you will need to have all your files ready with score lines and draw lines. See the diagram below:

If you do not have the files: Download them from my resource library (Asset #300)

Here you will find the steps for folding the project:

Scoring the Bottom

This the first step in making your Gingerbread Cart Card. You have two bottom pieces - one has a 3 on it and the other a 4.

Find these two pieces and make sure you fold all the score lines. You will need to do this before you start putting the bottom together.


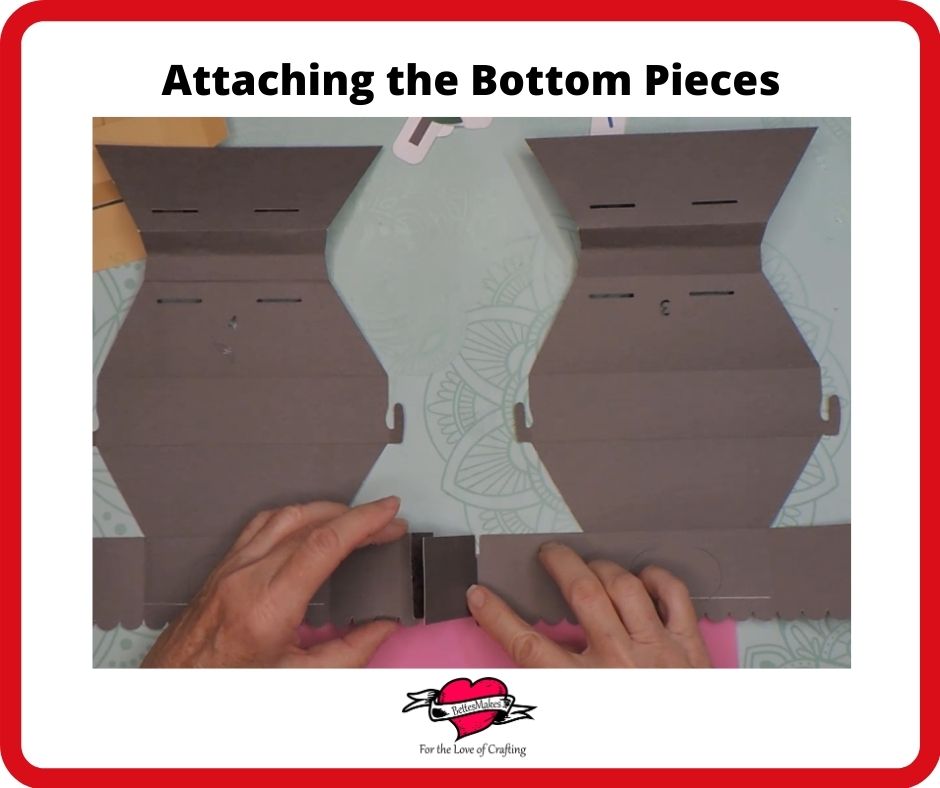
Gluing the Bottom Pieces Together

Here you will only glue one side together and leave the other one open.

this is so that you can work the other pieces in place.


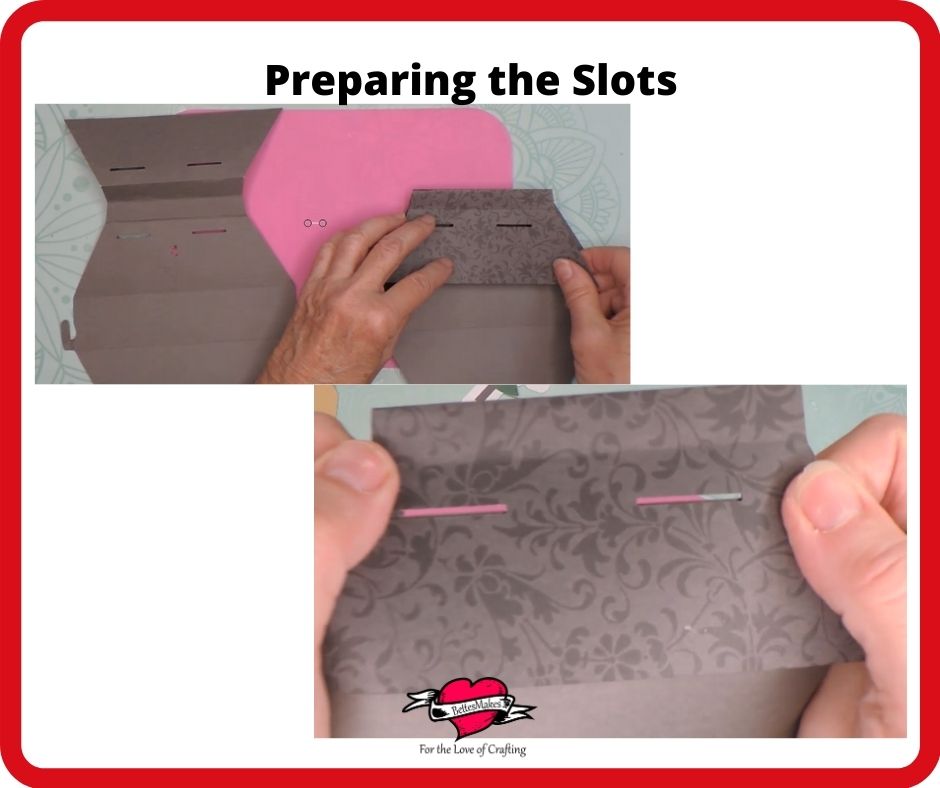
Gluing the Slots Together

The second step in the process is to fold over the numbered bottom piece and glue it together. You must make sure the slots are perfectly lined up so you can add your "stand-ups".


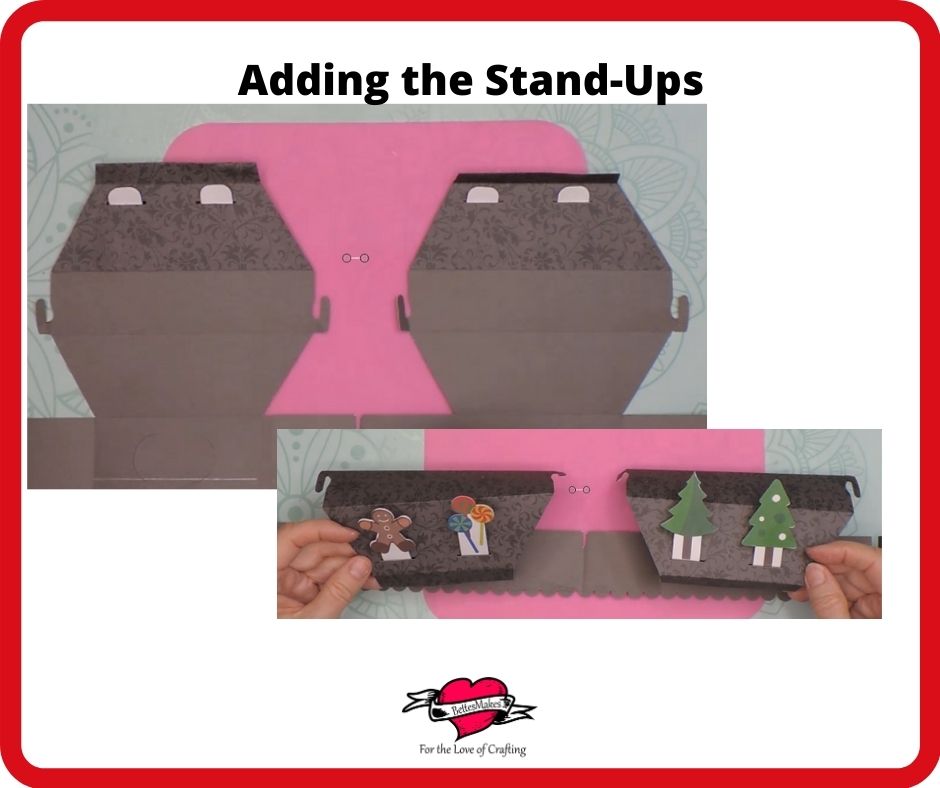
Adding the Stand-ups

Fold over the end pieces of your stand-ups and slide them through the slots then glue the fold pieces in place. Do this for all 4 stand-ups.


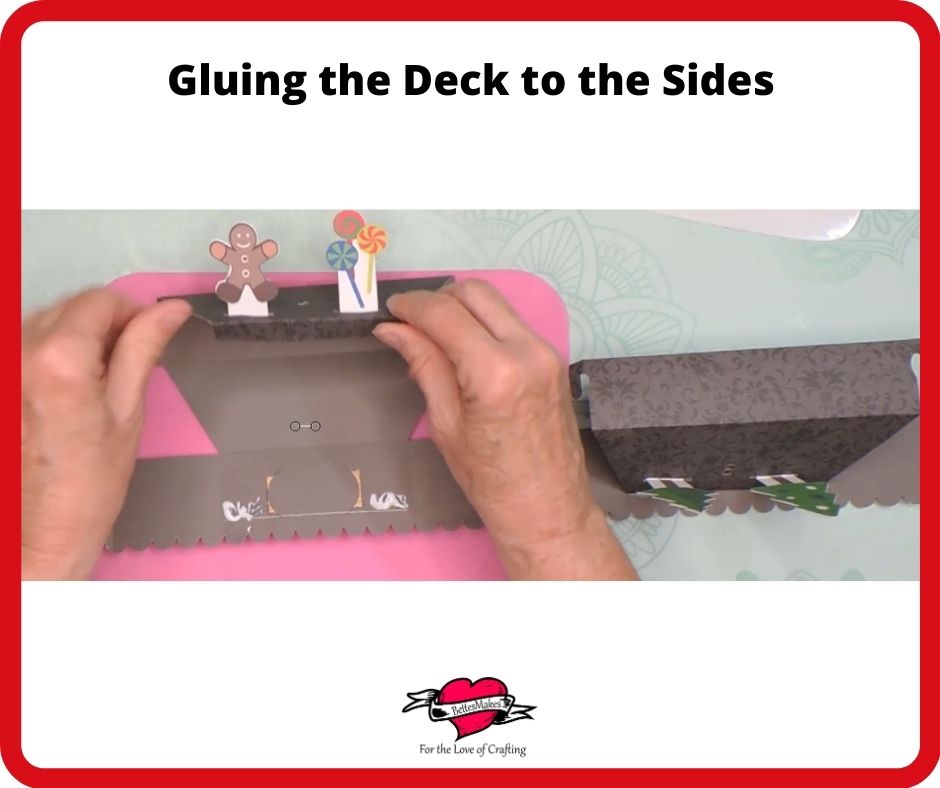
Gluing the Deck to the Cart Bottom Sides

Now that you have your stand-ups in place it is time to fold over the ends of the bottom. Take that folded piece and line it up with the draw mark on the scalloped outside piece.

Only glue the outside edges to the outside.as you will need to leave enough space for the "ticket" to slide in place.

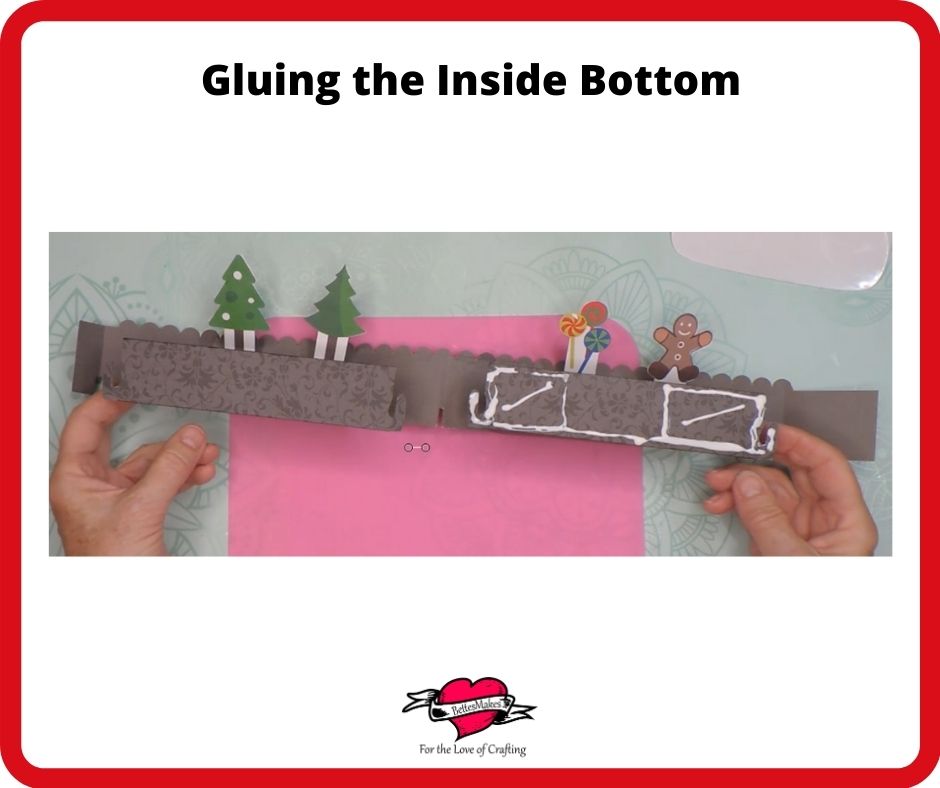
Gluing the inner Deck

With the outsides glued together, it is time to glue the middle of the deck together. Before you start, you must leave the center part unglued to fit the "cart" piece into place.

Add you glue and slide the two tabs into place on the side that is closed. Leave the other side open as we will glue this in place later.

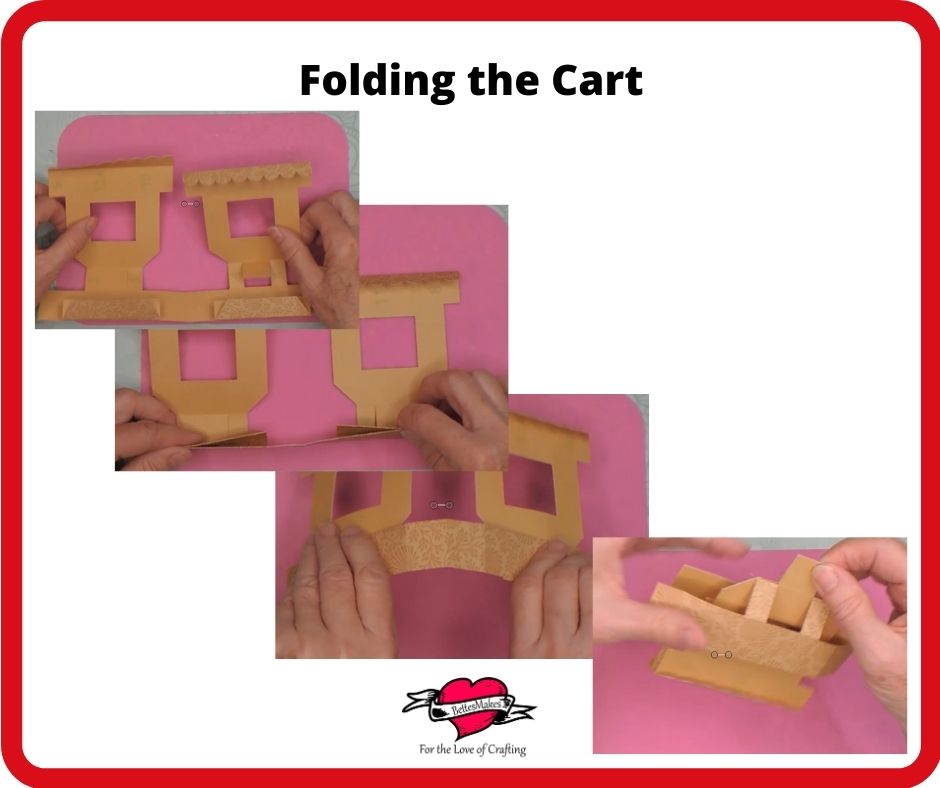
Putting the Cart Together - Folding the Cart


This takes a little bit of practice because the fold flips up from the bottom so that you have a tongue sticking out in the middle.

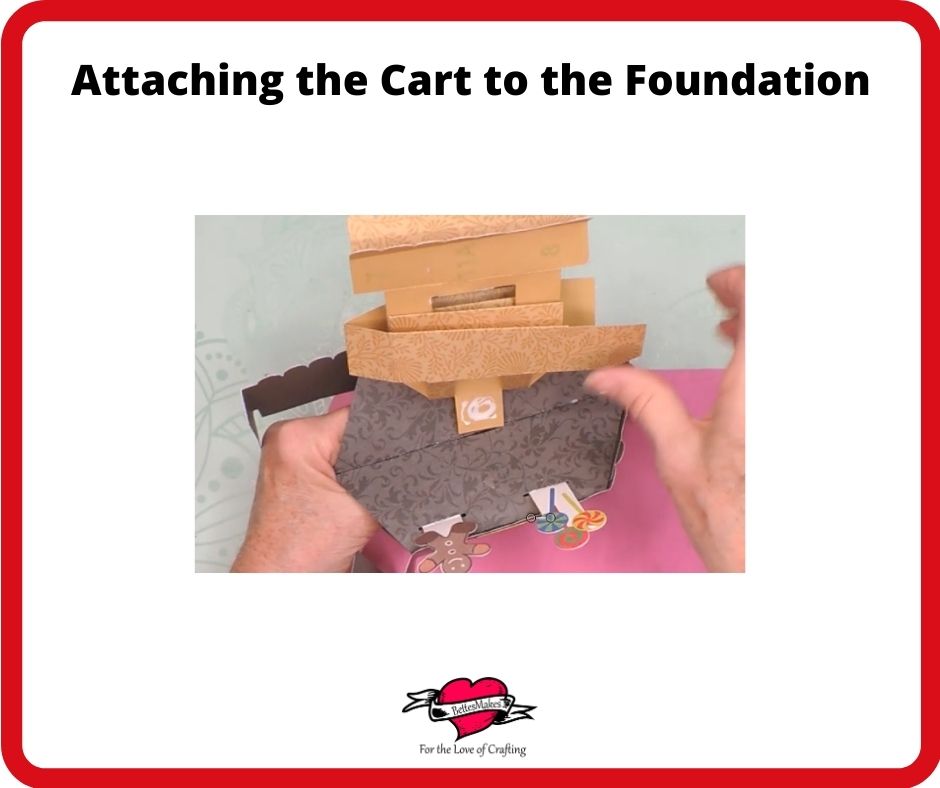
Gluing the Cart Bottom to the Base

Line up the inner "windows" and glue them together.

You will now glue the tongues into the center of the bottom. This way the cart part will stand up in the center of the card.

Gluing Cart Together

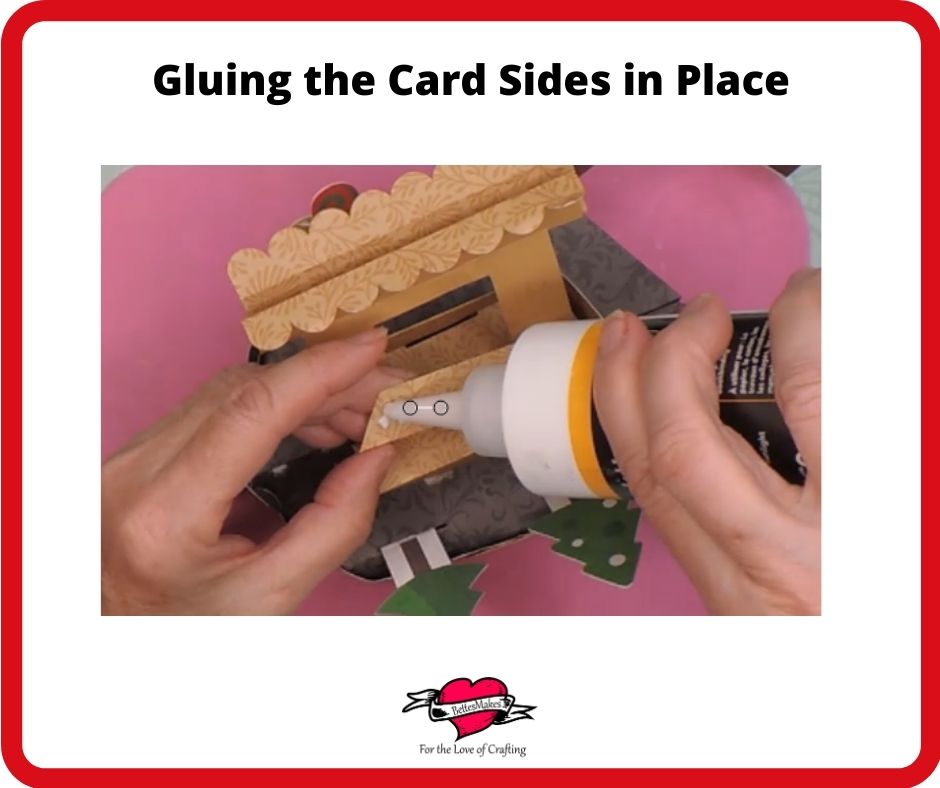
Once you have the bottom and top glued together, you will be gluing the edges of the cart in place. 

It is a small space but you want to glue the inner parts together as shown in the diagram.

Adding the Roof to the Cart

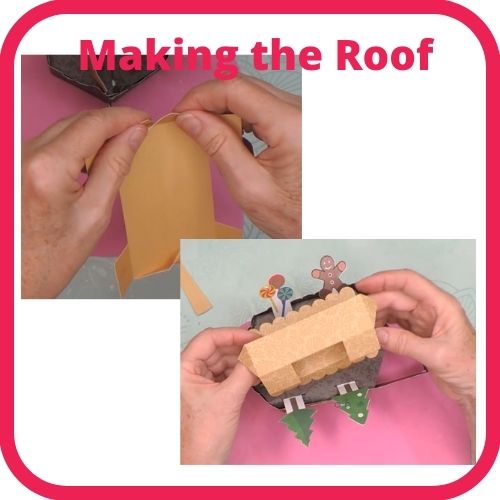
The last part is to put the roof together and glue it in place.

First glue the end pieces of the roof so it has a peak!

Next, glue the edges together to form an eave on both side.


Adding in the Windows and Closing the ends

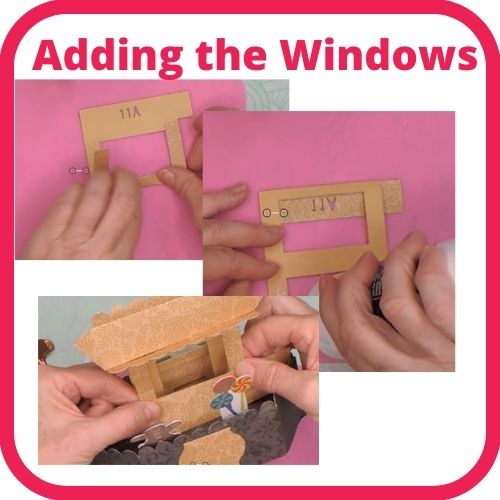
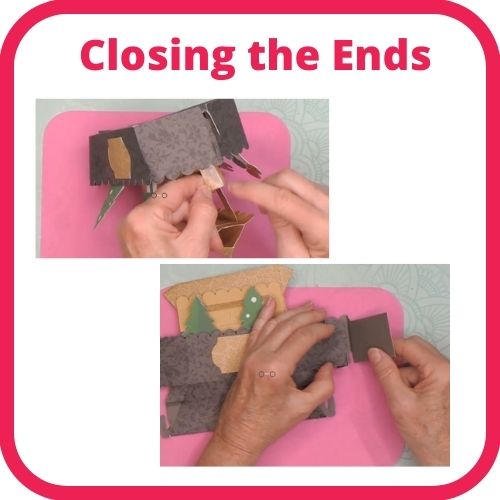
Now to glue the windows in place and the ends of the cart together.

The very last item is to glue the end part of the bottom together so you have formed the entire cart card.

Perfect! Now you are ready to add your decorations!

Decorating

In the files you were given many different types of decorations you could use. You can also make up ones of your own!

Remember that this card folds down so you can mail it, therefore, you do not want to add so many decorations that it will no longer fold!

I know that this will still take you time to put together, but at least with the images, it should be a lot easier. For me, the toughest part is the inside out fold for the cart itself but once you master that piece, it should be smooth sailing!

Have fun with this and happy Crafting!

Please join me on Pinterest: https://Pinterest.ca/BetteMakerCreations

Join my Facebook group: https://facebook.com/BettesMakes

Follow me on Instagram: https://Instagram.com/BettesMakes

Subscribe to my YouTube Channel: https://www.youtube.com/c/BettesMakes

Bette Daoust
Bette Daoust

Dr. Bette Daoust is a Copious Crafter with many crafts and techniques completed with very many more to go. Bette's Makes ❤️ DIY Home Decor DIY Craft Tutorials, DIY Paper Flowers

    1 Response to "Gingerbread Cart Card 2020"

    • Yvonne

      Bette,

      I love your projects. You are very creative.

Comments are closed.