Flower Pounding Basics
Flower Pounding is nothing new, it has been used for centuries for dying clothing, making paints, and adding color to everyday life. I came across flower pounding many years ago when studying art and art forms. I felt it was a very natural way to bring nature into the world long after the flower blooms had faded. Some of the vivid colors of nature can easily be replicated using very simple techniques with a hammer or even a rock. I prefer to use a hammer with a very large end (the peen) – as a matter of fact, I use a rubber mallet and it seems to work the best for this project.
The flowers we will use today are ones that are currently blooming in the garden. Some will work better for color transfer and others will simply add hues and tones to your design.
Quick Links to Information in this Post
- Handmade Card Using Flower Pounding Materials
- Handmade Card Using Flower Pounding Step-by-Step Guide
- Reading About Flower Pounding
- Great Videos around Flower Pounding
- Flower Petal Resource Guide
Here’s what you need to make your own Handmade Card using Flower Pounding. This post does contain some affiliate links for your convenience (which means if you make a purchase after clicking a link I will earn a small commission but it won’t cost you a penny more)! Read my full disclosure policy.
Resource Library
Today we are going to explore handmade cards using flower pounding to make some beautiful designs. I have added a flower guide for today’s project to the resource library to help you along. Be sure to download the guide before you get started.
Handmade Card Using Flower Pounding Materials
- Card Paper – use a paper that will easily absorb dyes. Watercolor paper is ideal.
- Masking Tape – you will use this to hold down the flowers onto the paper before pounding starts.
- Scissors – you will need these to cut the flower petals and cut your card.
- Cutting Board – or solid surface for pounding the flowers.
- Hammers – or you can use a rock as well for pounding the flowers into the material. Parchment Paper – to cover the paper while pounding to prevent messes.
- Flower Guide – use this guide for gathering the best flowers for this handmade card using flower pounding project.
Handmade Card Using Flower Pounding Step-by-Step Guide
Step 1 – Download the flower guide.
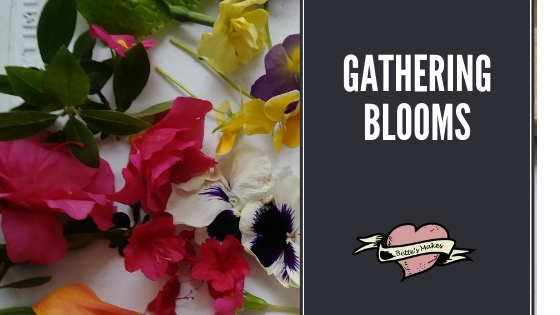
Step 2 – Head out to the garden and gather some of the blooms you want to use for your project. You should also gather some leaves for greenery. Leaves have great color transfer and they also give you the opportunity to add many different shades of green.
Step 3 – Prepare your handmade card cuts ahead of time. You will not want to cut the card after you have done the pounding. For this project, I cut out a 6″ x 8″ card using watercoloring paper (the best paper for absorbing dyes).
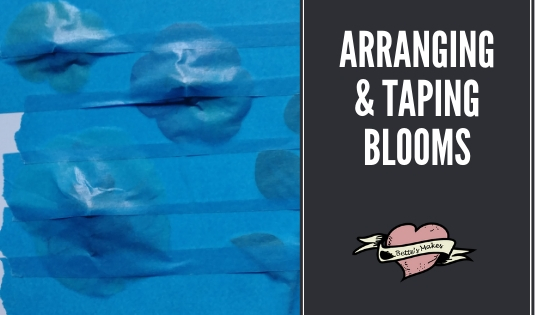
Step 4 – Arrange the blooms and leaves on the card (face down). When you are happy with the arrangement tape them to the card with masking tape or painters tape. Make sure you fully cover all the flower and leaf parts with the tape. You want to use a tape that is easily removed when you have finished with the pounding.
Step 5 – Place the card onto the cutting board with the flowers on top. To be on the safe side, you can cover this with a piece of parchment paper before pounding the flowers and leaves.
Step 6 – Get out the hammer! Start pounding the flowers and leaves into the paper. You need to apply a fair amount of pressure in order to transfer the dye from the flowers to the paper. Don’t get carried away as you may not like your design result! Although I used a rubber mallet, I also tried my Sizzix machine and sandwiched my pansies between the layers. I got amazing results (and it was a lot less noise).
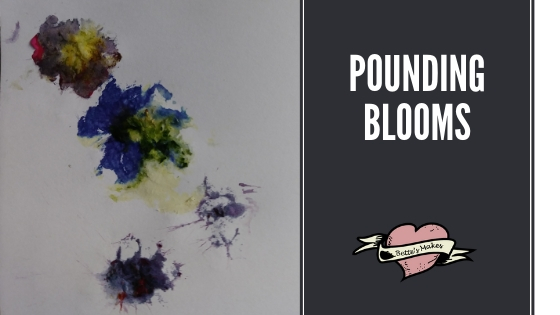
Step 7 – Remove the parchment paper and remove the tape and flowers from the card. Be careful with the tape as it may stick too firmly and you will need to pull it very gently off the surface.
Step 8 – Your design should now be finished. Finish off any other embellishments you want for your card. This card makes a great gift!
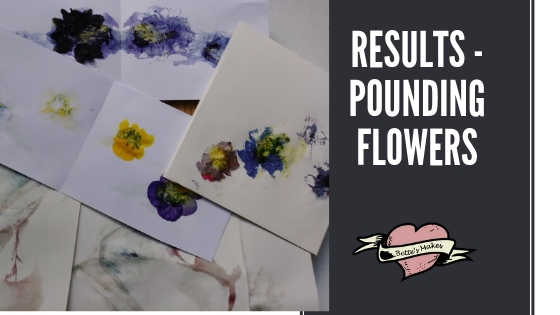
Did you know that you can pound flowers into cotton cloth as well? You can make some stunning tea towels and pillowcases. Just make sure you use a material that absorbs dyes.
Reading About Flower Pounding

Great Videos around Flower Pounding
Botany – Flower Pounding Tutorial
Leaf-Flower-Pounding
SUPER FUN Flower Pounding
Last Word
Handmade Cards Using Flower Pounding is a great project. It appeals to those of us who love to capture nature in many ways. I am not an artist so any way I can make a flower without having to do a lot of drawing really suits me! I found this project great, especially when it came to gathering the right kinds of flowers to use for the pounding process. Not all flowers produce enough dye to make vivid colors but they do add subtle tones to your handmade card.

Don’t forget about my resource library. Today you can download my flower guide so you know which flowers work the best. I also want to let you know that there are many other files in the form of SVG cut files, patterns, and cutouts you can use for any of your crafts – all FREE in the resource library.
When you do this project please share your results in the comments below or on my Facebook page. I love to see what others have tried and share their beautiful work with my community.
Until tomorrow…
Bette
Please share this pin on your boards so you can save this project for later. Thank you and Happy Crafting!
