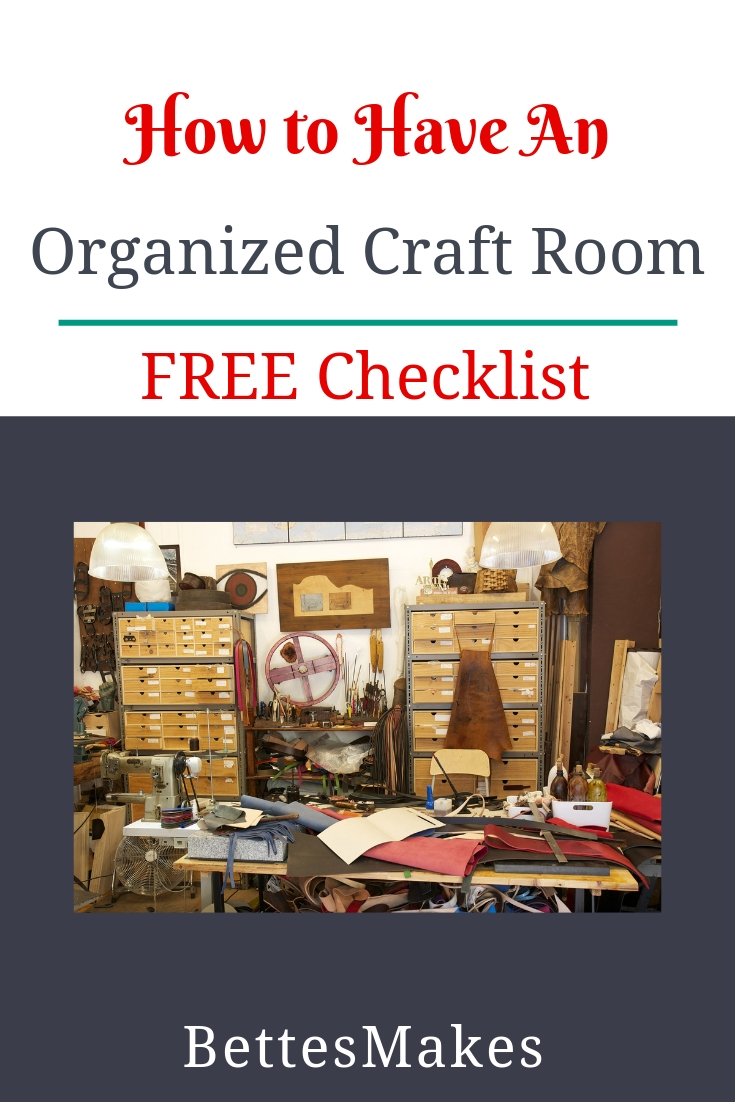
How Organized Rooms Aid Creativity
The messier the room, the more creative you will be! Is that really true? I do believe that some mess is necessary and it is a natural way to get your art, craft, and ideas into motion. But did you know that an organized craft room actually adds time to your day for completing those incredible projects?
People actually spend 25% more time on their crafts when the room is organized. What this statistic is actually saying is that you will spend less time looking for what you want and more time in the creative process. So, when it comes to your craft room, the first thought should be, “Can I easily locate what I need for a project?”
If the answer is yes, then you are well organized and in no need of help.
If the answer is no, please read on so you can get control of your craft room!

Drawers, Boxes, and Tins
You do not need to go out and buy expensive furniture to organize a craft room. You can use old dressers, sturdy boxes (I use the foldable business boxes with lids from the local stationery store), and tins from cookies, candies or food choices. I have even used the packaging I had from Costco purchases. I did find “boxes” that are made of material and fold from IKEA and of course, the IKEA cube bookshelf system is a perfect choice (I own 4 or 5 of these so I can configure my truly very small crafting and work-space). I also purchased a couple of lightweight folding tables – one very small and the other 4 feet long – the larger one is easy to fold and store in my room while the other works as my “desk and worktable”.
If you are going to use storage tubs, get the clear plastic so you can see what is in them without having to open them up.

As part of my business is to do crafts, write about them, and eventually film how to’s, I found I needed to organize my small space in a way that I could do everything without too much interruption. My space measures 6′ wide by 8′ long with a window on one end. S

I do hope you have more space than I do but what I have really works for me! I have the ability to work on my computer completing Illustrations, have space to draw and work on my Happy Planner, and also work with my Cricut Maker. I also have room to use my Sizzix plus store all of my materials at the same time. What I found really worked was having a small area in my “room” to place projects I am working on. Trust me, I use every inch I have access to without taking over the rest of the house. I must admit, I do store my tubs of wool and extra supplies in the bedroom as I seem to collect every kind of craft supply available to mankind.

Great Organization Ideas
Before you begin on your organization journey you may want to pull everything out (your craft supplies) of their current locations. Place them all over the floor so you can take a good look at what you have. This way the organization will be much easier.
As an aside, my daughter is an avid maker. She crafts, knits (she is a master knitter), spinner, artist, and imaginarian. Her supplies are immense and she often finds her children often run off with a couple of items from time to time. Herein lies a problem for her. When she needs something, it is never where she
She does not have a budget for buying storage units so has created many of the organization items by finding old dressers in the thrift stores, buying lumber cut to the size she wants, finding brackets at the dollar store, and getting paint from the discontinued bin. It all saves money and at the same time gives her a creative outlet for organizing her craft room.
First things first. Sort your supplies into groups for the types of crafts you are completing. When you do this then your organization has truly begun.
Next, decide which crafts are the most important for what you are working on today. These ones will be placed the closest to your working area.
Now you have your supplies in a

Adjusting Craft Furniture
This may take a bit of time but you really need to start moving furniture around until you find a plan that works for you. Everyone has a different way of working so what works for me will not necessarily work for you. I love lots of light streaming in from the window (I also love to look out at the garden from time to time and not feel I am locked into a dark closet).

Easy To Grab Stays on Top
When you start putting away your supplies remember that you want to be able to put your hands on them when you need them without having to rummage through a whole box of other supplies. This means you want to place items in the box in an upright position – this way you will be able to see what you want at a glance.
You may want to consider labeling every file folder, every box, and even important magazine articles. Using sticky tabs or post it notes will work well here. I usually use sticky notes as a start but if I need a more permanent label, then I use stickers I have made with my Cricut. You can buy labels from your local dollar store if you do not want to make your own.
I do have a lot of paper supplies and do not have a paper rack – there would be no room for it anyway. I use my IKEA cubes or the inserts to store my papers. It is not always the best but it works for me. I usually buy my papers in books so it is not a problem. When I do buy sheets that are on sale, I store these together in a file folder to make them easier to access and it keeps them together. The same goes for my scraps when I work projects.

Speaking of paper scraps, I use a very large shopping bag (I got mine from Microsoft) to store all my scraps in an upright position. This way I can flip through the papers without having to dig down to find exactly what I want. This shopping bag is stored under my desk so I have easy access for putting new pieces in and can quickly pull it out for getting some of the papers for a project.
The Final Result
As with any type of organizing, the newness of it inspires you. After a period of time, you may find you have to adjust some items to make it work better for you. I have seen some absolutely amazing craft room images from influencers such as Jennifer Maker and Melody Lane. I love both their craft rooms and those rooms are on my wishlist! But, I do have to face reality and my space is small but workable.

I am constantly moving stuff around until I get it right – which never really seems to happen but I am very happy in my area. I love crafting, drawing, writing, and generally connecting with people. I will soon add filming which will be very workable in the space I have without messing up my family’s living area.
Here is to a happy craft space that is well organized!
The Checklist
As I promised, I have put together a check list of items to consider when you are organizing your space or craft room. Be sure to download it from my resource library. The password is at the bottom of this article and I also add it to my weekly newsletter just in case you misplace it.
Interesting Reading on Organizing
There has been much news around the way the Japanese live and organize their spaces. I do believe they have a point but I am not willing to go as far as only 30 books at any time. I have tons of craft books and magazines I could not live without and 30 would cramp my style.
- The Life-Changing Magic of Tidying Up: The Japanese Art of Decluttering and Organizing
- The One-Minute Home Organizer: Making Your Home Beautiful and Your Life
Clutter Free - The Home Edit: A Guide to Organizing and Realizing Your House Goals (Includes Refrigerator Labels)
- Real Life Organizing: Clean and Clutter-Free in 15 Minutes a Day
Last Word
I know organizing takes time but you will save more time for crafting than it will take to be organized to start.
Yesterday I did some organizing (yet again) and spent only an hour doing so. Today I am much happier without the extra clutter around me.
Good luck…
Until tomorrow…
Bette
PS the password to the resource library is love


 DIY Home Decor DIY Craft Tutorials, DIY Paper Flowers