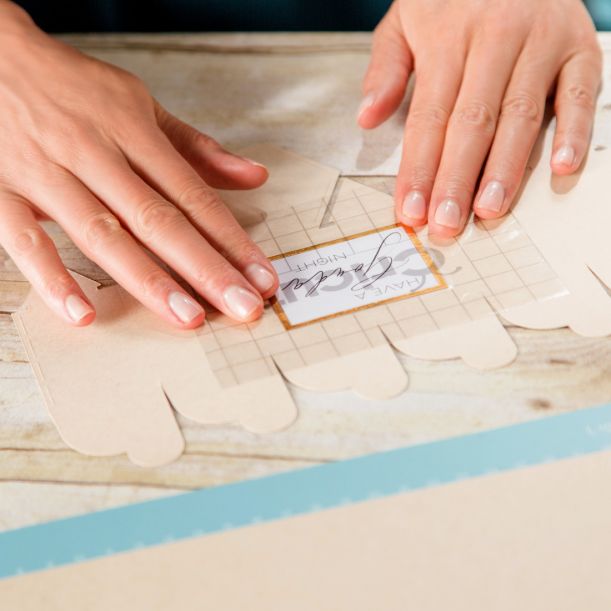
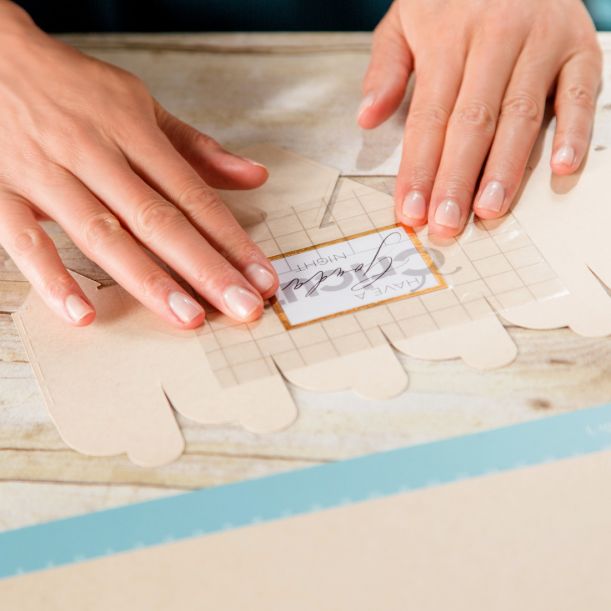
Are you using Transfer Tape (Paper)? I know I had a couple of questions on how to use it this week.
Here are some easy ways: (This is for using Vinyl cut designs)
Step 1: Weed your design right on your mat. Weeding simply means to remove the parts you do not want from your cut design
Step 2: Cut a piece of Transfer Tape to fit over your weeded design, then remove the backing
Step 3: Place the sticky side down and on top of your design, starting in the center and gently sticking is down. You can use your Cricut scraper tool or Brayer tool to make sure the transfer tape is really sticking to your design.
Step 4: Pull your entire design off the mat (if you are using vinyl there will be a backing you can pull up from the mat.
Step 5: Remove the vinyl backing gently making sure your design is stuck to the transfer tape.
Step 6: Place your design on the surface you are using and push it down with your scraper tool
Step 7: Gently remove the transfer tape making sure your design is stuck to your surface.
I hope this helps!
Bette
------------------------------------------------------
We have a special for our membership of $5 for the first month, why not give it a try. Crafters Club
Crafters Club VIP Members now get 2 extra training sessions per month! Learn more with weekly training as a quarterly member of the Crafters Club hosted by BettesMakes!
Do you own the Ultimate Cricut Toolkit? Did you know that there are 11 resources and tools in the kit to help you with your crafting journey? Buy it today.


2 replies to "How to Use Cricut Transfer Tape"
A friend of mine in the Uk just bought a Cricut and has done more than I have with vinyls than I have and I have owned Cricut a since the original machines! Thanks for this post and making it so simple and straight forward. I have no excuse to not start crafting.
I am so happy you like the post, let me know if there is anything you would like to see on the site as I always love to try new things.