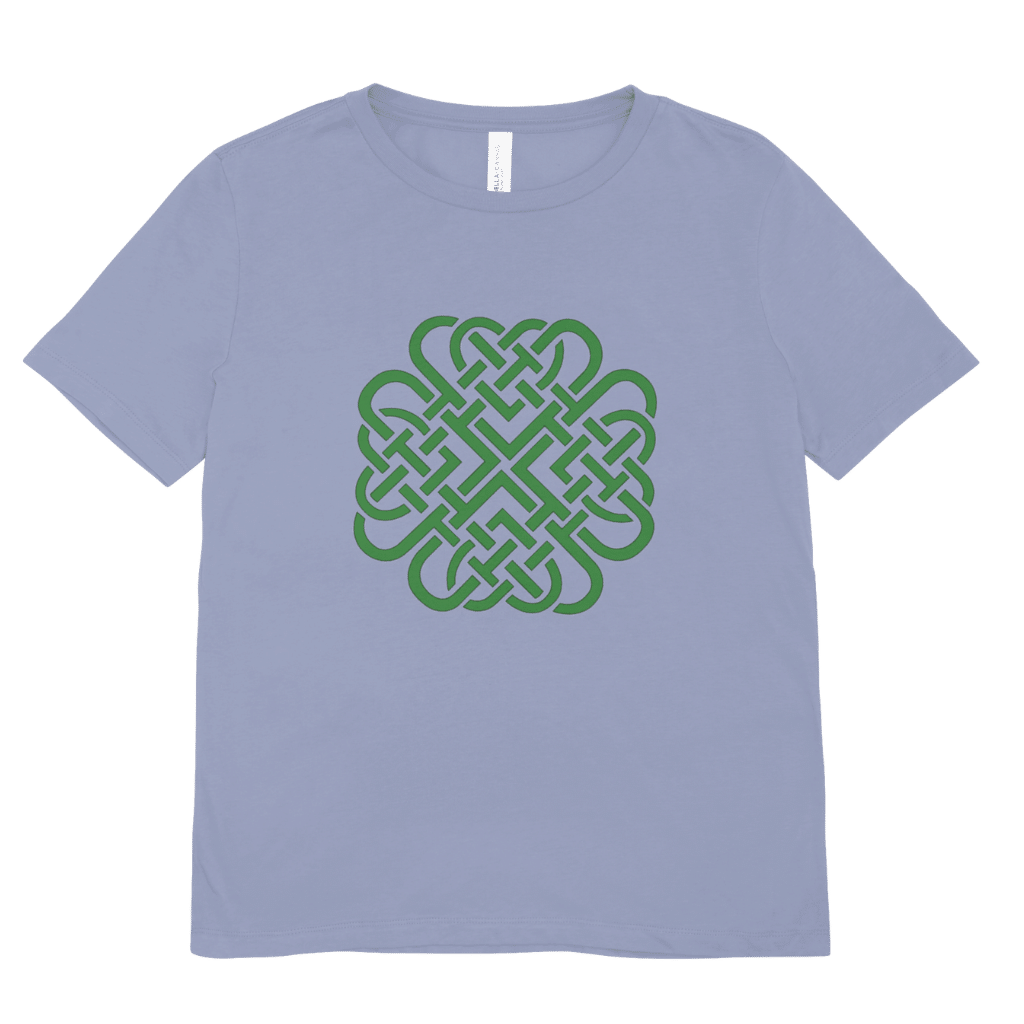
Flawless Iron-On Every Time: The Foolproof Hack for Perfectly Centered Designs!
When working on iron-on projects, one of the biggest challenges is ensuring your design is centered on your shirt. This guide provides a simple method using registration marks and alignment tricks to achieve perfect placement.
Step-by-Step Guide:
Centering Your Iron-On Designs on a T-Shirt
Step 1: Prepare Your Design in Cricut Design Space
Select Your Design:
- Open Cricut Design Space and choose your desired image or text.
- Adjust colors if needed (you may need to cut apart different colors for multi-color designs).
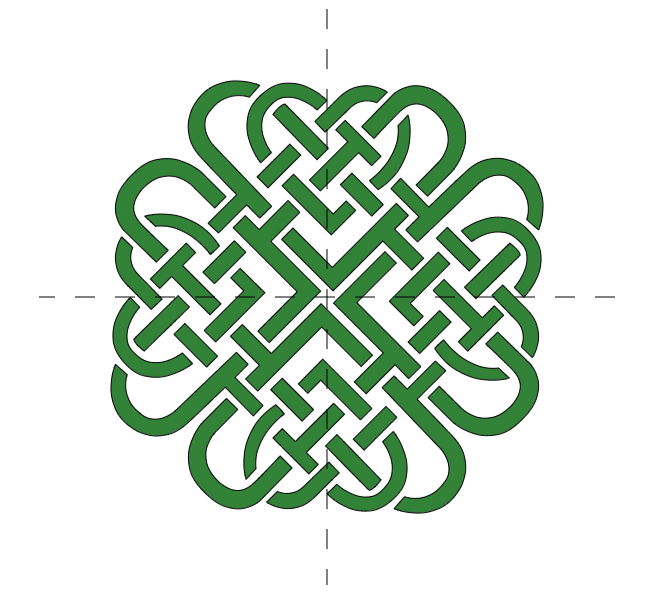
Add Centering Guidelines:
- Go to Shapes and insert a Score Line.
- Resize the score line to match the width of your design plus 2 inches.
- Duplicate the score line and rotate it 90 degrees to create a crosshair.
Align Your Guidelines:
- Select both lines, then go to Align > Center to ensure they intersect at the middle of your design.
Step 2: Add Registration Marks
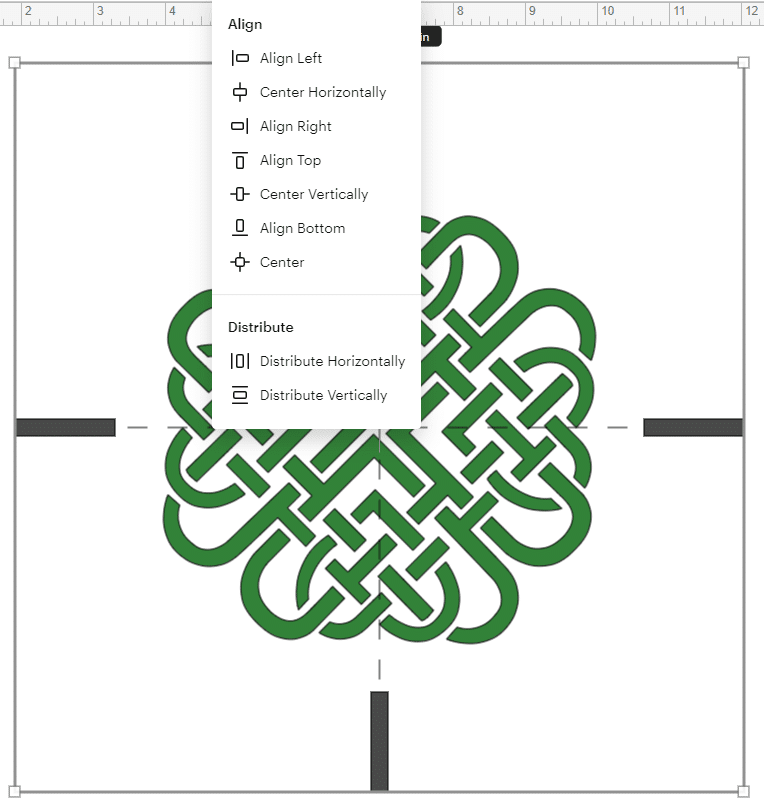
Create Small Guide Shapes:
- Insert a square shape from the Shapes panel.
- Resize it to 1 inch wide by 0.25 inches tall.
- Change its color (optional) to distinguish it.
Position the Guide Shapes:
- Place the first rectangle at the end of one of the score lines.
- Duplicate the rectangle and move it horizontally to create a second mark at the other end of the score line.
- Select both rectangles and use Align > Center Vertically.
Duplicate and Rotate for Vertical Placement:
- Select the two guide shapes and duplicate them.
- Rotate the duplicate 90 degrees and position them along the vertical line.
Align Everything Together:
- Select all elements (design, score lines, and registration marks).
- Click Align > Center to ensure perfect placement.
Step 3: Remove Unnecessary Lines
Delete Extra Score Lines:
- After positioning the registration marks, remove the crosshair lines (they are no longer needed).
- Your design should now have only the registration marks and the iron-on image.
Flatten (Optional for Print then Cut):
- If using Print Then Cut, select the design and Flatten it.
Attach (For Cutting on Iron-On Vinyl):
- Select all elements and click Attach to keep them grouped.

Step 4: Cutting and Weeding
- Send the design to your Cricut machine and cut it onto iron-on vinyl.
- Weed carefully, leaving the registration marks in place (do not remove them yet).
Step 5: Aligning Your Design on the Shirt
Prepare Your Shirt:
- Fold it in half vertically and iron a crease down the center.
- Fold it in half horizontally and iron another crease (optional for perfect placement).
- These iron marks will act as guides.
- Place your design on the shirt, aligning the registration marks with the ironed creases.
- This ensures perfect centering.

Step 6: Final Iron-On Application
Press the Design:
- Follow the recommended heat settings for your vinyl and fabric.
- Use a heat press or iron to apply the design.
Remove Registration Marks:
- Once the design is applied, weed off the registration marks before peeling off the carrier sheet.
Enjoy Your Perfectly Centered Design! 
This method ensures your iron-on projects look professional and perfectly aligned every time. Happy crafting!
You can grab an Access membership at anytime to use this feature.


 DIY Home Decor DIY Craft Tutorials, DIY Paper Flowers
4 replies to "Perfect Iron-On Placement Every Time"
The only flaw I see in this is the horizontal line will be centered from the hem to the shoulder. Most designs will not be placed that low on the shirt.
I would suggest that you could move up the “center” line to where you want the middle then press in that spot
I am a little confused with the perfect placement of the iron on. If you press the design on wouldn’t the registration marks be permanently adhered to the fabric?
it will depend on where you want to place the design. You can measure down the shirt to whee you want the top to go then find the new middle of the design.