
Perfect Layers Every Time—Even If You’re a Total Beginner!
Today, I'll show you an easy way to layer images using Cricut Design Space, creating beautiful, multi-dimensional projects. Let's dive in step-by-step!
Step 1: Choose Your Image
Start by choosing an image. Go to Cricut Design Space, click on 'Images', and select a free design. For example, butterflies work beautifully for layering, thanks to their distinct sections and shapes.
Start by choosing an image that is simple yet detailed enough for multiple layers. Design Space has lots of FREE and Access Member images you can use.

Step 2: Duplicate Your Image
Once you've chosen your image, duplicate it by holding down the Alt key and dragging. This ensures you always have an original version if needed.
Create a Backup Copy - Always duplicate your image first, so you have an original to revert to if necessary.

Step 3: Make a Solid Base Layer
Select the image, click on 'Contour,' and hide all contours to create a solid base layer. Change this layer's color to something vibrant that will complement your final design.

Step 4: Add Detailed Layers
Make a copy of the contoured image. Change the color of the copy to something that works with your base color. Use your color wheel to make a good color choice.
Use the 'Contour' tool to select specific details you want highlighted in your next layer.
Change the color of this new layer and position it on top of your base layer to see the colors blend beautifully.

Step 5: Repeat to Stack Your Layers
Duplicate the previous layer and select different contours each time. Adjust colors to ensure each layer stands out clearly. Stack these layers on top of each other in Design Space to visualize the final 3D effect.
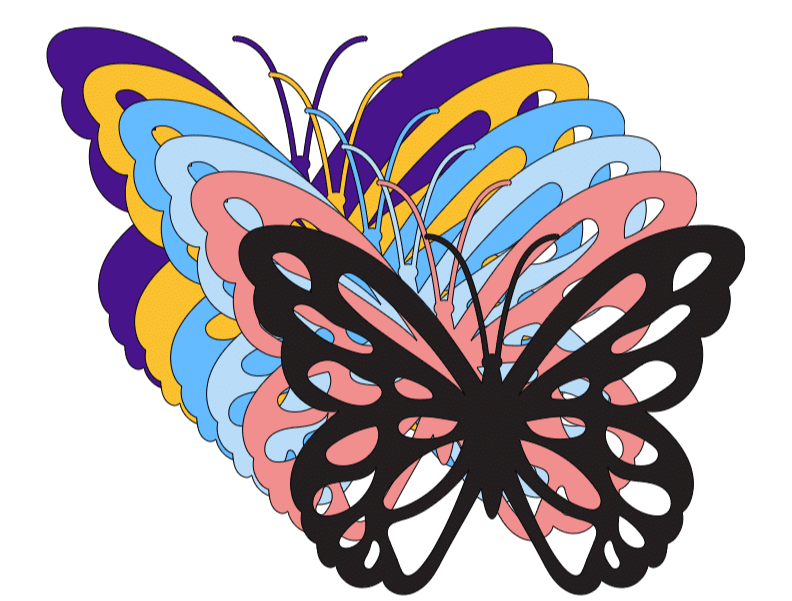
Step 6: Finalize and Adjust
Review your design to make sure all layers align correctly and colors harmonize nicely. Resize layers if necessary, and make final tweaks to positioning.
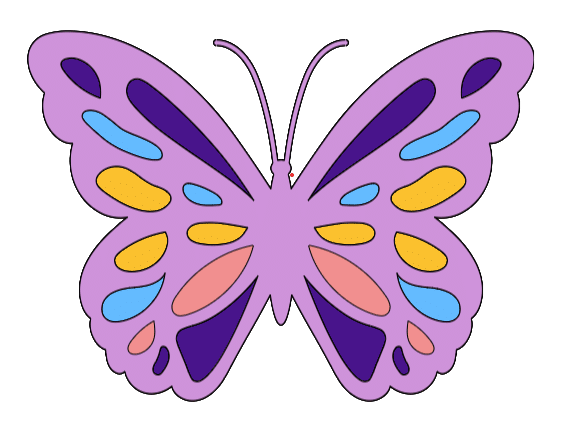
Step 7: Cut and Assemble
Now you're ready! Cut each layer from your chosen materials, assemble your project by layering each cut piece, and enjoy your beautifully crafted, dimensional Cricut creation.
Final Thoughts
Happy crafting! Don't forget to subscribe for more crafting tips and tricks.
You can grab an Access membership at anytime to use this feature.

 DIY Home Decor DIY Craft Tutorials, DIY Paper Flowers