How to Make Leather Hair Bows Using Your Cricut
Leather Hair Accessories Are Fun to Make with Your Cricut
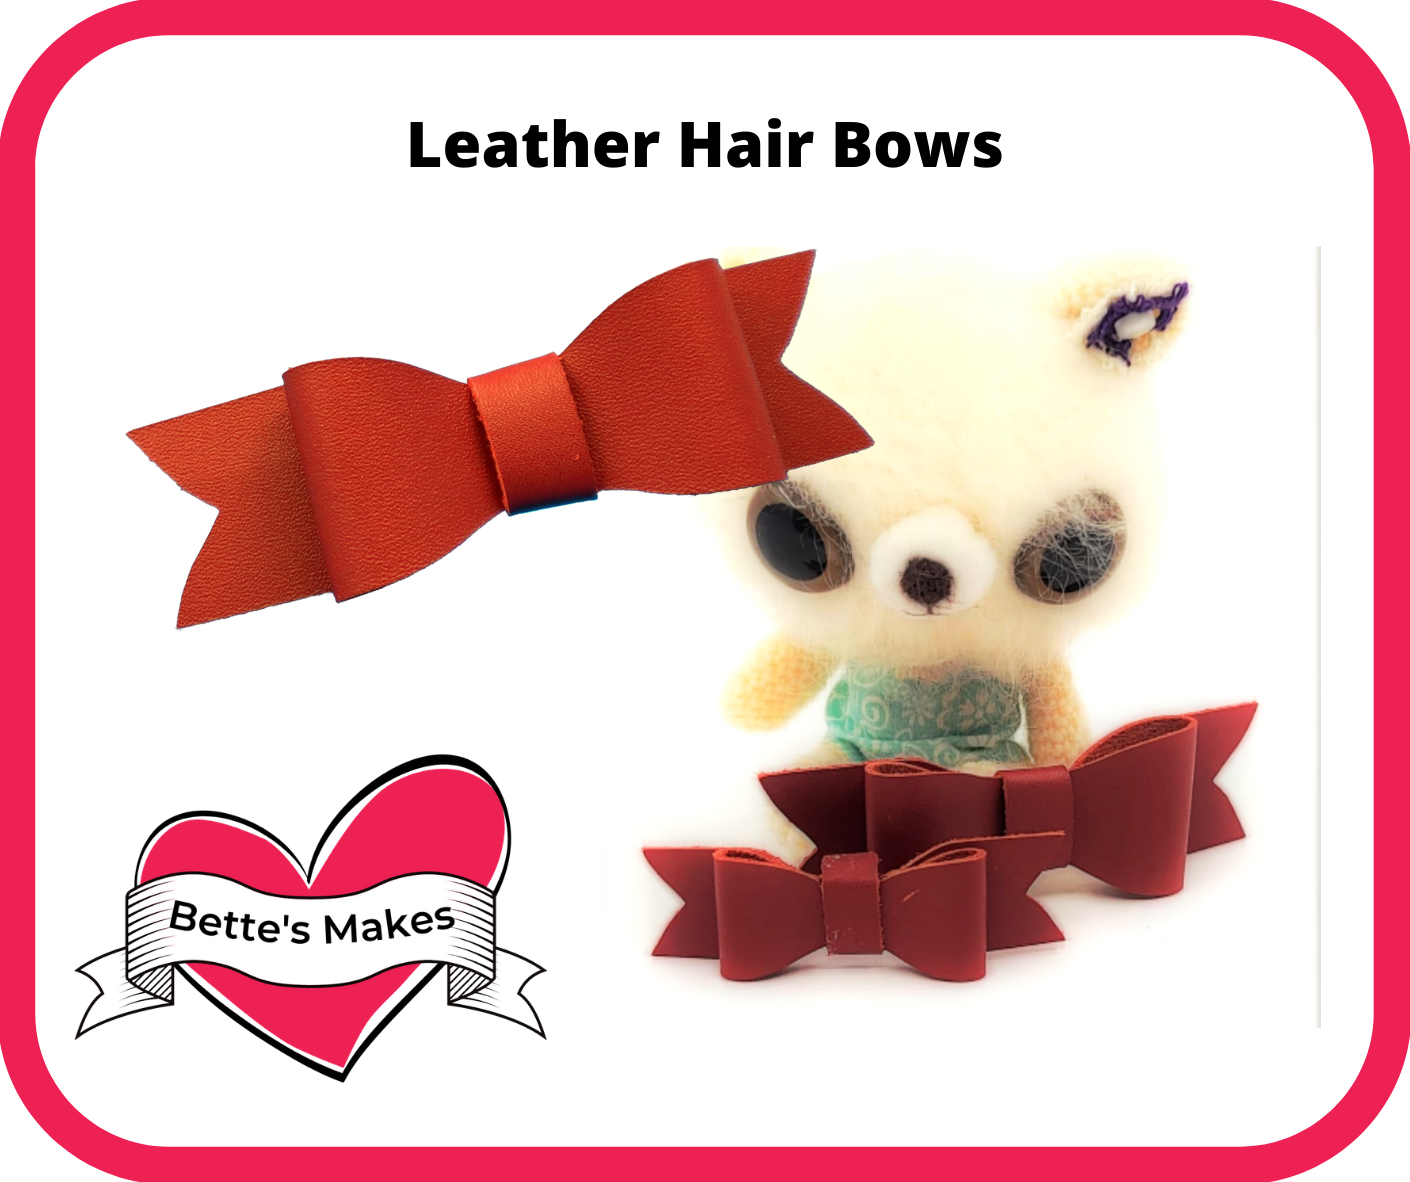
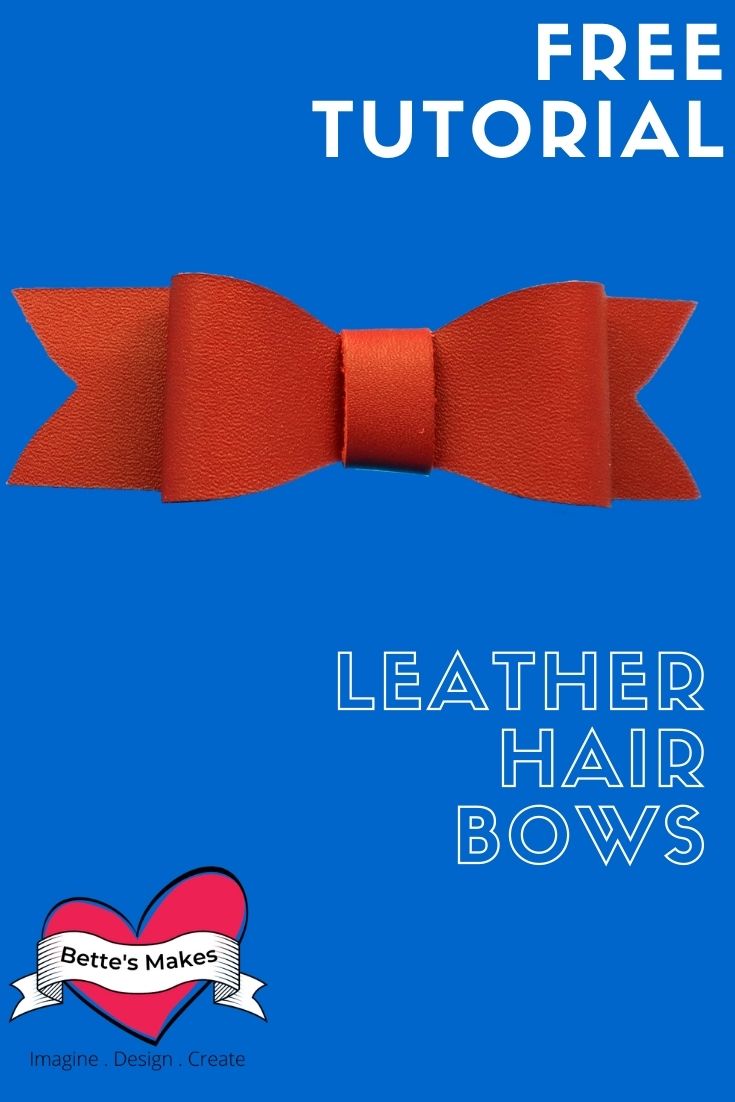
Making leather hair bows with your Cricut is so easy as long as you have the leather and the right tool to do the cutting. You can cut leather with the Maker and with the Air 2 using the Deep Cut Blade. As for the leather, you can use the real thing or you can use faux leather. I use the Cricut Leather sheets to make most of my leather projects and it is so easy to do when you have the template. For this project you can go to my resource library and look for asset #326 and you are ready to go.
The project is truly easy and very beginner-friendly!
You will also find the template already to go in my resource library (asset #326)
Here’s what you need to make your Leather hair bows. This post does contain some affiliate links for your convenience (which means if you make a purchase after clicking a link I will earn a small commission but it won’t cost you a penny more)! Read my full disclosure policy.
Quick Links to Information in this Post
Leather Hair Bows Materials
> Cricut Maker or Cricut Air 2
> Leather pieces
> Gorilla or other strong glue to hold the leather pieces together
> Scissors
> Clips - at least 4 for holding down the glued pieces
> Hair pins for wearing the bows
> Template from my resource library - asset #326
Leather Hair Bows Step-by-Step Guide
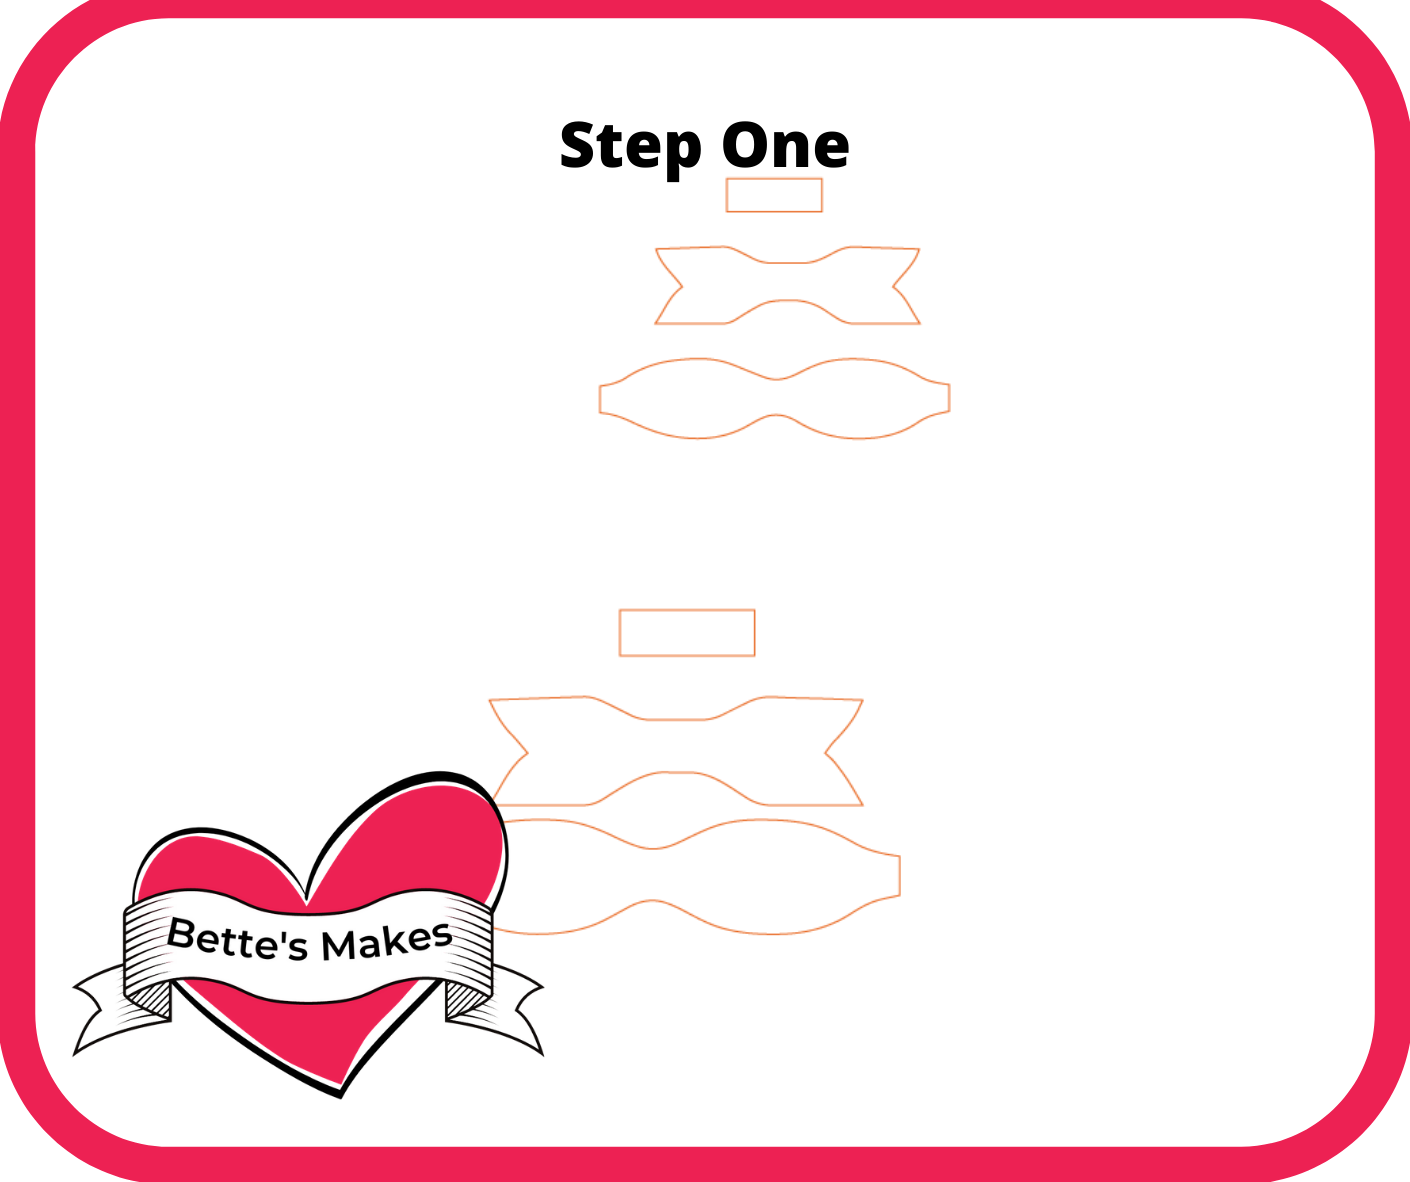
Step One - Download the Template
To start you will want to download the template (asset #326) from my resource library.
Unzip the file and upload the SVG file only to Cricut Design Space
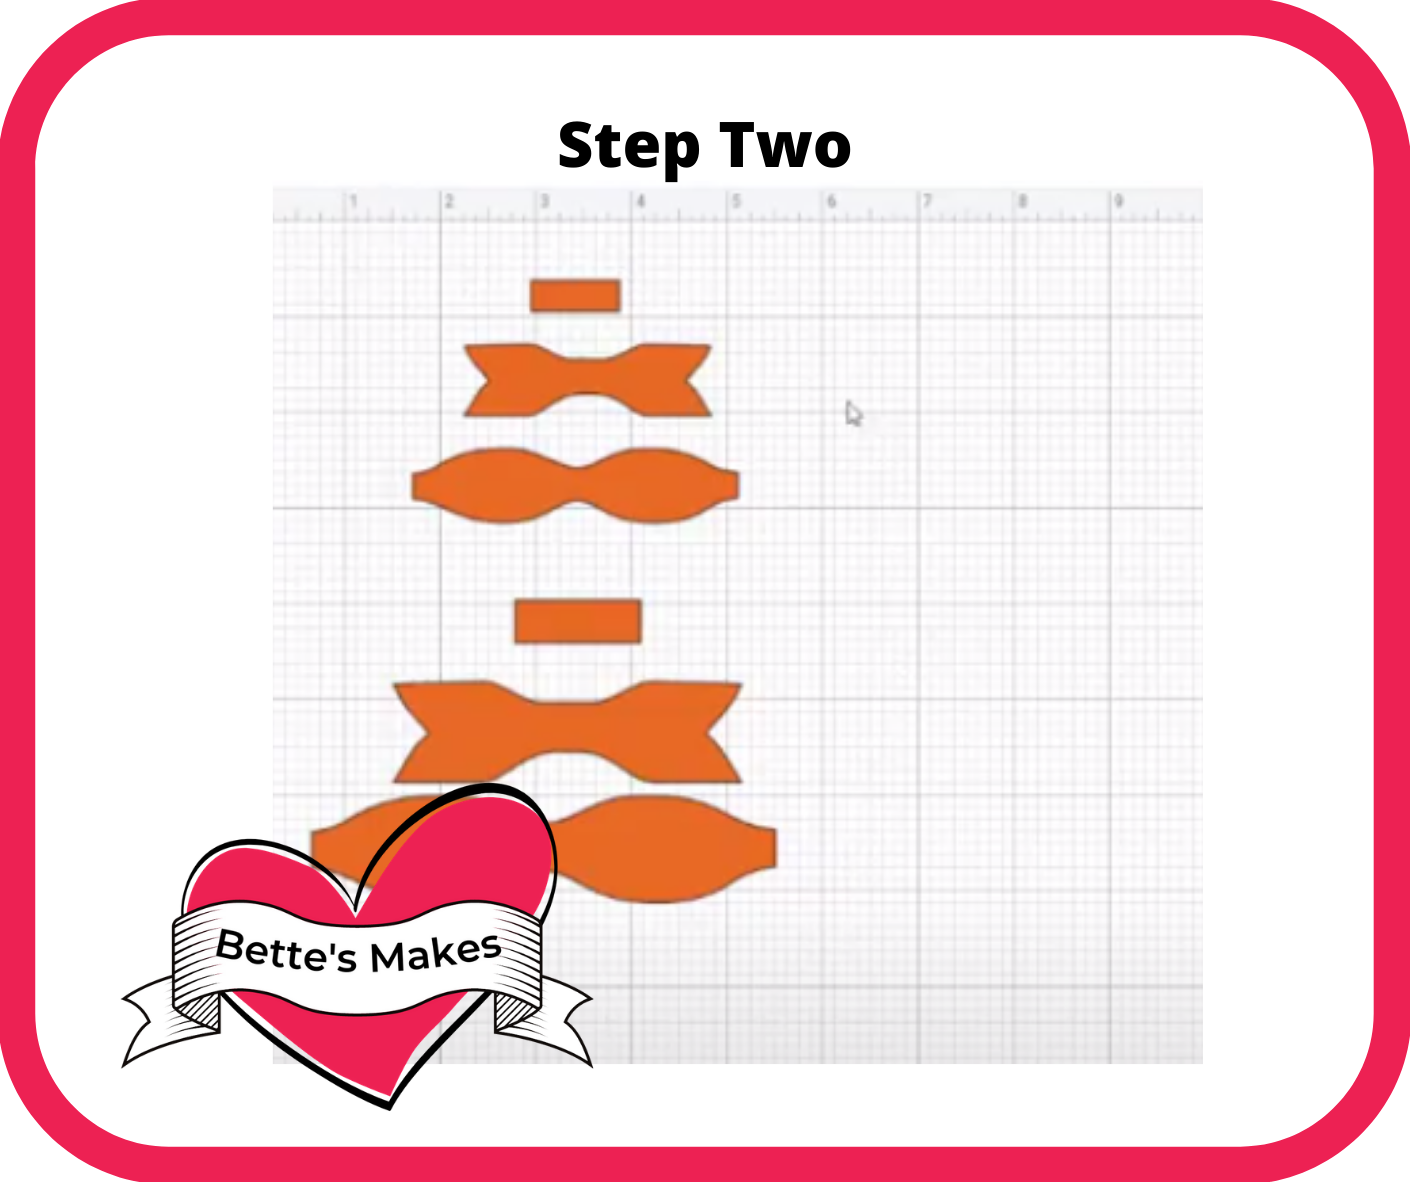
Step Two - Design Space Changes
The hair bows will come grouped together. You can ungroup them then only group the 3 pieces for each bow together.
If you wish to make the bows larger, you can then resize the group and everything will remain in the right proportions.
For this project there is nothing you really need to do.
Save your file and click on Make It.
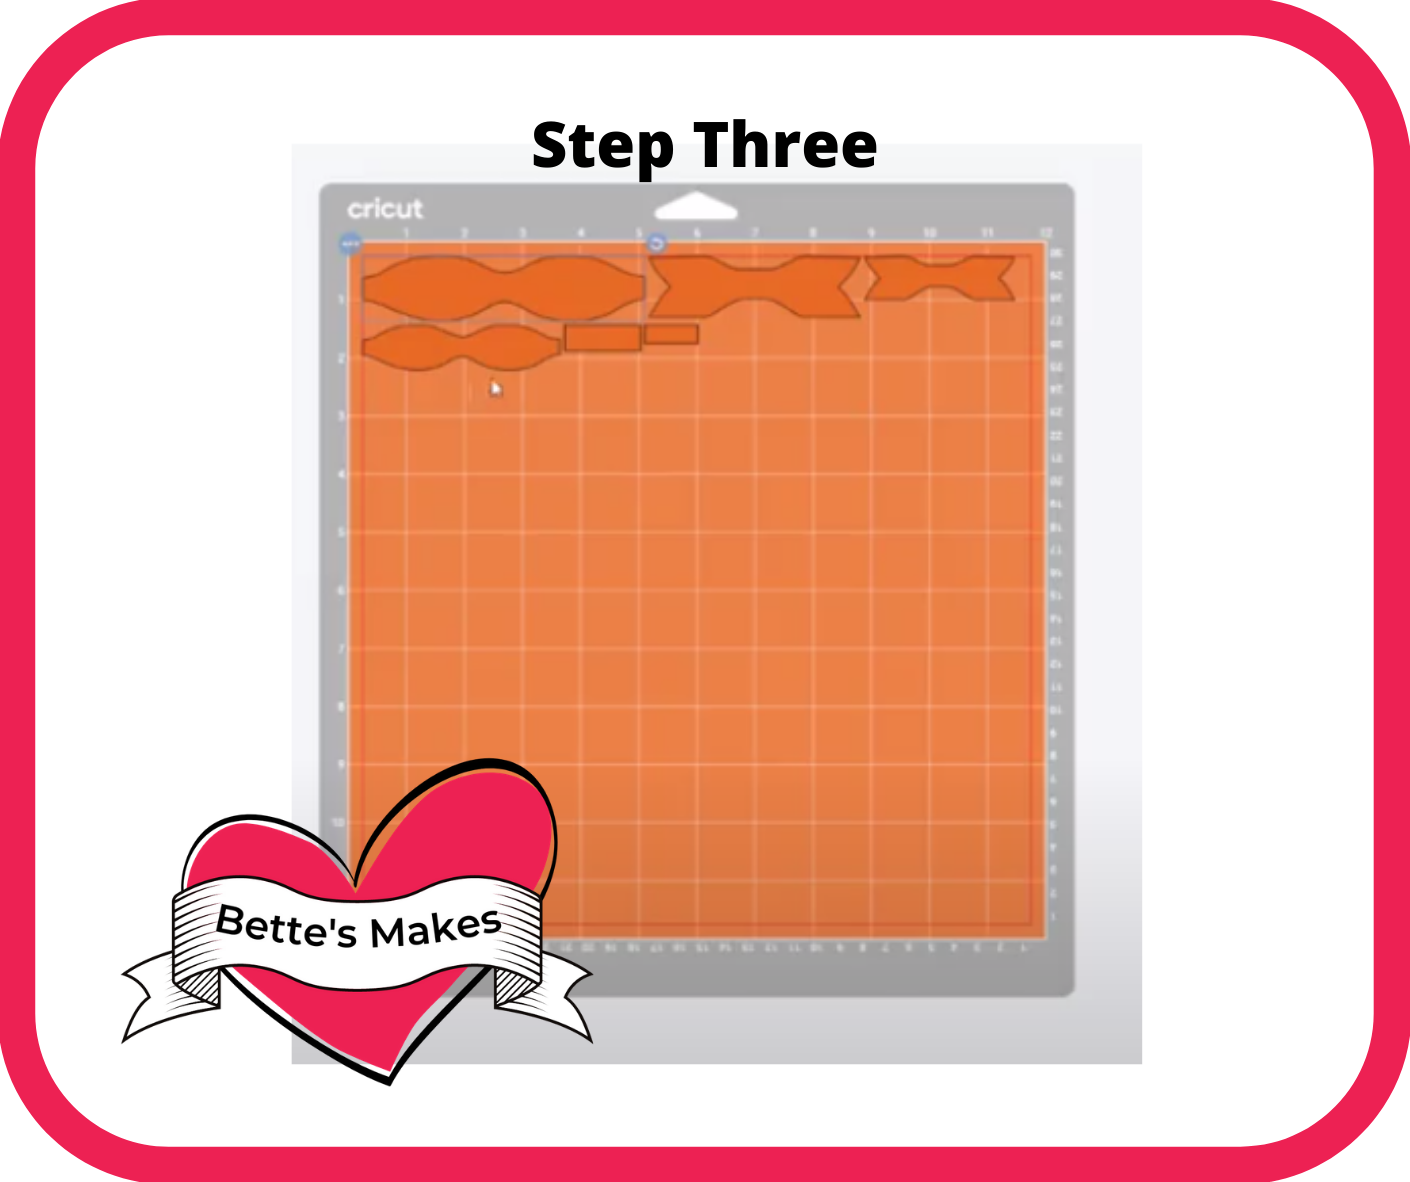
Step Three - Mats
Make sure you are using a Strong Grip mat for this project.
Place the leather with the fuzzy side up on the mat. If you do not do this, you will have a ton of debris stuck to your mat and the leather will need to be ripped off the mat.
Put in your Deep Cut Blade into the housing and go ahead and cut your project.
Step Four - Assembly
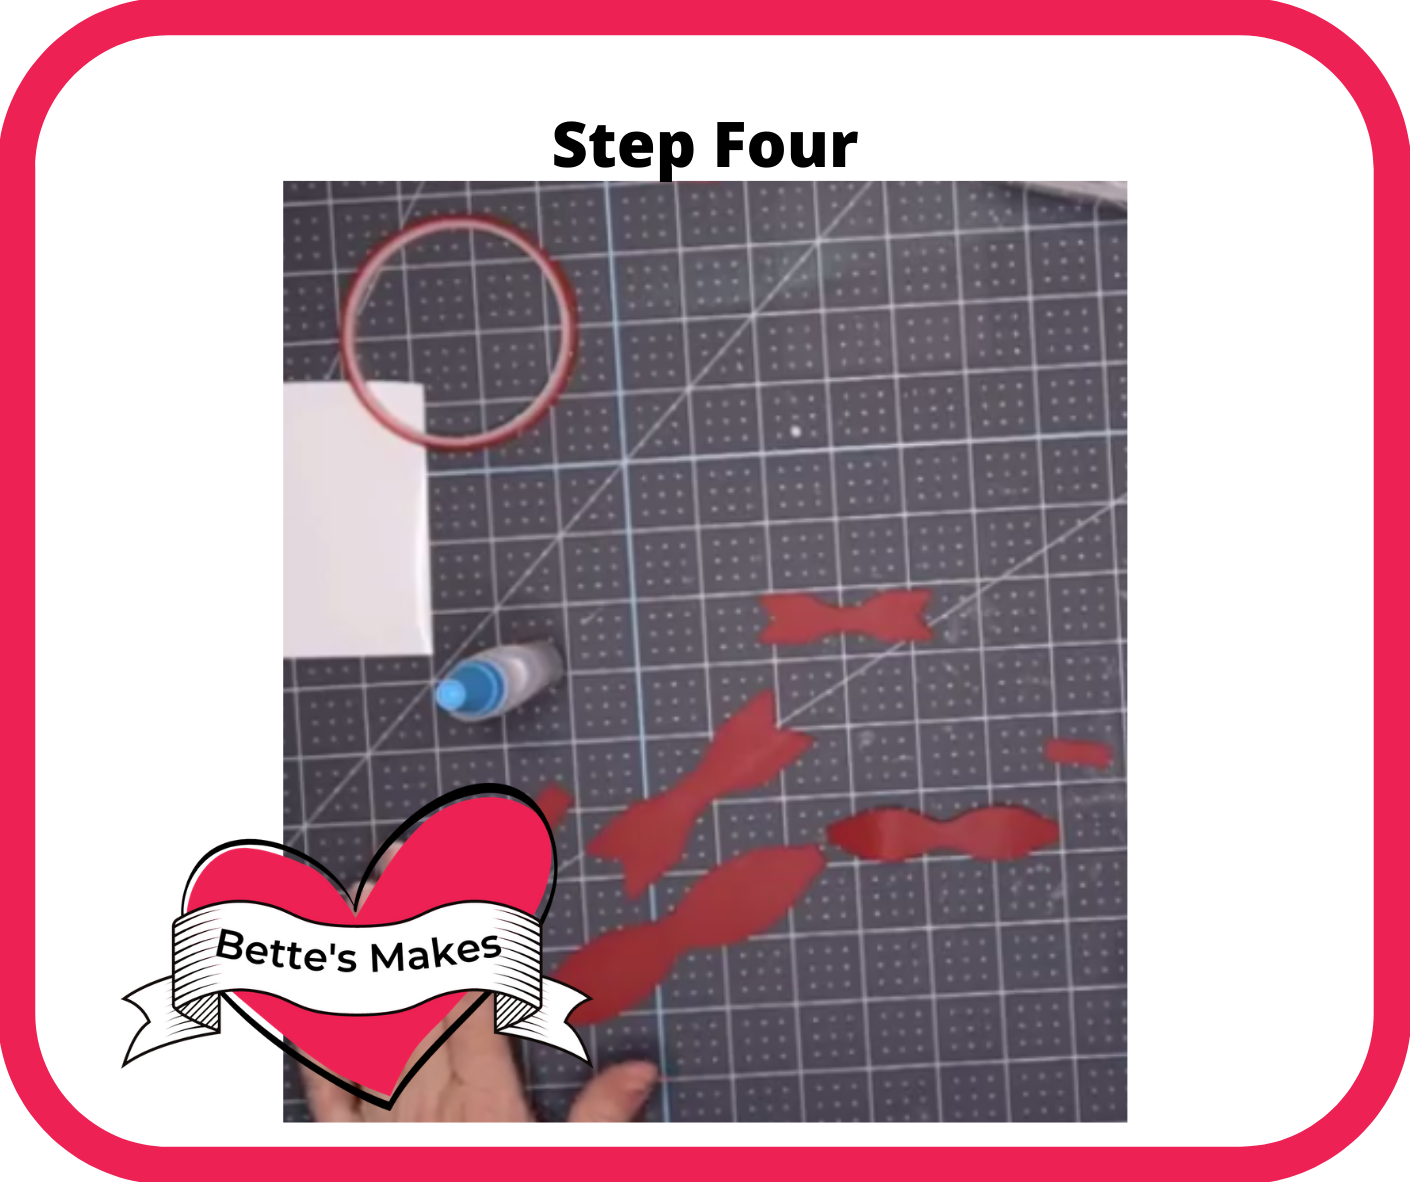
There are 3 pieces for each bow. There is a piece for a band across the middle, a piece that has flag ends (this is the bottom piece), and the bow part.
You will be glueing the ends of the bow part to the center making sure the fuzzy side is to the inside. Only glue the very ends as shown in the diagram.
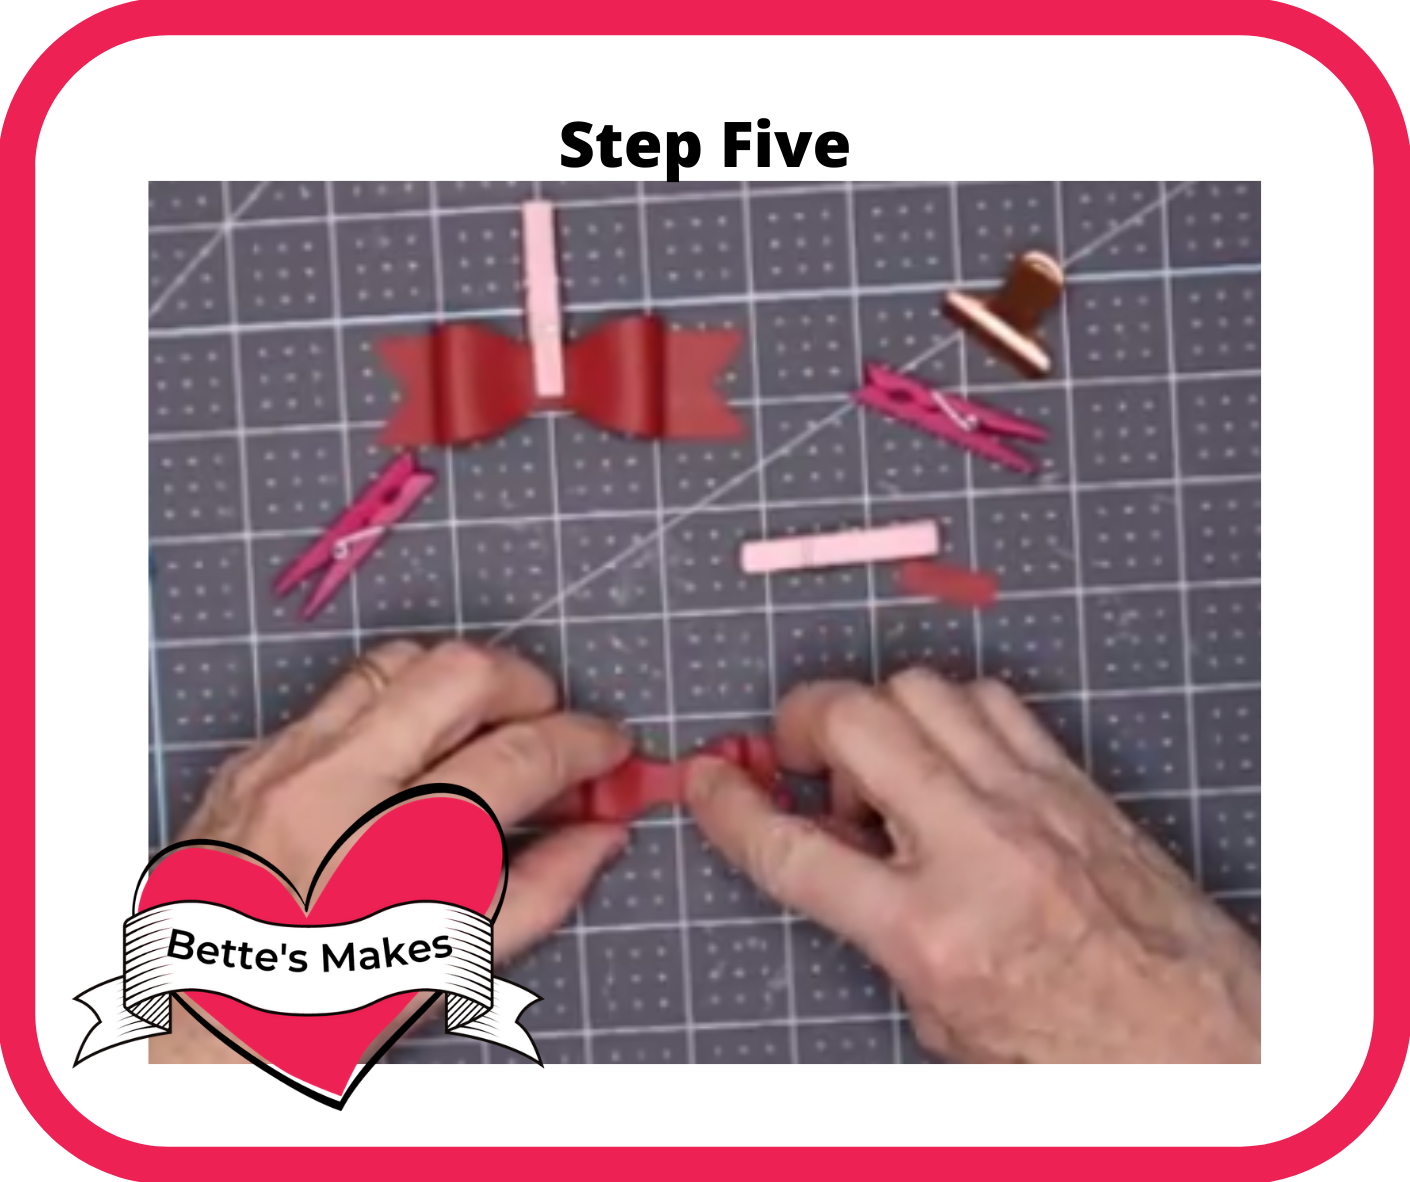
Clamp the ends in place to allow the glue to dry.
After the glue is dry. Glue the bow to the center of the flag piece. This will form the ends of the bow.
Finally glue the band in the middle, you may have to stretch the ends so the band wraps around to the back of the bow.
Step Five - The Finishing Touches
After all the glue is dry and you are happy with your hair bow, add a bobby pin in the back and place the hair bow in your hair or add it to another project.
Share your project in our Facebook group. https://Facebook.com/groups/BettesMakes
More Craft Ideas from BettesMakes
Here are some amazing crafts you can make from BettesMakes.com
This is just a sampling of the dozens of crafts you can find on my website.
Last Word
Making leather hair bows with your Cricut is nice and easy! You can make adjustments to the pattern to add even more. Think about adding a design using your Cricut Foil Transfer Kit, or making dozens of paper bows for decorating gifts! The possibilities are endless!
I hope you really enjoyed making these hair accessories!
If you made a any hair bow, please share it on our Facebook group. https://Facebook.com/groups/BettesMakes
Until next time,
Happy Crafting!
Please join me on Pinterest: https://Pinterest.ca/BetteMakerCreations
Join my Facebook group: https://facebook.com/BettesMakes
Follow me on Instagram: https://Instagram.com/BettesMakes
Subscribe to my YouTube Channel: https://www.youtube.com/c/BettesMakes



4 replies to "How to Make Leather Hair Bows with Your Cricut"
The bows are so cute, Bette! I’ve made bows before, super easy!
These bows are just too cute, I’ve made some before for my nieces and they loved them,
Thank you for this. I have never made a bow before, but with this tutorial I believe I can make one easily.
Awesome, with 2 granddaughters making bows is essential.