DIY Wire Pendants Are Treasures
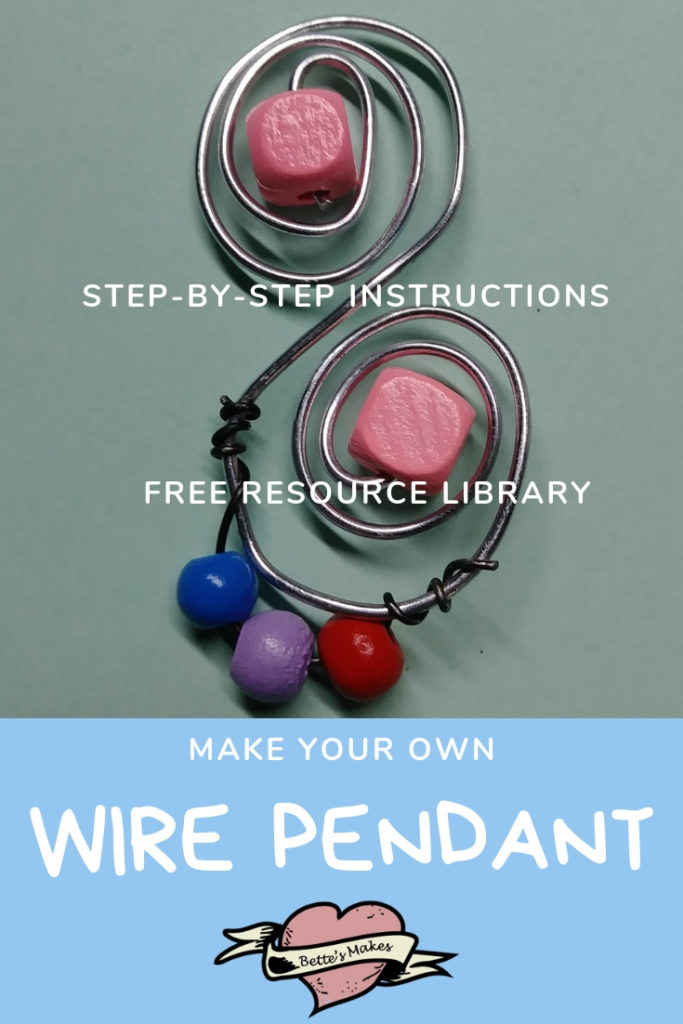
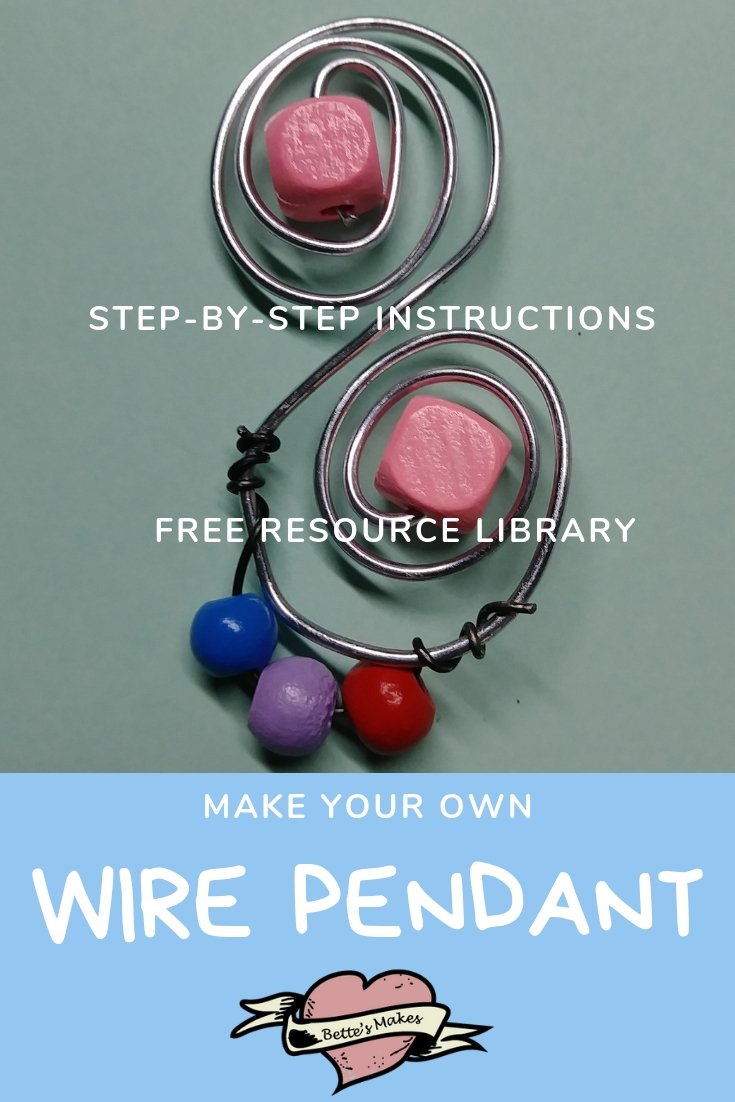
A wire pendant is something special! You can design your own and twist the wire to fit your design. Add a few decorations such as rocks, beads, or buttons to really spice it up. You will be absolutely amazed at the wire pendants you will be able to make. The project today is very easy to make and you can use wires you have around the house or find at the dollar store. No need for expensive materials when you are first starting out.
Be sure to visit my resource library for my FREE weekly downloadables. As I create new posts I often add new resources that are available to you for as long as you wish. Yesterday I add SVG and PNG files to the article entitled “Easy Paper Stained Glass” and a couple of days ago I added “Best Ever Mother’s Day Card” which included the files for making this yourself.
Safety Considerations
When working with wire and metals you need to be protected against injury.
- Wear eye protection. I wear glasses to do my work and it helps to prevent any accidental slippage from getting into my eyes.
- For cutting the wire always hold the wire end toward the table. This way you will minimize the risk of flying bits hitting you.
- Don’t overdo sitting for too long. Take some breaks if you need them. Get up and more around. Time does get away from you so setting a timer will help. This project should not take you longer than 1 hour but you still need to consider breaks.
- Always use your tools as suggested by the manufacturer.
- As with any craft, a well-ventilated space to work is best.
Types of Wire
You can buy many different types of wire for your jewelry making. I used a coated wire that was 16 gauge from the dollar store and I also found some 26 gauge wire in their hardware section. These were perfect as they will bend easily. Bendability is important if the wire is too stiff you will not be able to manipulate it very well and will struggle with the bends you need for this project.
Gauge
16-gauge
18-gauge
20-gauge
22-gauge
24-gauge
26-gauge
28-gauge
30-gauge
Diameter
1.29mm
1.02mm
0.81mm
0.64mm
0.51mm
0.40mm
0.32mm
0.26mm
Materials List for Your Wire Pendant
- Permanent Marker (you can use a Sharpie to mark the wire).
- Needle Nose Pliers.
- Wire Cutters.
- Thick coated wire.
- Thin coated wire.
- Beads, buttons, or other decorations.
Step-by-Step on How to Make Your Wire Pendant
Step 1 – Set out your tools and put on your safety glasses.
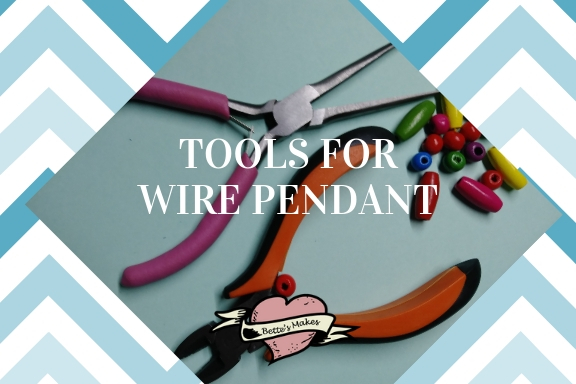
Step 2 – Cut the larger wire into a 12-inch strip. Cut 2 – 6-inch pieces of the smaller wire. Mark the center point of each wire.
Step 3 – Bend the larger strip of wire into 2 spirals as shown in the image below:
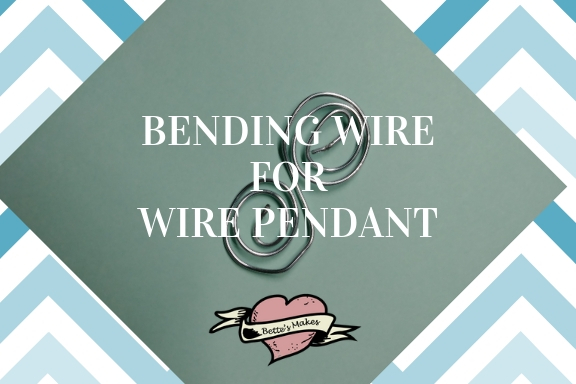
Step 4 – String your beads (3 or more) onto one of the smaller wires.
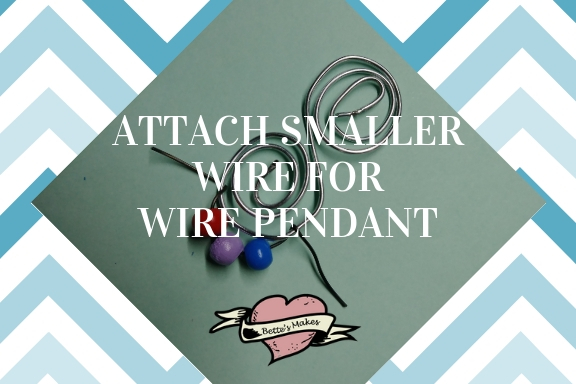
Step 5 – Attached the smaller wire to the larger one and twist the ends around the outside pieces. The beads will then be centered below the bottom spiral. See the image below.
Step 6 – Take two more beads and thread them onto the center piece of each spiral. One bead per spiral.
Step 7 – Add any other decoration you wish to finish up the project.
Books on Making Wire Pendants
Wire Wrapping: The Basics And Beyond
Build Your Own Wire Pendants
Bead Jewelry 101: Master Basic Skills and Techniques Easily Through Step-by-Step Instruction
Videos on Making Wire Pendants
There are so man possibilities for making wire pendants. To help you make even more great wire pendant projects, here are a few videos to watch.
How to Make Twisted Wire People DIY Pendants Tutorial
Wire Heart – Must Know Monday
Pendant with big stone no holes – wire wrap jewelry making 242
Last Word on The Wire Pendant
The toughest part for making wire pendants is the bending of the wire in between other wires. I found it not bad after I got used to the fact I could bend other wires out of the way until I was finished a section. I really like the results of this project as it was quite easy to do. I can hardly wait to try a few more of these!
Don’t forget about my resource library where I put downloadables each week. They are all FREE for the taking.
If you made a wire pendant please share it with me in the comments below or on my Facebook page. Many thanks.
Until tomorrow…
Bette
Please pin this image to your Pinterest board – I truly appreciate all of those who help me to encourage others to do crafting. Many thanks and Happy Crafting!
