Time to Learn About Multi-Layered Decals!
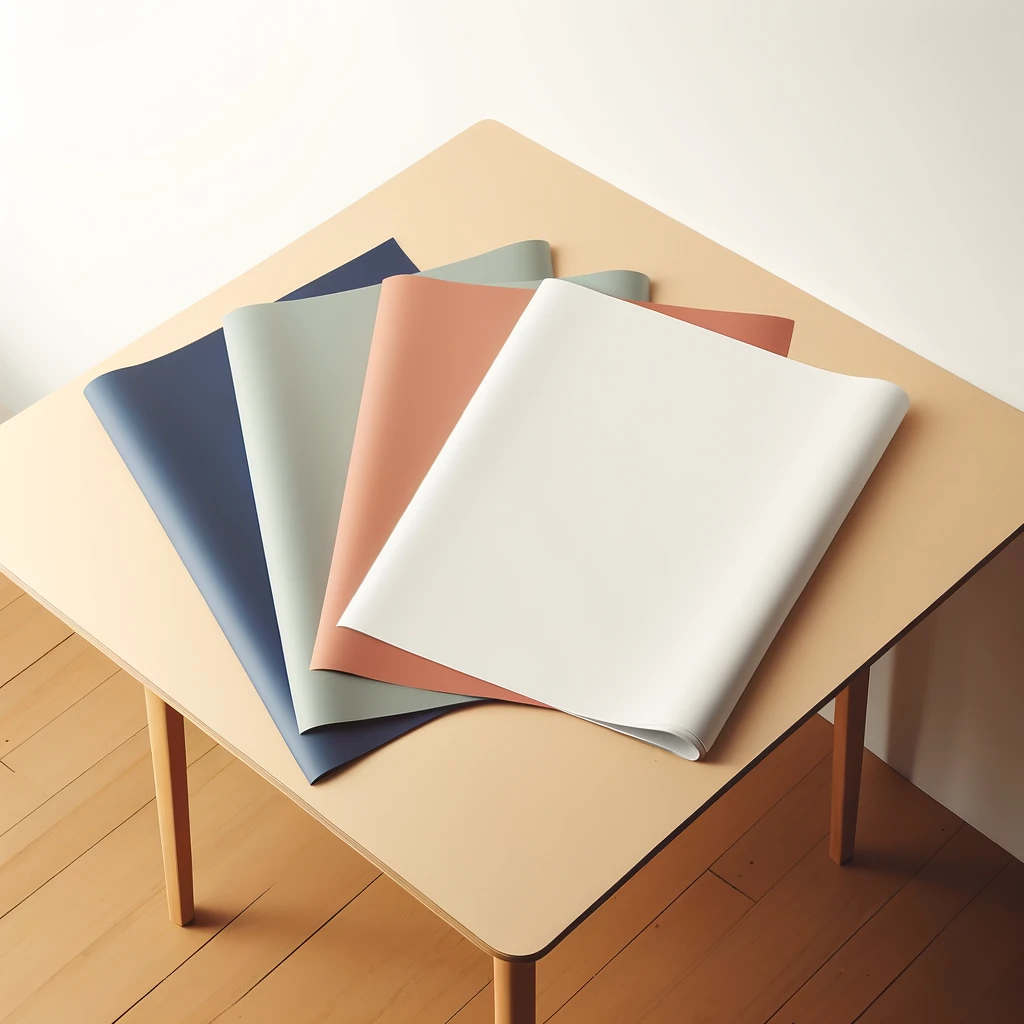
Welcome to our fun guide on creating stunning multi-layered vinyl decals using your Cricut machine! Whether you're a seasoned crafter or just starting, mastering the art of layering adhesive vinyl opens up a world of creative possibilities. In this tutorial, we'll walk you through the step-by-step process of designing and cutting multi-layered vinyl decals using different types of vinyl, registration marks, and your Cricut machine. With the rising popularity of personalized and custom-made items, learning how to create multi-layered vinyl decals allows you to add a unique touch to your projects. Whether you're embellishing t-shirts, personalizing home decor, or designing custom gifts, multi-layered vinyl decals add a level of sophistication and creativity that sets your creations apart. Get ready to dive into the world of layered vinyl projects and bring your vinyl designs to life with ease and a great look! So get ready to start on your layering journey - grab those supplies and be ready to go. What you will need to make this journey easier are an SVG file, Parchment Paper, a Weeding Tool, Vinyl (heat transfer vinyl, permanent vinyl, iron-on-vinyl, pieces of transfer tape, or any specialty vinyl), plus you may want to add a multi-layered image broken down into different layers. With any vinyl, you will want different colors of vinyl to use when making multi-layer vinyl decals or other layered vinyl projects.

Getting Started with Multi-Layered Vinyl Decals:
Understanding Vinyl Layers: Before we jump into crafting, let's familiarize ourselves with the concept of layers in vinyl decals. Multi-layered vinyl decals consist of individual layers of adhesive vinyl stacked on top of each other to create a cohesive design. Each layer represents a different color or element of the overall image. By carefully layering different colors and textures of vinyl, you can achieve intricate and visually stunning designs for your projects. The beauty of multi-layered vinyl decals lies in their versatility and depth. You can create dynamic compositions by playing with the order, size, and placement of each layer, allowing you to experiment with various design elements and techniques. Whether you're adding dimension to a simple silhouette or creating a complex scene with multiple layers of detail, understanding how to effectively layer vinyl opens up endless creative possibilities for your projects.
Things to make include greeting cards - as an addition or embellishment, adding to your personal belongings such as laptops, phones, or bags, you can even use reflective vinyl as an option. Just think of these as a great way to add to t-shirt designs as well - especially when using iron-on holographic vinyl. The possibilities are endless.

Choosing the Right Vinyl:
When it comes to multi-layered vinyl decals, selecting the right types of vinyl is crucial for achieving professional-looking results. There is a wide variety of vinyl available, each with its own unique characteristics and adhesive properties. Adhesive craft vinyl, for instance, is perfect for creating durable outdoor decals or adding decorative accents to everyday items like mugs or notebooks. Its versatility and ease of use make it a popular choice for beginners and experienced crafters alike. Permanent vinyl, on the other hand, offers long-lasting adhesion and is ideal for projects that require weather resistance, such as car decals or outdoor signage. Premium vinyl provides a smooth, matte finish and is excellent for intricate designs or projects that require precision cutting. Iron-on vinyl, also known as heat transfer vinyl, is specifically designed for use with fabric and can be applied to clothing, tote bags, or other textiles using a heat press or iron. Holographic vinyl adds a touch of sparkle and shine to your projects, while specialty vinyls like glitter or metallic offer unique textures and finishes. By understanding the characteristics of each type of vinyl and considering the specific requirements of your project, you can confidently choose the right vinyl for your multi-layered vinyl decal creations.
Cricut offers vinyl options that will work for all the projects.
Preparing Your Design:
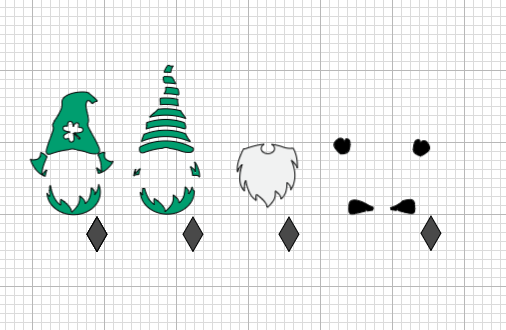
Start by creating or selecting an SVG file for your multi-layered vinyl decal project. SVG files, which stand for Scalable Vector Graphics, are versatile and allow you to scale your design without losing quality. You can create your design using design software like Adobe Illustrator or download pre-made SVG files from various online sources. Once you have your design ready, it's time to organize the layers and assign colors to each layer to guide the cutting process. Consider the complexity of your design and how many layers you'll need to achieve the desired effect. It's helpful to label each layer in your design software to keep track of which color or element corresponds to each layer of vinyl. Additionally, incorporating registration marks into your design will ensure precise alignment during the layering process, so be sure to strategically place them before finalizing your design. Taking the time to prepare your design thoughtfully will streamline the cutting and assembly process and result in a polished final product.
Using Registration Marks:
Incorporating registration marks into your design is a critical step in ensuring the precise alignment of each layer during assembly. Registration marks are small, strategically placed shapes or symbols that serve as reference points for aligning multiple layers of vinyl. By including registration marks in your design, you create visual cues that help you match up the layers accurately and prevent misalignment issues. When placing registration marks, ensure they are evenly distributed across your design and positioned where they won't interfere with the final appearance of your decal. It's also essential to use consistent shapes or symbols for your registration marks to make them easy to identify during the layering process. Take the time to carefully position and incorporate registration marks into your design before cutting to facilitate smooth and seamless layering of your vinyl decals.
Cutting Your Vinyl Layers:
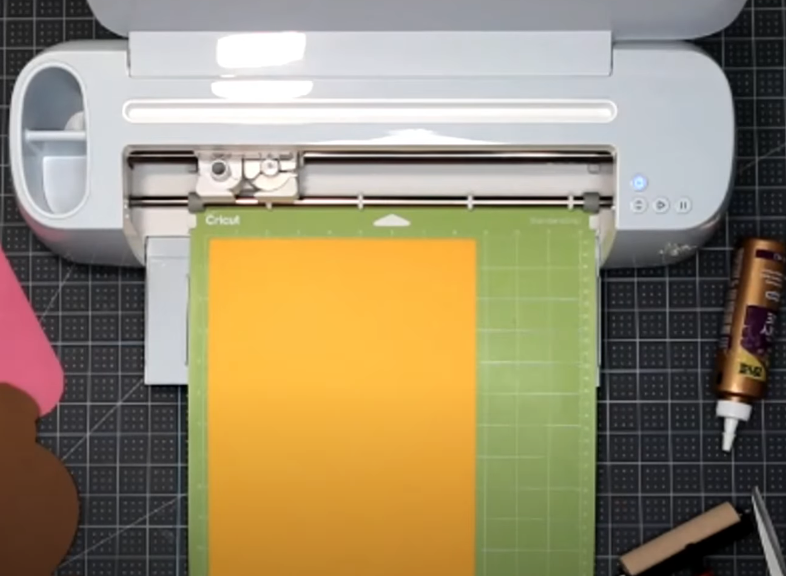
Now that your design is prepared and registration marks are in place, it's time to cut out your vinyl layers using your Cricut machine. Start by selecting the appropriate material setting for each type of vinyl you're using, such as adhesive vinyl, iron-on vinyl, or specialty vinyl. Load your first layer of vinyl onto the cutting mat, ensuring it's securely adhered to the mat's surface to prevent any shifting during cutting. Take care to position the vinyl on the mat so that it aligns with the registration marks in your design. Once everything is set up, follow the prompts in Cricut Design Space to load the mat into your Cricut machine and initiate the cutting process. Repeat this step for each subsequent layer of vinyl, making sure to use the correct settings for each material to achieve clean and precise cuts. Properly cutting your vinyl layers is crucial for achieving the desired outcome in your multi-layered vinyl decal project, so take your time and double-check your settings before cutting.
Think about the layered projects you want to make. and depending on the vinyl you are using such as holographic vinyl, make sure your layers will allow you to show the image as an artistic piece. In other words, how can you make this design look its best? If you are using a multi-layered image that already has layers, then picking the different colors of vinyl will be the biggest decision.
Weeding and Layering Your Vinyl:
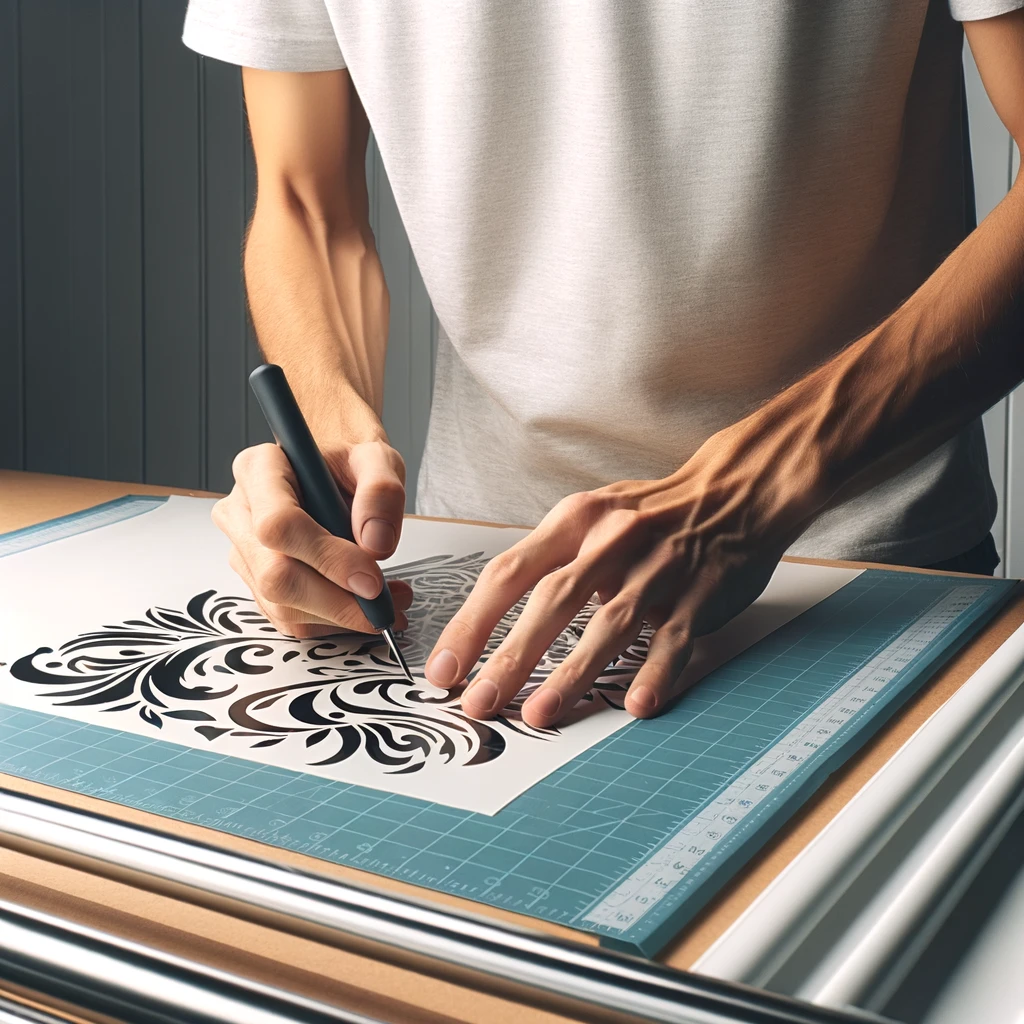
After cutting out all your vinyl layers, it's time to move on to the weeding and layering process. Using a weeding tool, carefully remove the excess vinyl around each design element, leaving only the desired shapes and details intact. Take your time with this step to ensure clean edges and precise cuts, especially for intricate designs. Once you've weeded all the layers, begin layering your vinyl by starting with the bottom layer and working your way up to the top layer. Use a piece of transfer tape to lift each vinyl element off the backing paper and transfer it onto the previous layer, ensuring proper alignment using the registration marks as a guide. Gently press down on the transfer tape to secure the vinyl in place, then carefully peel away the transfer tape, leaving the vinyl decal adhered to the surface. Repeat this process for each subsequent layer, taking care to align each layer accurately to create a cohesive and visually appealing design. Weeding and layering your vinyl requires patience and attention to detail, but the end result is a beautifully layered vinyl decal that's ready to be applied to your desired surface.
I know weeding can be onerous but think about ways you can make it much easier on yourself such as removing the larger pieces first. After that, you can sprinkle baby powder over the design and blow off the excess so you can see the lines or perhaps even use a lint roller to grab the smaller pieces.
Using a Heat Press (Optional):
If you're working with heat transfer vinyl, also known as iron-on vinyl, you have the option to use a heat press to permanently adhere the layers of vinyl to your desired surface. Preheat your heat press to the recommended temperature for the type of vinyl you're using, ensuring it's evenly heated for optimal adhesion. Once the heat press is ready, place your layered vinyl decal onto the surface you wish to apply it to, ensuring it's positioned correctly. Cover the layered vinyl decal with a piece of parchment paper to protect it during the pressing process. Carefully lower the heat press onto the vinyl decal, applying firm and even pressure for the specified duration according to the vinyl manufacturer's instructions. After the pressing time has elapsed, carefully lift the heat press to reveal your beautifully adhered vinyl decal. Allow the vinyl to cool completely before removing the transfer tape, ensuring a secure bond between the layers and the surface. Using a heat press provides a permanent and professional finish to your multi-layered vinyl decal projects, making them durable and long-lasting for years to come.
Troubleshooting and Tips:
While creating multi-layered vinyl decals can be a rewarding and enjoyable process, it's not without its challenges. Here are some common issues you may encounter during the vinyl cutting and layering process, along with helpful tips for overcoming them:
Dealing with intricate designs: For complex or detailed designs, consider using larger-sized decals to minimize cutting and weeding time. You can also adjust your design settings in Cricut Design Space to increase the size of intricate elements for easier handling.
Achieving proper alignment: Proper alignment is crucial for ensuring that your vinyl layers line up correctly during assembly. Use registration marks in your design and take your time when layering each vinyl element to ensure precise alignment. You can also use a light table or bright light source to help you see through the layers and make adjustments as needed.
Troubleshooting cutting errors: If you encounter cutting errors such as incomplete cuts or jagged edges, double-check your blade settings and ensure that your cutting mat is clean and properly aligned. You may also need to adjust your blade pressure or speed settings in Cricut Design Space to achieve optimal results.
Maintaining finished vinyl projects: To ensure the longevity and durability of your finished vinyl projects, avoid exposing them to harsh chemicals, excessive heat, or direct sunlight. When cleaning vinyl decals, use a mild detergent and a soft cloth to gently wipe away dirt or debris. For outdoor decals, consider applying a clear sealant or laminate to protect them from the elements.
Additional tips and techniques to elevate your designs and achieve stunning results:
Creating Depth and Dimension: Experiment with layering techniques to add depth and dimension to your designs. Consider overlapping elements or incorporating drop shadows to create a sense of depth. By strategically arranging layers and adjusting their sizes, you can create visually dynamic compositions that captivate the eye.
Exploring Textures and Finishes: Incorporate different textures and finishes of vinyl to enhance the visual appeal of your decals. Mix and match glossy, matte, metallic, and textured vinyl to create contrast and interest. For example, using metallic vinyl for accents or adding a touch of glitter vinyl for sparkle can elevate your designs and make them stand out.
Advanced Techniques: Take your designs to the next level by exploring advanced techniques such as shadow layers or faux layering effects. Shadow layers involve creating a duplicate of your design in a slightly offset position to mimic a shadow effect, adding depth and realism to your decals. Faux layering involves strategically placing elements to create the illusion of layers without actually using multiple layers of vinyl, offering a simplified yet impactful approach to multi-layered designs.
Real-Life Examples: Draw inspiration from real-life projects showcasing innovative and creative uses of multi-layered vinyl decals. Explore online communities, social media platforms, and crafting forums to discover a wealth of ideas and inspiration from fellow crafters. By studying successful projects and analyzing their techniques, you can gain valuable insights and apply them to your own crafting endeavors.
Creative Uses:
Final Note
Congratulations on mastering the art of making multi-layered vinyl decals on your Cricut machine! With the techniques and tips provided in this guide, you now have the knowledge and skills to create intricate and visually stunning vinyl projects that reflect your unique style and creativity. Whether you're embellishing clothing, customizing home decor, or designing gifts for loved ones, multi-layered vinyl decals offer endless possibilities for personalization and expression. Remember to experiment with different types of vinyl, layering techniques, and design elements to push your creativity further and achieve truly remarkable results. We hope this tutorial has inspired you to explore the world of layered vinyl crafting and unleash your imagination. So, fire up your Cricut machine, gather your vinyl supplies, and let your creativity soar as you embark on your next multi-layered vinyl decal project. Happy crafting!
