Do you leave the drawing for a project to someone else?
Are you an artist without the ability to create the images you want?
Do you have creative thoughts and ideas but need help in the execution?
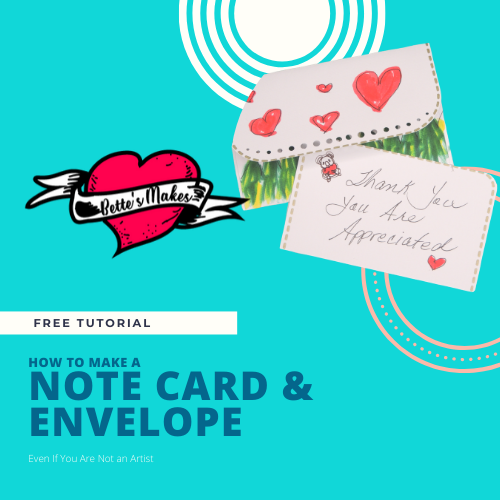
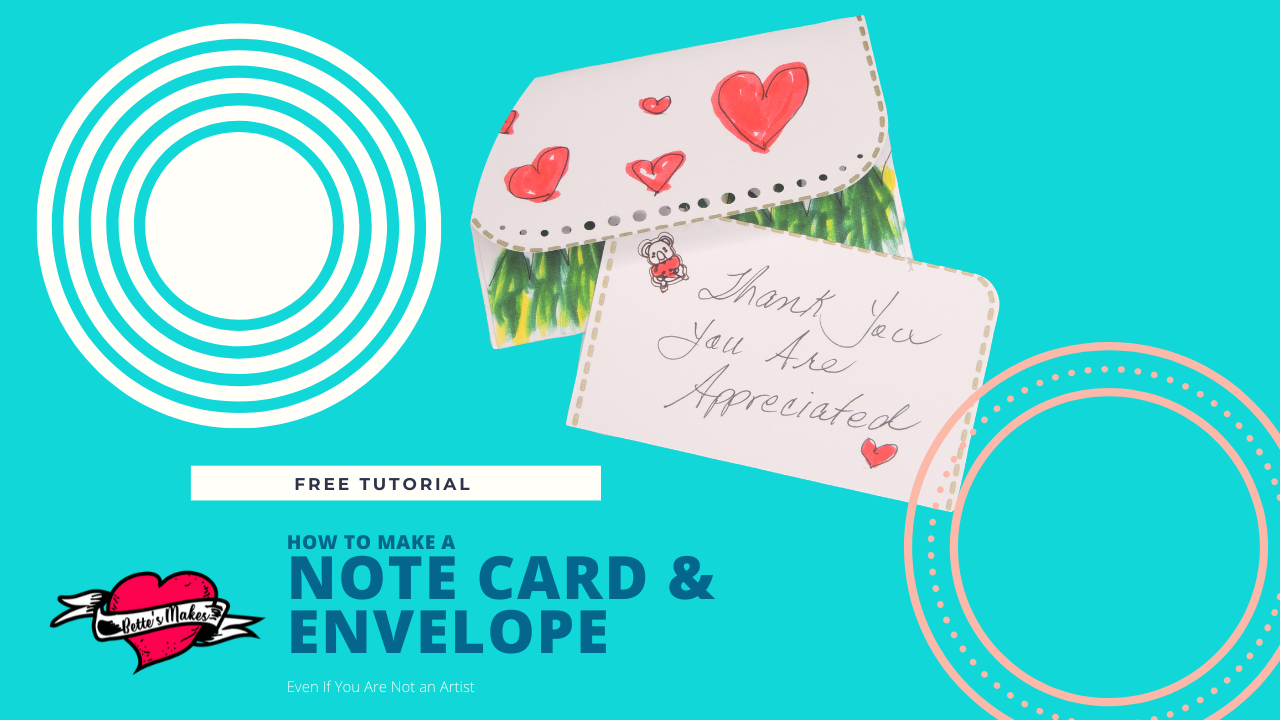
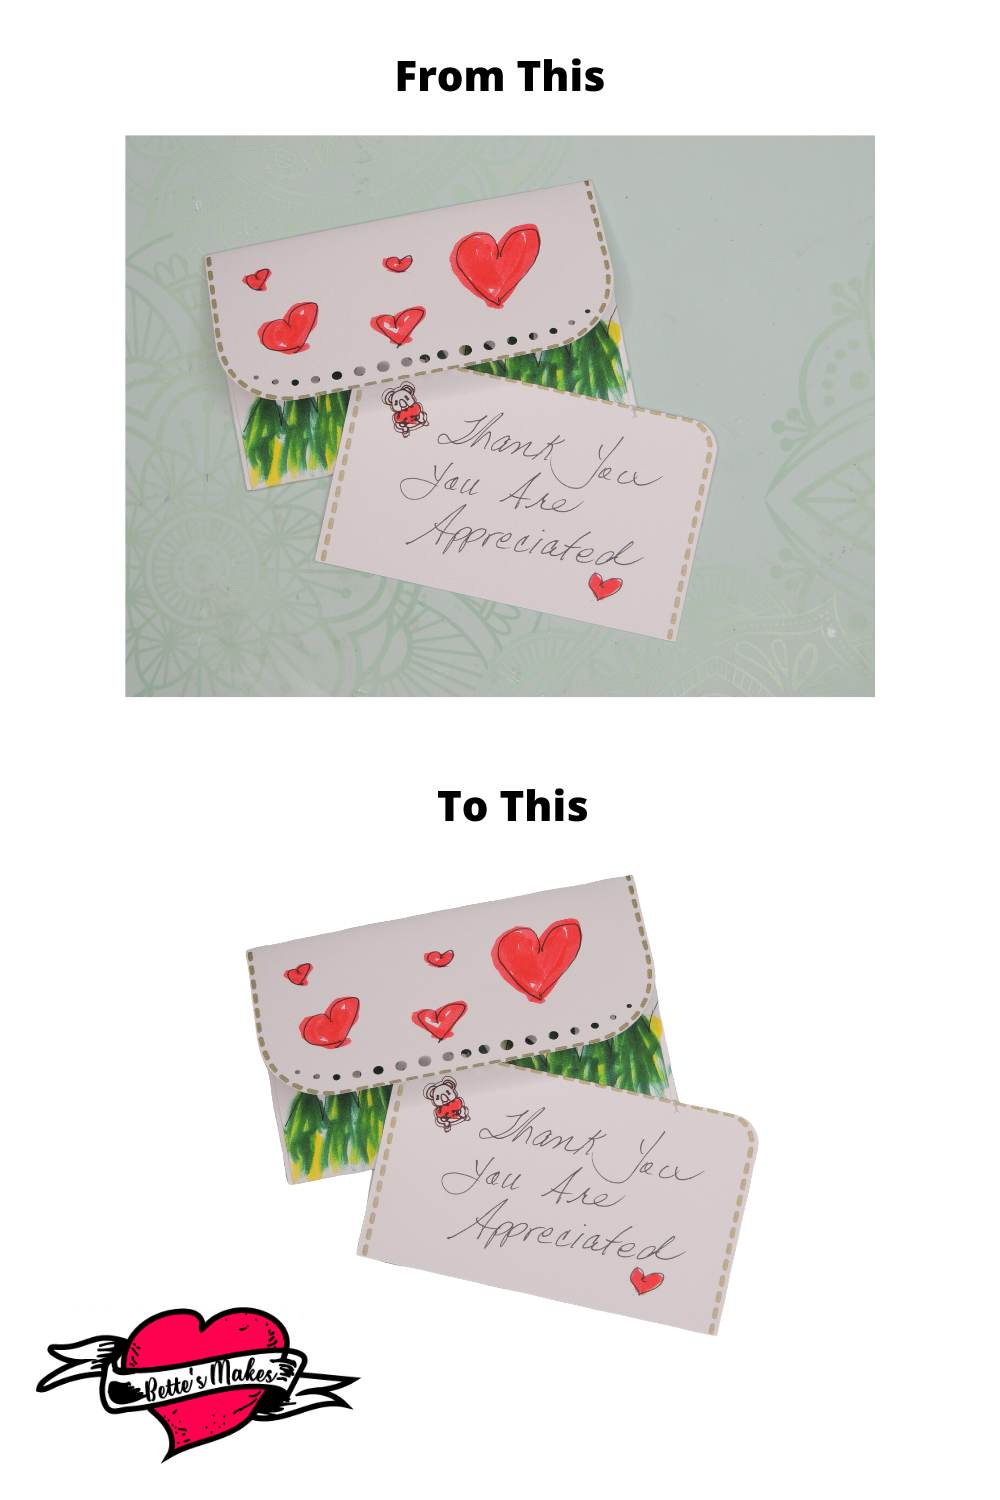
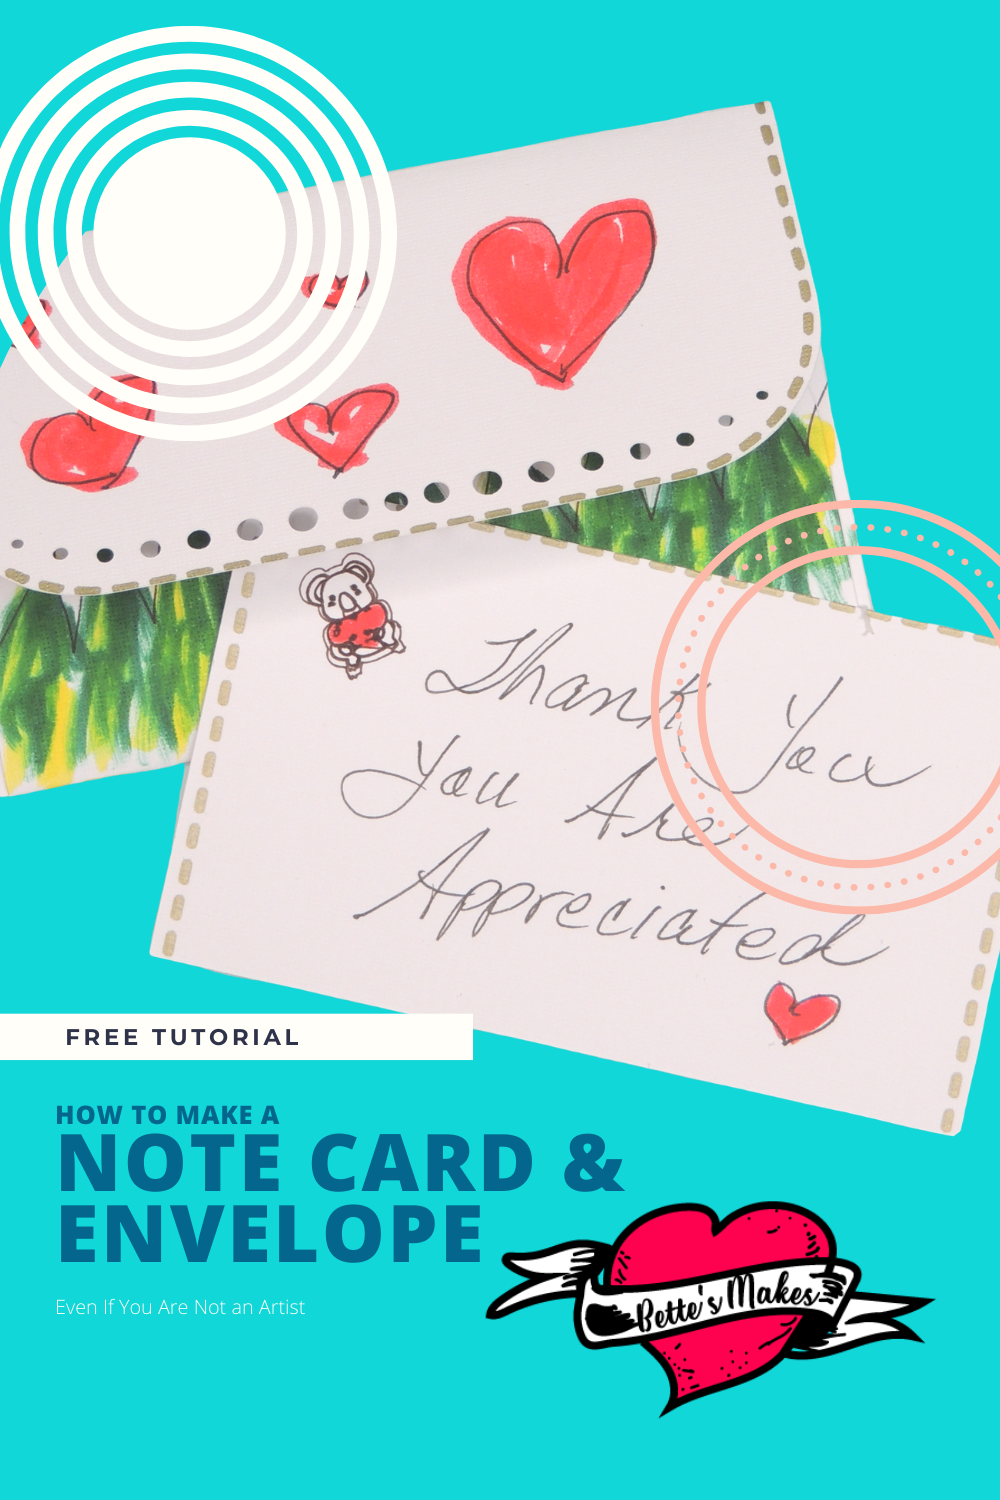
Note Card and Envelope using your own artwork?
Note Card and Envelope with Personalization.
I am the last person to claim they can draw, yet I flourish as an artist in a different way. Are you the same? Just think of all the crafts you make without the need to draw.
Recently, I posted a project where I was required to draw. I practices the strokes and how to color in the results long before recording the video. Don't laugh, I am not impressed by my results but at least I tried. If you are in the same boat, then you will want to know how to get around the main issue of being a crafter who's paint brush has not been well trained.
Quick Links to Information in this Post
Alternatives to Drawing
Is drawing your strong point or are you like me and it is a struggle to make things look they way you imagine they should be? I would love to be able to just pick up a pencil and draw what I want and perhaps I will get there one day, but it won't be for a long period of time.
So what can you do instead of drawing what you want as a print and cut object? The secret is really simple! Find what you want to draw as an image, then print the object. Place you object on a light board, if you have one, and start tracing!
Yes, tracing - oh so simple. All you need is a good light source. You can use the light coming through a window as the perfect light board (no need to go out and buy one at all). You can trace your object in a loose fashion. This means, create the outline, then color in the pieces.
Once you have the piece you love, you can do one of the following:
1. Scan in your art as a PDF or image file (jpg)
2. Take a photo with your phone and save it to your gallery, then transfer it to your images folder
Either way, you image will now be ready to upload to Cricut Design Space, or your editing software. If you upload your image to Canva, you can actually make adjustments to the brightness and even remove the background (I believe this is int he paid version).
You will be truly surprised at how incredibly easy this is to make your own images.
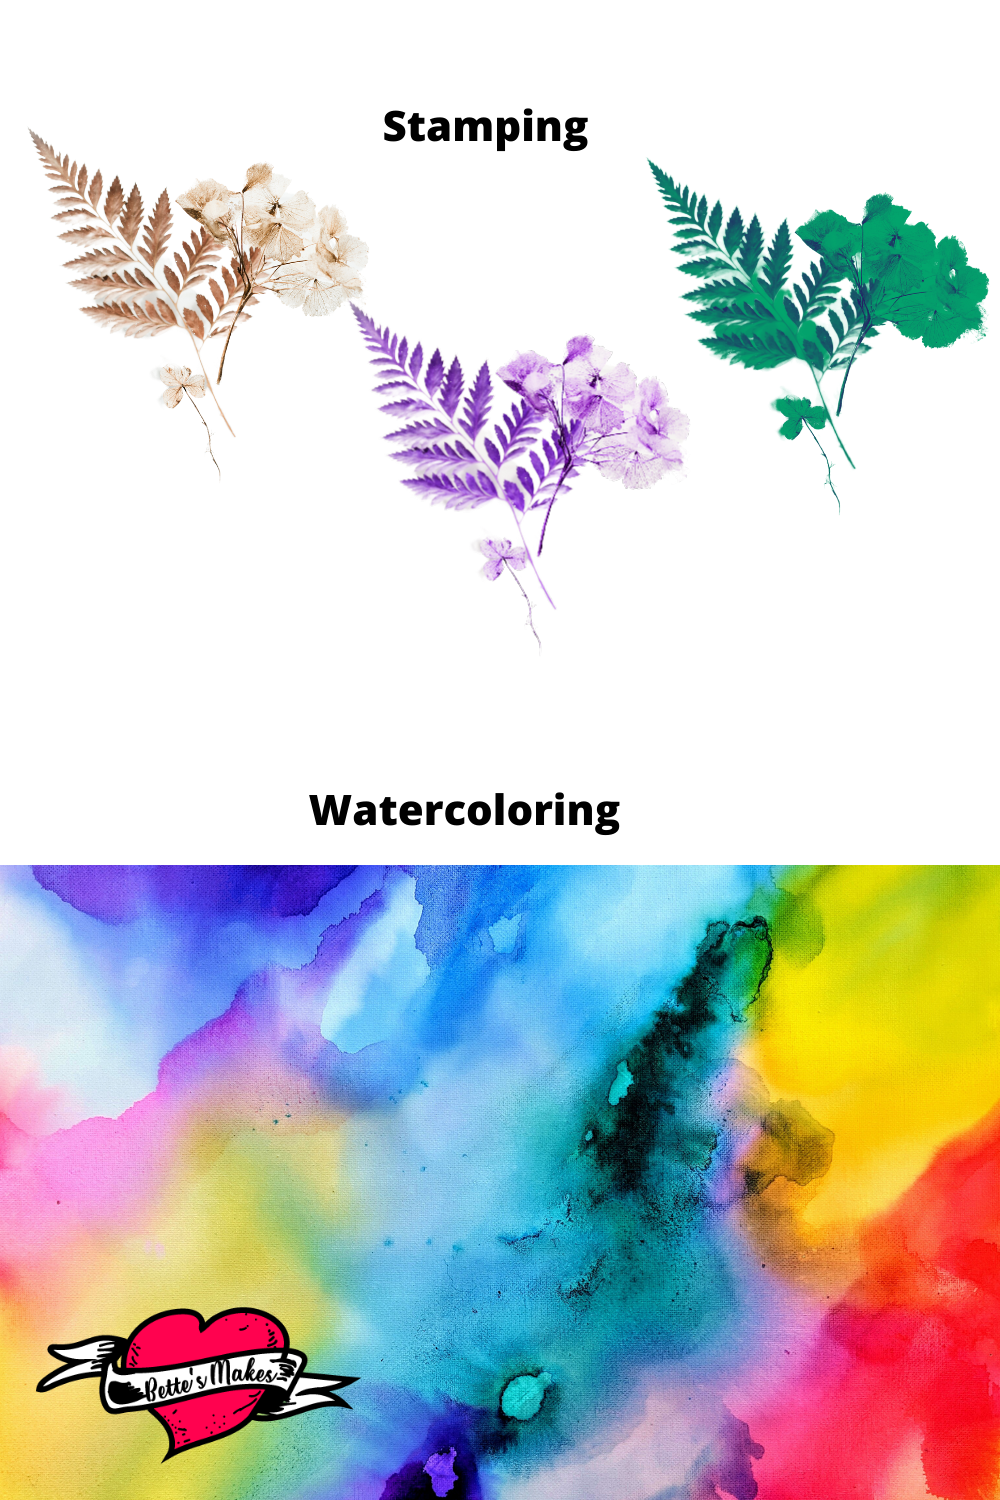
Stamping
Do you own some stamping sets? If you don't it will not be a problem. Stamping can be done without the purchased ones. Many crafters these days are selling digital stamps, then allowing you to add your own colors. In other words, these are objects you can color in.
I like to think of stamping in a slightly different way. Other than real stamps, or digital stamps, I look for objects around the house that have a raised surface. For example, I had some plastic shapes of balloons, cute animals, etc. that I had purchased a year or so ago and had not used them for creating sun catchers. By dipping them in an ink pad, I could stamp the outlines onto my project.
Other things you could use:
* pencils with erasers - use the eraser end and dip it in ink and start stamping circles of color.
* bottle caps - use either part, the edges really make super designs.
* fork tines - dip the ends into the ink and start drawing, 5 lines at a time
*cookie cutters - ink the edges as if you are going to make cookies and print it on paper
* cut shapes out of plastic packaging and use those as a stamp
As you can see, you can make a stamp out of almost anything. I love to experiment with objects as well. For the note card, well, I had some brush pens lying around that were not being used, I simply used those for my decoration.
Coloring Techniques That Look Professional
When was the last time you colored a page? Did you join in the coloring book craze and are still working on a few items? I love coloring but often find that I stay in the lines and my colors lack depth. In other words, I used solid colors as I had no clue about how to make changes in my method that were super easy. How do you color your pages?
My Note Card did not turn out as I had imagined, but as a result I did learn a few things about how to color so it looks professional.
Some techniques that are easy to use.
*dip a brush into a watercolor, then in water. Drag the brush across the page to get a blend look from dark to light.
* tape off parts of where you want to paint or color and apply the color to the paper, then pull off the tape.
* take 2 or more brushes and tape them together. Dip the brushes into your watercolor, then into water. Drag the brushes together across your page for a really interesting effect.
* paint your watercolor in place then take a tissue and smear the color to get a blob style.
* use your paint brush with color and dab it up and down in the area you want to color.
Any one of these techniques are so much fun and the results are incredible. The best part is that you do not need to be an artist to make this work for you. Try it with one of the stamps you made and placed on your Note Card for an amazing effect.
Hide Errors with a Coat of Paint
Do you ever make mistakes when coloring your objects? I know I sure do and the green grass from this project is a prime example of an error that ended up being OK after applying more paint in a different color.
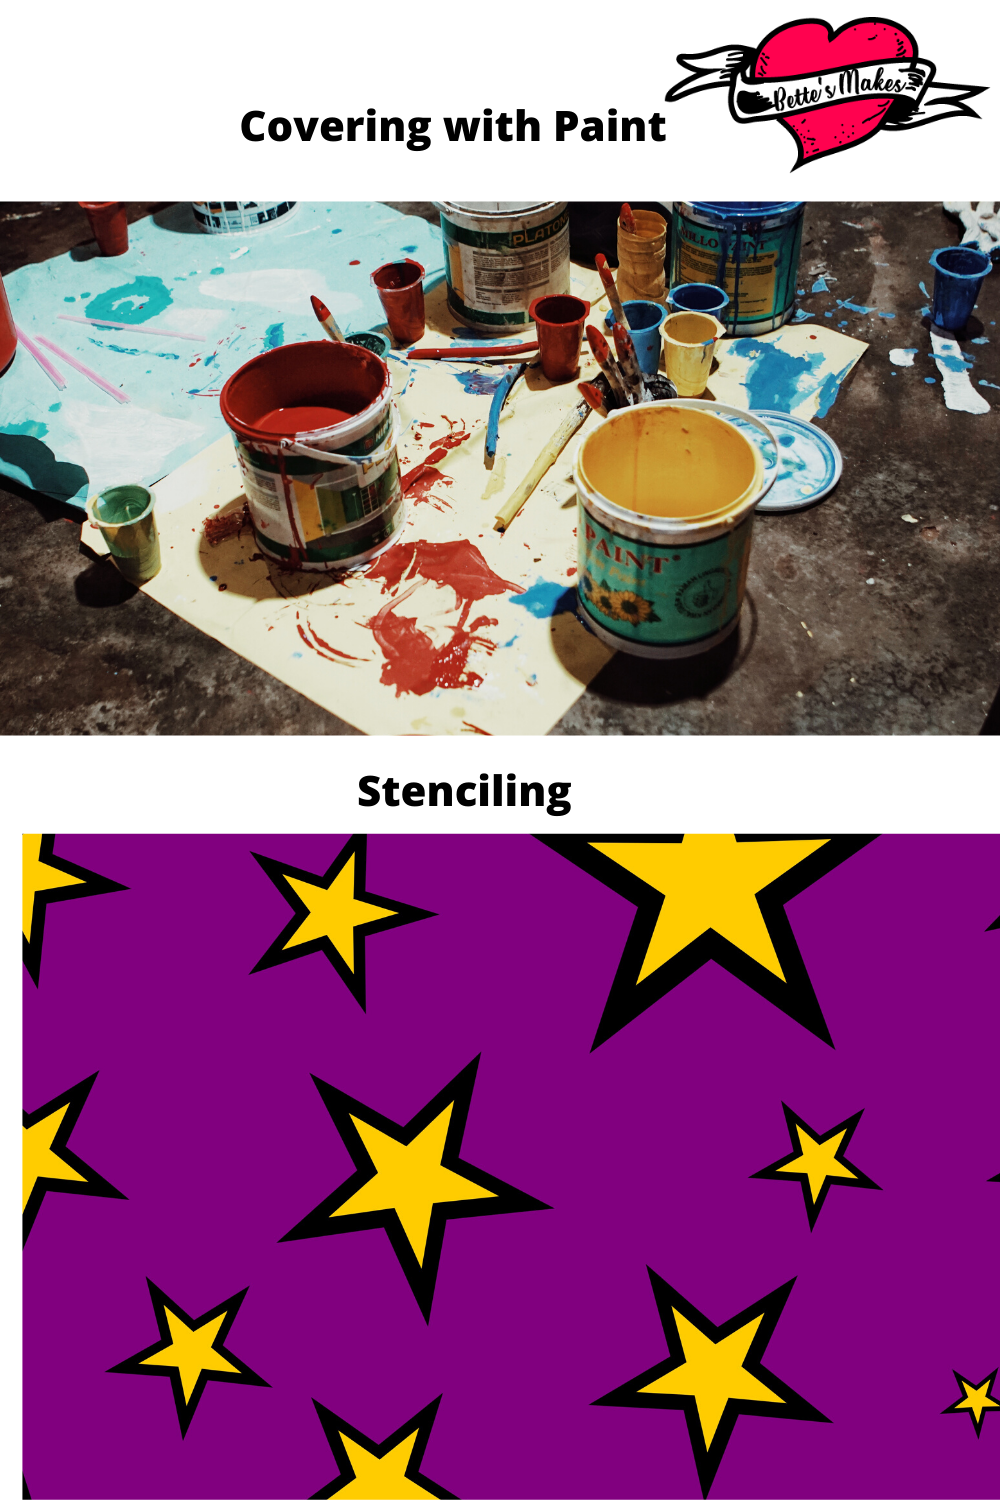
Don't be afraid to paint on top of paint to make your project better. The secret here is to let the paint dry, white wash it to tone down the initial color, then let it dry again.
After the whit is dry, all you need to do is go over the area with the design and color you really wanted in the first place.
Never worry about a mistake, just find a way to recover and cover it up.
For the Love of Stencils
Do you have any stencils lying around? The dollar stores always have lots of them and some may not be the best designs but they will work for you with just a few changes.
I find that some stencils are too vague and lack detail. This is where you can make some easy adjustments to get just what you want.
Here are some adjustment ideas you can use to make your stencil work better for you:
* often stencils are way too large to use and you may want to reduce the size so you can use it. Trace the stencil on a piece of paper, then scan it in to your computer. Once you have the scanned image, you can change the size in your editing software (this includes Cricut Design Space).
* add some details to the stencil. Use cut out pieces of paper to add to the stencil by placing the parts in place. Make sure you "attach" the pieces to one of the edges so it will become part of the stencil. Take a photo of the stencil or tape it all together and scan it in.
*make your own stencil based on an image - this is more difficult to achieve as you have to be careful that there are no floating pieces that would fall out.
If you have a small enough stencil, you can add your design to your Note Card just as I did with the koala with heart.
Finishing Touches for that WOW Factor
Are you ready to make that Note Card have that WOW factor?
Take one of the ideas from above and add it to the envelope or the Note Card itself.
To make the Note Card, download the template from my resource library and upload it to Cricut Design Space.
Make sure you change a couple of the lines for the envelope to scorelines (there are 4 lines) and add any embellishments to be print and cut or drawn on the card. And you are ready to go!
See the video below for all the details on how to make this Note Card
How to Make A Note Card & Envelope Video
Last Word
Creating beautiful art work and crafts does require skill, one that you already have. Some of the pieces such as hand drawing may be lacking but there are lots of easy alternatives to keep you going.
Sit back and imagine a gorgeous crafted piece with your artwork as the prominent feature! Don't laugh, even without being an artist, you, too, can work an artists magic for the finishing touches. All you need to do is follow the amazing techniques outlined in this article.
So what is stopping you from getting on the crafting train with hand drawn objects?
Until next time...
For the Love of Crafting


Please join me on Pinterest: https://Pinterest.ca/BetteMakerCreations
Join my Facebook group: https://facebook.com/BettesMakes
Follow me on Instagram: https://Instagram.com/BettesMakes
Subscribe to my YouTube Channel: https://www.youtube.com/c/BettesMakes
