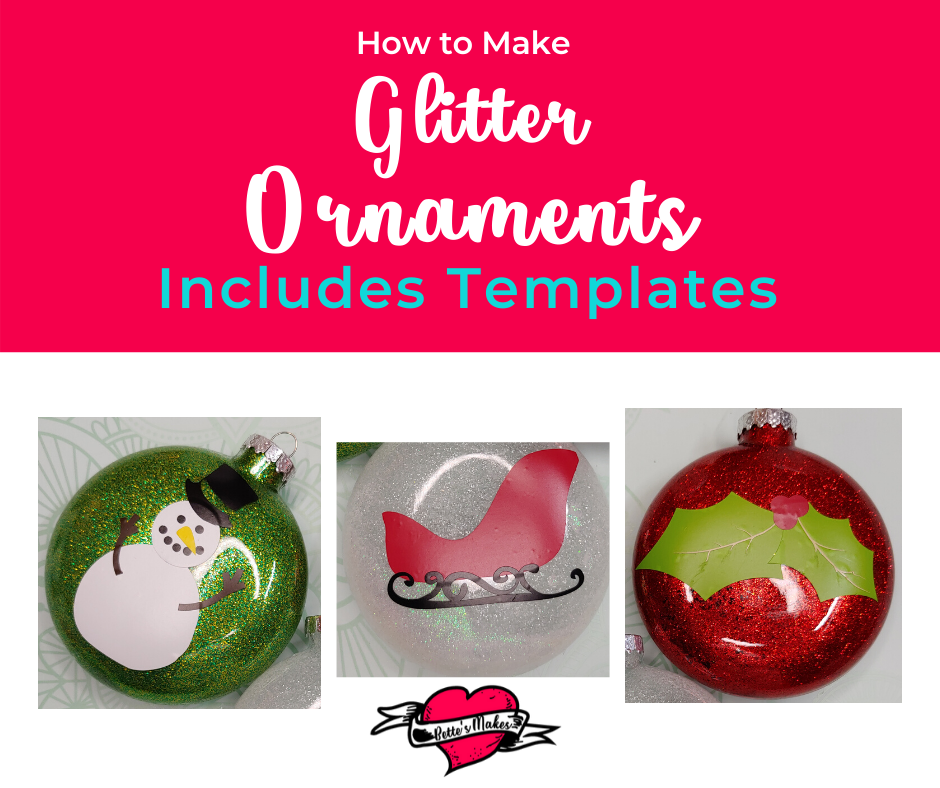
Glitter Ornaments
Glitter ornaments are everywhere - you can actually buy them at the dollar store! Not exactly what you want to do! You will want to personalize your glitter ornaments and hang them with pride. There is nothing like making your own DIY Home Decor and you get to use your Cricut in the process!
I purchased my ornaments at Michaels as they were 50% off the list price. I bought the flat ones and the round ones as well. For this project, I will be using the flat ornaments - this is because they are easier to handle and much easier to apply the vinyl designs.
Speaking of vinyl designs, I posted the SVG files and shared them with you in my resource library - look for file #201!
Quick Links to Information in this Post
Here’s what you need to make your own Glitter Ornaments. This post does contain some affiliate links for your convenience (which means if you make a purchase after clicking a link I will earn a small commission but it won’t cost you a penny more)! Read my full disclosure policy.
Glitter Ornaments Project Materials
Glitter Ornaments Step-by-Step Guide
Even though I want you to download the templates first, you will be starting with placing the glue and glitter into your ornament, letting it dry, then cutting and adhering the vinyl designs to the outside.
Step 1
Download the template to use for this project from my resource library
Load the design into Design Space (Cricuts design application). We will come back to design space once we have our ornaments ready.
Step 2
Open the top of your clear ornament, pour in a fair amount of glue, swirl the glue until it coats the entire inside of the ornament.
Set upside down in a paper cup to drain. Drain it for at least 20 minutes to make sure you don't have globs of glue in one place.
Step 3
Once the glue is drained and still tacky on the inside, pour your glitter into the ornament and swirl it around until the inside is completely covered. You may have to do this a couple of times to make sure you don't have any bare spots.
Turn the ornament upside down to remove the excess glitter (return the glitter to your jar), then place the upside down ornament into a paper cup and let drain some more and let the glue set. This may take a fair bit of time. For my ornaments, I had to let it dry overnight.
Step 4
Time to start working in design space. You will be cutting our your snowman, holly, and sleigh.
Measure your ornaments so you know the size you will be needing for the final product.
Size your objects so that they will fit on your ornament.
Set the colors and prepare your mats. I often put everything on one mat, organize the mat after I hit Make It so that I can put smaller pieces of vinyl on the one mat (using different colors).
Make sure you know the exact placement of your vinyl before continuing to the next step.
Step 5
After you click continue, choose the correct material for your project. I use premium vinyl made by Cricut but yours may be different.
Step 6
Follow the instructions on the screen for your cutting machine then load your mat, and cut the project.
Step 7
When your project has finished cutting, release the mat, then gently remove the negative parts of the vinyl, leaving only the pieces you want on your ornament.
Using transfer tape for each set of objects, place the topmost element first then work your way down to the bottom piece. Once you have gathered all the pieces of the object, place it on the ornament and smooth it in place. If you are using a round shape, you will need to make cuts around the edges so your object will lay flat.
Step 8
Repeat the transfer process until all your ornaments are decorated and share the results at https://facebook.com/groups/bettesmakes
Reading Ideas
Making your own ornaments is something that has been going on for centuries! There are lots of suggestions and books on the subject.
Here are a few of my favorite.
Decorate Your Own Christmas Ornament
The LEGO Christmas Ornament Book
All of these books are on Amazon (these are my affiliate links, in case your decide to buy - there are no extra charges for the books through any affiliate link).
How to Make Glitter Ornaments Video
Last Word
This was an incredibly fun project! I made 6 ornaments and am going to add 3 more before the end of the week! I love making my own designs and adding my personal touch to the household over the holidays.
This project also had me layering my vinyl, which often takes a lot of patience!
If you made these adorable glitter ornaments, please share photos on our Facebook group. https://Facebook.com/groups/BettesMakes
Until next time,
Happy Crafting!


Please join me on Pinterest:https://Pinterest.ca/BettesMakes
Join my Facebook group: https://facebook.com/BettesMakes
Follow me on Instagram:https://Instagram.com/BettesMakes
Subscribe to my YouTube Channel: https://www.youtube.com/channel/UCzMHoceK1XiXi8IykicnUmQ
Please pin the following image to your favorite Pinterest board!

