Making Pantry Labels is so Much FUN!
Use These Shapes to Make Gorgeous Pantry Labels
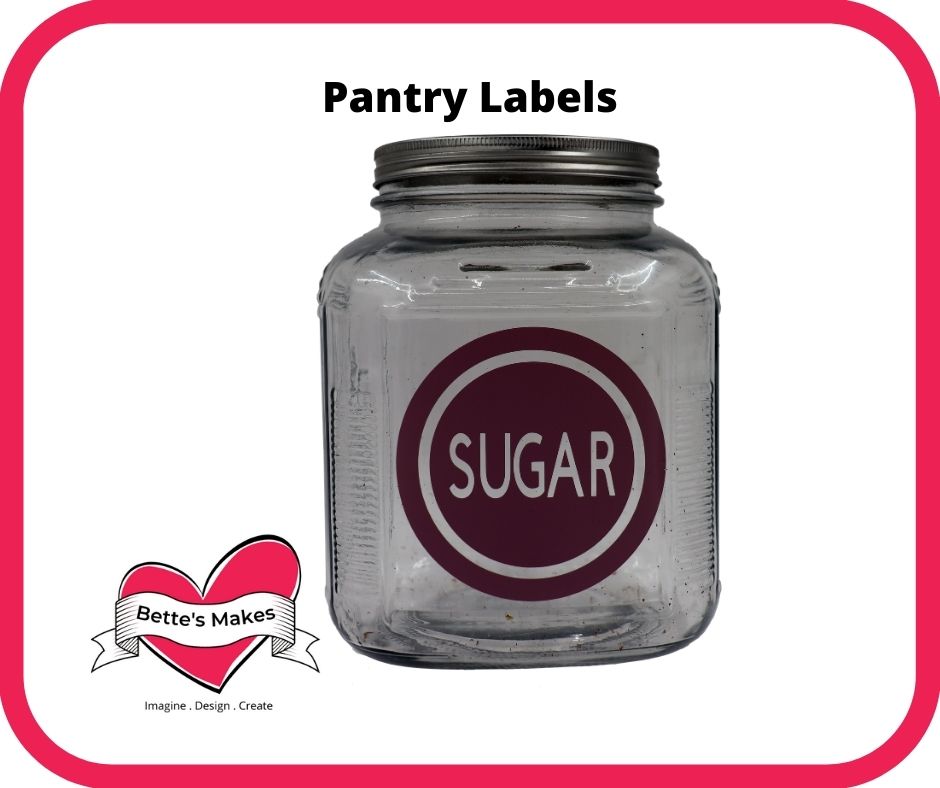
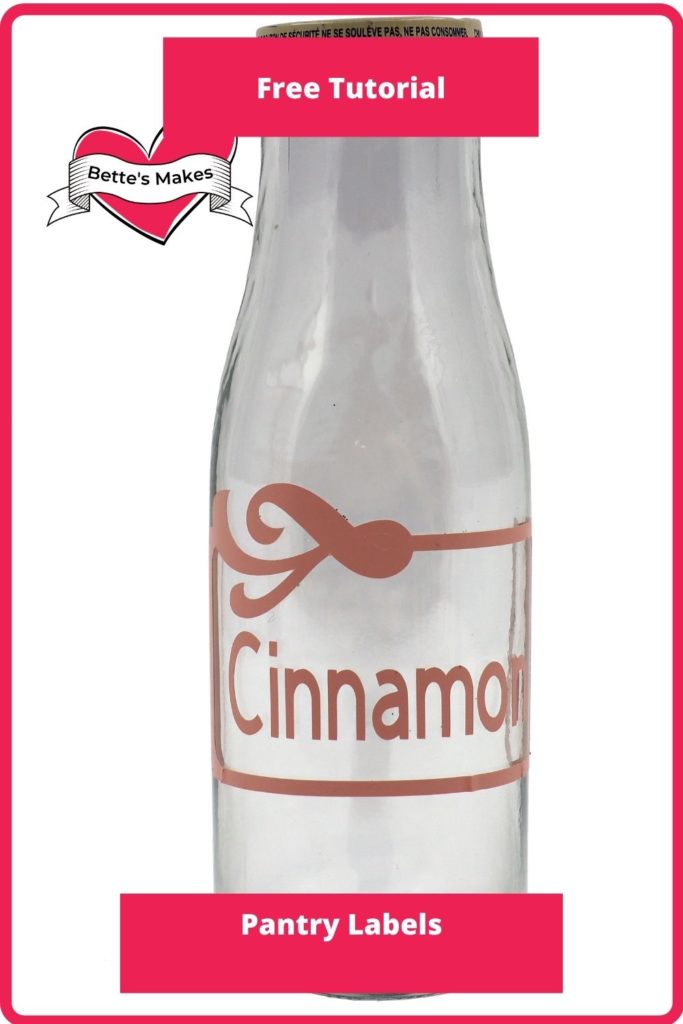
Use your Cricut to make a whole pantry full of labels. Add your unique flair and your own text and set your colors. It is so easy when you follow this tutorial! You can use non-permanent or permanent vinyl to make these and the type of vinyl does not matter - as long as you can stick it in place, you can use it for a pantry label.
All the materials can be items you already have on hand. You will also find the template already to go in my resource library (asset #316)
Here’s what you need to make your Pantry Labels. This post does contain some affiliate links for your convenience (which means if you make a purchase after clicking a link I will earn a small commission but it won’t cost you a penny more)! Read my full disclosure policy.
Quick Links to Information in this Post
Pantry Labels Materials
Pantry Labels Step-by-Step Guide
Step One - Download the Template
To start you will want to download the template (asset #316) from my resource library.
Unzip the file and upload the SVG file only to Cricut Design Space
Step Two - Design Space Changes
Your big decision here will be to decide on which design you want to use. In our video we used the Circle, the flared rectangle, and the plain rectangle. You do not need to choose the same designs as we did.
Next, for cutting out the label word you will need to type in the word and place it in the middle of a label with a solid center. Make sure you duplicate the design first so you can make another label using the same design.
Select the label and the word together then click on slice.
Delete the parts you do not want.
For a hollow design, you will want to add your text to the middle and adjust the sizing to fit.
Don't forget to duplicate the design before you add your words.
Once everything is the way you want it - click on Weld to keep this as one piece.
Continue duplicating and adding words you want for your pantry labels.
Step Three - Saving and Choosing your Vinyl
Before you forget, save your project as you may want to go back and use the designs again for another label set.
If you want your labels to be permanent, you should use permanent vinyl, otherwise, use the non-permanent so you can take the old label off and replace it with a new one.
It does not matter what color or type of vinyl you use, just make sure you are happy with the colors!
Make your labels!
Before you add the finishing touches you will want to "weed" out the negative parts and leave only the pieces you want to keep on the backing.
Step Four - The Finishing Touches
Putting your labels in place is absolutely easy when you use parchment paper to help you along the way.
Cut out a piece of transfer tape to fit over your label. Remove the backing from the transfer tape and place it overtop of your label.
Remove the label backing.
Place the transfer tape and the label on top of a piece of parchment paper with the top edge showing about 1/2 an inch. (This is the part you will first stick in place.)
Place you label exactly where you want it on your jar or surface and then press the exposed part of the label down hard so it adheres to your surface.
Gradually pull the parchment paper down and press the label in place. You will likely do this in 5 or 6 steps (sometimes even more). This allows you to stick the label in place without having to worry too much abut bubbles.
Share your project in our Facebook group. https://Facebook.com/groups/BettesMakes
More Craft Ideas from BettesMakes
Here are some amazing crafts you can make from BettesMakes.com
This is just a sampling of the dozens of crafts you can find on my website.
Last Word
How many pantry labels did you make? Did you create some of your own designs to add labels to your kitchen cupboards and drawers?
I love these labels as you can add your own text without an issue. You just have to know how to resize your text to fit they way you want it.
I hope you enjoyed this project as much as I did.
If you made some labels, please share it on our Facebook group. https://Facebook.com/groups/BettesMakes
Until next time,
Happy Crafting!


Please join me on Pinterest: https://Pinterest.ca/BetteMakerCreations
Join my Facebook group: https://facebook.com/BettesMakes
Follow me on Instagram: https://Instagram.com/BettesMakes
Subscribe to my YouTube Channel: https://www.youtube.com/c/BettesMakes


 DIY Home Decor DIY Craft Tutorials, DIY Paper Flowers
2 replies to "How to Make Pantry Labels"
Bravo! This tutorial makes it look so easy to create these labels. Cannot wait to try it out for all the new jars I got to organize with! Thank you!!!
I am so happy you enjoyed it – please share what you make with me in our Facebook group https://Facebook.com/groups/BettesMakes
Bette Daoust recently posted…Organizing and Using Up Scrap Paper