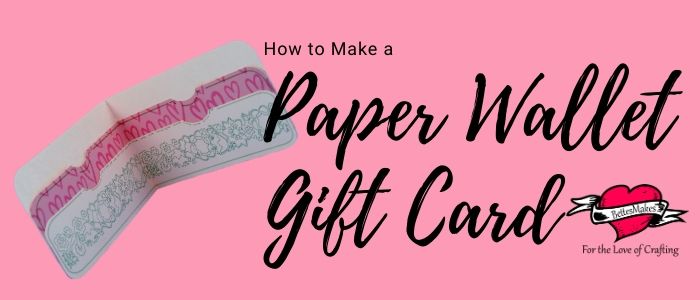
Do you have a special gift for grad? Are you ready to celebrate with a handmade gift?
Paper Wallet Gift Card is Ideal for Celebrations
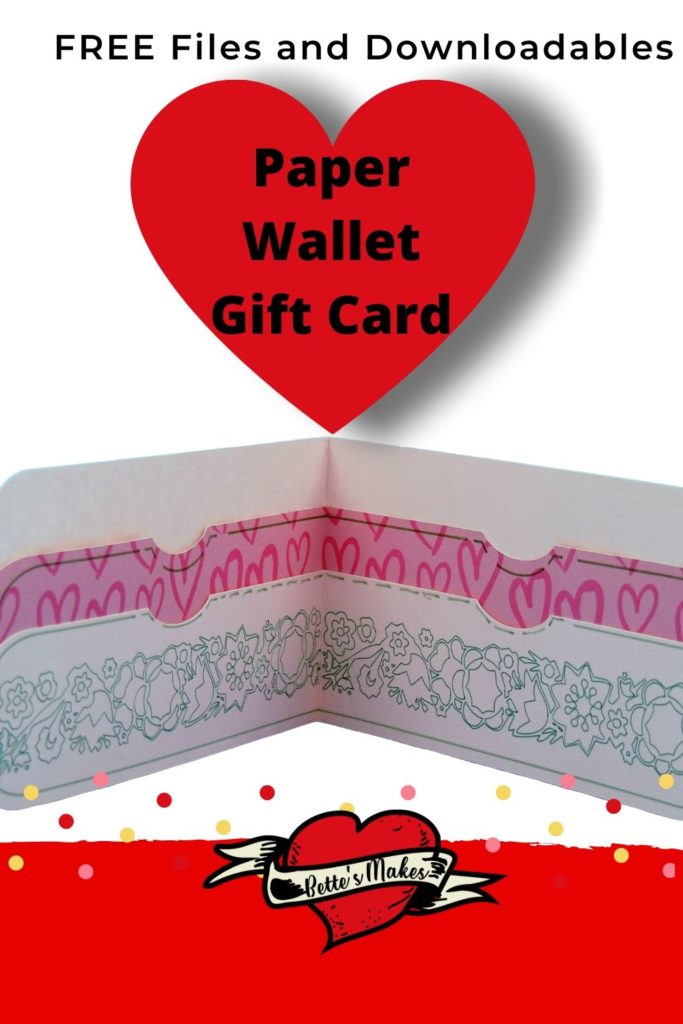
Can you imagine the smiles on your family or friends when they receive the gift of money? It is incredible! Most people these days are in need of a boost and making this paper wallet filled with love and money is the perfect way to show your appreciation!
This paper wallet is designed so that you can add your own decorations and personalization. Only you can decide on what to say and how to say it. Are you ready to make this easy craft and help others celebrate their successes?
Here’s what you need to make your Paper Wallet Gift Card This post does contain some affiliate links for your convenience (which means if you make a purchase after clicking a link I will earn a small commission but it won’t cost you a penny more)! Read my full disclosure policy.
Quick Links to Information in this Post
Paper Wallet Gift Card Materials
Paper Wallet Gift Card Step-by-Step Guide
Step One - Download the Template
There is only one file for this project that you need to download.
Go to the resource library and download the following file then upload it to Design Space.
The file name is: wallet-paper.svg
I have also provided a file so you can hand cut and color. This file is called wallet-paper.png
Step Two - Design Space Adjustments
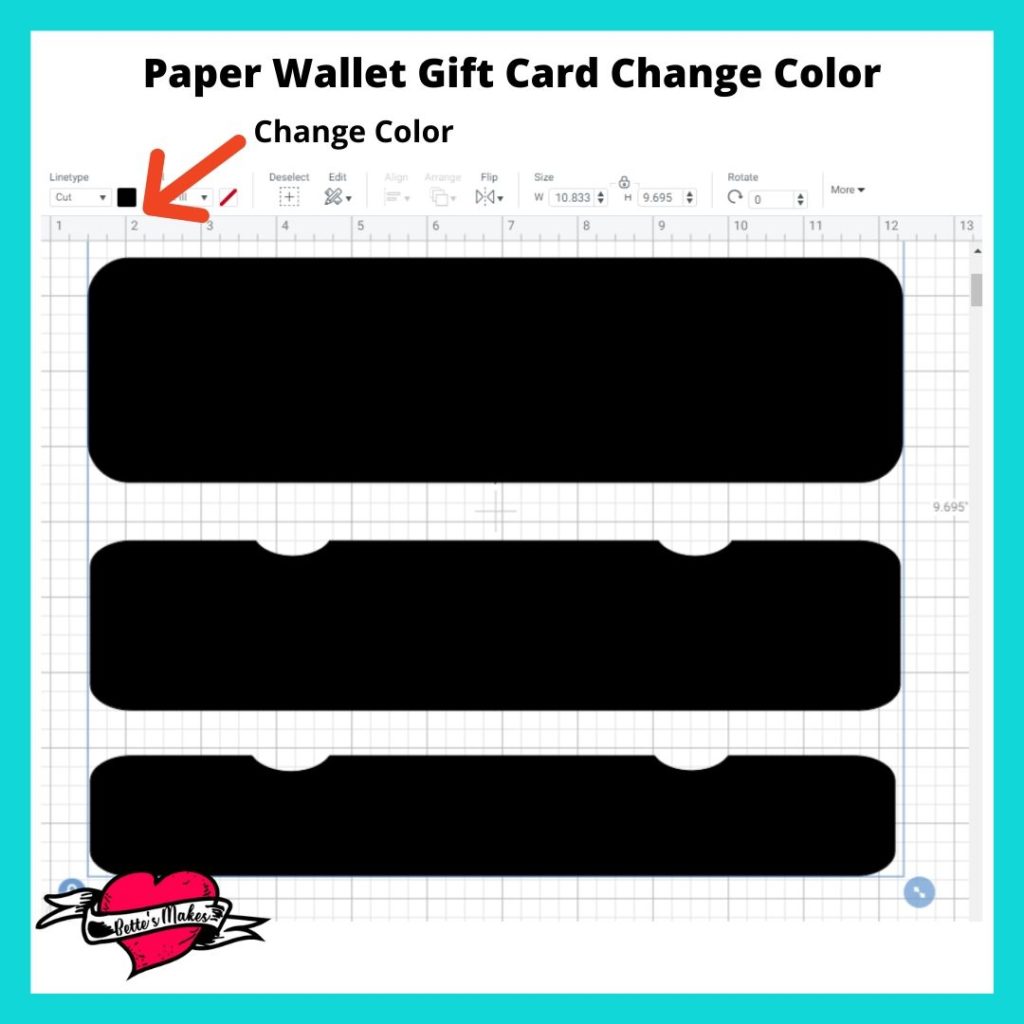
After you upload and insert the file into Design Space you will need to change the color from black to a lighter color such as yellow. Once you have changed to color you will be able to see all the other lines in the project.
DRAW LINES
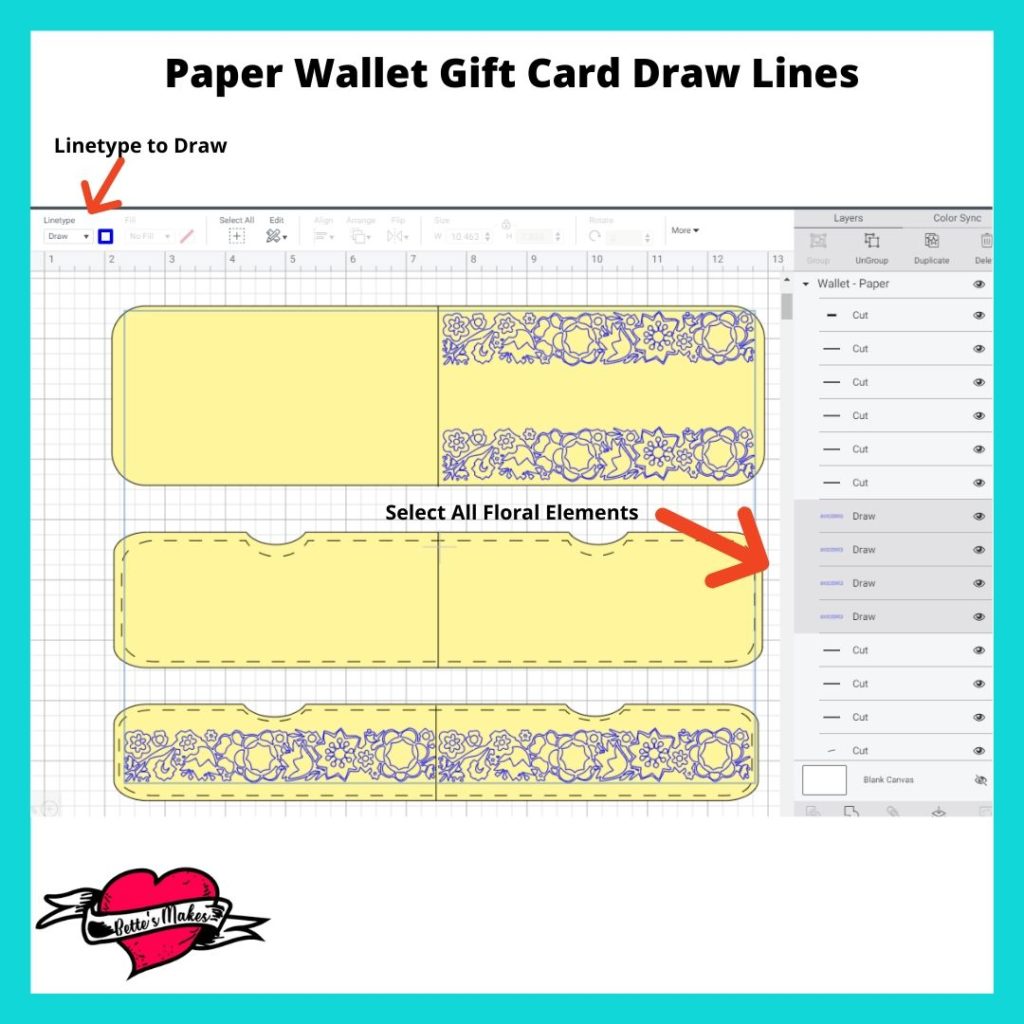
All of the floral design will need to be changed from cut to draw. You can choose any pen color you wish. I suggest a darker color if you are going to be using light cardstock.
To make this change select the floral elements in the layers panel using click and shift + click to select them all.
Go to the Linetype box on the top left and change the Linetype to Draw.
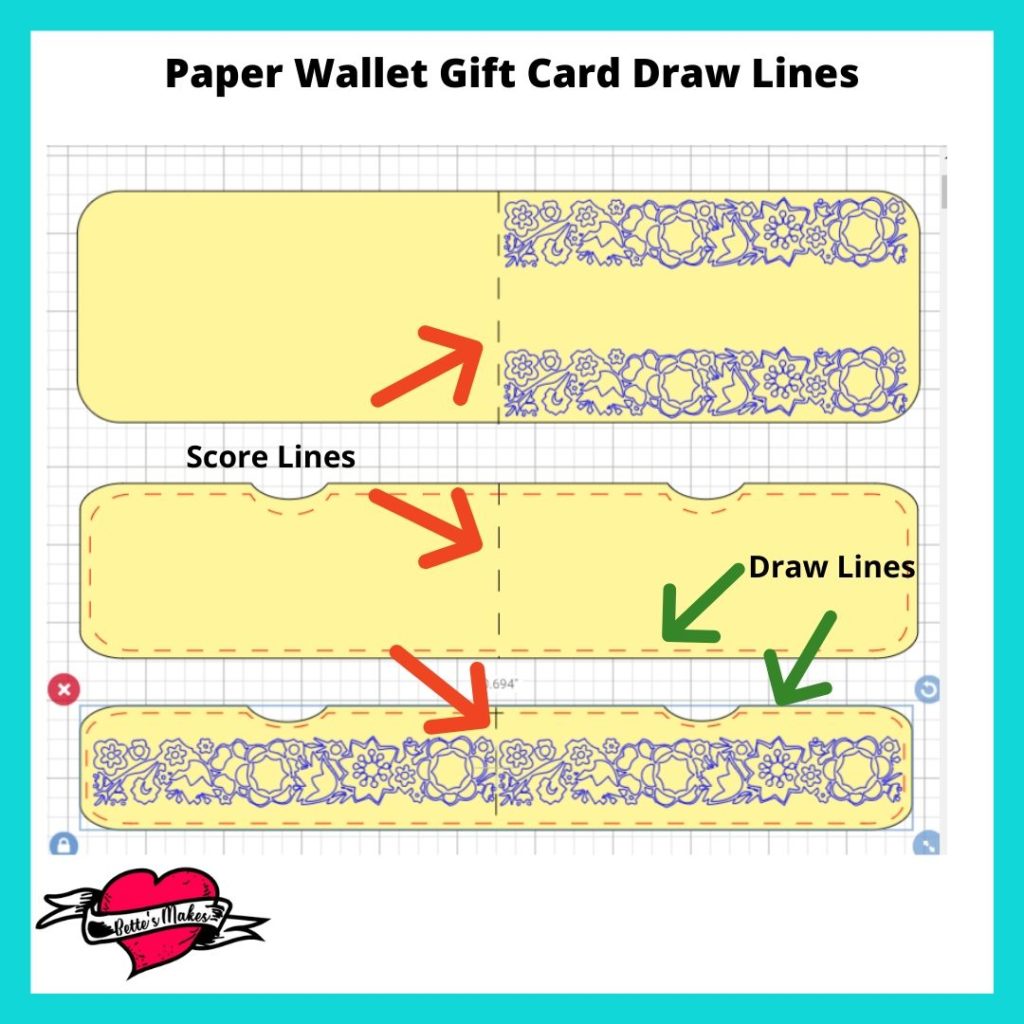
Next Change the dotted lines around the outside edge to draw lines. These lines represent stitching around the outside edges. These are a little more difficult to change because there are so many. Here is a simple way to handle the change.
Select the entire wallet piece then ungroup it. Make sure you have selected the entire piece and then change everything to a draw line.
SCORE LINES
Now click on the outside line and change it to cut. Select the center line and change it to Score.
Now select the entire piece again and group it then Attach it.
Repeat for the bottom wallet piece as well.
You still have one more score line to create in the large piece on top. Select the center line and change it to a score line then group the entire upper piece together and Attach it.
That is all you need to do in Design Space and you are ready to Save and Make It.
MATERIALS
My usual choice is Medium Card Stock but you can make this paper wallet gift card out of any material you wish - even faux leather.
Step Three - Assembling the Wallet
Your Cricut machine will draw in the floral pattern and you can decide if you want to color them in any further. The choice is yours.
As for the assembly, you do not need to glue the center lines together if you are adding cash to the wallet.
If you do decide to glue them, you can add folded bills into each of the pockets.
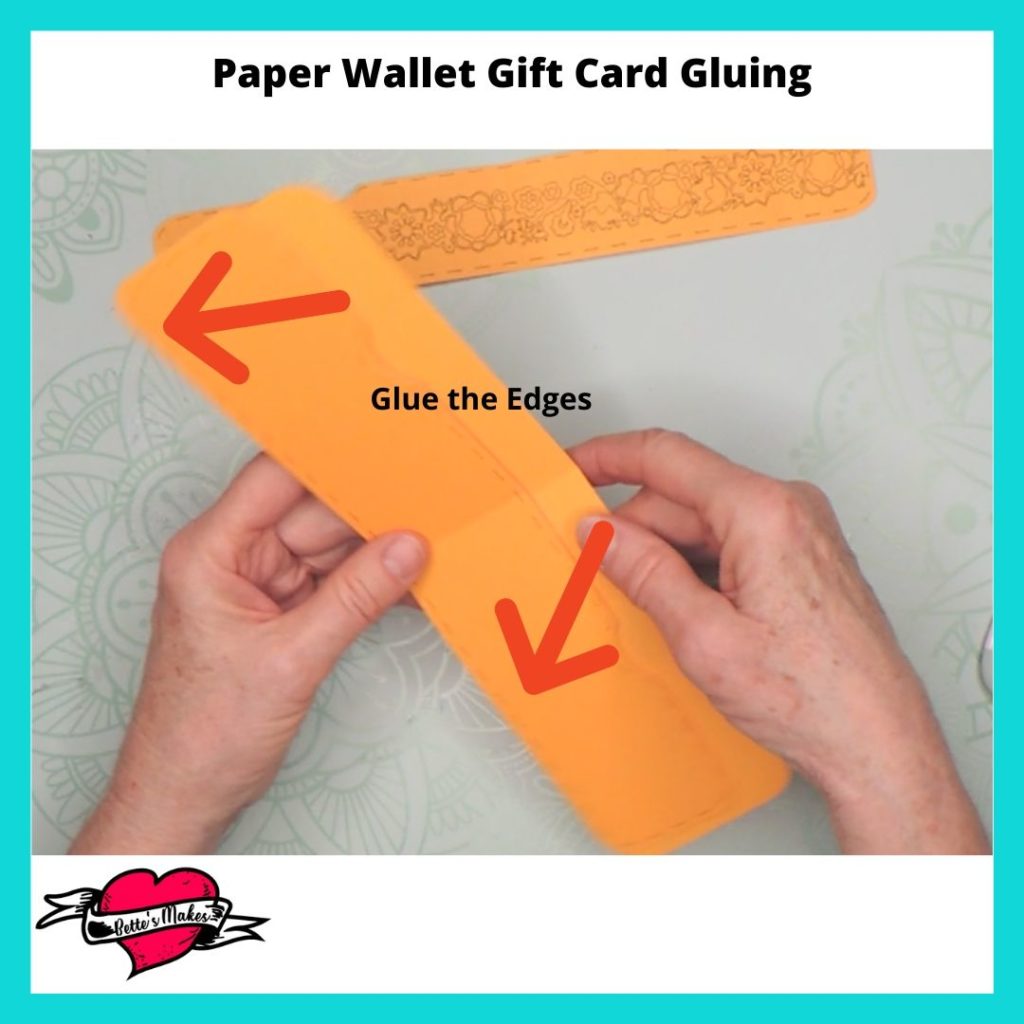
Start with the large piece on the bottom and then glue the medium sized piece around the outside edges only (and the center if you are gluing it closed in the middle)
Wait for the glue to dry and glue the next piece in place the same way.
More Craft Ideas from BettesMakes
Here are some amazing crafts you can make from BettesMakes.com
This is just a sampling of the dozens of crafts you can find on my website.
How to Make a Pull Tab Slider Card
How to Make a Paper Wallet Gift Card Video
Last Word
What a way to give away money to Grads, Birthday Celebrations, and more! This was an easy make and adding money and gift cards certainly has put a smile on the faces of my family.
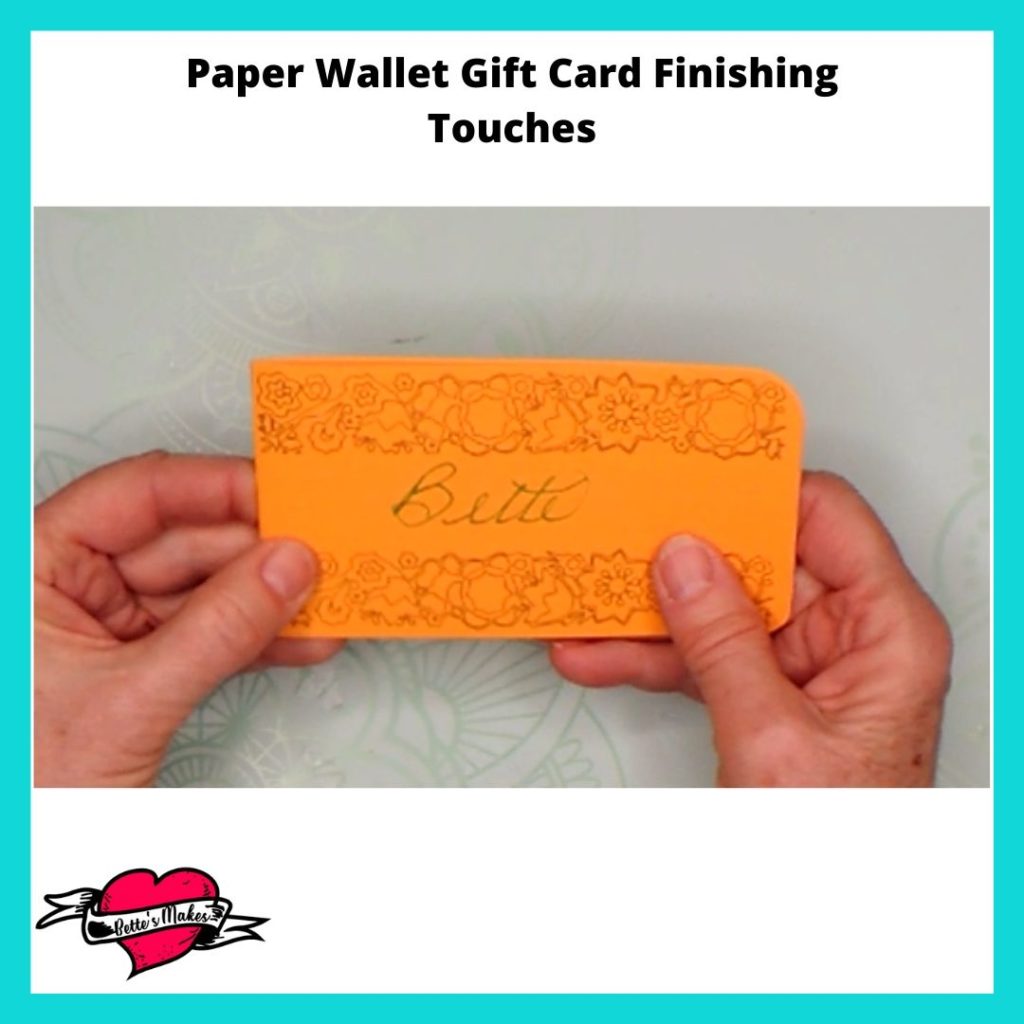
You can take this craft all the way with adding your own artwork to the floral design plus personalizing each card with a name and perhaps a greeting on the inside.
I love easy to make crafts where I can add my our flourishes and designs and this paper wallet gift card certainly fills the bill!
The biggest issue I had was the glue sticking to my hands as I put the pieces together!
I hope you enjoyed this project as much as I did.
If you made a card, please share it on our Facebook group. https://Facebook.com/groups/BettesMakes
Until next time,
Happy Crafting!
Oh, BTW did you get your copy of my Cricut Tips & Shortcuts Guide?


Please join me on Pinterest: https://Pinterest.ca/BetteMakerCreations
Join my Facebook group: https://facebook.com/BettesMakes
Follow me on Instagram: https://Instagram.com/BettesMakes
Subscribe to my YouTube Channel: https://www.youtube.com/c/BettesMakes
