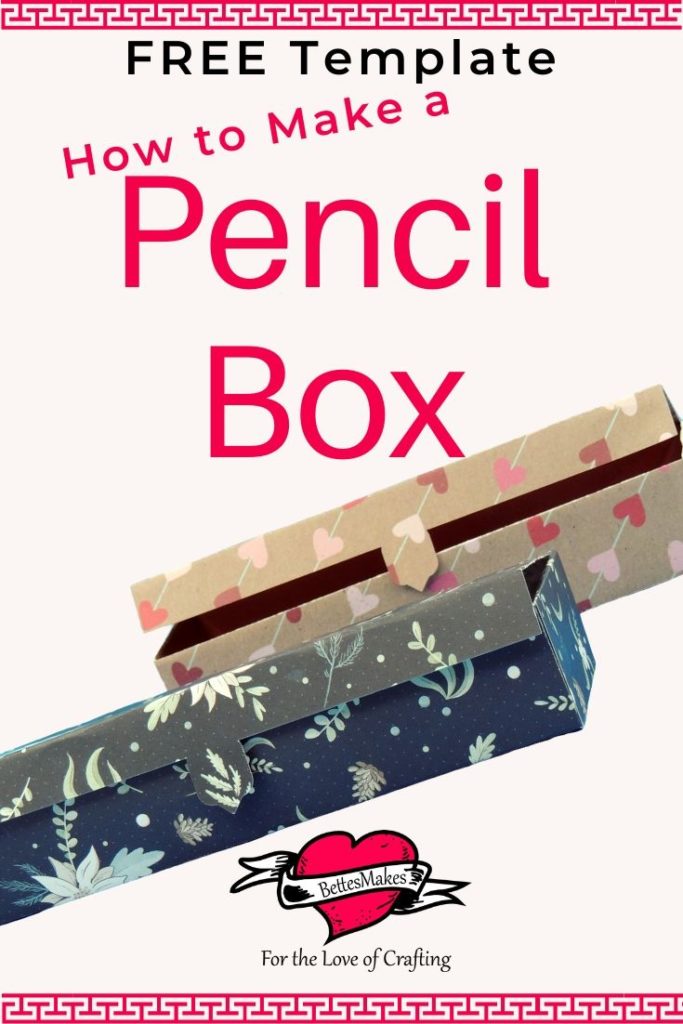
Are you looking for Crafts that can be made in under 30 minutes?
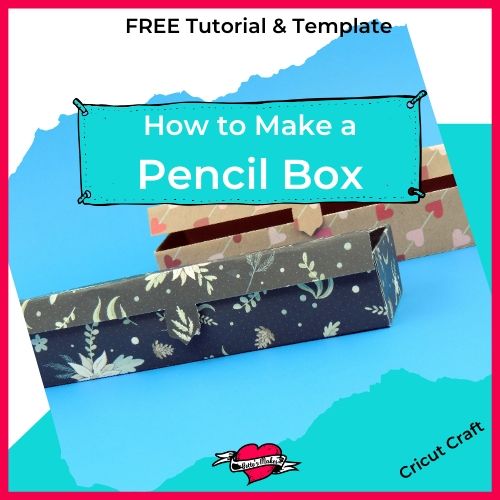
Have you found a simple and easy way to make a pencil box out of paper?
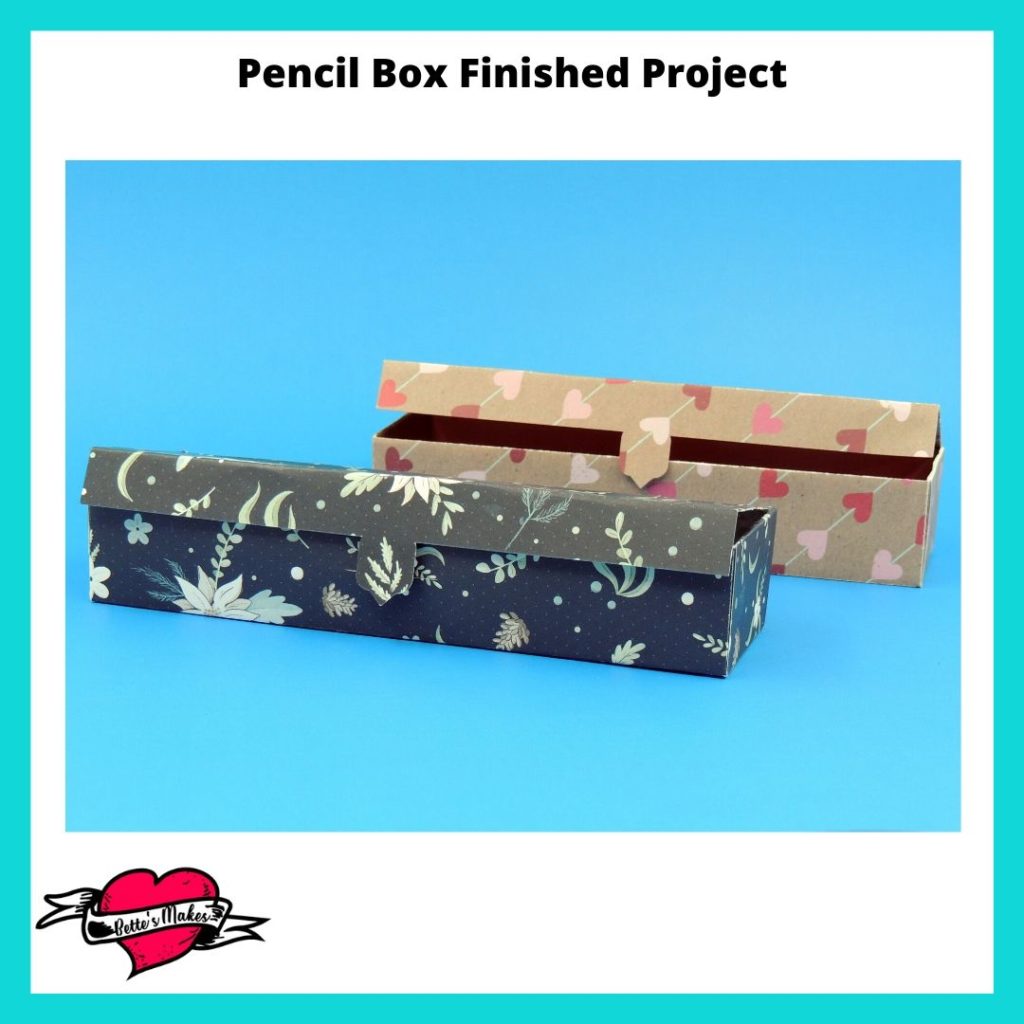
The Perfect Pencil Case!
A pencil case that doubles as a storage container! As a crafter, you likely need more storage for your "bits and bobs"! I know that my desk always seems to accumulate lots of scraps and extra pieces that I want to keep. I always end up with lots of scrap paper and some of it are very thin strips. I do not throw those away, I quill those pieces and put them into one of my boxes! Make for easy storage.
I put the template for this box into my resource library so you can make it as well. All the detailed instructions are in this tutorial and the video that accompanies it.
Here’s what you need to make your awesome pencil case. This post does contain some affiliate links for your convenience (which means if you make a purchase after clicking a link I will earn a small commission but it won’t cost you a penny more)! Read my full disclosure policy.
Quick Links to Information in this Post
Pencil Case Materials
Pencil Box Step-by-Step Guide
Step One - Download the Template
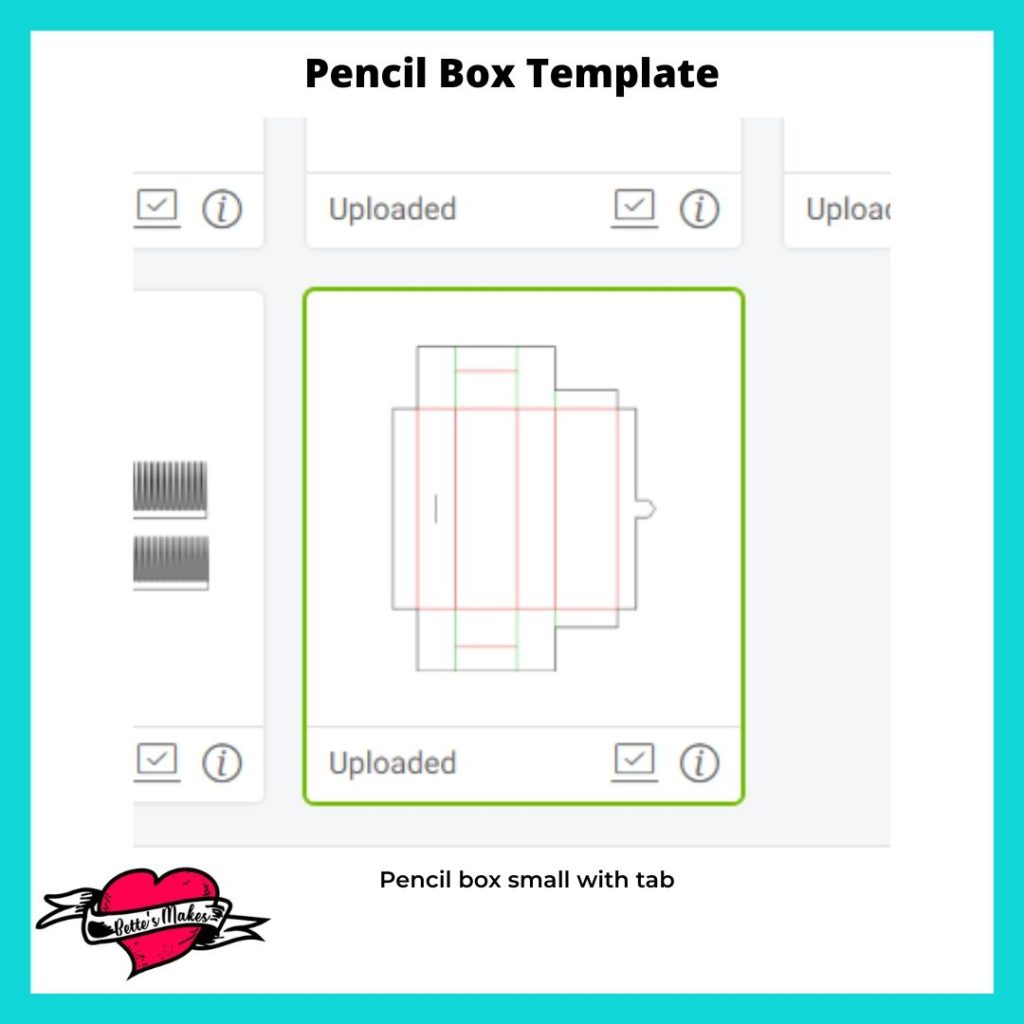
This project is quick and easy! There is only one file you need to download from the resource library and you will be able to use the SVG file for Design Space or the PNG file is you want to use scissors for this project.
The file name is: Pencil box small with tab
Step Two - Design Space Adjustments
As with any SVG file, there are changes you need to make in order for the project to cut and score properly. Here are the adjustments you will need to make for this project:
BASIC CHANGES
Change the color to yellow or another lighter color - this is so you can see all the lines in the project.
Ungroup the file
Arrange the large cut piece and send it to the back. This will allow you to see all the other lines in the project.
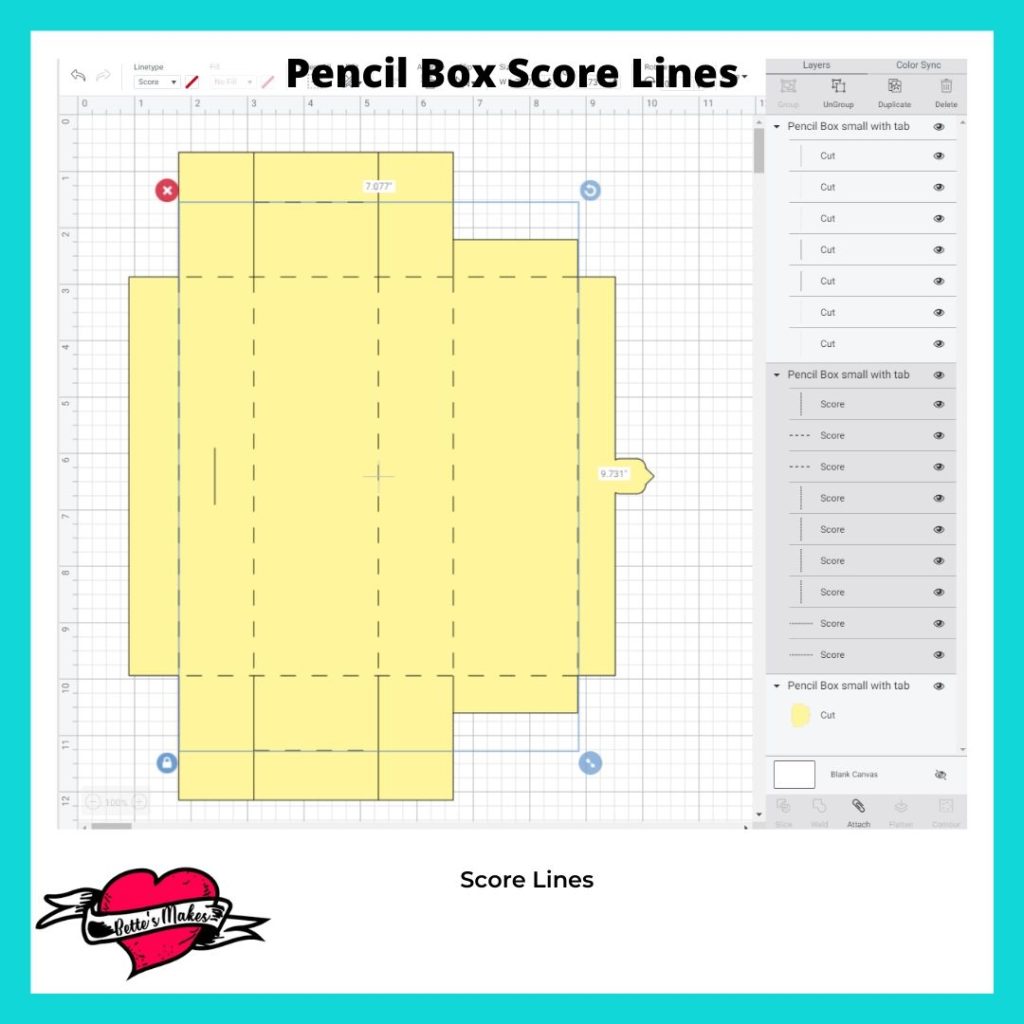
SCORE LINES
There is one set of score lines you will need to put in place. See the diagram to identify those lines.
ATTACH
Select the entire project and click on the Attach button on the bottom right of the Design Space screen. This will ensure your score lines do not move when you click on the Make it button.
DETAILS
Save your project.
Click on Make It
Select your materials (medium card stock seems to work the best).
Insert the right tools as prompted.
Make your project.
Step Three - Assembling the Pencil Box
SCORE LINES
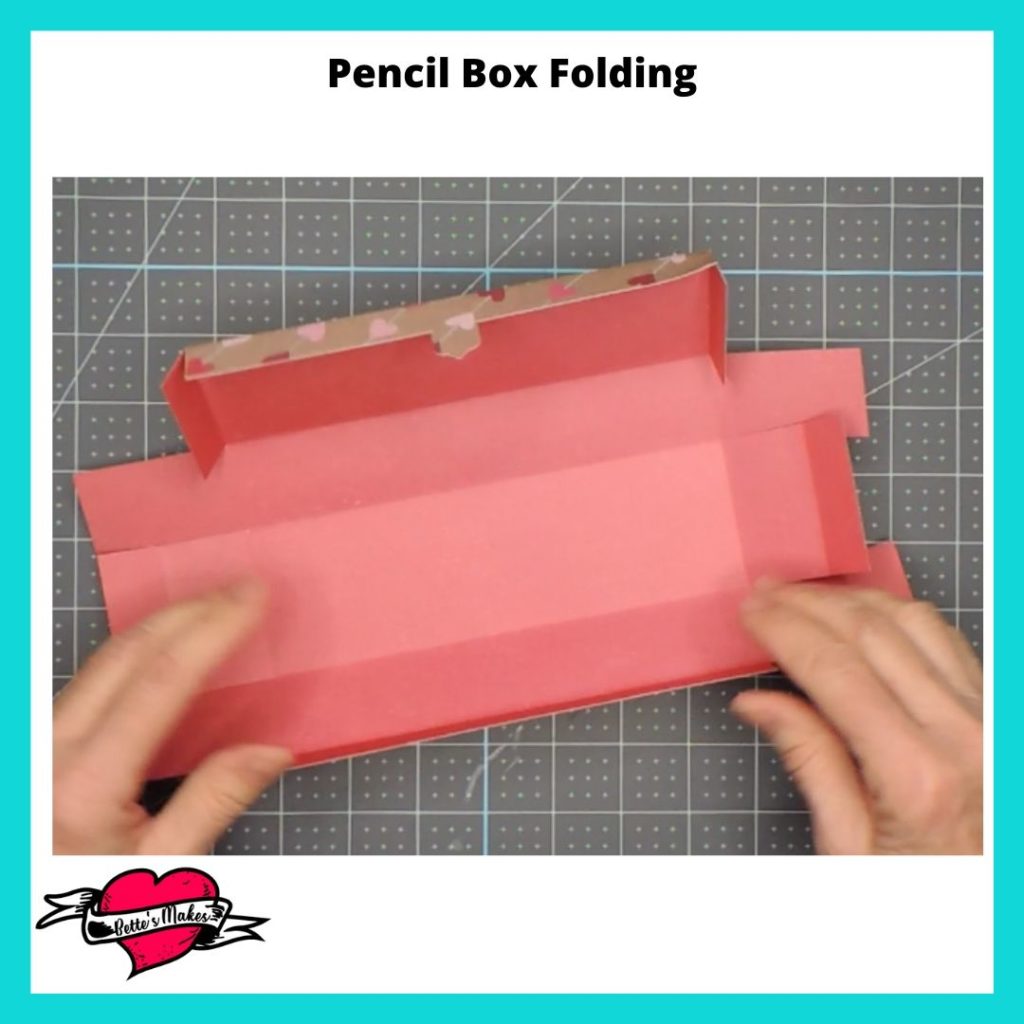
Fold all the score lines toward the inside of your box. These should all be folded in the right direction.
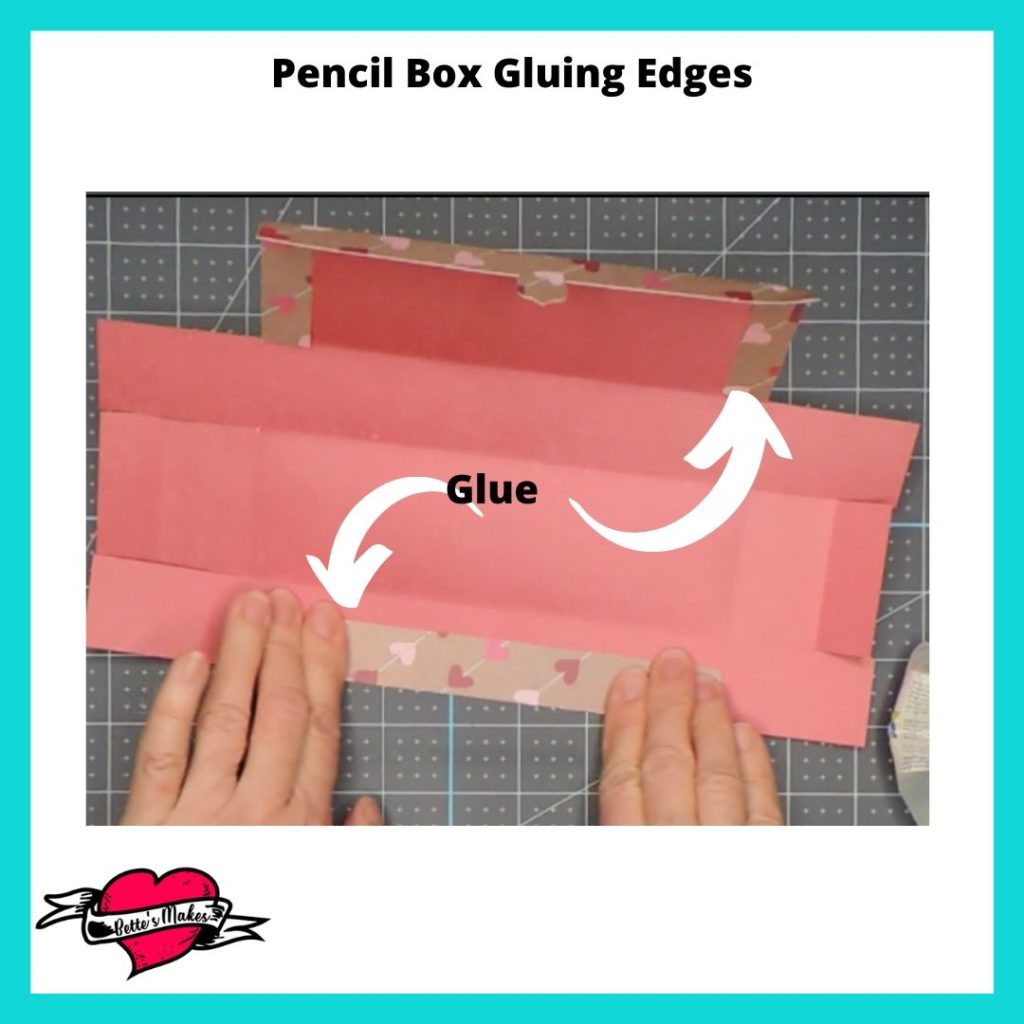
GLUING
Start with gluing the side flaps of the lid to the inside of the box.
Next, glue the front flap inward leaving a gap in the center so you can insert the tap into the front slit.
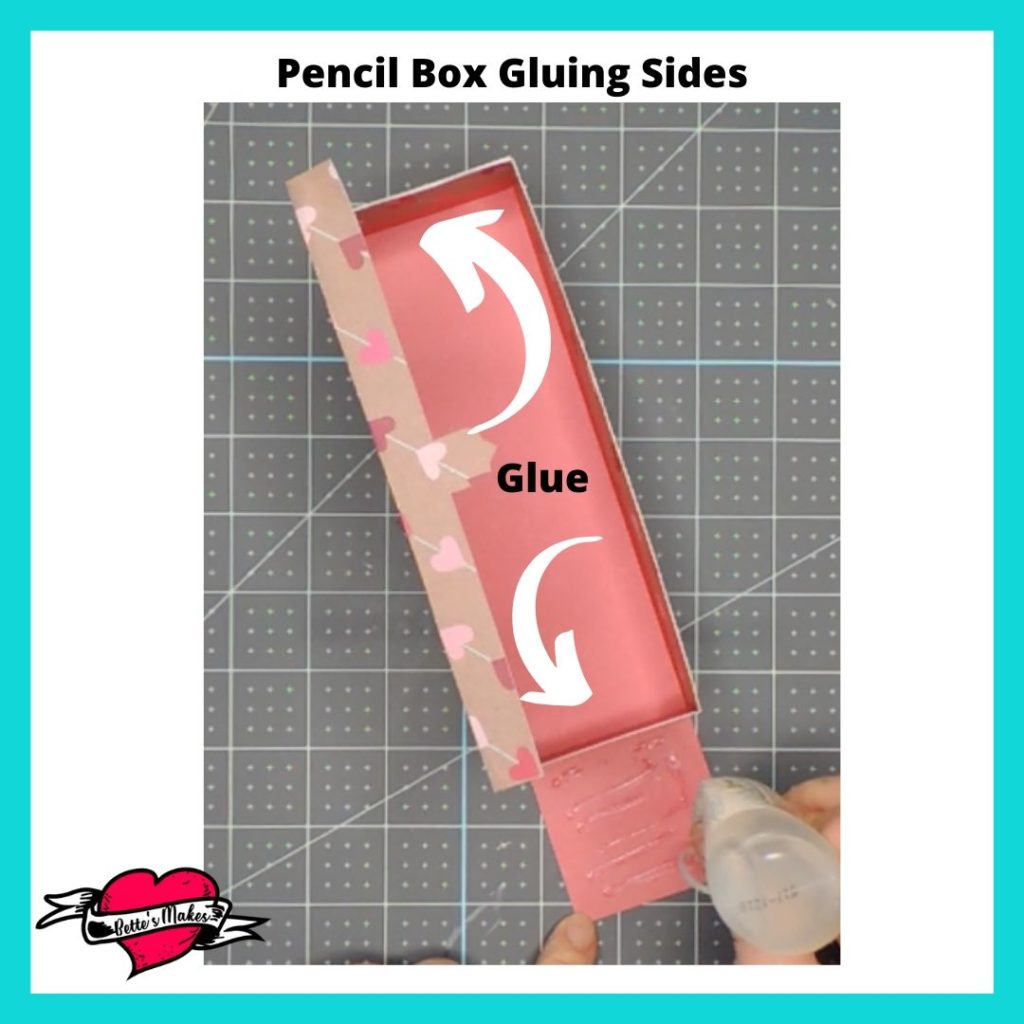
GLUING THE SIDES
You will be folding the sides together as follows:
First glue the two longer flaps together to form the box (on each side)
Fold over the long outside piece to the inside and glue it in place.
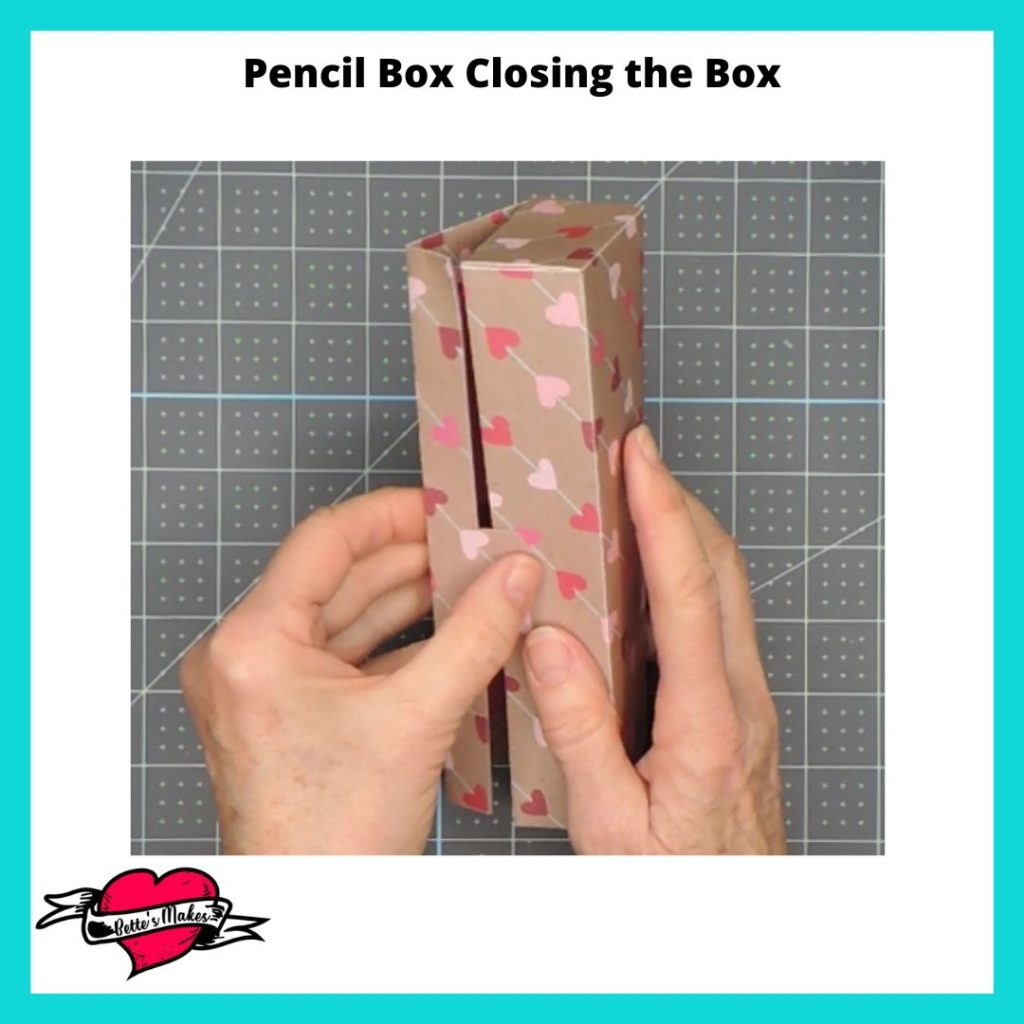
CLOSING THE BOX
Check your box closure by inserting the tab into the slit on the front of the box.
You may want to open and close the box a few times to loosen the lid for easy closure.
Step Four - The Finishing Touches
Wow, the box is really made at this point. You can add some flourishes or embellishments to make the box prettier!
You can also add a label for what the box contains. A label such as "Quill Pieces", "Clips", or "Gel Pens"
Be sure to share your project in our Facebook Group: https://Facebook.com/groups/BettesMakes
More Craft Ideas from BettesMakes
Here are some amazing crafts you can make from BettesMakes.com
This is just a sampling of the dozens of crafts you can find on my website.
How to Make a Pencil Box Video
Last Word
This card was a lot of fun to make, it had lots of design elements such as the snowman, greeting and the folding of the card. At first it looks so complicated, but once the steps are broken down, it is very easy to make.
The biggest issue I had was the glue sticking to my hands as I put the pieces together!
I hope you enjoyed this project as much as I did.
If you made a card, please share it on our Facebook group. https://Facebook.com/groups/BettesMakes
Until next time,
Happy Crafting!


Please join me on Pinterest: https://Pinterest.ca/BetteMakerCreations
Join my Facebook group: https://facebook.com/BettesMakes
Follow me on Instagram: https://Instagram.com/BettesMakes
Subscribe to my YouTube Channel: https://www.youtube.com/c/BettesMakes
