Easy Make How to Make Plant Markers and Labels!
Making Simple Plant Markers
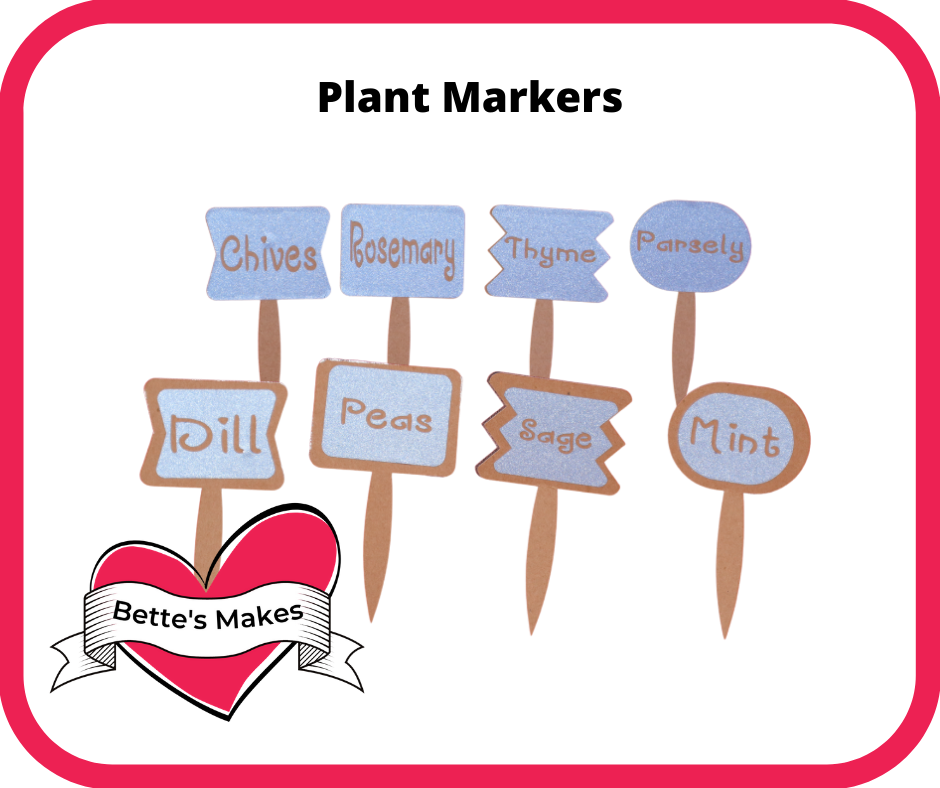
It is the time of year to get those seedlings into the ground and mark those plants with printable plant markers! These markers are more than just nursery plant markers, they are the perfect ones that you will create yourself.
You can use the templates and make your own labels or use the ones that come with the tutorial. Get your free plant marker template in my resource library, look for asset #342.
Here’s what you need to make your Plant Markers. This post does contain some affiliate links for your convenience (which means if you make a purchase after clicking a link I will earn a small commission but it won’t cost you a penny more)! Read my full disclosure policy.
Quick Links to Information in this Post
Plant Markers Materials List
Cricut Maker or Cricut Air 2 or Joy
Wood or other material for the marker
Water resistant permanent vinyl for the labels
Weeding tool
Scissors
Asset #342 from my resource library
Plant Markers Step-by-Step Guide
Step One - Download the Template
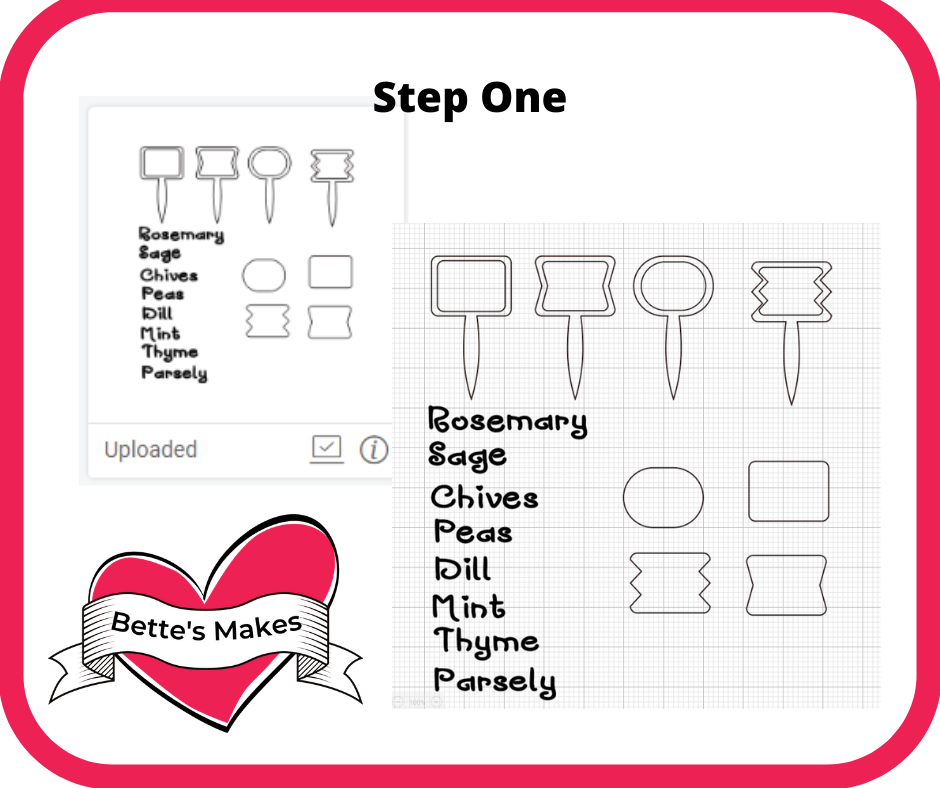
To start you will want to download the template (asset #342) from my resource library.
Unzip the file and upload the SVG file only to Cricut Design Space
Step Two - Design Space Adjustments
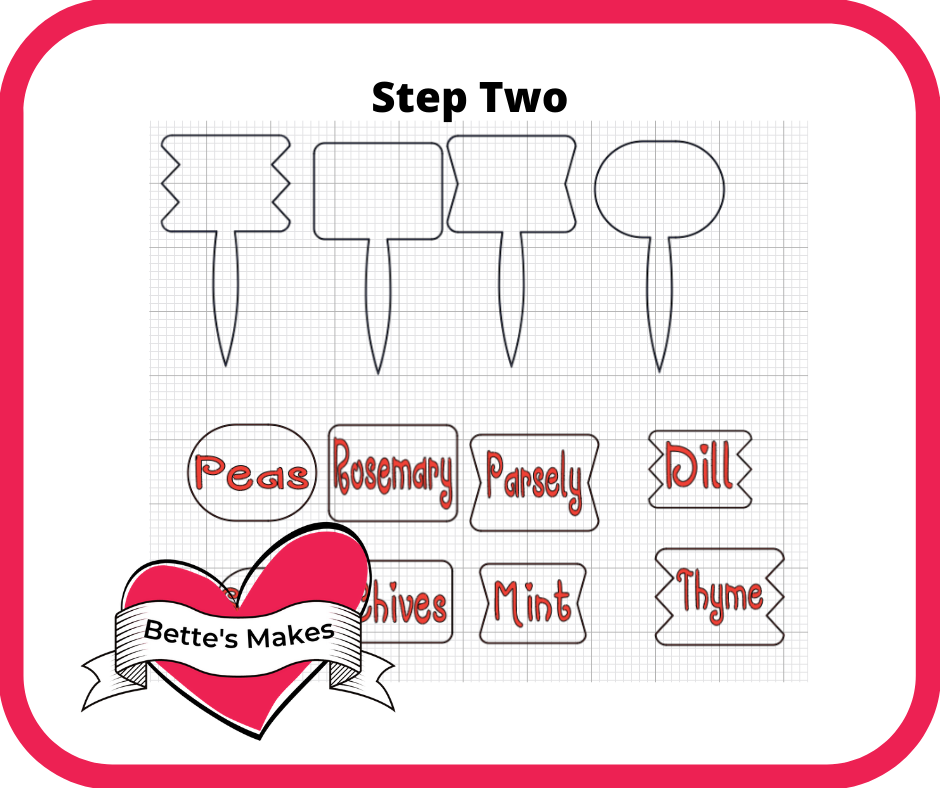
Ungroup the file and then group the individual words. Place the words on the labels then select the label and the word together, Align them Vertically and Horizontally, and then Weld them in place.
Do this for each of the words and labels until all of them are in place.
Step Three - Set Your Materials for the stakes and the markers
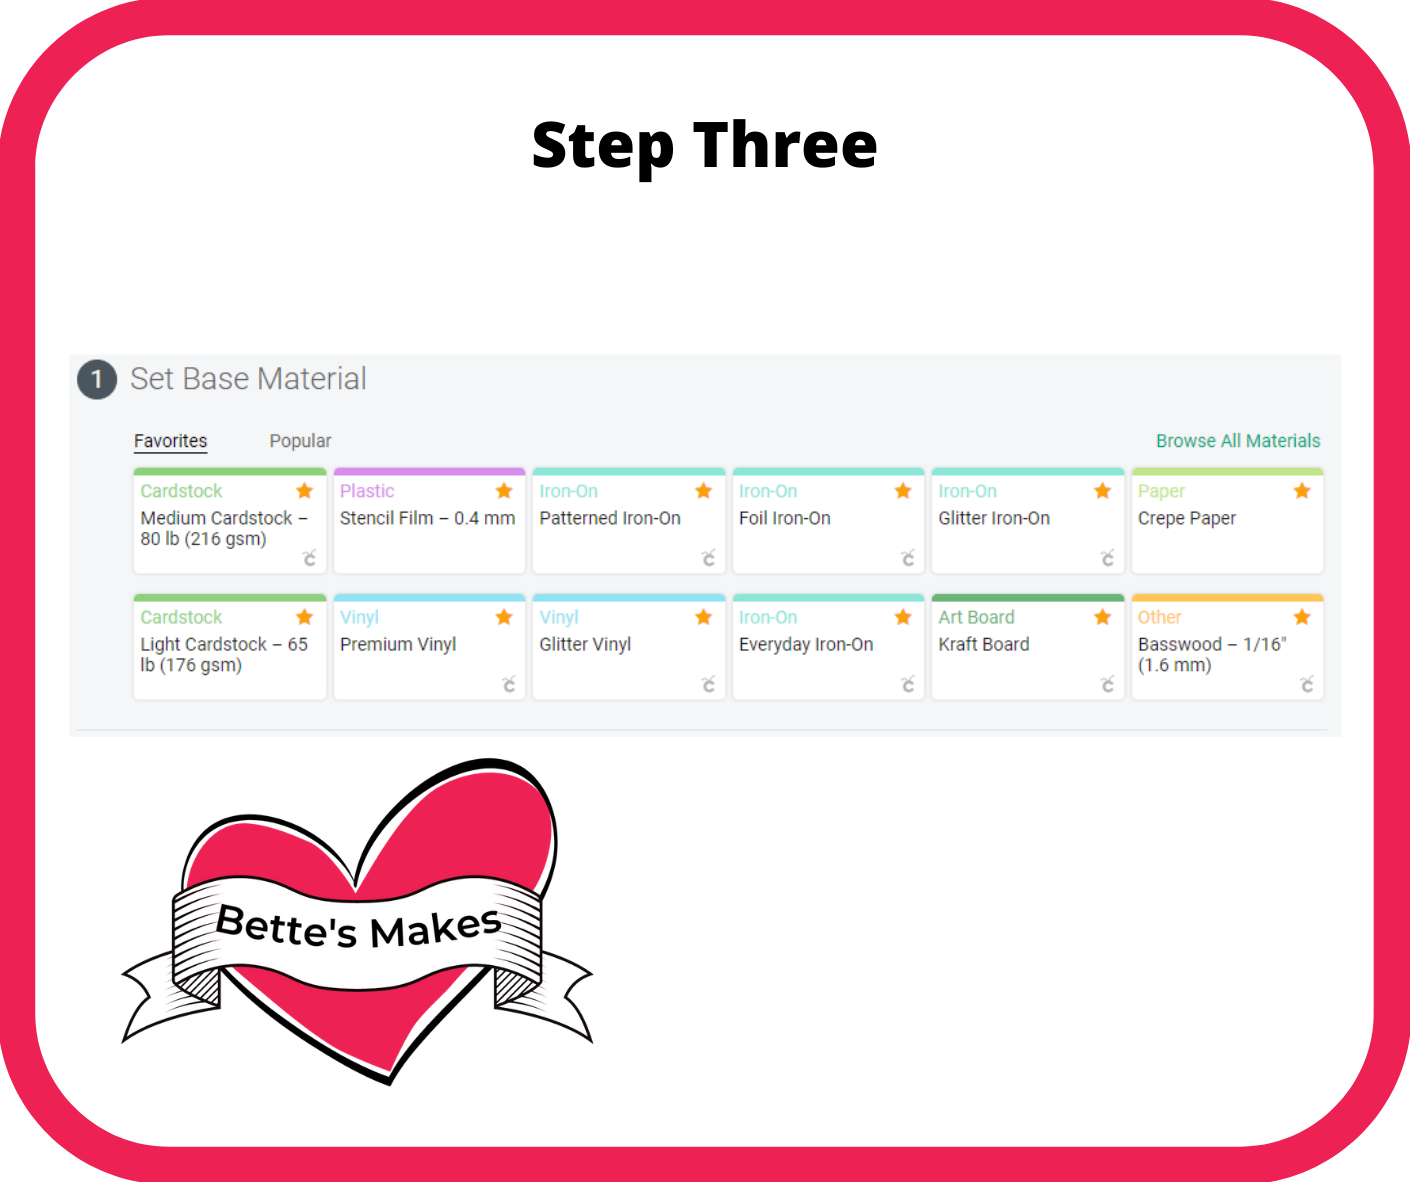
For this project you will be using basswood for the markers and premium vinyl for the labels. You need to remember to switch your material type for each of the mats. If you are making 8 different labels you will also want to cut 2 sets of plant markers
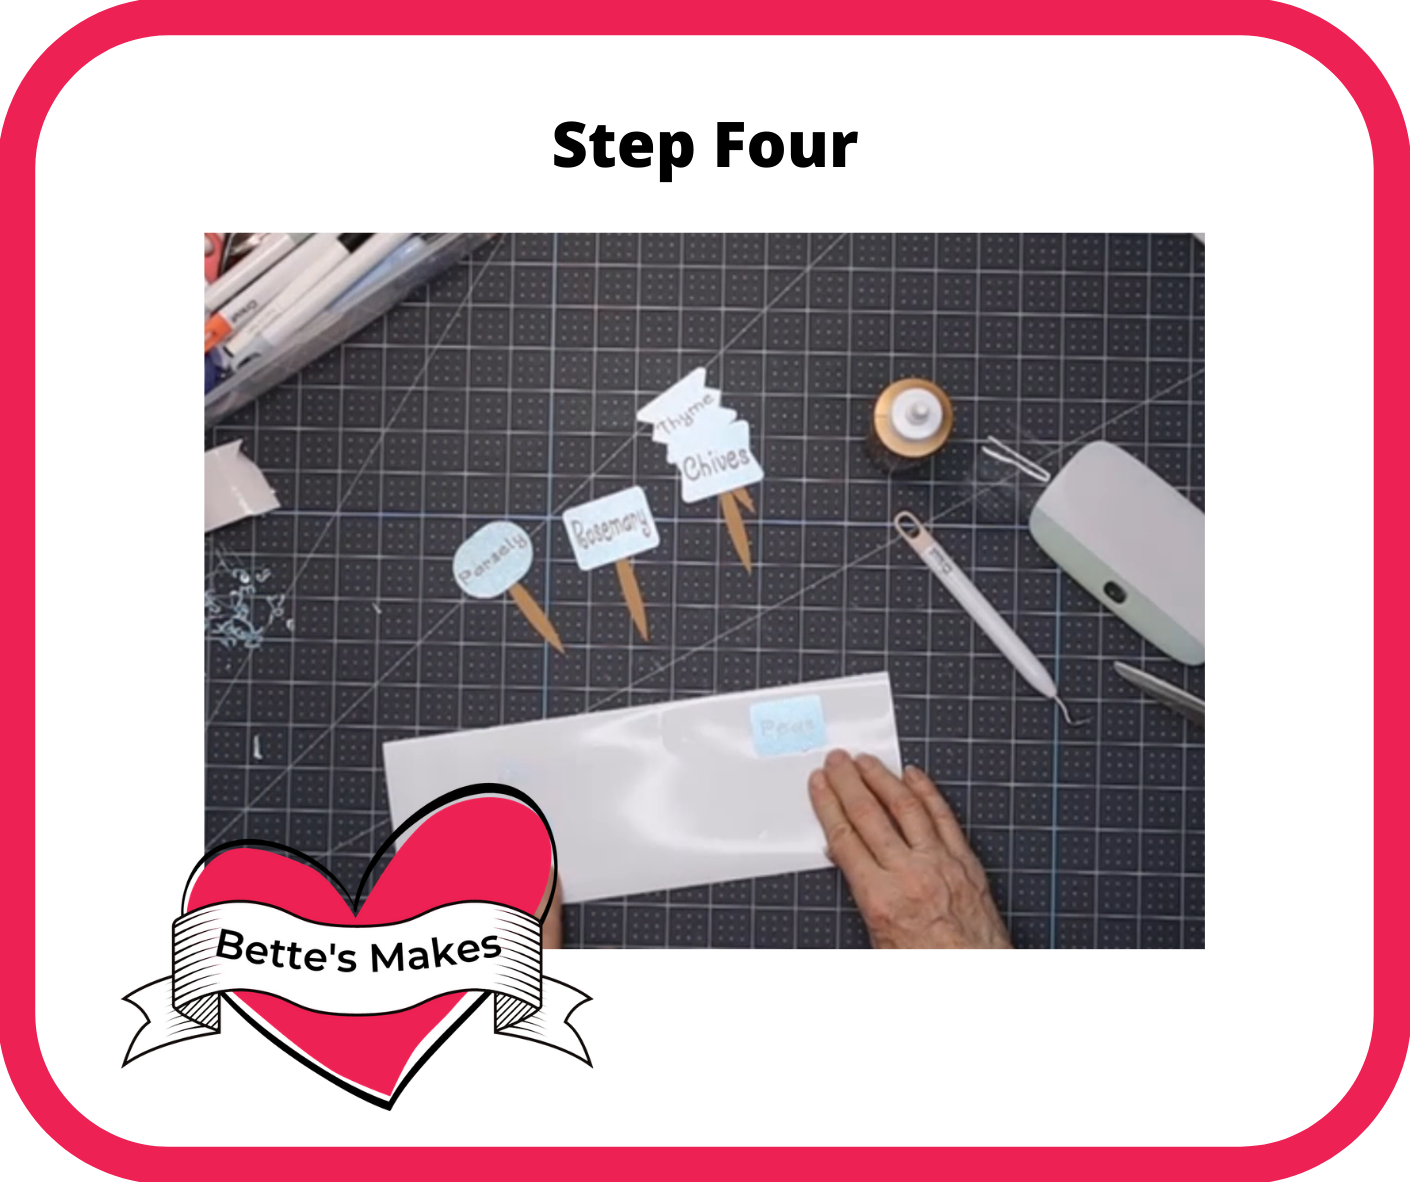
Step Four - Assembling the Plant Markers
There are large labels and small labels that will fit on the same shaped marker. Weed the label, use transfer paper to move the label from your mat to the surface of the marker.
I used a glitter vinyl and the transfer paper did not work for me but it did work for other types of vinyl.
Step Five - The Final Product
Put your markers in the earth beside your seedling or plant and take a photo! Share it with use in our Facebook group. https://facebook.com/groups/BettesMakes.
More Craft Ideas from BettesMakes
Here are some amazing crafts you can make from BettesMakes.com
This is just a sampling of the dozens of crafts you can find on my website.
Pinwheels: How to Make a DIY Pinwheel that Spins
Last Word
Every garden needs a plant marker! This tutorial on how to make simple plant markers is easy to do and very beginner-friendly! Make them for every seedling you plant, you can also label all herbs this way as well.
I truly hope you enjoyed making these plant markers!
Please join our Facebook group - https://Facebook.com/groups/BettesMakes and share what you have done plus join in the fun.
I hope you enjoyed this project as much as I did.
If you made a Plant Marker, please share it on our Facebook group. https://Facebook.com/groups/BettesMakes
Until next time,
Happy Crafting!
Please join me on Pinterest: https://Pinterest.ca/BetteMakerCreations
Join my Facebook group: https://facebook.com/BettesMakes
Follow me on Instagram: https://Instagram.com/BettesMakes
Subscribe to my YouTube Channel: https://www.youtube.com/c/BettesMakes



 DIY Home Decor DIY Craft Tutorials, DIY Paper Flowers
1 Response to "Cricut Craft: How to Make Plant Markers"
Thanks for the tutorials on flower making