Easy Make Cricut Craft: Cricut Infusible Ink Socks
Printing on Socks - Iron-On with Infusible Ink
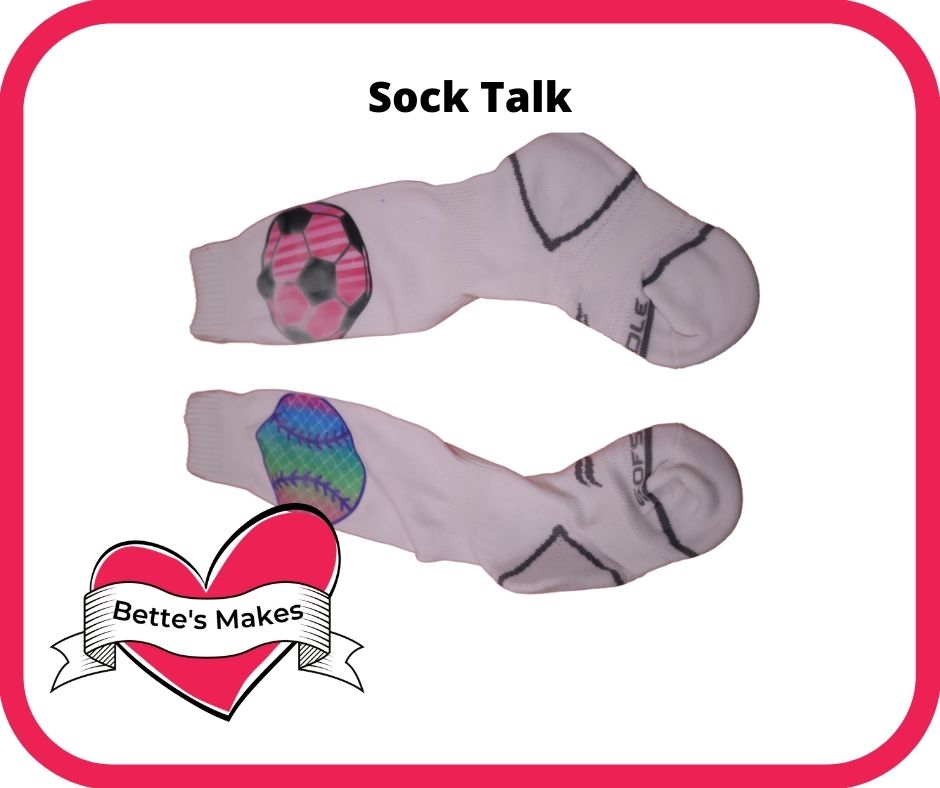
How to print with socks using your Cricut is not that difficult when you use infusible ink! You can also use iron-on materials to do the same but the infusible ink is there to stay as it infuses into your material and can be washed easily.
If you use other iron-on material, you will need to turn your socks inside out before washing and even then there is a danger of the material coming off the sock. The more stretchable the sock, the easier it come off if you do not stretch your sock out before making this project.
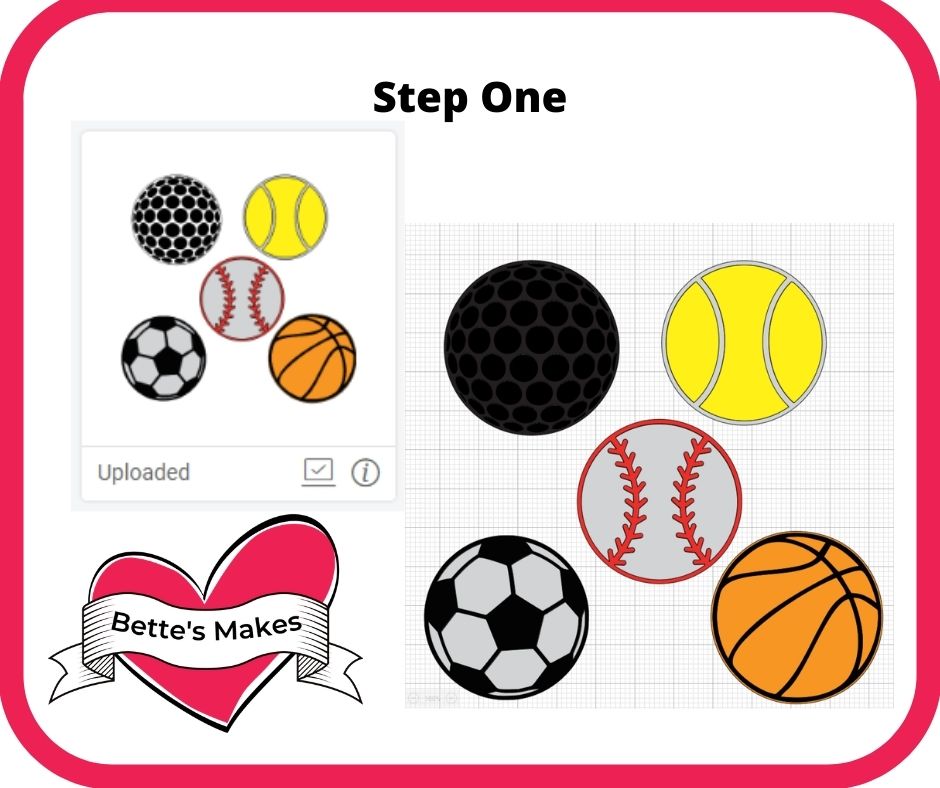
For the sports ball design templates for this project can be found in the resource library. Look for asset #343
Here’s what you need to make your printing on socks project. This post does contain some affiliate links for your convenience (which means if you make a purchase after clicking a link I will earn a small commission but it won’t cost you a penny more)! Read my full disclosure policy.
Quick Links to Information in this Post
Sock Talk Materials List
Cricut Maker or Cricut Air 2 or Joy
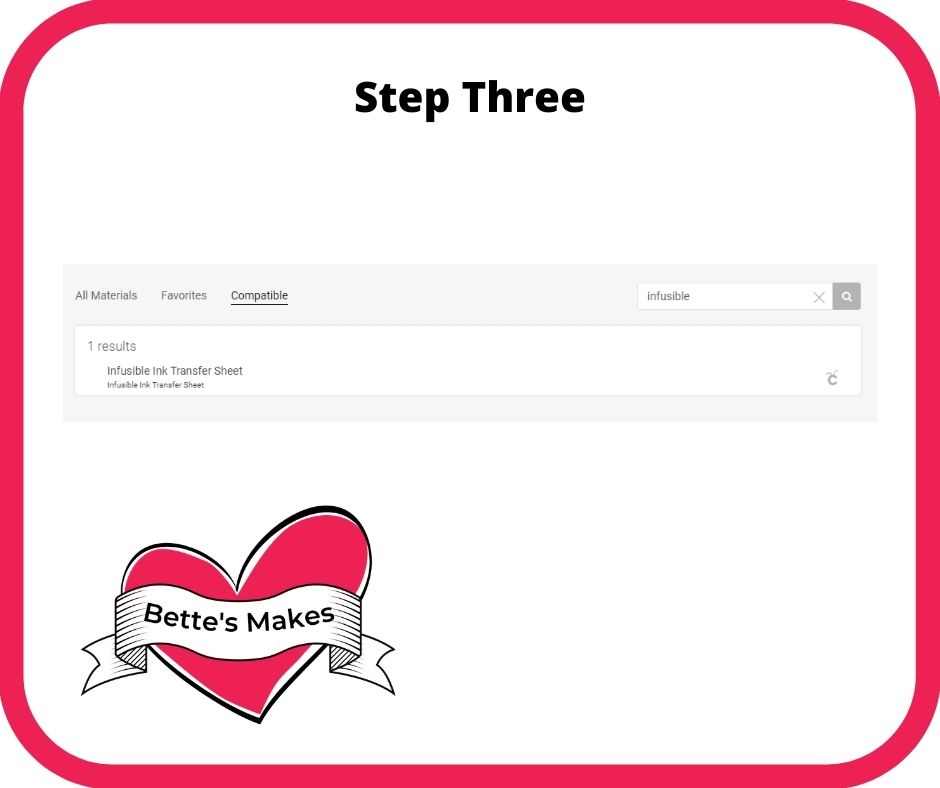
Infusible Ink Transfer Paper
Weeding tool
Scissors
Asset #343 from my resource library
Plant Markers Step-by-Step Guide
Step One - Download the Template
To start you will want to download the template (asset #343) from my resource library.
Unzip the file and upload the SVG file only to Cricut Design Space
Step Two - Design Space Adjustments
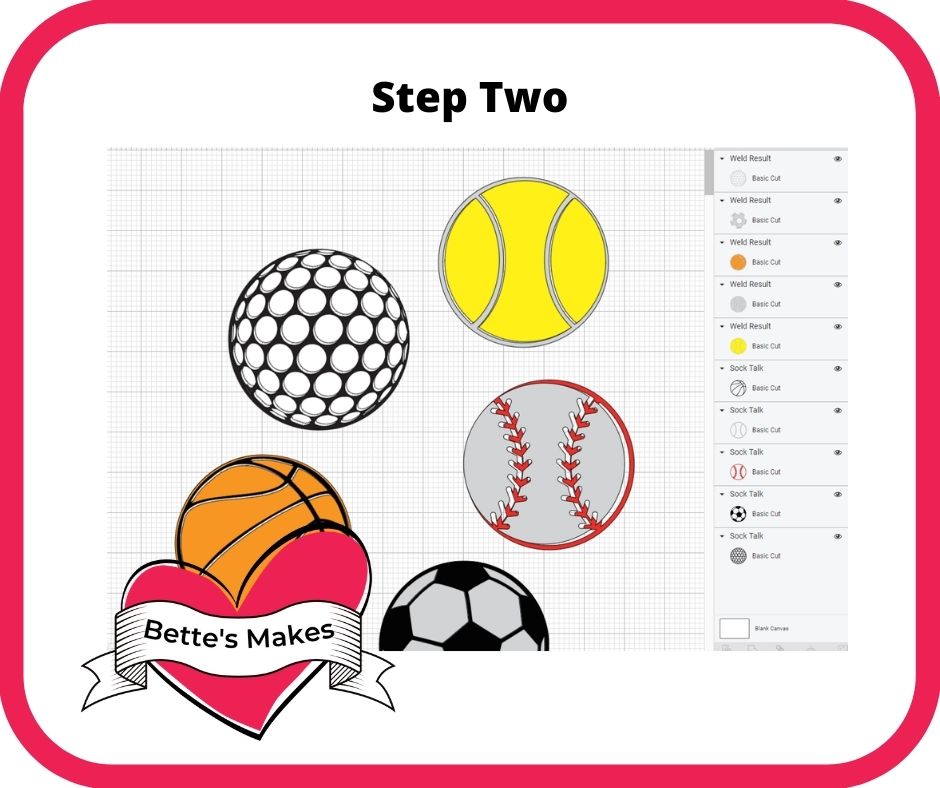
In order to cut these balls in different colors, you will need to make sure the colors are grouped, then attached together.
For example, the tennis ball you will want to select the 3 yellow shapes, group them, then attach them together. Do the same for the baseball, the basketball, and soccer ball. For the golf ball, you will have many little pieces to group together and attach.
The framework for each ball does not need any treatment.
Feel free to change the color of any of the balls.
Save your file, then click on Make It.
Step Five - Ironing on the Design
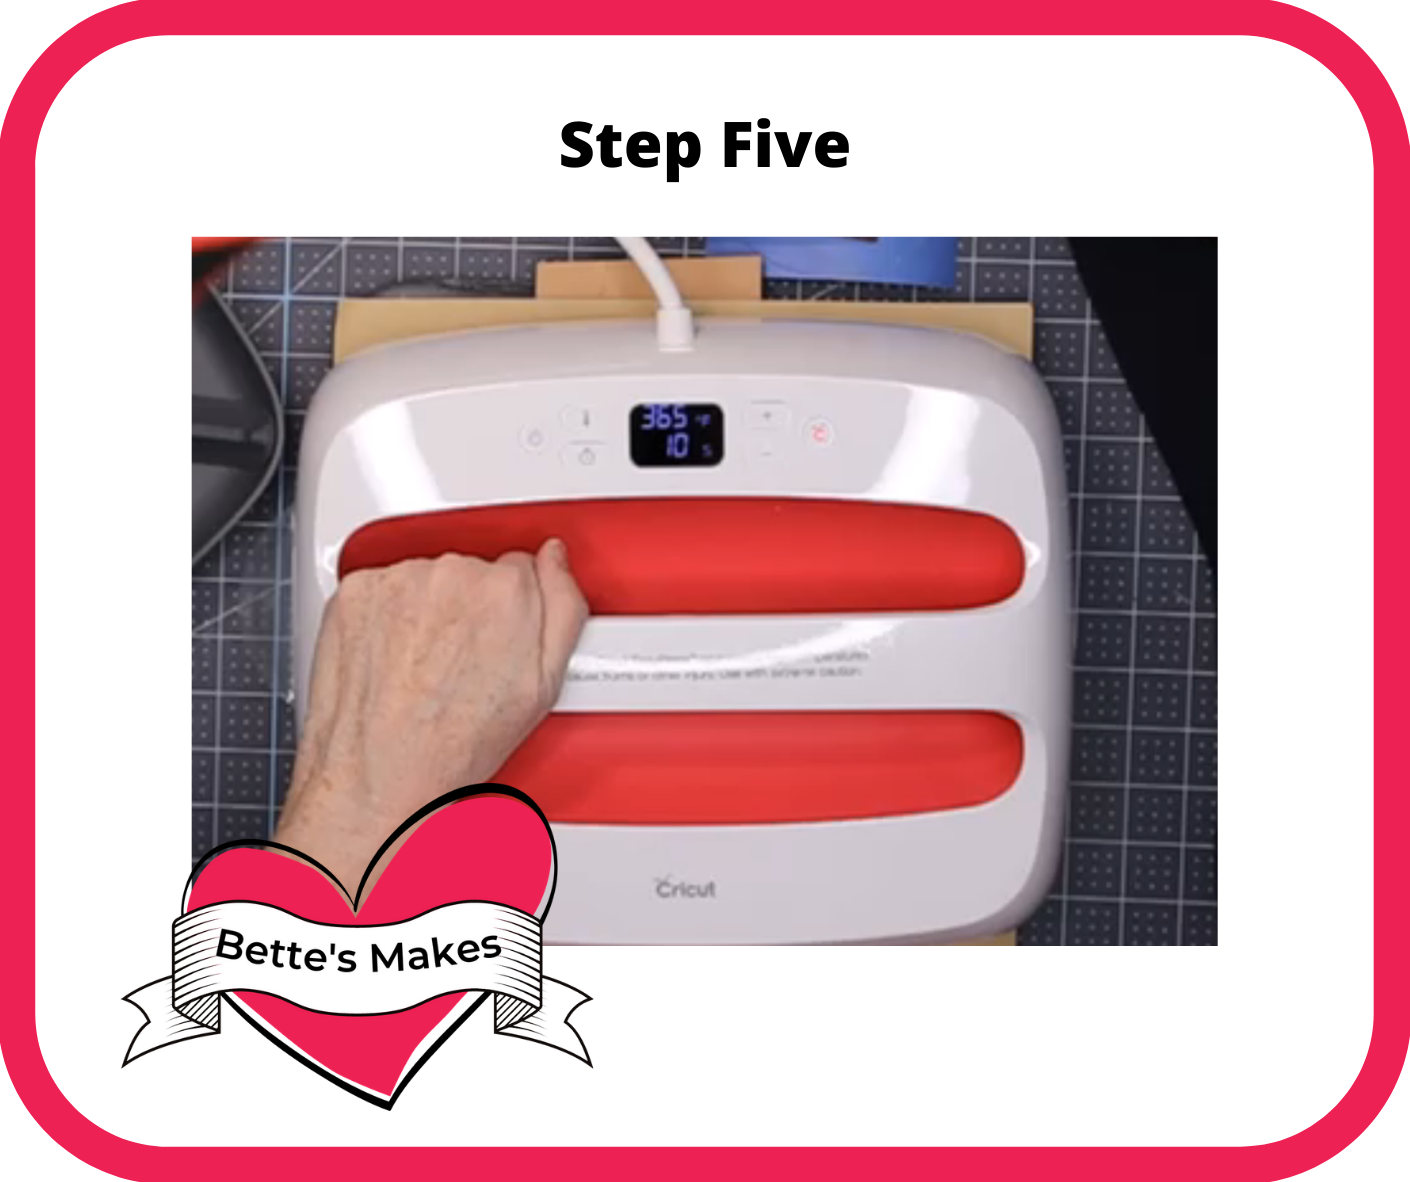
The first thing you want to do is look up the heat settings for your EasyPress and adjust your press to those settings. Settings are important for getting the best color and infusion into the fabric.
Next place a piece of cardstock inside your sock and stretch the sock out the best you can.
Use a lint roller to remove any extra bits on the surface of the sock where the design will be applied.
Place the infusible ink design face down on the sock (transfer paper will be up). Cover with some parchment paper so that your EasyPress is protected.
Apply the heat as directed.
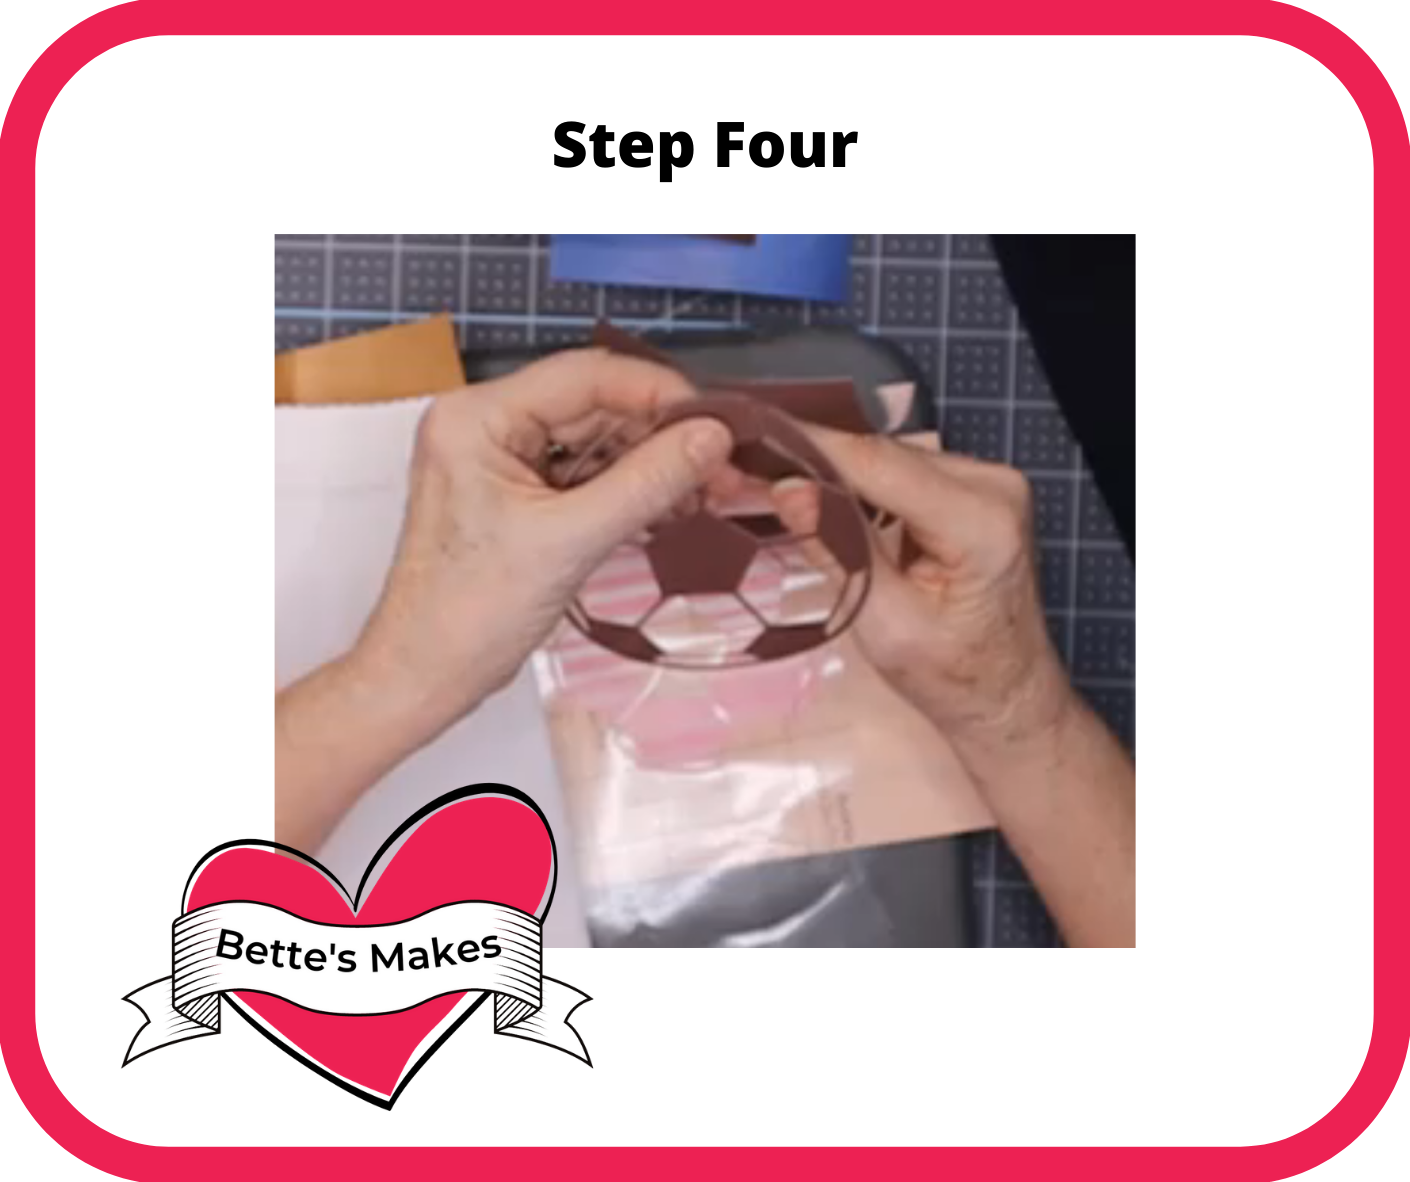
Remove the parchment paper and transfer paper along with the infusible ink cut outs.
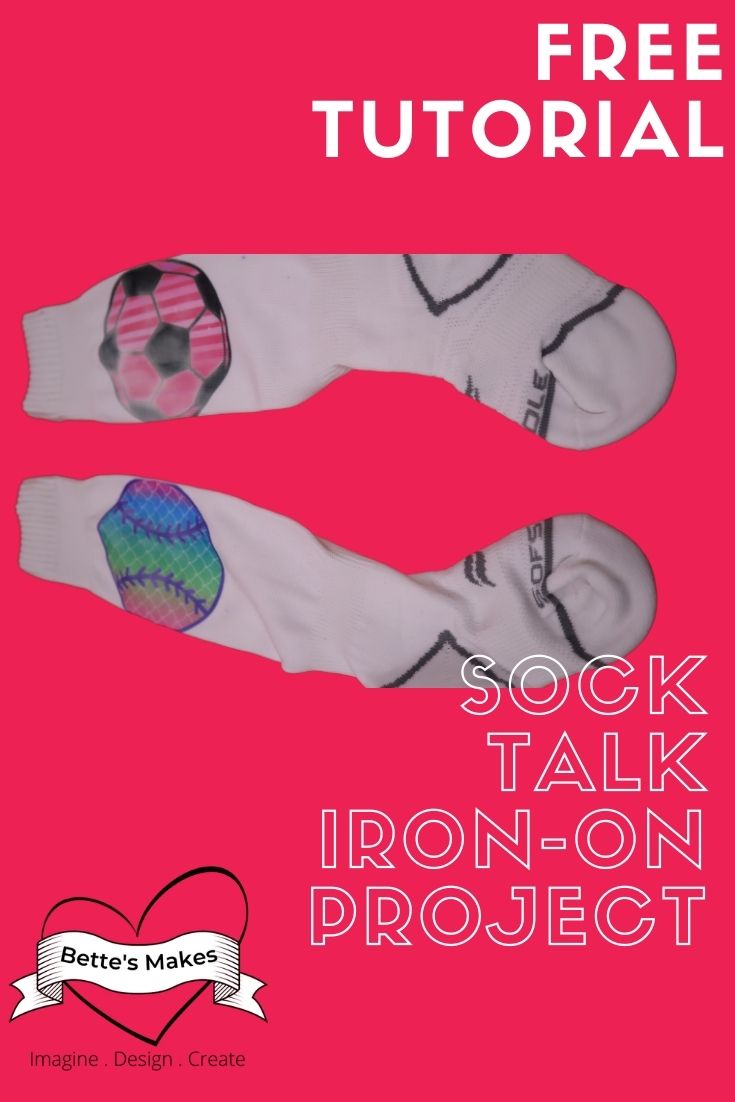
Your design should now be perfect on your sock!
Step Six - The Final Product
Now that you have made your socks, take a photo! Share it with use in our Facebook group. https://facebook.com/groups/BettesMakes.
More Craft Ideas from BettesMakes
Here are some amazing crafts you can make from BettesMakes.com
This is just a sampling of the dozens of crafts you can find on my website.
Last Word
Making sayings or designs on socks is an nice beginner-friendly project and using infusible transfer paper makes it even easier to do. Once you start using infusible transfer paper, you will be hooked. How to print on socks and other materials does not need to be difficult, just follow the steps to make it fun!
Now to make many more socks!
Please join our Facebook group - https://Facebook.com/groups/BettesMakes and share what you have done plus join in the fun.
I hope you enjoyed this project as much as I did.
If you made any socks, please share them in our Facebook group. https://Facebook.com/groups/BettesMakes
Until next time,
Happy Crafting!
Please join me on Pinterest: https://Pinterest.ca/BetteMakerCreations
Join my Facebook group: https://facebook.com/BettesMakes
Follow me on Instagram: https://Instagram.com/BettesMakes
Subscribe to my YouTube Channel: https://www.youtube.com/c/BettesMakes
