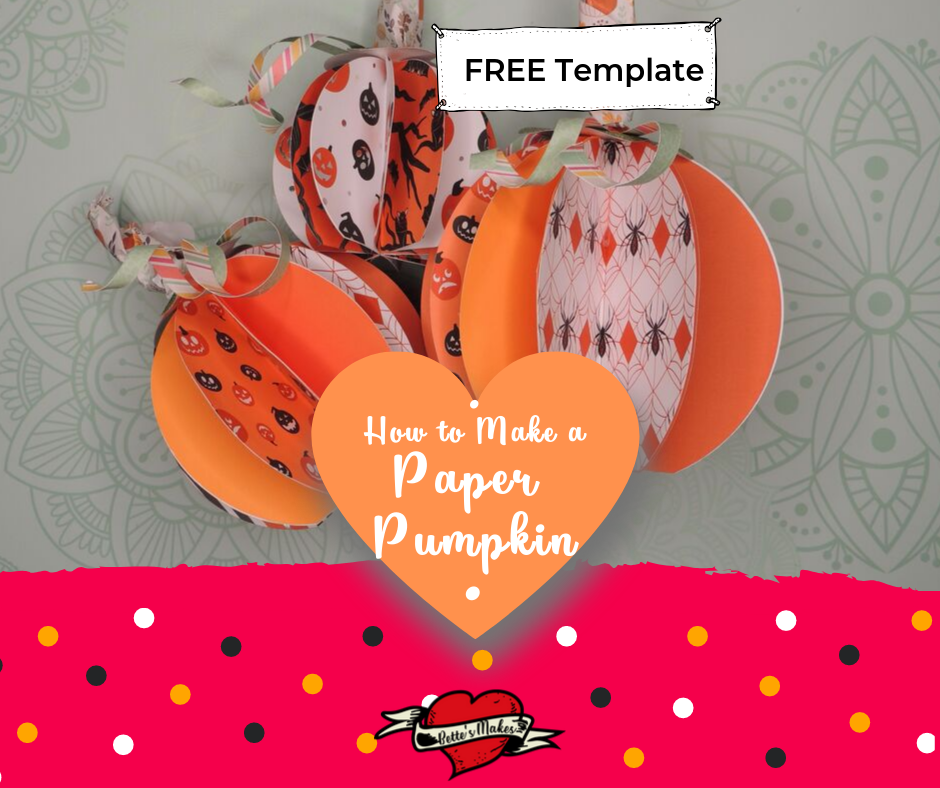
Pumpkin Decor
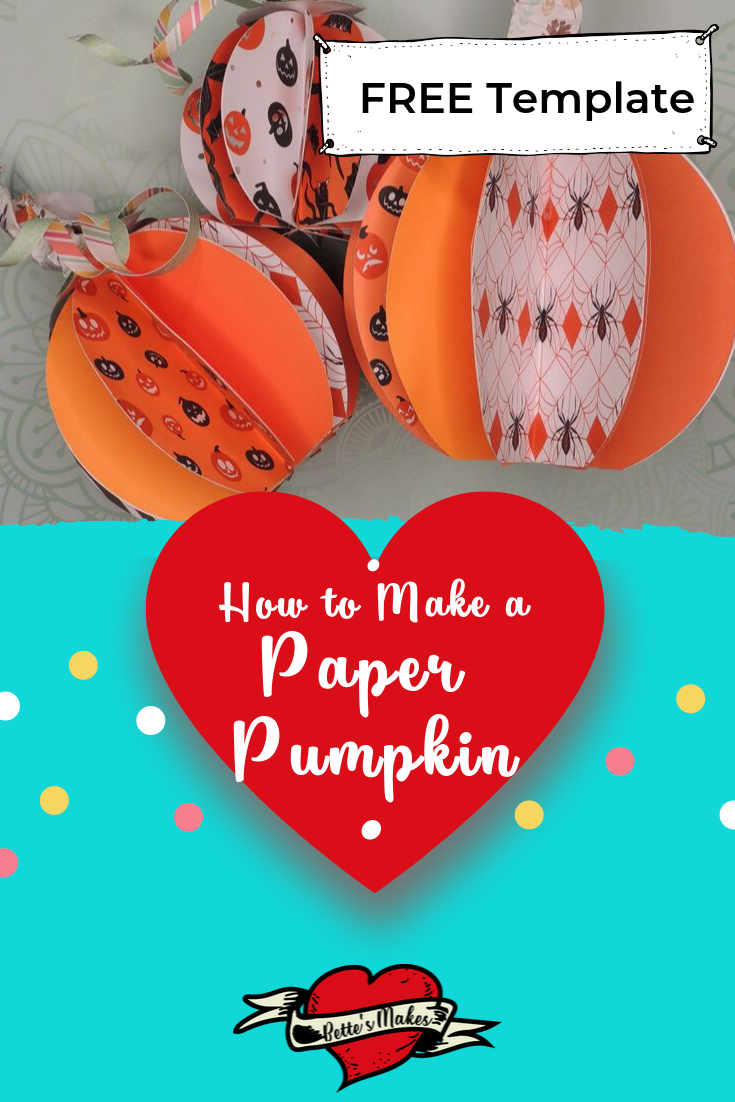
Pumpkin colors and decorations are everything over the next couple of months with Hallowe'en and Thanksgiving right around the corner. I found a similar design on Pinterest and although it was cute, I decided to make some changes so it could be cut using my Cricut machine. The template for this design is well suited for both the Cricut Maker and the Cricut Explore Air 2. The pattern is a series of scores and cuts - nothing extra is needed.
The first set of pumpkins that I tried used scrapbook paper for the pumpkin itself and although it seemed to have worked - I found that the cardstock worked much better.
This pumpkin project is so perfect for DIY Home Decor and if you have space on your desk at work, then I would certainly make a display of these amazing pumpkins. You can always use vinyl if you wish to have them waterproof (I have not tried doing this, yet).
Before we begin, go to my resource library (#188 and #189) and download the template - then read through the directions below. You can also go to my YouTube channel and follow along with the making part of the project.
Quick Links to Information in this Post
Here’s what you need to make your own Decorative Pumpkins . This post does contain some affiliate links for your convenience (which means if you make a purchase after clicking a link I will earn a small commission but it won’t cost you a penny more)! Read my full disclosure policy.
Materials Needed for Making the Pumpkins
This pumpkin project doesn't require a lot of materials. You can do this project on a tight budget and make plenty of multiple sized pumpkins to decorate everywhere!
Pumpkin Project Step-by-Step Guide
You are going to have so much fun making these pumpkins - the whole family can help make these - I do hope you enjoy this project as much as I do.
Step 1
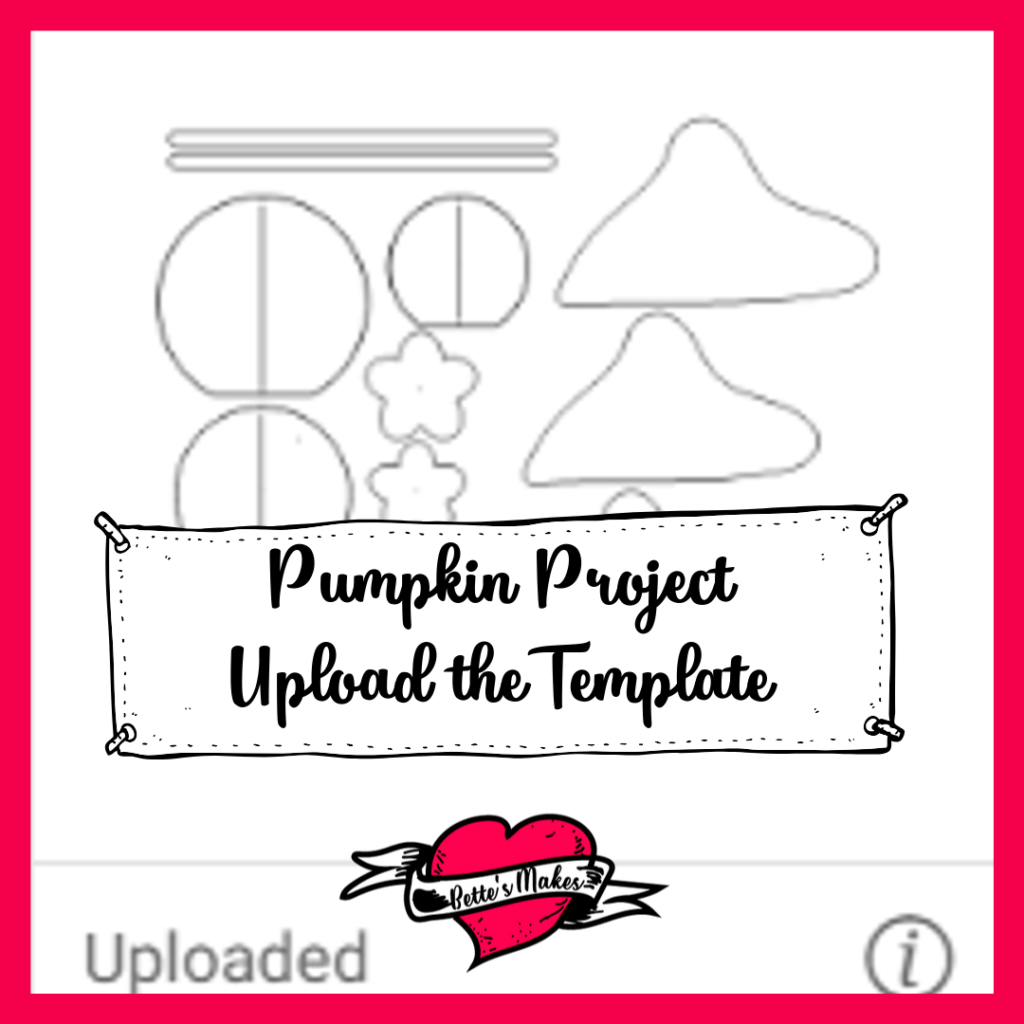
Download the template from my resource library (#188 and #189)
Create a new project in Design Space and upload the image
Insert the image into your project.
Step 2
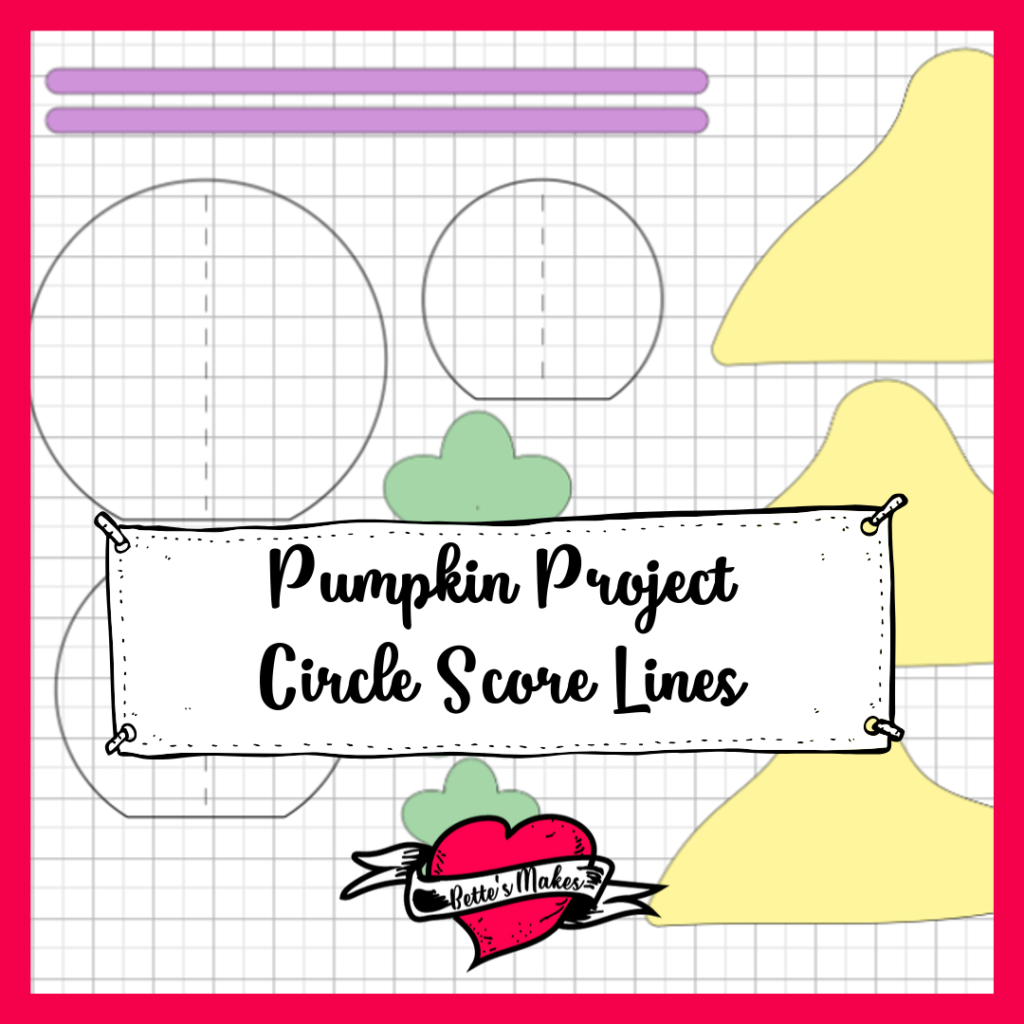
Check the circle shapes to make sure the lines in the center are set to score and not cut.
Attach the score lines to the circle (you will need to do this for all three sizes.
Step 3
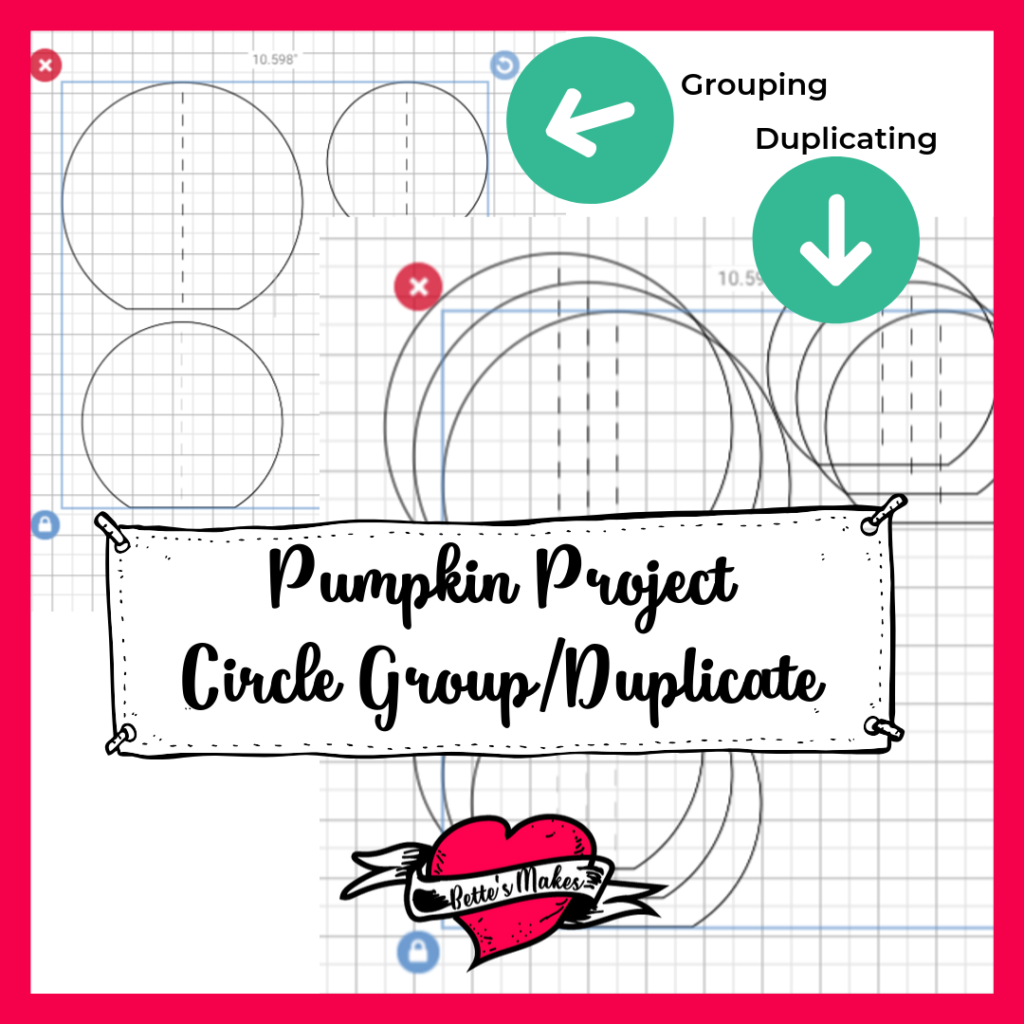
Group the three circles and their score lines together.
As you need 12 circles for each size pumpkin, you will need to duplicate the group 11 times. This will give you the 12 shapes you need for all three pumpkins.
Step 4
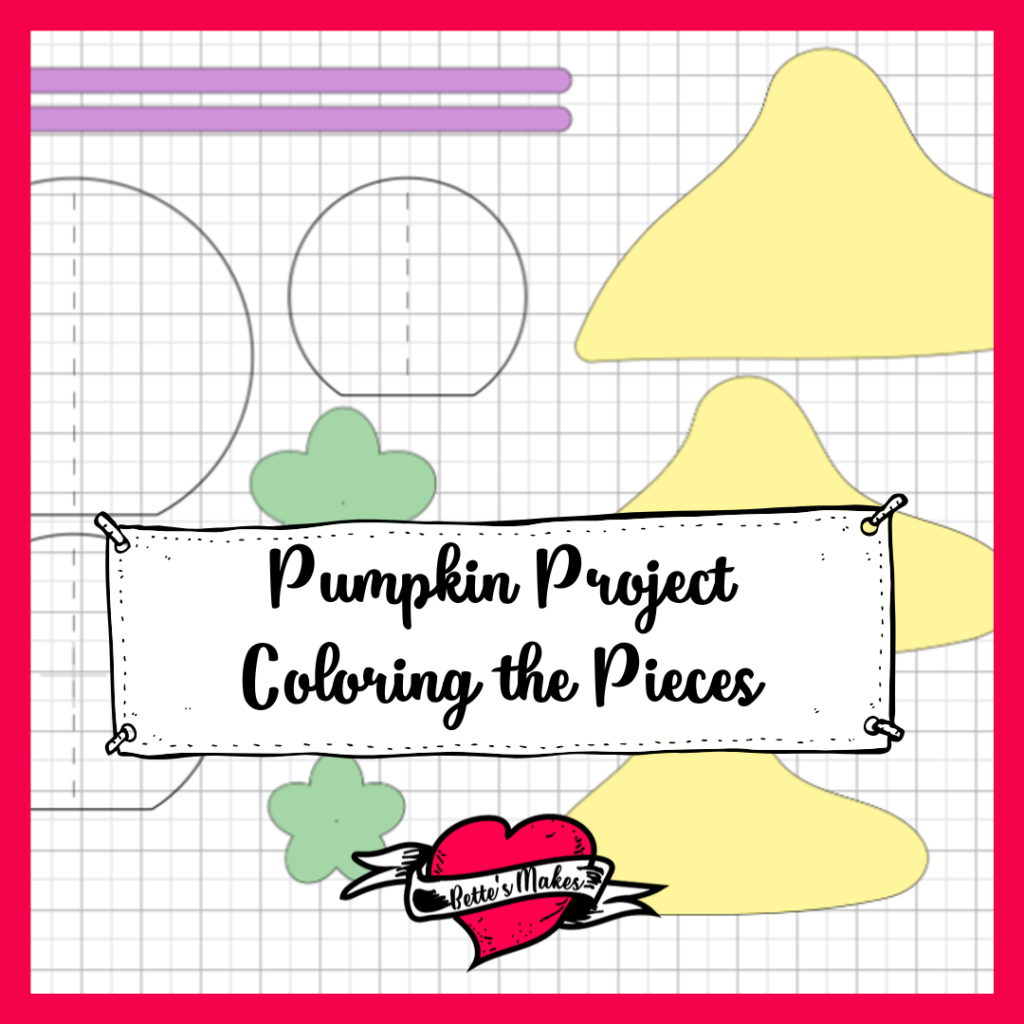
Select the horizontal shape (long thin shape for the vines). Change the color to purple.
You will need to make sure you have 2 of these shapes for each pumpkin for a total of 6 pieces. Duplicate as needed.
For the stem shapes - change the color to yellow (this way they will group on the same mats)
For the floral shapes - change the color to green. No need to duplicate these.
Step 5
Save your project.
Step 6
Select your machine type (top right of the screen) and then click on Make It (the green button at the top right of the screen).
Step 7
Your project will now be sorted onto different mats.
The first 6 mats should have 2 large and 2 medium circles.
Mats 7 and 8 should have 6 small circles each.
Mats 9 and 10 will contain the stem shapes.
Mat 11 holds the top of the pumpkin florals.
Mat 12 has the vines - there should be 6 shapes here.
If you find you have a different configuration on the mats, move the shapes to the correct mats so you have the project in the same order. This will make the difference when putting the pumpkins together later in the process.
Step 8
Once all of the mats are in order, click the continue button on the bottom right of the screen.
Design Space will now connect with your Cricut machine and you will be able to select your materials for cutting.
The first 8 mats will use a medium card stock. You will want to use a different pattern or solid color piece of cardstock for each of these mats. These mats are the main part of the pumpkin. For my project I used 3 patterns and 3 solid colors for the large and medium pumpkins (Mats 1 to 6) and 2 patterns for the small pumpkins (Mats 7 and 8).
When you are ready to load Mat 9 - you will need to change the material type to laser copy paper or light cardstock paper. Use the same setting for Mat 10.
For Mat 11 set the material to glitter cardstock.
For Mat 12 set the material to medium cardstock.
Now you are ready to load your mats, one at a time, and go through the scoring and cutting process.
When everything is scored and cut, peel the mat away from your project (less curling of the pieces when you peel the mat away rather than peeling the pieces away).
Step 9
Score all the pumpkin pieces so that the design is in the inside.
For the small pumpkin you will want to order the pieces so that no two same design pieces are together - you can use any order you wish - this is just a suggestion.
For the large and medium, you will want to lineup the pieces the way you want them. For my pumpkin, I had one design piece, then one solid color, another design piece, another solid color and finally the third design piece and the final solid color. I repeated it for the second set of 6 pieces (I show you this in the YouTube video).
You are now ready to assemble the pumpkin.
Step 10
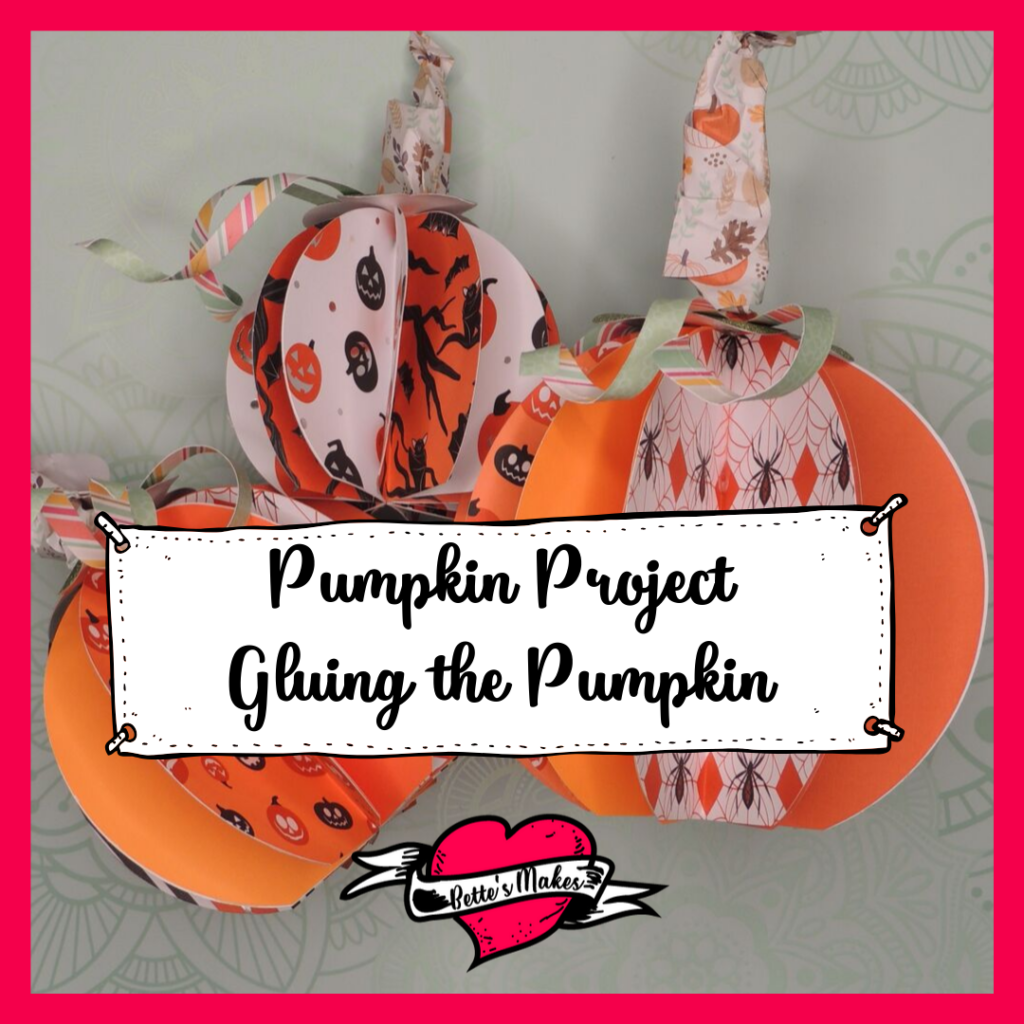
For this step you are going to glue the pumpkin pieces together. Take the first two pieces and glue them together so that the flat part on the bottom matches up and so that the curves also match on the sides.
Continue gluing each piece in turn until you no longer have any more pieces.
Next, you will need to open the pumpkin so it forms a circle and then glue the two end pieces together.
Do the same for all 3 pumpkins.
Step 11
There are 3 sizes of floral - one for each pumpkin size.
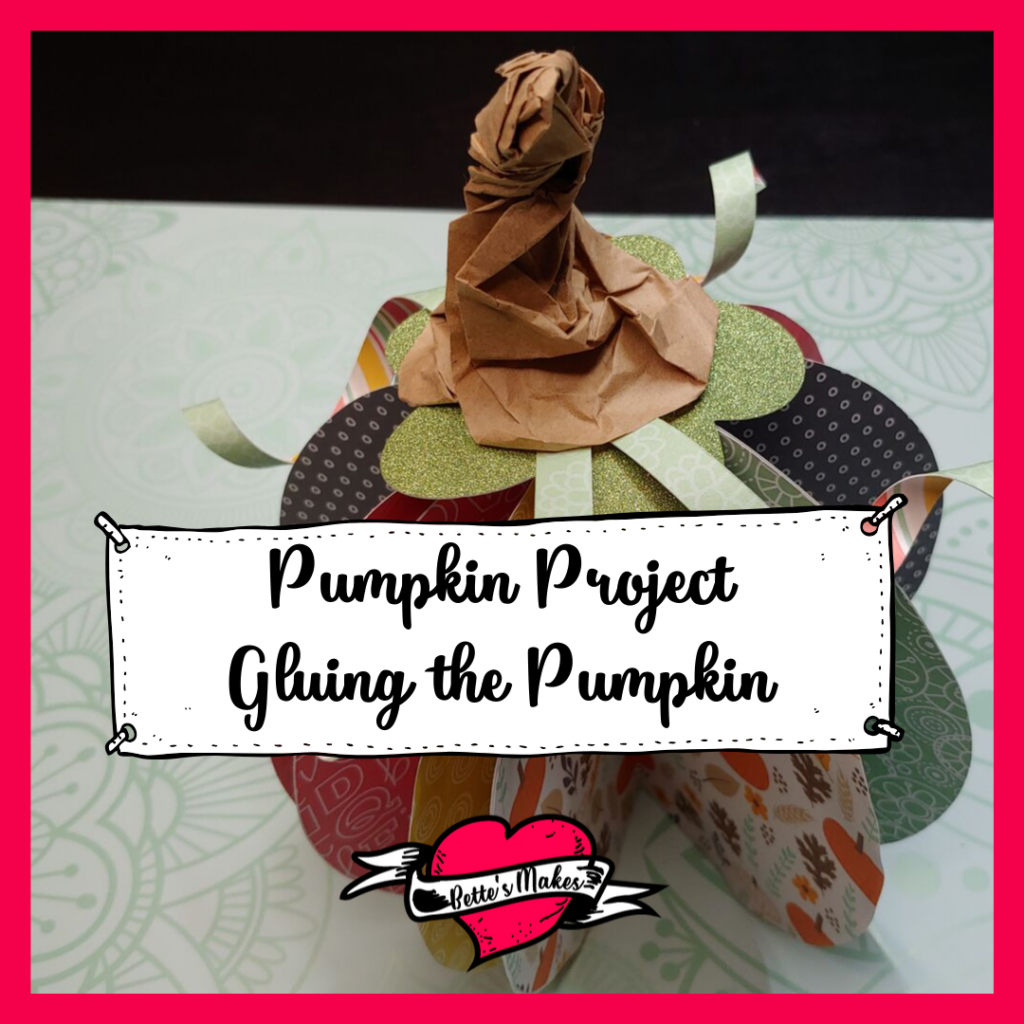
Starting with the large pumpkin, take the floral piece and curl it under for each petal - this will allow the top to curve around the top.
Place a large lump of glue on the top of the pumpkin and place the floral piece on top then push it down. This may take a few minutes to dry in place.
Repeat for the medium and small pumpkins.
Step 12
In this step you will be adding the vines to the top of each pumpkin.
Begin by curling each end of the vine using a dowel or pencil. Do this for all 6 pieces.
Add glue to the center of one piece and glue it to the top of the floral piece. You will then glue a second vine piece in place. Do this for all 3 pumpkins.
Step 13
The Final Step - you will now be adding the stem to the pumpkin.
There are 3 sizes to the stems so make sure you match up each size properly.
For each stem you want to scrunch up the material (see the image above) and then form a stem shape. You will need to have a larger end to glue to the top of the pumpkin but that is the only rule! Scrunch away and make some unique shapes!
Add glue to the bottom of your stem and attach it to the top of the pumpkin. You may have to hold it in place until it is dry enough to support itself.
Set all three pumpkins aside to dry.
Step 14
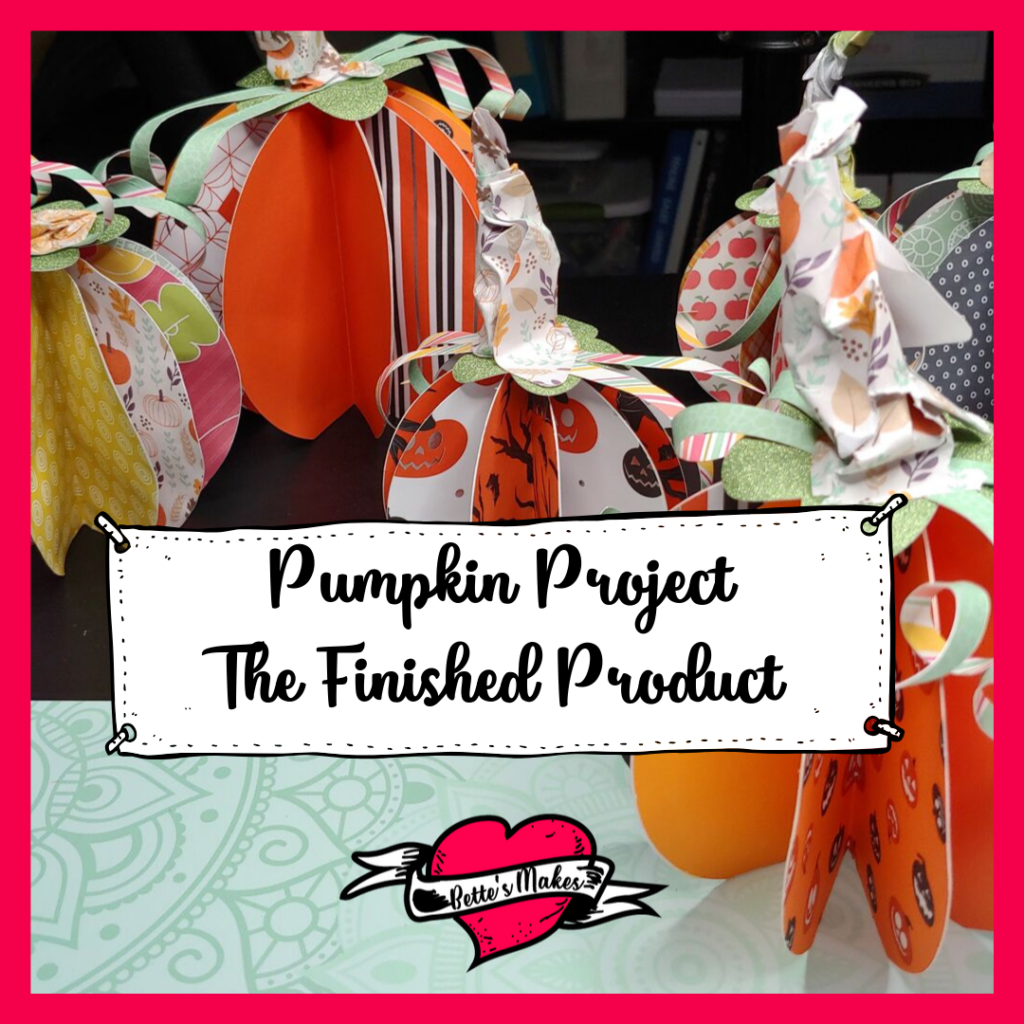
You are now ready to display your pumpkins as the perfect DIY Home Decor item for this fall season.
I do hope you enjoyed this project!
The fall season would not be full without a chance to read about more great crafts you can make! Here are a few of my suggestions. Take a look and browse through these amazing books!
To start - this is for orange cardstock at Amazon - thought you might like to order this for the project.
Thanksgiving Coloring Books for Adults - these are so wonderfully relaxing!
Pumpkin Notebook Journal - so cute!!
Realistic Pumpkin Carving - a challenge for everyone
The Last Word
Have you ever walked through a store and thought that a particular decoration would look great in your home? That is exactly how this pumpkin project started. I went home, looked for images and ideas on the web and in online stores to get the general look for my pumpkin. For there, it was a matter of designing and engineering the perfect shapes to work together. I am so happy with this design and how easy it is to put together!
For me, I made 6 in total and am thinking about making one with a Thanksgiving design as well. Who doesn't love to decorate a Thanksgiving table?
I also tried cutting this project by hand but found that the edges, when gluing, did not match up as easily. I guess hand cutting is not as accurate as using my Cricut!
The goal behind this project is to have fun!
If you have not yet made these amazing pumpkins, remember to go to my resource library and download the template so you can get started at any time.
Until next time,
Happy Crafting!


Please join me on Pinterest:https://Pinterest.ca/BetteMakerCreations
Join my Facebook group: https://facebook.com/BettesMakes
Follow me on instagram:https://Instagram.com/BettesMakes
Subscribe to my YouTube Channel: https://www.youtube.com/channel/UCzMHoceK1XiXi8IykicnUmQ
Please share this pin on your favorite Pinterest board so you can access this information any time you wish.


 DIY Home Decor DIY Craft Tutorials, DIY Paper Flowers