Quick Cut Out Shape Card
Cutting Out Shapes!
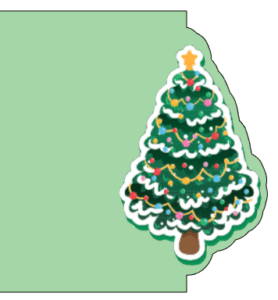
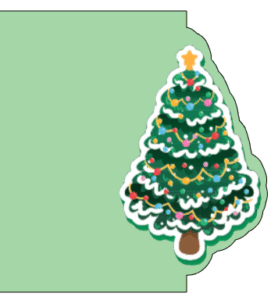
Today I was working on a card for the Christmas season and wanted to have the front of the card have a tree that was printed. I also wanted to have a part of card show on the side. It is easier to show you what I mean:
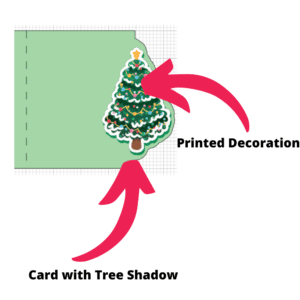
The Shape Secret
First things first, you want to select and get your decoration ready first.
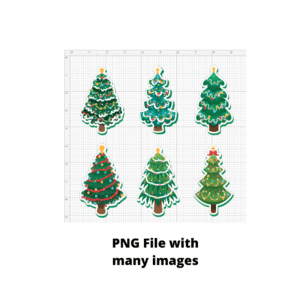
In order to do that, you will take any PNG file that has many shapes you may use and cut out the shape you are interested in using. In our case we want to cut out the top left tree to use in the card.
BE SURE TO REMOVE THE BACKGROUND when you upload your file.
Cutting Steps (works for all shapes)
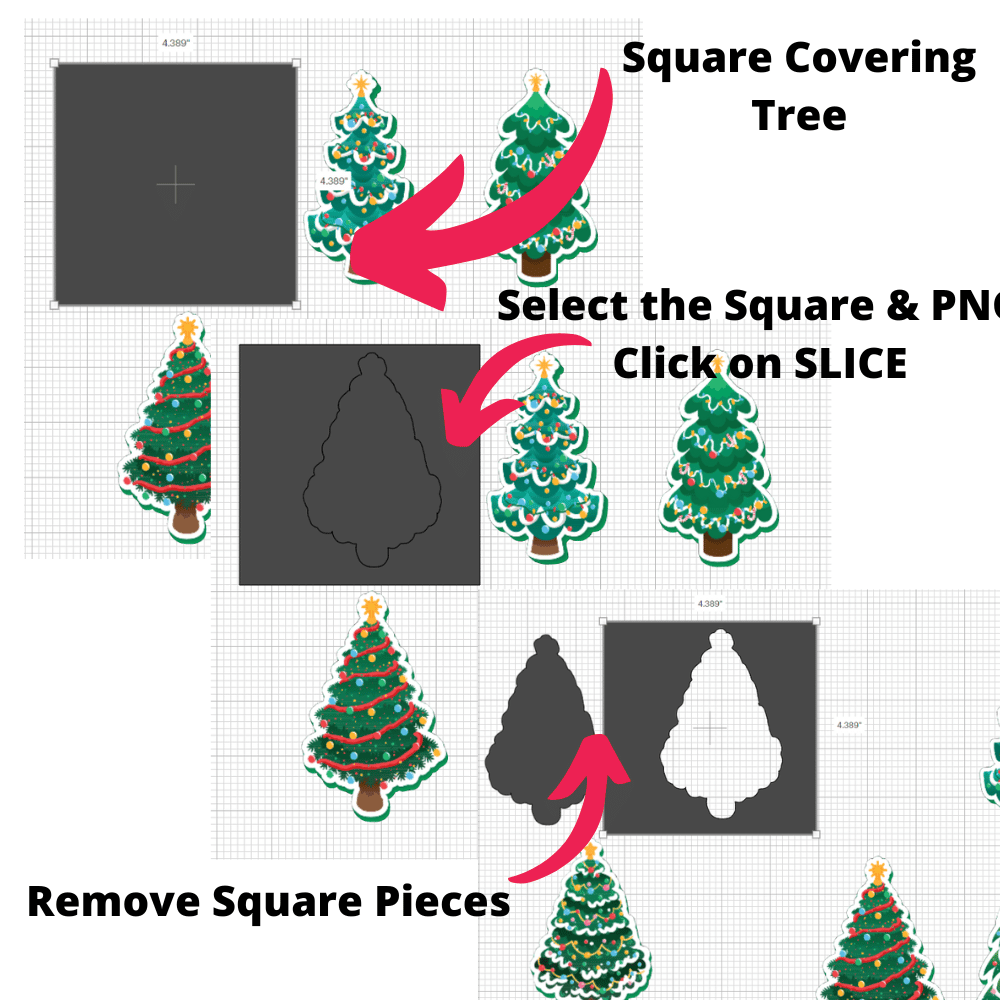
1. Grab a Square from the Shapes Menu
2. Enlarge the square so it fits over the top right tree (cover the entire tree but not any of the other trees)
3. Select the Square and the PNG file
4. Click on Slice.
5. Move the PNG file out of the way (you will notice that the tree you wanted is no longer part of the PNG!
6. Delete all the extra pieces from the square (should be 2 black pieces)
Creating an Offset and Uniting the Shape
1. Select the tree you cut out and click on Offset. Use the standard setting by just clicking OK
2. Move the offset piece (in black) over the edge of your card - centering it as best as possible
3. select the card and the offset and choose Unite. Your card is ready for cutting with the new side shape!
4.Print and cut your tree and place it over the new card edge, leaving a border
5. Add a greeting or two and your new cut out shape card is ready.
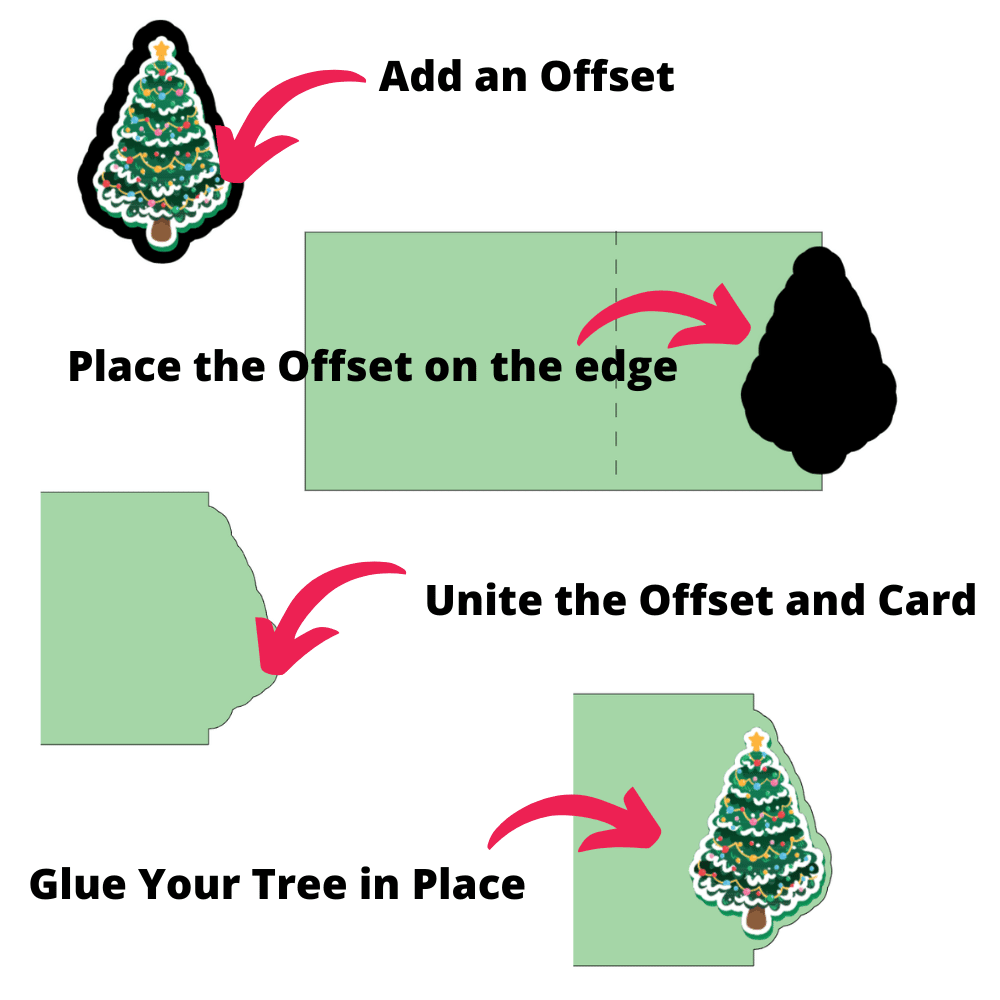
You can use this method with any embellishment, even the most complicated ones! Try and use a cut out photo in place of the tree to make personalized cards!
If you want the tree to use in your own design or just want to practice, you can find it in our resource library as resource #393 (https://free.creativecraftersclub.com)
2 replies to "How to Make Quick Cut Out Shapes for Amazing Cards"
Thank you for teaching in such easy to follow ways.
Thank you for simple and clear explanations, easy !