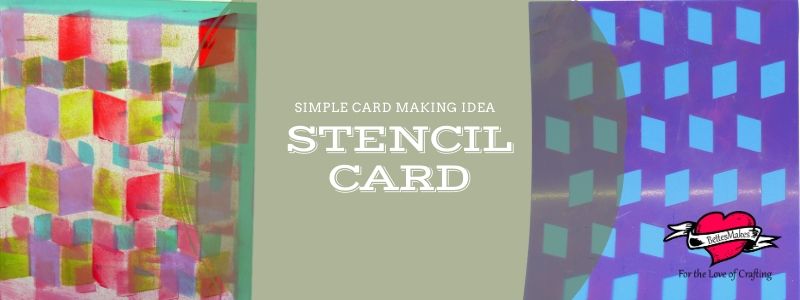
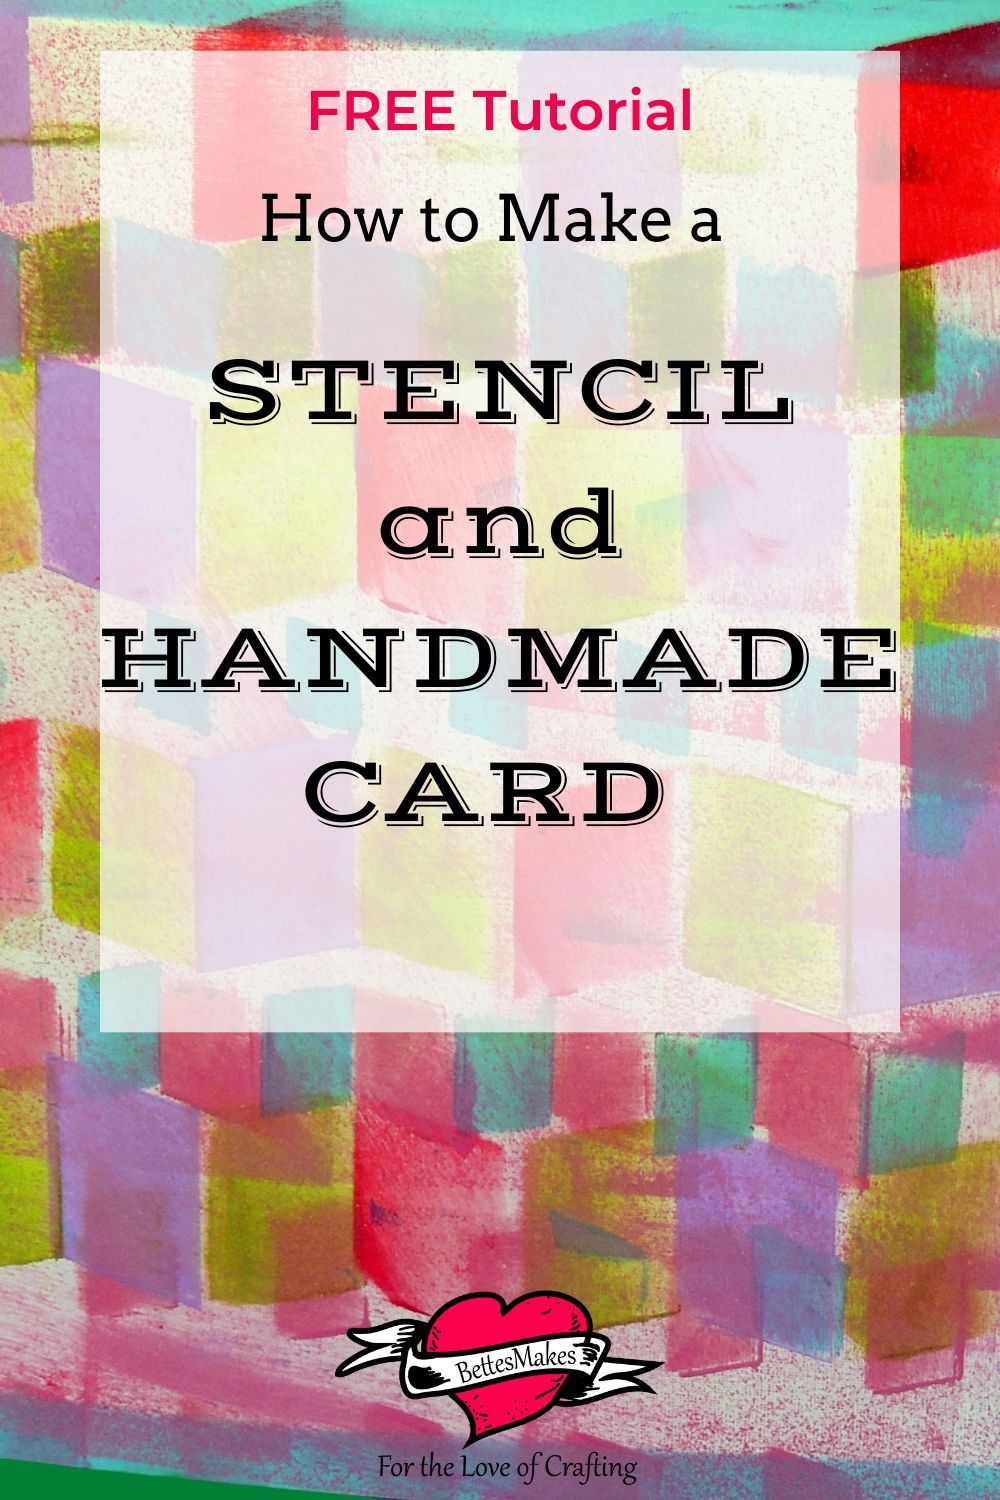
Do you want to make a simple handmade card? Here is a simple idea to get you started using your own handmade stencil.
OMG Making Your Own Stencil and Card!
I love making cards as I imagine you do as well. This time I wanted to make my own stencil and start making a simple card with the idea I could make multiple designs with the one stencil. I ended up cutting a few different sizes of stencils and making a huge mess on my crafting table. From one free card making idea I ended up with 4 different cards.
In this step-by-step tutorial, we will look at different ideas you can use to decorate your greeting cards. The stencil template is provided for you and I also included the basic card SVG so you can do everything right on your Cricut.
My favorite part in this tutorial was getting out all those dollar store stamp pads and finally using them for something fun.
Cricut Tips & Shortcuts
Secrets Every Cricut Owner Should Know
Every Cricut owner needs to know these SECRETS in order to save time & money so they can craft more. Insiders know these secrets but do you? Are you ready to make your Cricut work better for you?
Get the insider information you never knew and save money at the same time. This FREE Tip & Shortcut guide will show you how you can have your equipment and machine supplies last longer so you can make even more!
Here’s what you need to make your own stencil and card set. This post does contain some affiliate links for your convenience (which means if you make a purchase after clicking a link I will earn a small commission but it won’t cost you a penny more)! Read my full disclosure policy.
Quick Links to Information in this Post
Stencil and Card Materials
Stencil and Card Step-by-Step Guide
Step Two - Design Space Adjustments
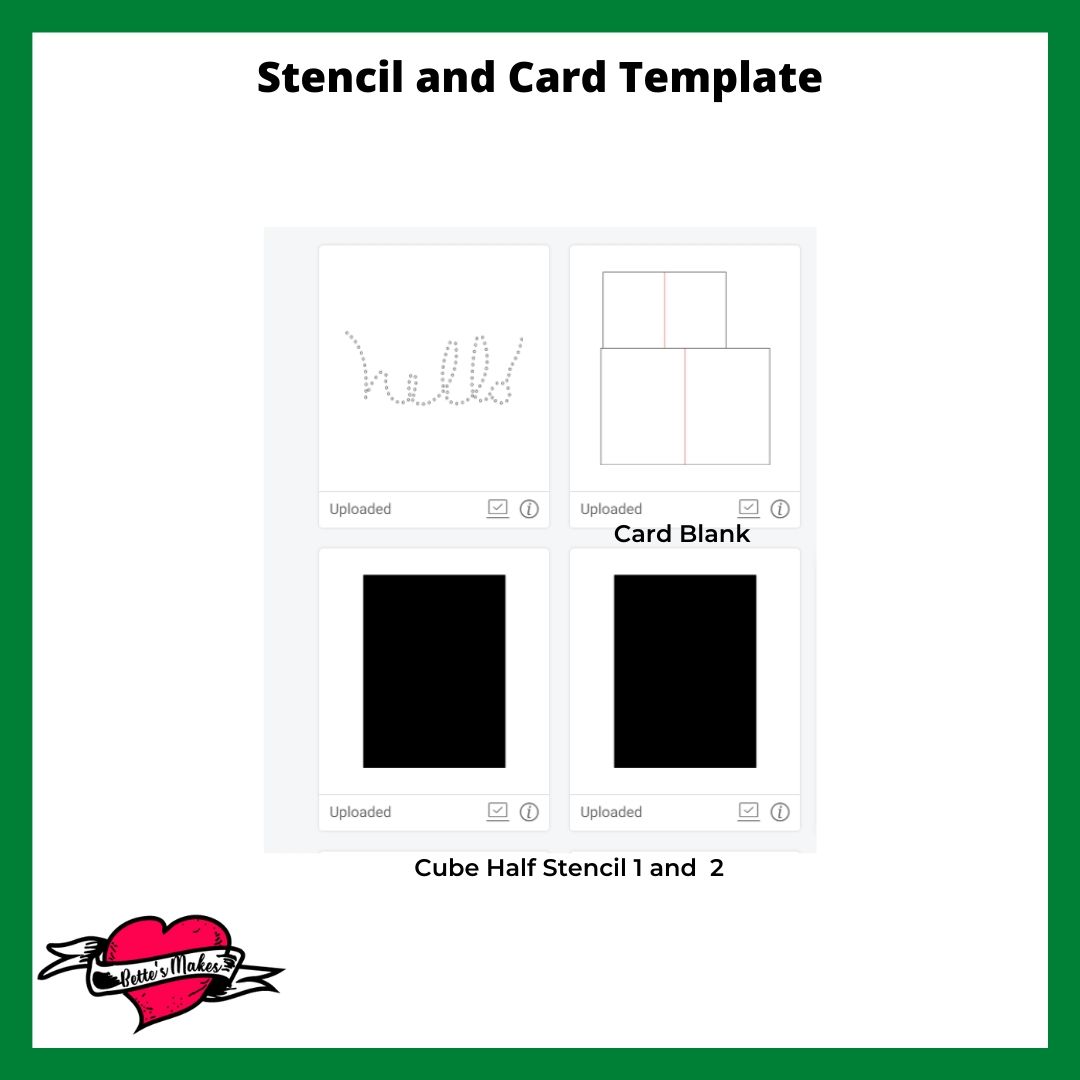
Insert the 3 files into Design Space.
We're going to work with these cube halves now they are really black for the cuts you actually can't see anything. The first thing you want to do is go to the Linetype and change it to a light color. Do the same for the other stencil piece.
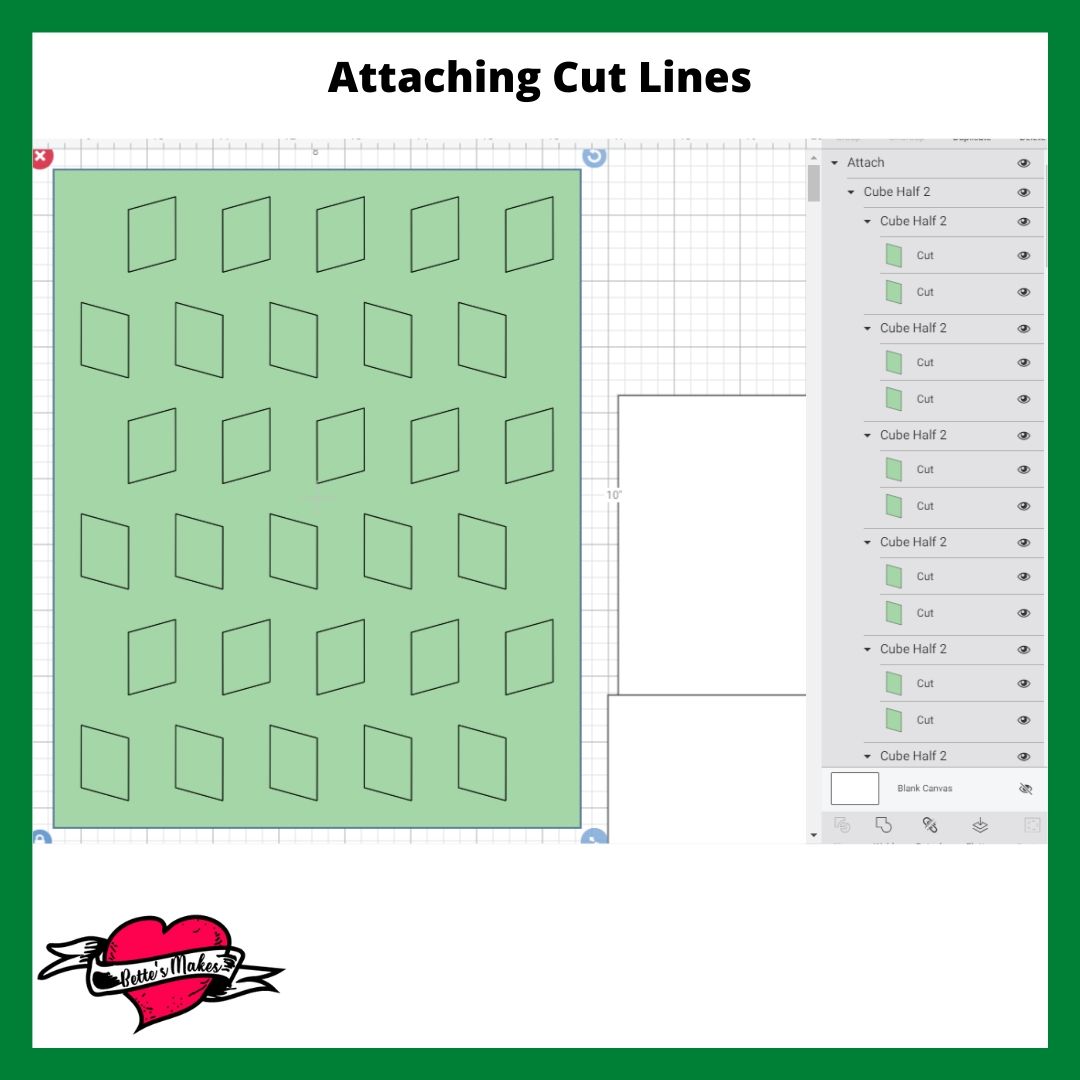
You should see all the inside cut lines at this point.
IMPORTANT: Select one of the stencil objects including all of the inside cut lines then click on Attach in Make It Panel on the bottom right. This way all the cut lines will stay together.
Do the same with the second stencil piece.
Step Three - More Design Space Adjustments
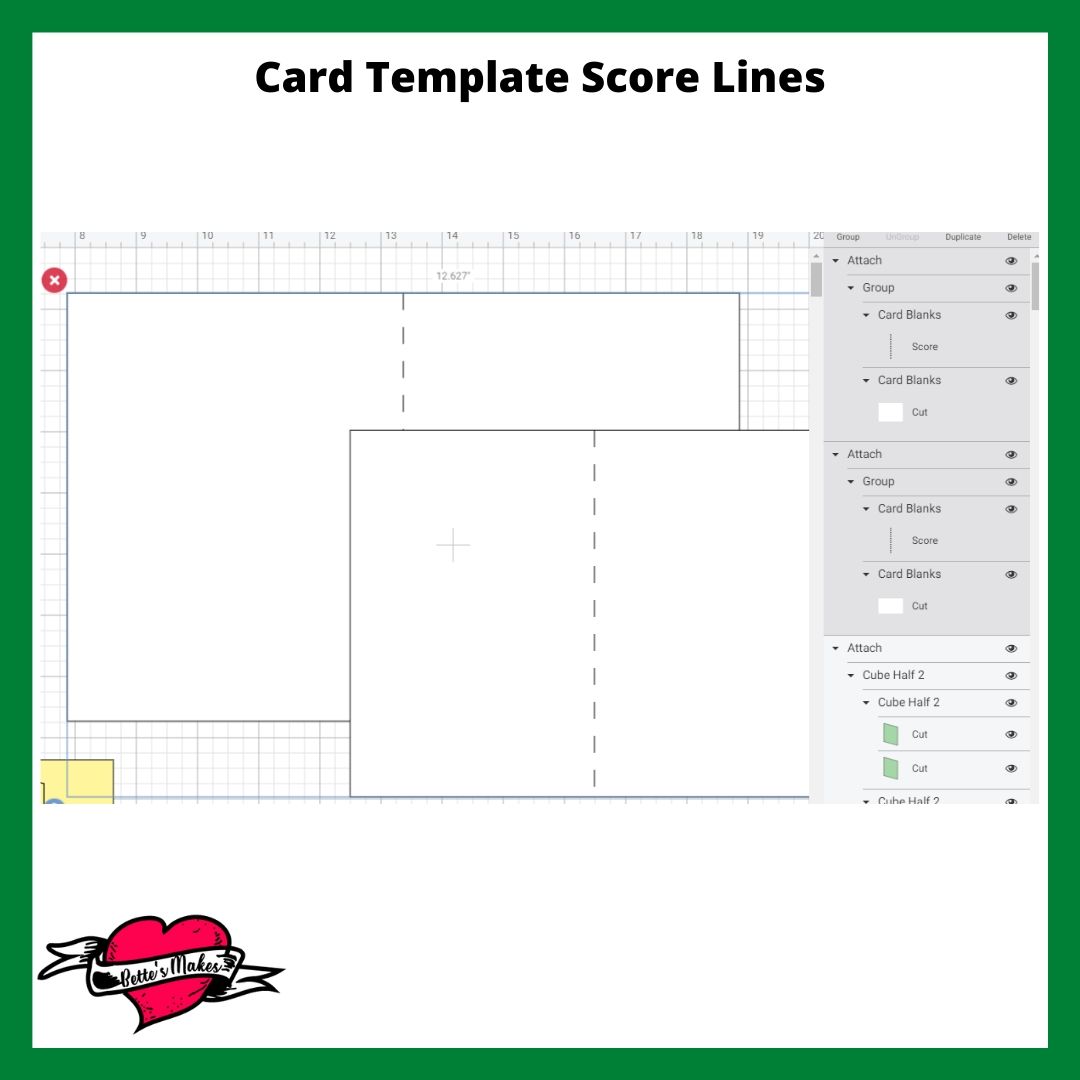
Next you want to work with the card template. There are 2 different sized cards here and each has a center line that needs to be changed to a Score line.
Ungroup the card template. Select each center line and change it to Score.
Select one card with it's score line, Group it, then Attach it.
Next, we will resize one of the stencils to fit on the card.
Step Four- Resizing the Stencil
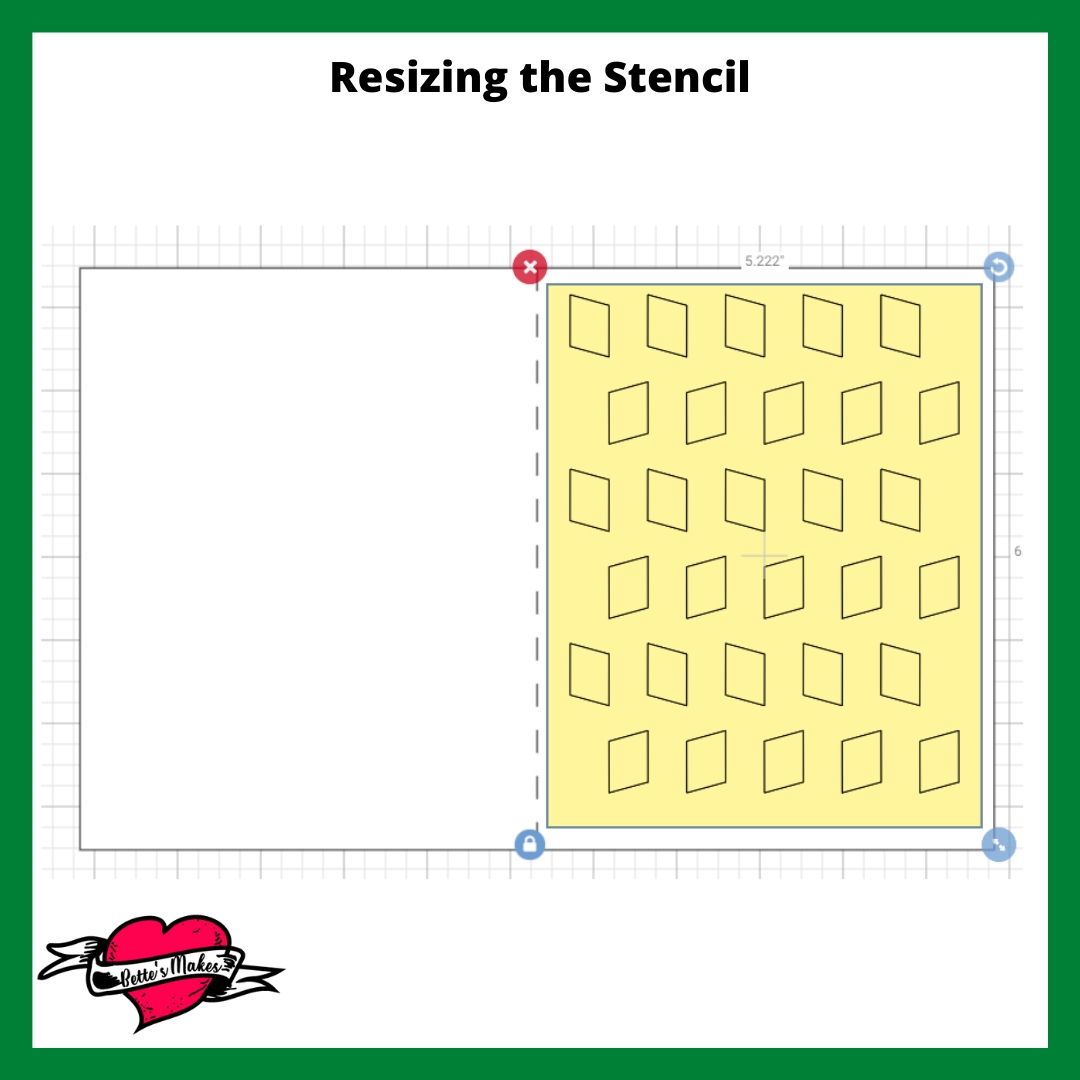
The stencils are much larger than the card templates.
Place one of the stencils over one side of a card. You may have to Arrange the stencil so it is at the front.
Resize using the resizing handle so that the stencil fits the top of the card. See the diagram.
Do the same for the second card and stencil.
Save your project and Click on Make It.
Select your materials. For the stencils I chose Plastic Stencil Film. Remember to reset your materials for the card mat.
Step Five- Making the Card
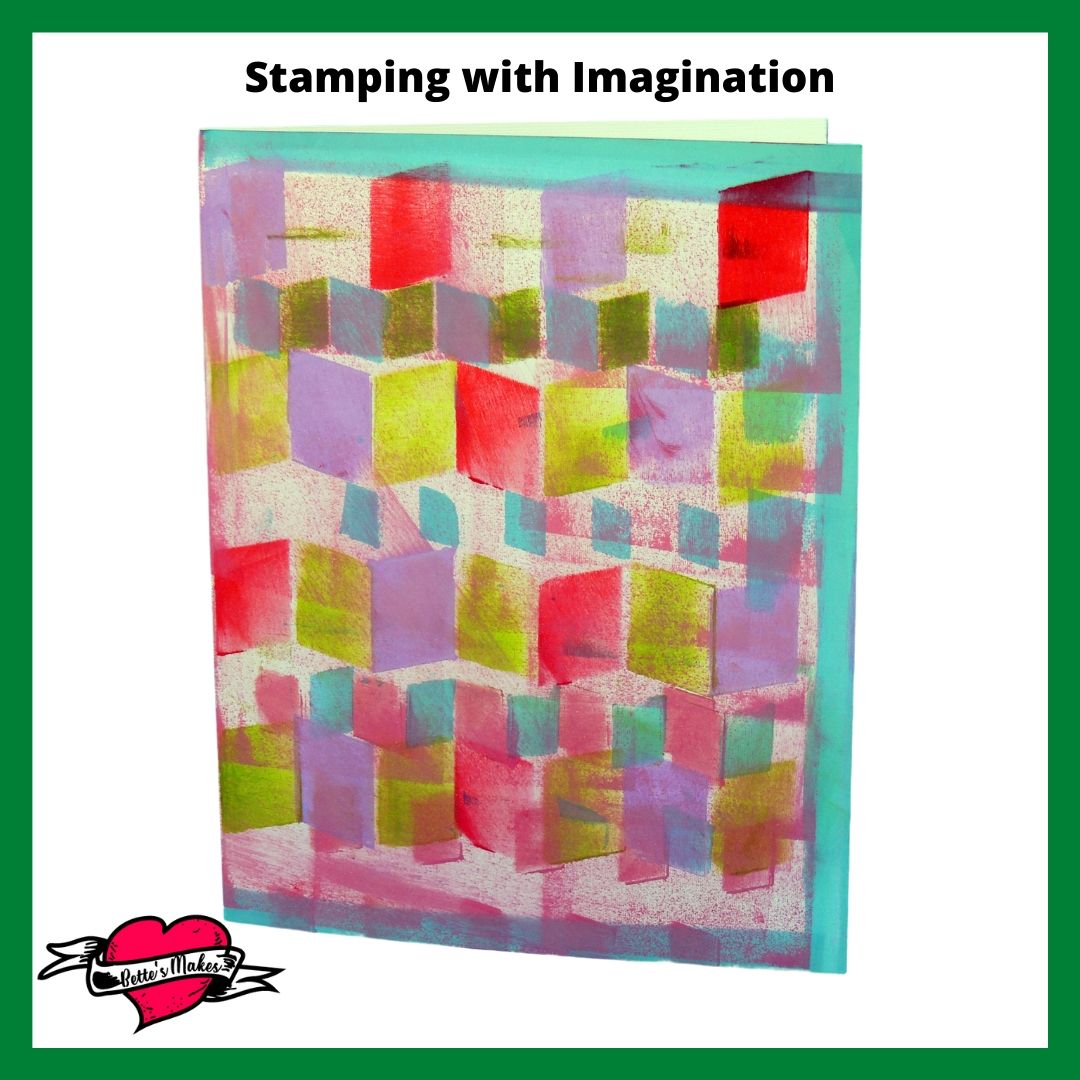
Here is where you are going to need your ink/stamp pads. \Place the stencil over your card front. Take one of the stamp pads and stamp the ink over top of the stencil. Change colors and do some more stamping.
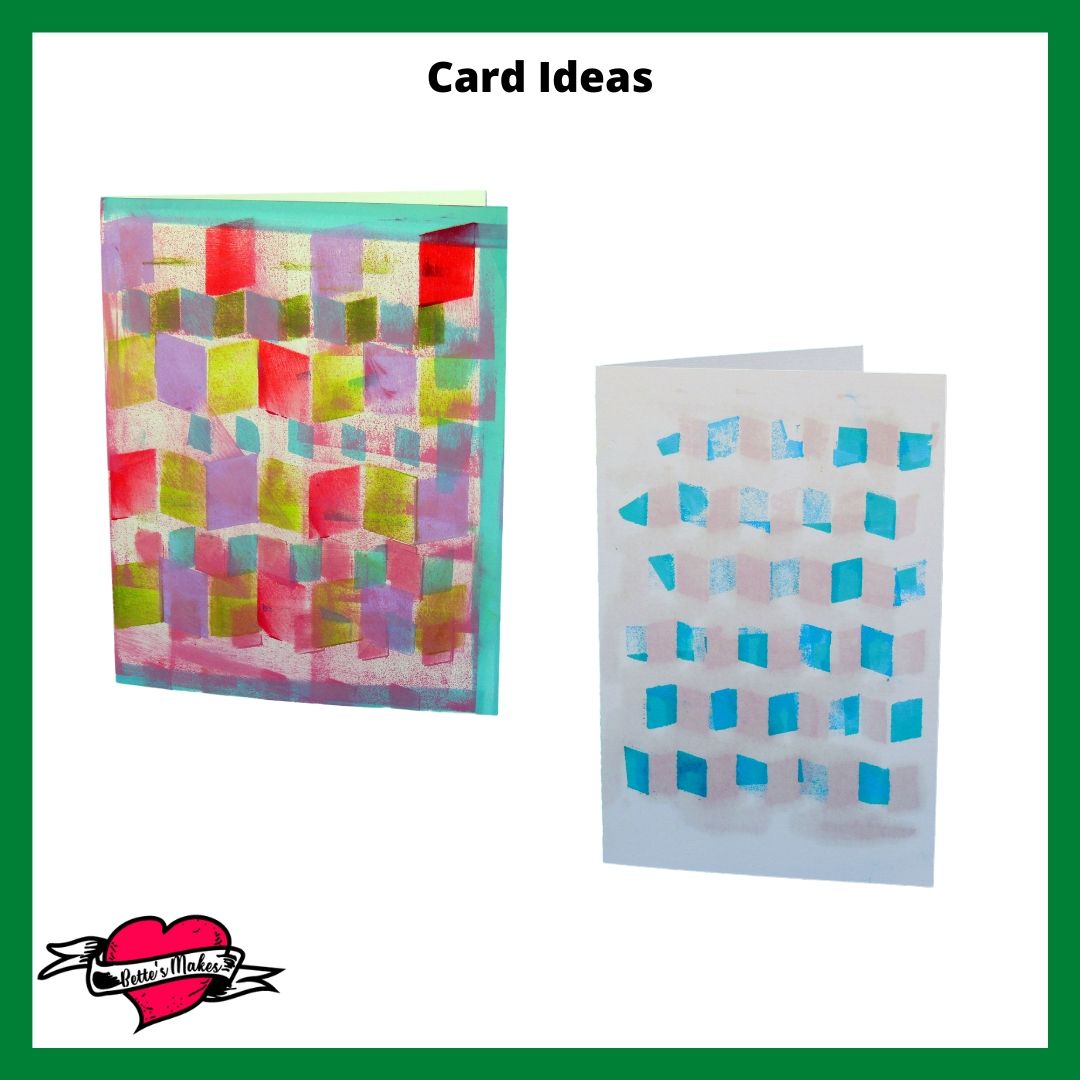
Repeat the process for all the card surfaces. Use your imagination on how you want your card to look. You might even want to cut some additional card blanks so you can really let your imagination out.
Step Six- Sharing Your Work
Make several cards and test out different color combinations. This is a fun experiment with using stencils. Be daring and make some more stencils that you have designed.
Take a photo of your finished cards and share them in our Facebook group:
https://Facebook.com/groups/BettesMakes
I love to see what others are making!
More Craft Ideas from BettesMakes
Here are some amazing crafts you can make from BettesMakes.com
This is just a sampling of the dozens of crafts you can find on my website.
How to Make a Stencil and Card Video
Last Word
Wasn't it so easy to make your own stencil? Using file folder dividers from the dollar store really made it so easy - no real special materials needed at all!
After making the stencil, we used some ink pads (also from the dollar store), to stamp and make gorgeous cards. I love messing around with ideas even though some are not the best, it shows what you are able to change to make it better!
If you made a card, please share it on our Facebook group. https://Facebook.com/groups/BettesMakes
Until next time,
Happy Crafting!


Please join me on Pinterest: https://Pinterest.ca/BetteMakerCreations
Join my Facebook group: https://facebook.com/BettesMakes
Follow me on Instagram: https://Instagram.com/BettesMakes
Subscribe to my YouTube Channel: https://www.youtube.com/c/BettesMakes



 DIY Home Decor DIY Craft Tutorials, DIY Paper Flowers