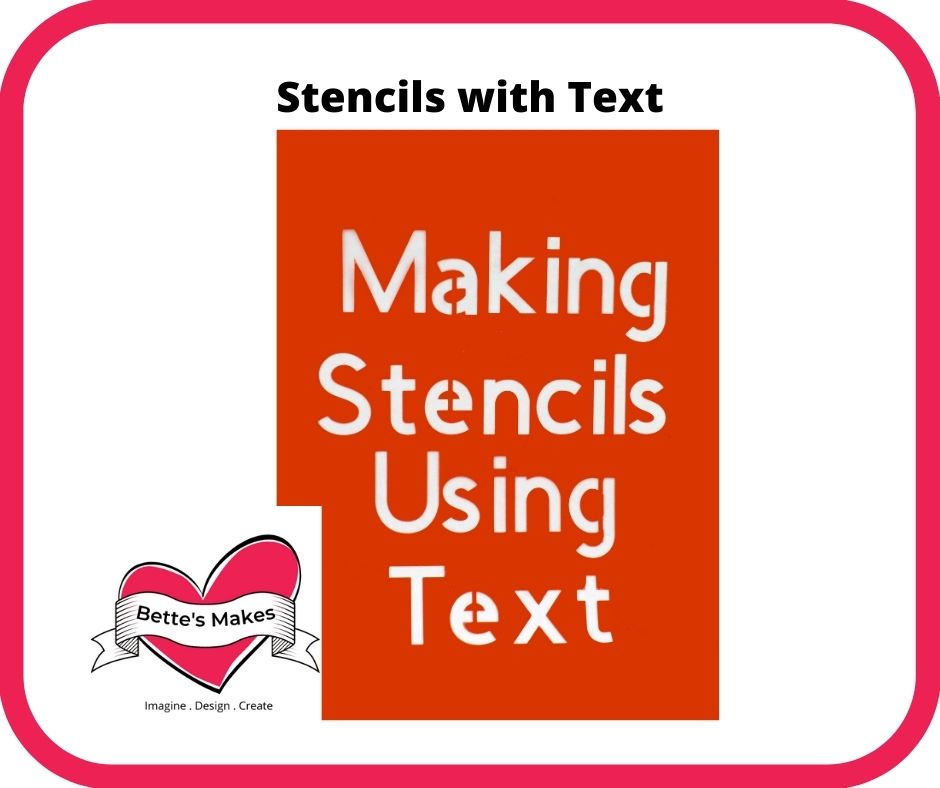
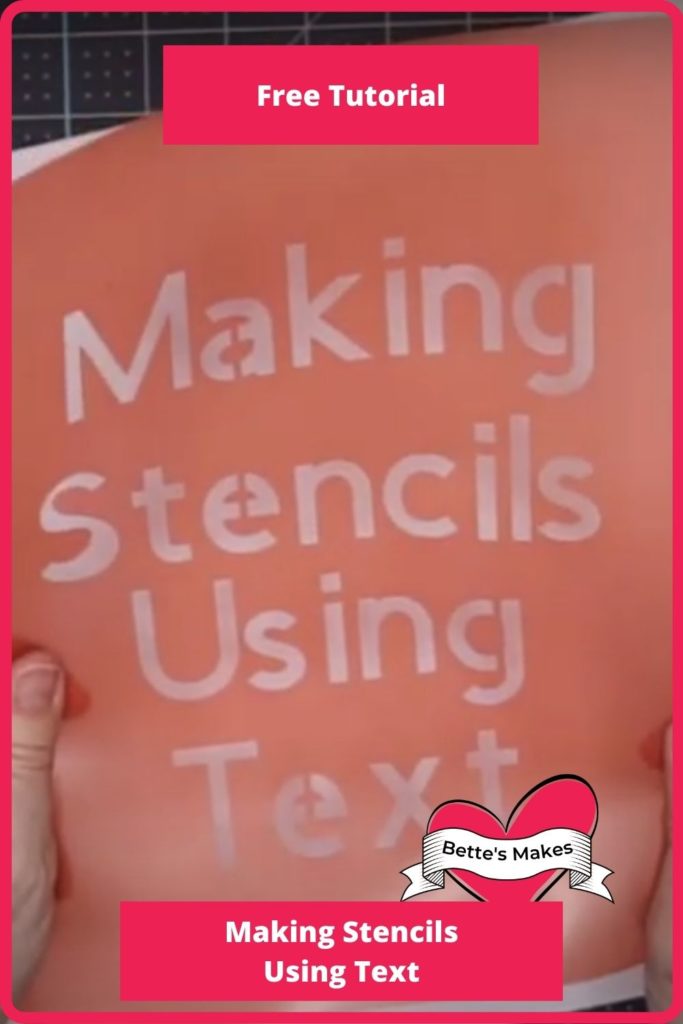
Learn This Easy Way to Turn Text into a Stencil!
Turning Text into a Stencil Using a Shape
Make this easy set of stencils using any font with your Cricut! Stencils are a great way to use a design over and over again and using text does not have to be a challenge. With this easy method on how to make any font into a stencil font, you will be able to crate more than you ever imagined!
There is no template for this project as you will be using the fonts you have available right on your system! With this tutorial you can use any font you wish!
Here’s what you need to make your Text into a Stencil. This post does contain some affiliate links for your convenience (which means if you make a purchase after clicking a link I will earn a small commission but it won’t cost you a penny more)! Read my full disclosure policy.
Quick Links to Information in this Post
Text Stencil Materials
Making Stencils with Text Step-by-Step Guide
Step Three - Cutting the letters
Start with the closed in letters and loops.
Take one of the "sticks" and place it over the center of the letter (see the diagram with the "o").
Select both the stick and the text and click on slice.
Move the text out of the way and delete the remaining parts of the stick and the letter.
You now have your first stencil letter ready.
Repeat the same process for other closed in letters except for the following:
Capital B or D (and similar letters) should be treated differently.
Duplicate your stick and line up the stick to the inside of the letter so it aligns the left hand part of the letter.
Now select the text and the stick and click on Slice.
Move the text out of the way and delete the remaining parts.
Continue to do slice either the middles or sides of all the letters with closed loops.
Step Four - The Finishing Touches
Now that you have your stencil letters ready, you will want to save your project.
Now create your own sayings using your stenciled letters and then weld them together so you can cut them from the material of your choice.
I used a plastic divider from the dollar store but you could use a foam sheet, a hard surface or even heavy cardstock. The choice is yours.
Have fun making your text stencils!
Share your project in our Facebook group. https://Facebook.com/groups/BettesMakes
More Craft Ideas from BettesMakes
Here are some amazing crafts you can make from BettesMakes.com
This is just a sampling of the dozens of crafts you can find on my website.
Last Word
This tutorial on how to make text into a stencil was certainly easy. The biggest challenge is knowing how stencils work and why you cannot use closed shapes.
I hope you enjoyed this project as much as I did.
If you made a stencil, please share it on our Facebook group. https://Facebook.com/groups/BettesMakes
Until next time,
Happy Crafting!


Please join me on Pinterest: https://Pinterest.ca/BetteMakerCreations
Join my Facebook group: https://facebook.com/BettesMakes
Follow me on Instagram: https://Instagram.com/BettesMakes
Subscribe to my YouTube Channel: https://www.youtube.com/c/BettesMakes


4 replies to "How to Turn Text Into a Stencil Using Your Cricut"
This is wonderful! Thank you for sharing!
I am so happy you like this.
You explain things so well!
Thank you Sally