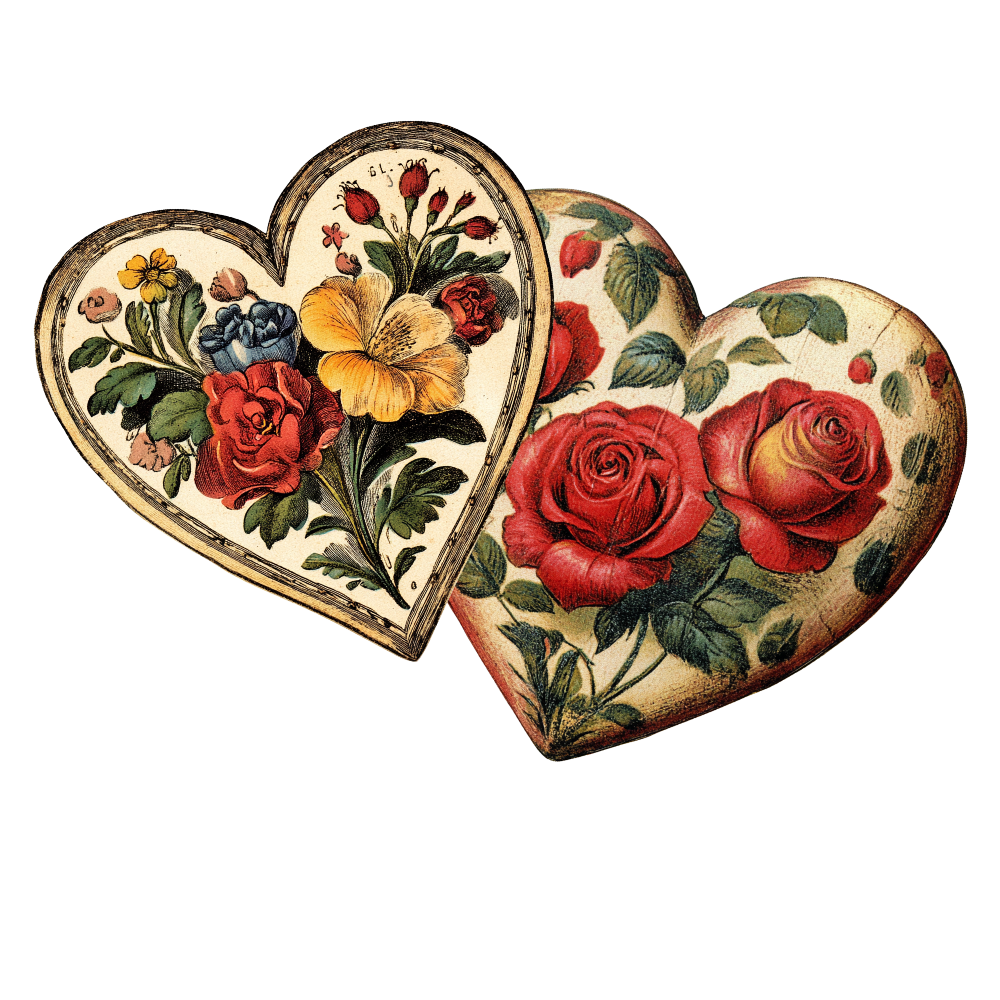
Have you used the Sticker Tool?
This tool was designed to be used with a Cricut Access membership. So if you do not have access to it, you can always create stickers the way you have before. The tool simply makes things easier when it comes to the type of stickers you want to create.
The create sticker tool is a great time saver because it saves you the time from having to use the offset tool for each item. This way all you need to do is click on your image and then select the Sticker Tool.
This tool will enable you to do everything in one step.
There are two different kinds of stickers. You can create a Die Cut, which cuts all the way through all of the materials you have on your mat, and that makes it easy for individual stickers. You can also create a Kiss Cut version as well so just choose between the two types.
Die Cut simply means your Cricut will cut all the way through the backing material to give you individual stickers. Whereas, Kiss Cut, only cuts through the top layer of the sticker materials leaving the backing intact. With the Kiss Cut, you can create sheets of stickers rather than just individual ones.
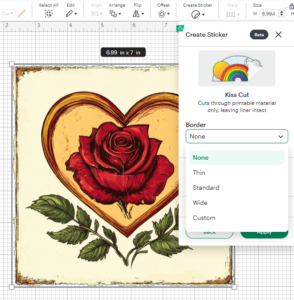
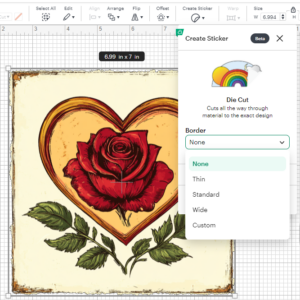
If you click on either the die cut or kiss cut, first thing you'll see is a border option. It is set to None as a default. We recommend you have a border for the simple reason of how close your machine will cut to the edge. If the calibration is not perfect, it will cut off the edges of your image. The options are: thin, standard, wide or custom,
Generally, if you choose any type of border, there will be a fill color option. black and white available, but there's also a plus sign and you can pick any color that you want. Generally if you're going to do a sticker, just leave it white because nothing prints that color.
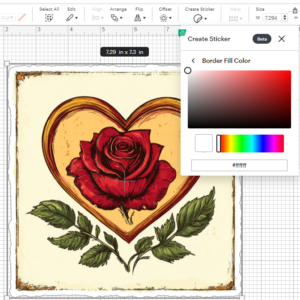
All you need to do at this point is just apply it to your design and it is ready to go as a print then cut sticker and it's all taken care of!
What if you want to do a sticker pack?
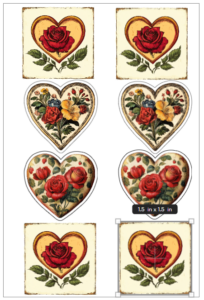
Here is our experience with sticker packs.
1. Create the stickers with a Kiss Cut for each image.
2. Create a rectangle the exact size of the pack you will be using. (often it is 4 by 6). Set up the rectangle as a die cut and make sure you have either white or the color you want to use for the background.
3. Place your sticker images inside the rectangle in the size and order you wish to use with your pack.
4. Select the rectangle and the images together and Attach them.
5. You can then duplicate those packs as many times as you wish and perhaps fit more than one on the Sticker Paper as long as it fits inside the Print then Cut
For individual stickers, just duplicate and print then cut as many as you want. There is only the same limitation with the Print then Cut option and that is the size of the paper and the parameters you can use.
You can grab an Access membership at anytime to use this feature.

