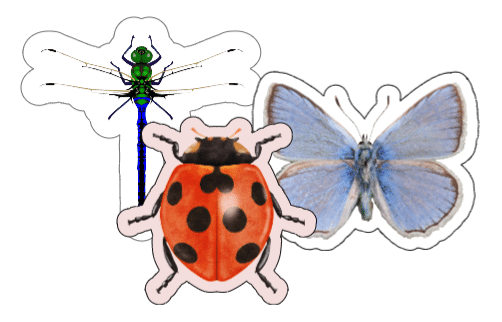
A Heartfelt Guide to Bringing Your Designs to Life
Creating custom stickers is an exciting way to add a personal touch to your projects. Whether you want individual stickers or sticker packs, the sticker tool makes the process simple and efficient. This guide will walk you through each step of using the sticker tool, from uploading images to finalizing your sticker design.
Step-by-Step Guide: Making Stickers with the Sticker Tool
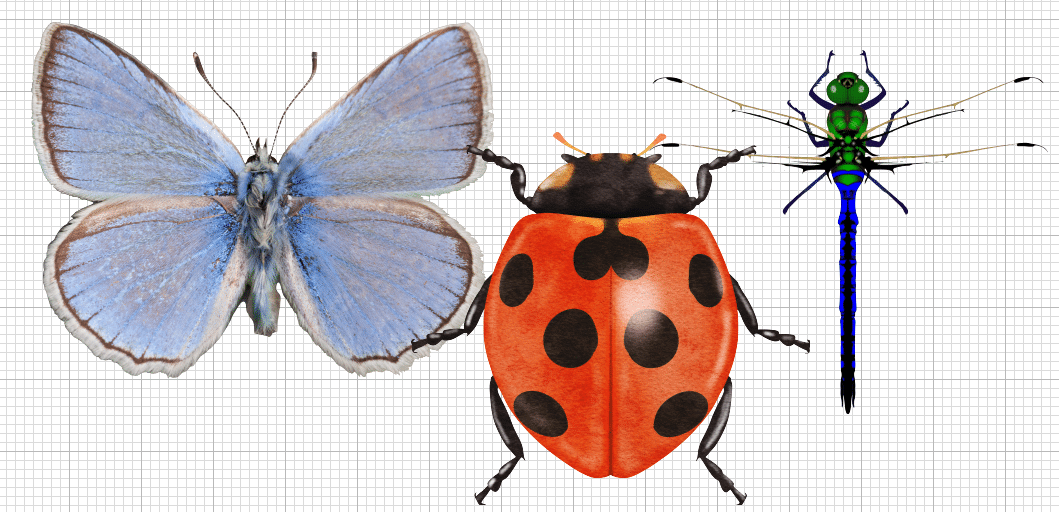
Step 1: Upload Your Image
Open Cricut Design Space and navigate to the Upload button.
Ensure you have access to the sticker tool.
Add all images to the Canvas.
Resize the images as needed.
Upload your images to the design space. (A download link for sample images is usually provided.)
Step 2: Choosing the Sticker Type
The sticker tool offers two types of cuts:
Die Cut: Cuts through both the sticker material and the backing, creating individual stickers.
Kiss Cut: Cuts only the sticker material, leaving the backing intact for sticker packs.
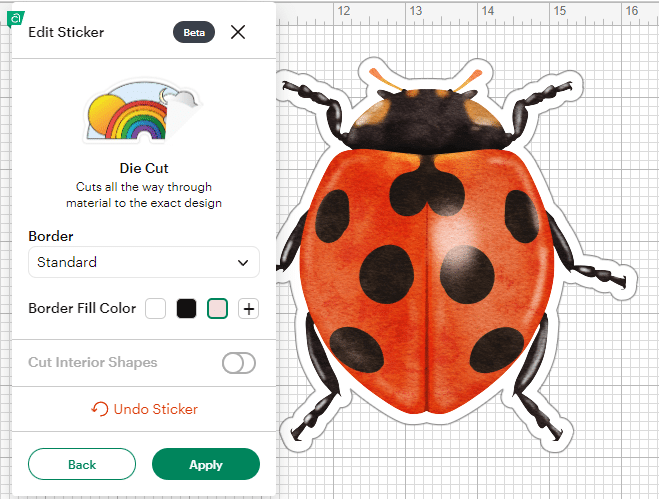
Creating a Die-Cut Sticker
- Select the image you want to turn into a sticker.
- Click Create Sticker and choose Die Cut.
- Decide if you want a border:
- A thin border prevents cutting errors.
- The background color can be customized by clicking the color picker. - Apply the settings and save.

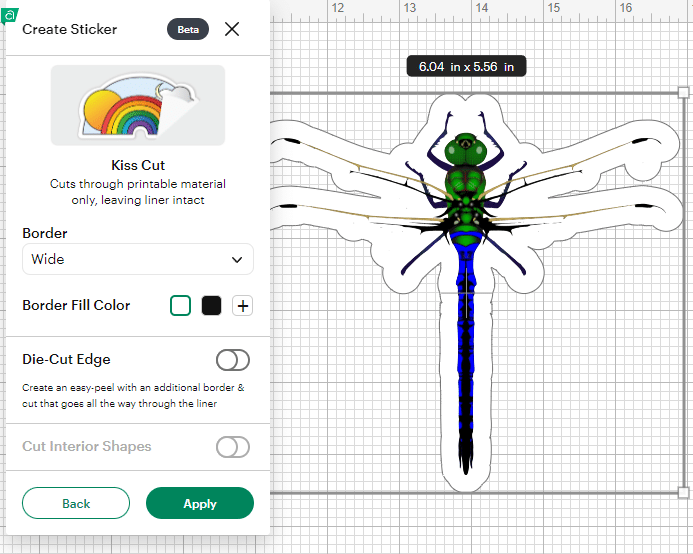
Creating a Kiss-Cut Sticker
- Duplicate the die-cut sticker design.
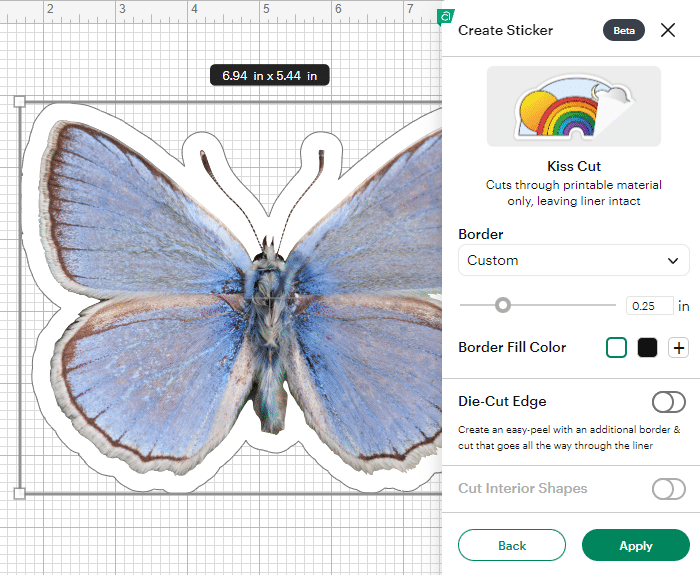
- Click Edit Sticker and select Kiss Cut.
- Add a border and customize the background color.
- Apply the settings.
Step 3: Cleaning Up the Design
If your sticker has rough edges:
Change the canvas color for better visibility.
Adjust the border thickness to smooth out jagged edges.
Test different border settings (Thin, Standard, Wide) to minimize unnecessary cuts.
Apply and resize as needed.
Step 4: Creating a Sticker Pack
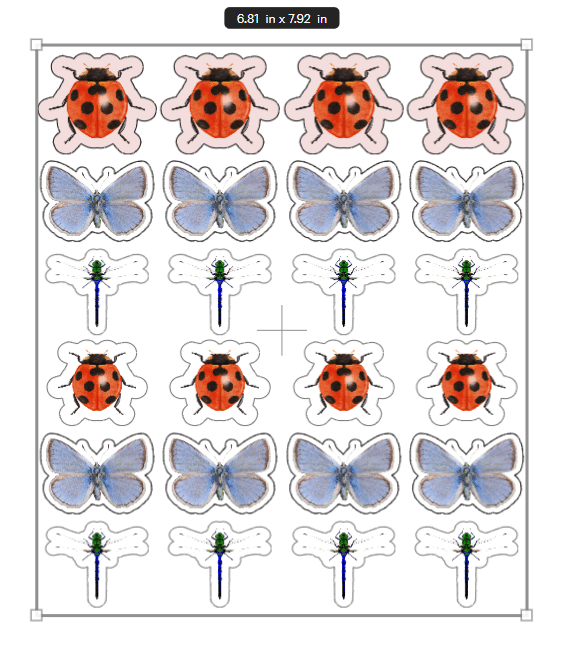
Add a white background rectangle (4x6 inches recommended).
Convert this background into a Die Cut Sticker
Arrange the Kiss Cut Stickers within the pack.
Resize the stickers (1.5 inches is a good size for most designs).
Use the Align tool to ensure proper positioning.
Select all elements and click Attach to keep them grouped.
Step 5: Finalizing and Printing
- Check that all elements are properly aligned.
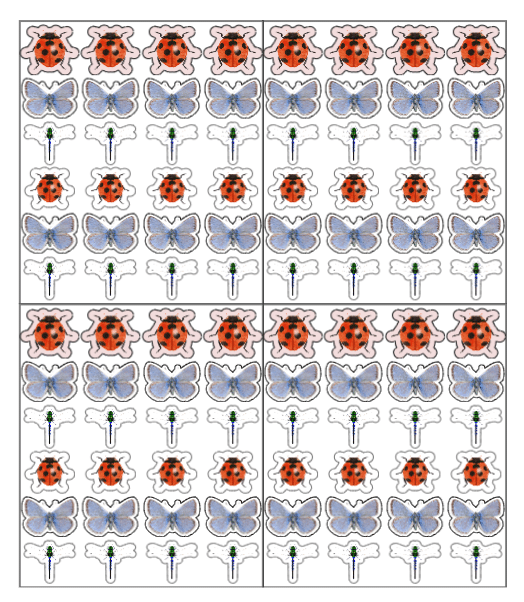
- Resize the sticker pack to fit within an 8.5x11-inch printable area.
- Auto-resize if necessary to prevent errors.
- Click Make It to print and cut your stickers.
Final Thoughts
With these steps, you can create high-quality stickers for any project. Experiment with different designs, colors, and borders to make your stickers unique.
Have fun crafting with the sticker tool!
You can grab an Access membership at anytime to use this feature.

 DIY Home Decor DIY Craft Tutorials, DIY Paper Flowers