Why Subtract?

Have you ever wondered why Subtract and not just Slice?
Slicing is certainly something that is familiar to all of us. Slicing gives you cuts plus a few pieces you can use for other parts of your project (this can be annoying when you only want to cut something out and not have to deal with deleting a bunch of pieces).
Using subtract has eliminated some of the frustration but there are still a few little tricks that you should know. Subtract is extremely easy to use, it is how you use it that really will have an impact on your work.
You can watch the video in our Facebook Group: Https:facebook.com/groups/BettesMakes
Here is an EASY trick you can use to make Subtract work for you.
I am a firm believer in duplicating anything you are working with, just in case something goes wrong (and it often does when working with technology).
Step 1: Grab an Image and Add it to your Canvas
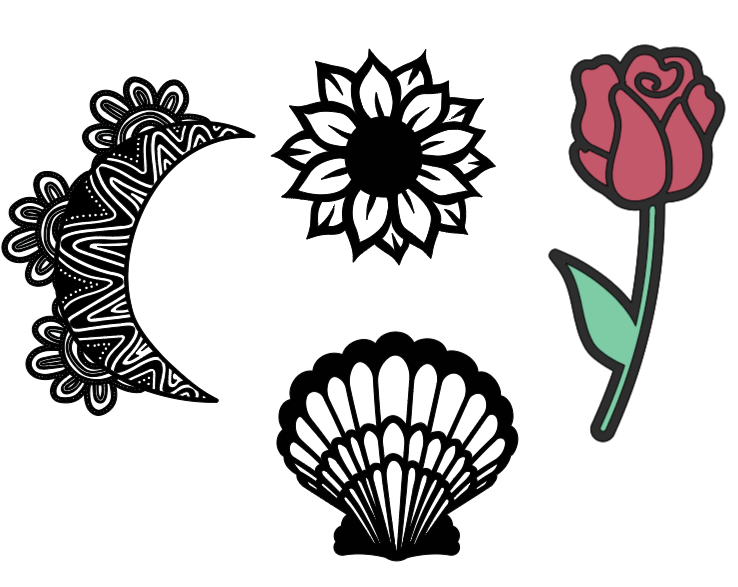
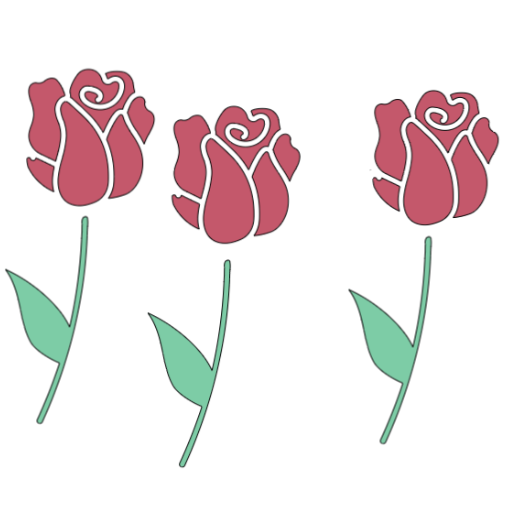
It does not matter which design you choose but we used a few you might want to work with as shown here. These are all FREE designs inside of Design Space.
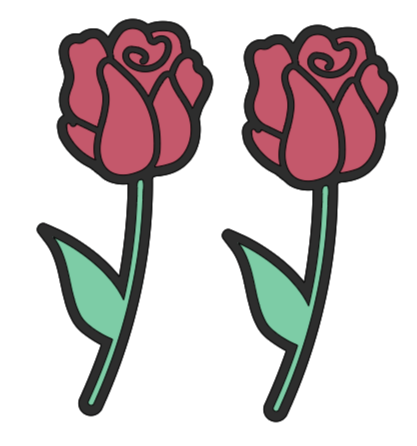
Step 2:. Make a duplicate of the Rose and set it aside.
We will be working with the Rose to demonstrate an effective technique for getting to the petals of the design and leave the stem behind. We will do all of this just using Subtract (and some Contour).
Get Your Annual Pass to the Creative Crafters Club
Step 3: Ungroup one of the Roses
Before we begin using Subtract, you will want to ungroup the Rose so that you have 3 components (pink, green, and black).
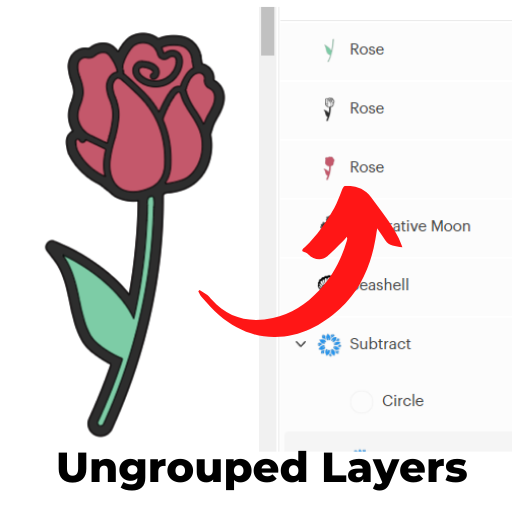
Step 4: Set Aside the Green Layer
Step 5: Select the Black Layer and Delete The Pink Layer
Step 6: Duplicate the Black Layer and Use Contour
In this step we will be using Contour to make the free standing petals.
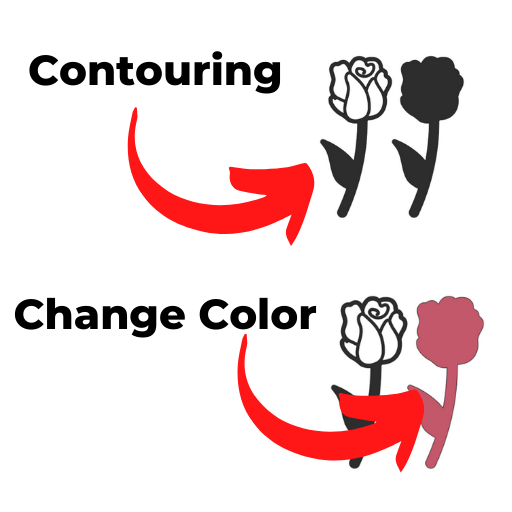
Choose one of the copies of the Black layer and click on Contour, then choose Hide all Contours.
Change the color of the contoured piece to Pink.
Step 7: Subtract the Layers
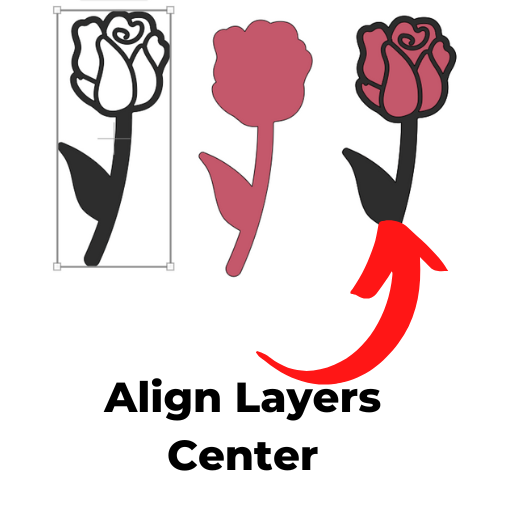
In order to subtract the layers, you will want to place the Pink layer on the bottom and the black layer on top (and Align them to Center) as shown in the diagram. Once they are aligned. Click on the Combine Menu and Choose Subtract.
You will now have just the Rose Petals to work with.
Step 8: Use your Rose Petals and Green Stem in a Design
Even though we used Subtract to get to the Rose Petals, there are other ways that you can also make this work (using Contour for Example). The results you get here will allow you to do reverse cutting and also use the design to further subtract from other shapes.
Use the Same Process for adding some filagree to a shape.
In this example we will be using Contour as well as subtract.
To start, make a Heart shape on the Canvas and size it to 7 inches wide.
Next Choose an image file from the Images FREE section - n our example we used a Shell.
Step 1: Duplicate your Shape, set it aside.
Step 2: Duplicate the Shape again, use Contour to Hide All Contours and change the color of the Contoured object Red.
Step 3: Place the Contoured red piece behind the Shape and Align them to Center.
Step 4: Use Subtract to get the inside shapes for use with your heart.
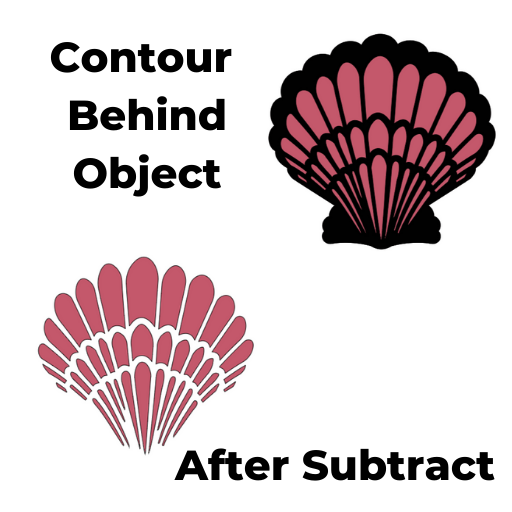
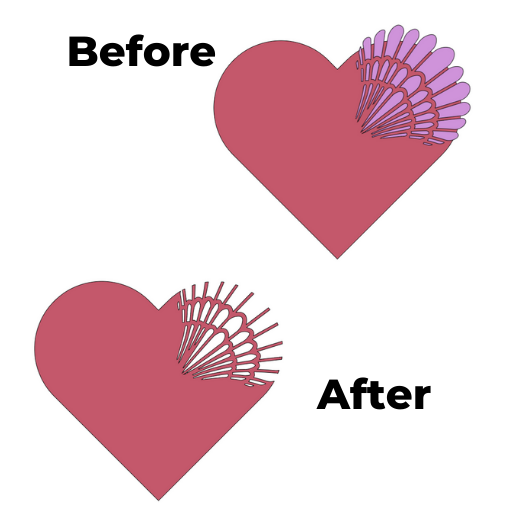
Step 5: Place your "shell" pieces on your heart in the top lright corner as shown in the diagram.
In our example, I rotated the design and placed it in the corner so it would cut out the way I wanted it to look.
Step 6: Select the Heart and the Shell parts together and use Subtract.
Now you have an intricate design you can use for your projects.
Try this with other Shapes
The fun part about using Subtract is the fact there are so many variations of what you can do to make some amazing projects.
Here is a collage of ideas you can use.
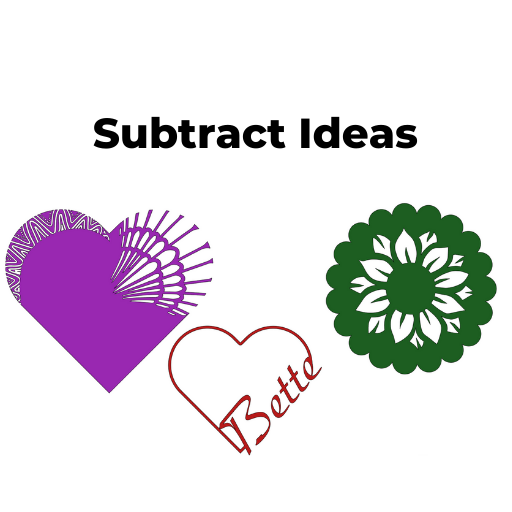
Make sure you join our Facebook Group so you can ask any questions!

 DIY Home Decor DIY Craft Tutorials, DIY Paper Flowers