Paper Tile Ornaments - Easy and Elegant
Tile ornaments are extremely popular right now and you really do not want to be left behind but you feel that the ornaments are too heavy or you just do not want to go out and buy them. This is a common statement I get almost everyday from my community and I have a way that you can still make those incredible ornaments without worrying about the weight of the tile. In comes the paper tile ornament!
Use your Cricut to cut that perfect tile ornament piece!
When the tiles were introduced not that long ago, I really did not want to have tiles and made a paper alternative that turned out so gorgeous, I just had to share it with you.
With the template in the resource library, you can add your own text or embellishments to make these adorable ornaments perfect for your holiday decorations!
For special fonts (you can some of these for FREE) https://bit.ly/MyFontBundles
Here’s my suggestions for making layered tile ornaments in many different shapes! This post does contain some affiliate links for your convenience (which means if you make a purchase after clicking a link I will earn a small commission but it won’t cost you a penny more)! Read my full disclosure policy.
Materials for Paper Tile Ornaments
Card stock - you can get some amazing designs here (I used the plain ones for this project but the Christmas papers are also perfect).
Adhesive foam squares (I used these so I do not have to cut the squares myself and can stack them for more depth in my projects.)
Cricut Gel Pens (these sparkle and I love using them for projects such as this.)
Step 1 Download the Resources
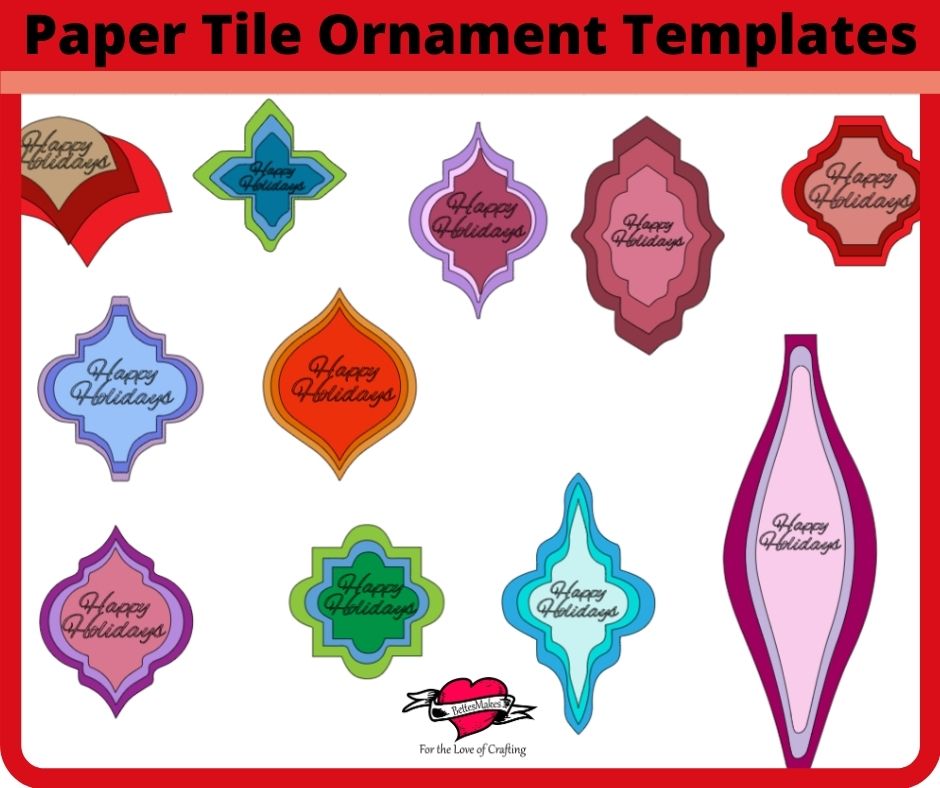
- Download the tile ornament template from my resource library - look for resource #282 Tile Shaped Ornaments
Step 2 Prepare Your Tiles in Design Space
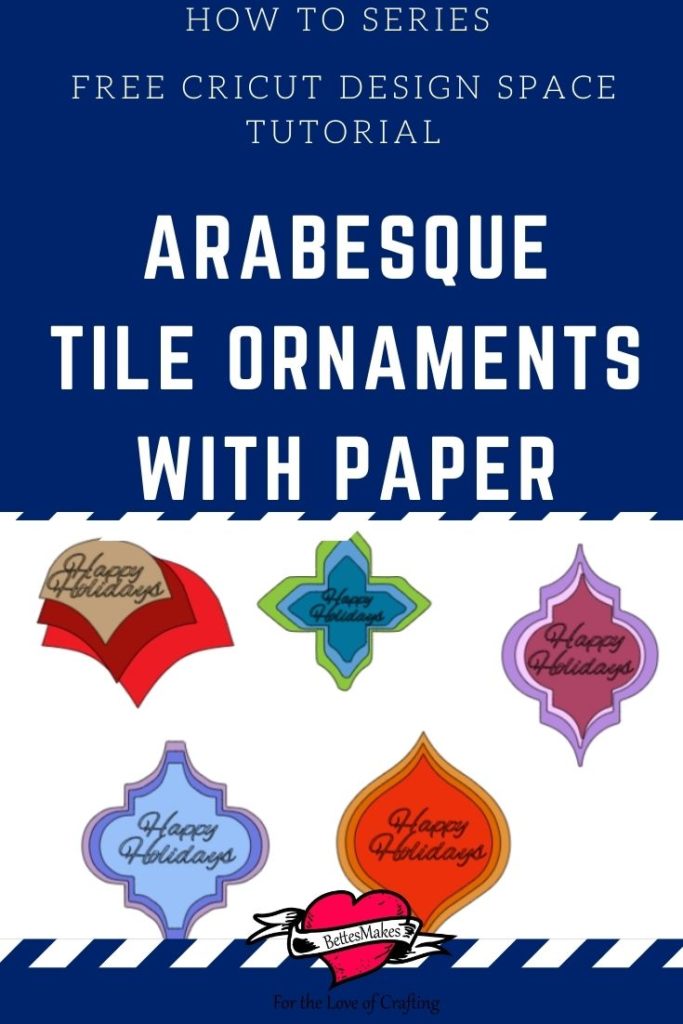
- The templates give you eleven (11) options to use for your ornaments, For this project, we will make 4 different designs so you will be able to apply the same skills to the remainder of the templates. Each of the designs has a total of 3 layers.
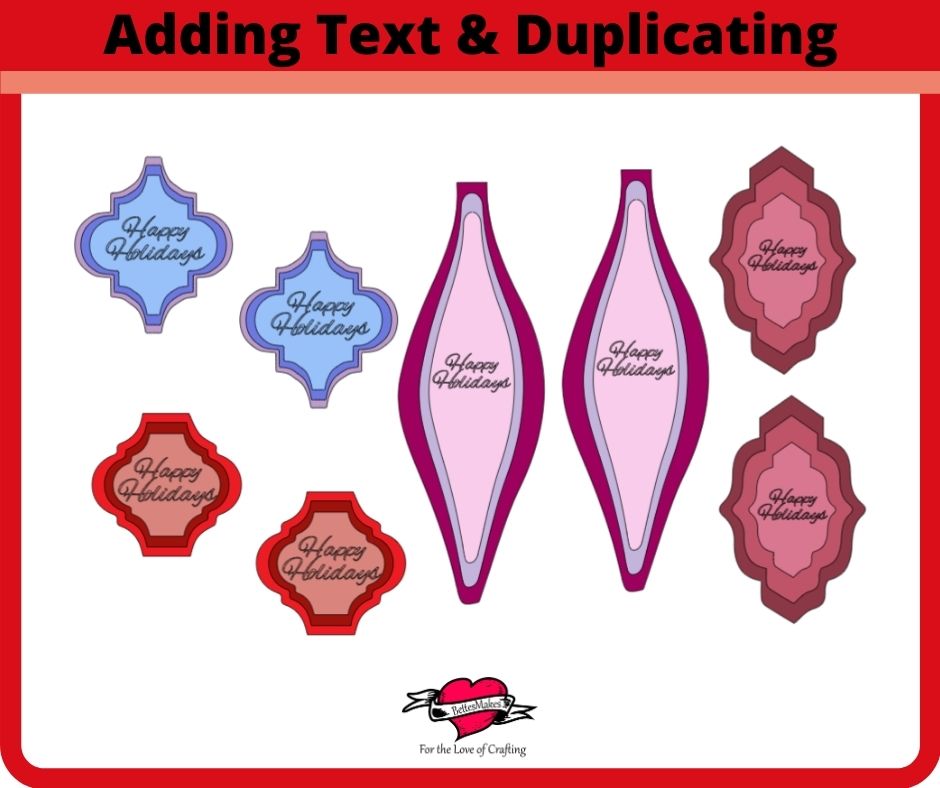
- Add your text to the smaller pieces for each ornament, then duplicate the entire set. When we assemble the ornament the text will then be visible from both sides.
Step 3 Assembling Your Paper Tile Ornament
- Once all of your pieces are cut (you can cut these by hand if you do not have a cutting machine), it is time to start putting all the pieces together.
- Begin by punching a hole at the top of each of the largest pieces so you can string them up. This is optional depending if you want to hand the ornaments or add them to a decorative project.
Step 4 Using the Adhesive Foam Pads
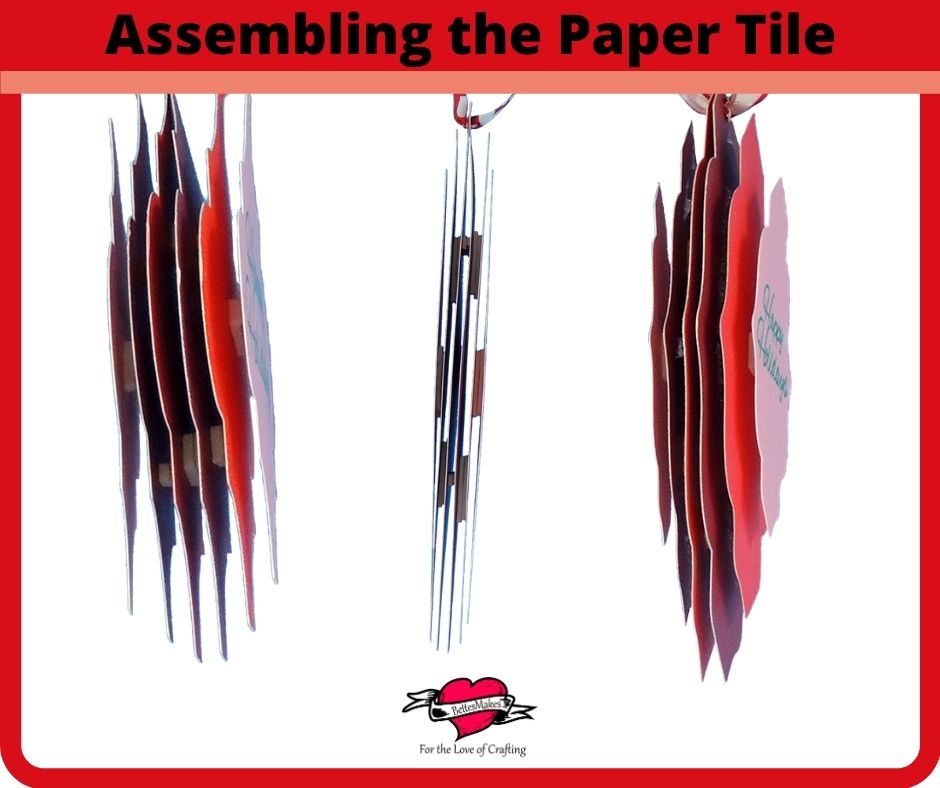
- Start with the smallest piece for your ornament and add your foam pads to the back - here is where you can decide how thick you want the ornament to be. I used 2 foam pads stuck together for a thicker look. Attach the middle sized piece to the smallest piece being careful to center it the best as possible.
- Add foam pieces to the back of the middle piece and attach it to the largest piece.
- Repeat for all your ornaments. This means you will have two identical pieces for each ornament.
- Now use your foam pads to attach the two largest pieces together (back to back).
Step 5 Finishing Touches
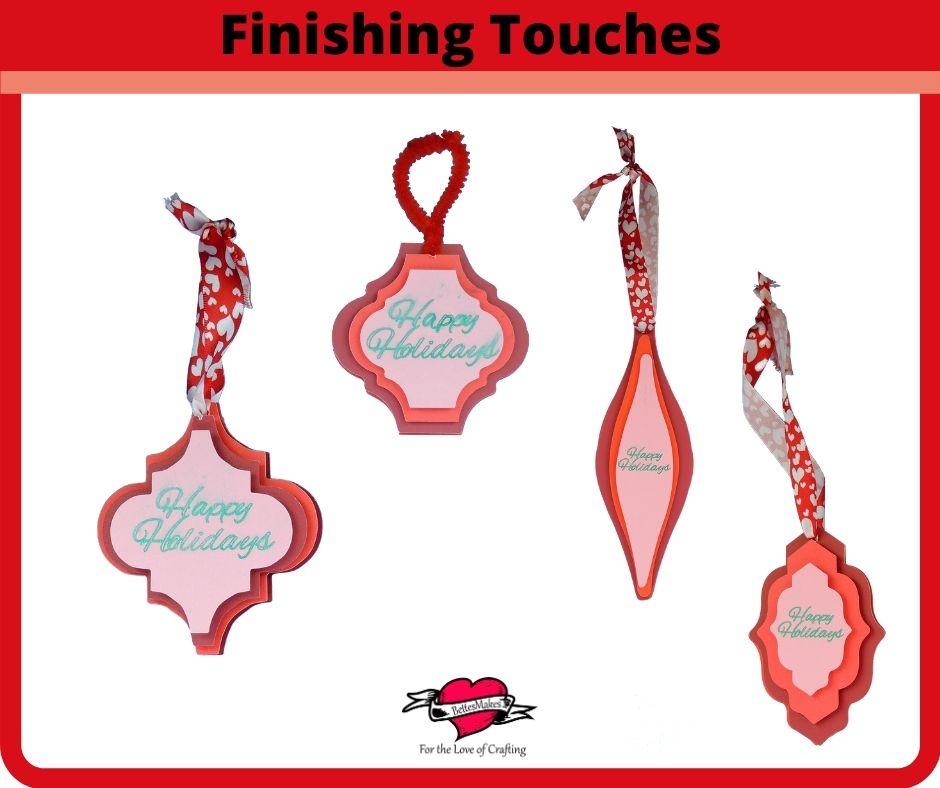
- If you punched the hole at the top of the ornament, you will want to measure out some ribbon or string so you can hang the ornament.
- I suggest measuring out 24".
- Thread the ribbon or string through the hole and center it as best as possible then tie the top in a neat bow.
- Your ornament is now ready to hang!
Last Word
How many of these gorgeous ornaments are you going to make?
There is nothing like decorating your home with things you make for yourself and these tile ornaments made of paper make it easy to hang them anywhere you wish. Just imagine all the places (including your tree) where you can hand these cute ornaments. If you add a protective covering to them, you can also hang them outside.
I loved making these ornaments and will be making more for this year's holiday celebrations!
Visit my YouTube channel to learn even more! https://YouTube.com/c/BettesMakes
If you made any of these projects, please share it on our Facebook group. https://Facebook.com/groups/BettesMakes
Until next time,
Happy Crafting!


Please join me on Pinterest: https://Pinterest.ca/BetteMakerCreations
Join my Facebook group: https://facebook.com/BettesMakes
Follow me on Instagram: https://Instagram.com/BettesMakes
Subscribe to my YouTube Channel: https://www.youtube.com/c/BettesMakes




 DIY Home Decor DIY Craft Tutorials, DIY Paper Flowers