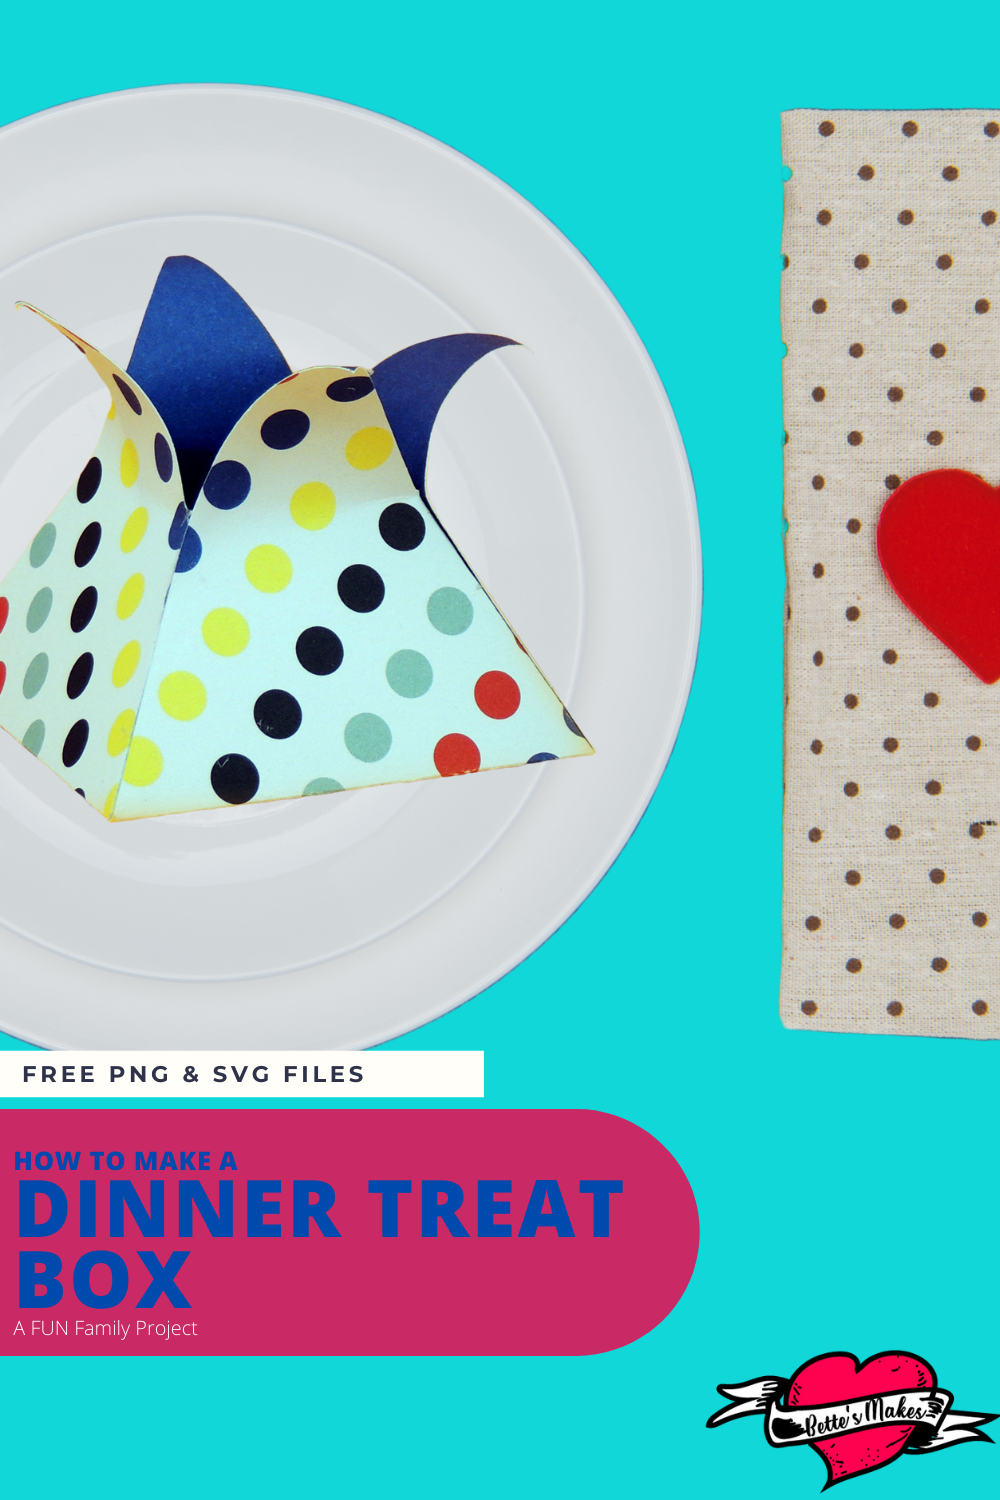
Treat Box Fun With a Simple Design
A treat box and it is not a special occasion? You may be wondering why I chose such a project to make. The reason is simple, I find I can get caught up in really intricate designs and it often it can be a lot of detail. I love the details but sometimes it just feels good to make something even small children can make at the same time.
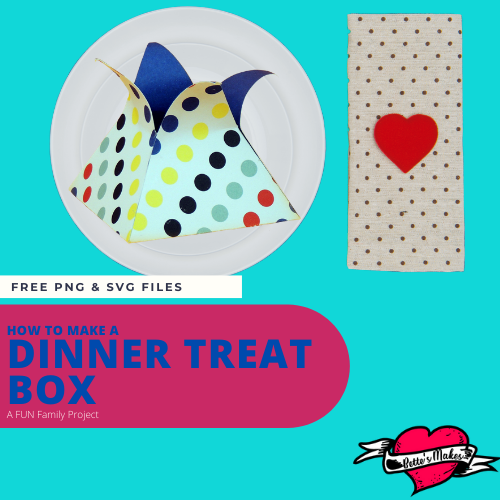
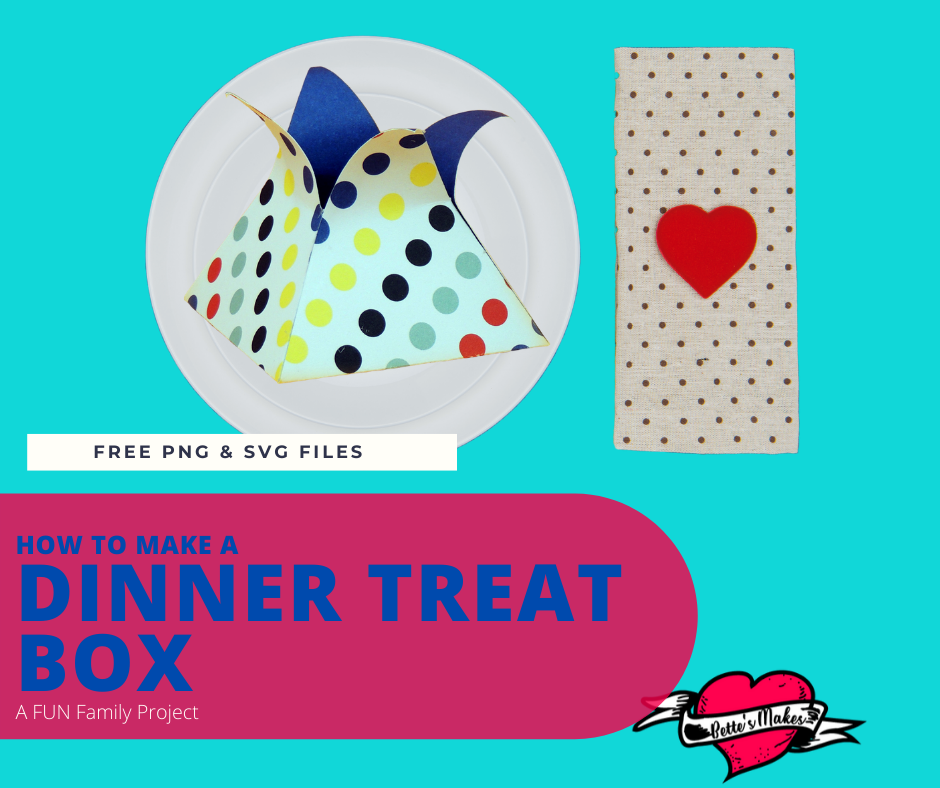
These treat boxes were designed to go on the dinner table as a before dinner treat when the family sits down for a meal. The idea came to me when we were all eating and mentioned that we have more at home meals now we are staying at home. Why not decorate the table as if we have a special occasion and to do it at least once a week to make eating more fun.
Hence the treat box was born. This is a very simple project with only cut and score lines and you can find the template for this design in my resource library.
Here’s what you need to make your Dinner Treat Box. This post does contain some affiliate links for your convenience (which means if you make a purchase after clicking a link I will earn a small commission but it won’t cost you a penny more)! Read my full disclosure policy.
Quick Links to Information in this Post
Treat Box Materials
Treat Box Step-by-Step Guide
Step One - Download the Template
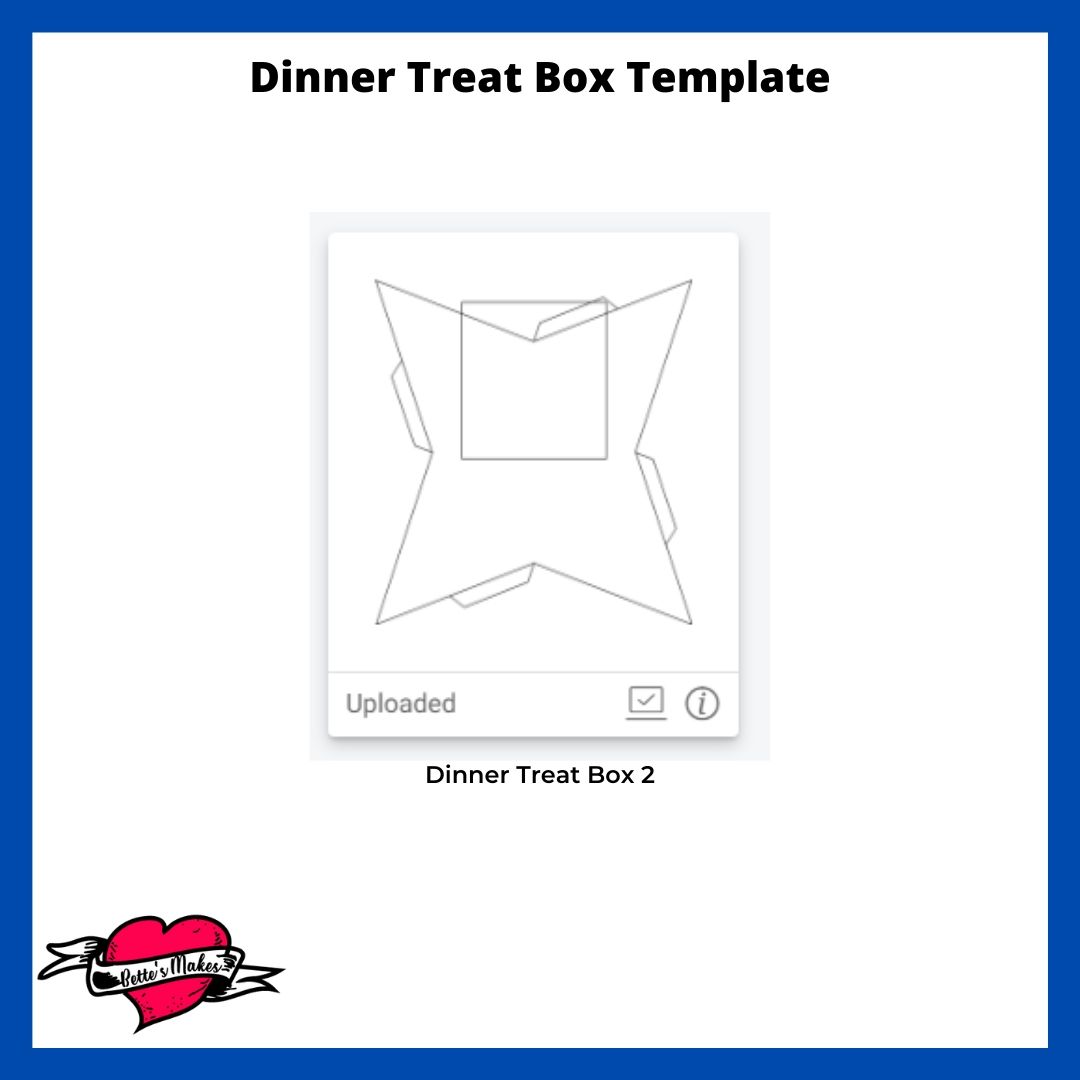
The template for this project is just one file!
Download it from my resource library then upload it to Design Space or print it out if you are using scissors.
Step Two - Design Space Adjustments
With this simple project there are only a couple of adjustments you need to make in Design Space.
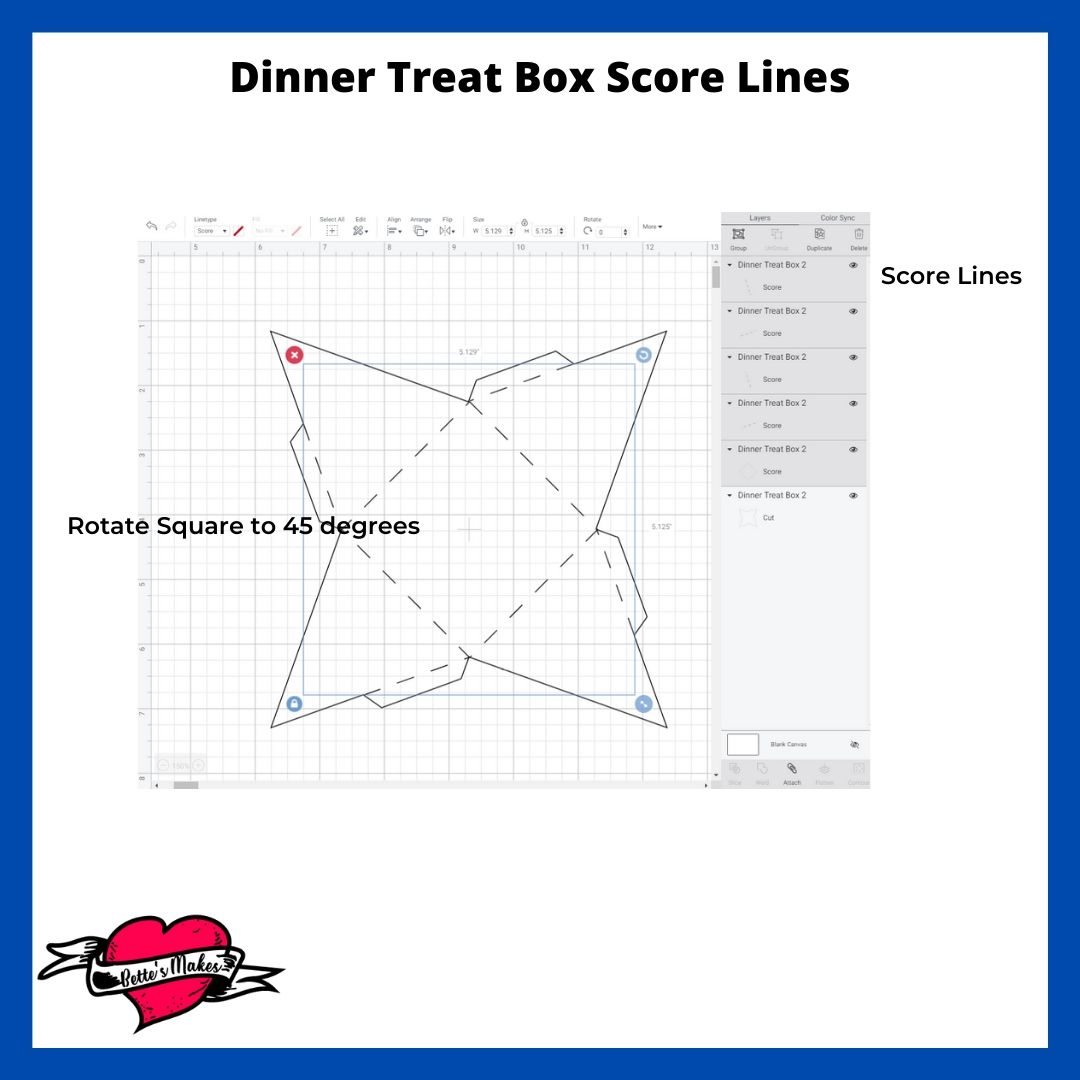
SCORE LINES
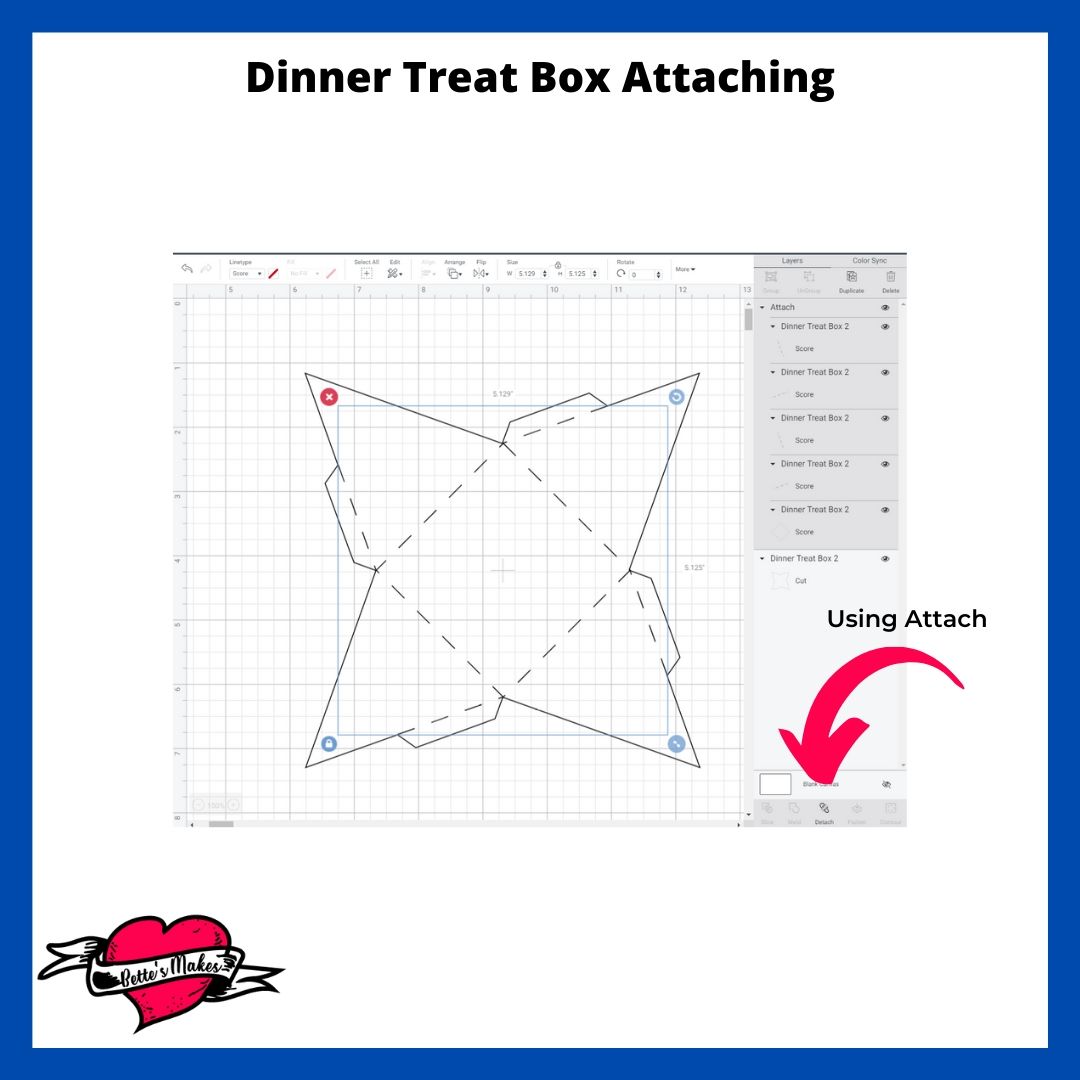
There is one shape in this project and you will need to change the color from black to a lighter color in order to see the extra lines.
There are four score lines on the inside of the large shape. these are located just below the tabs. Change each of these to score lines.
There is a square shape you will also need to adjust.
Change the orientation of the square to a 45 degree angle then place the corners over top of the large shape and line the corners up in the center of the shape - you can do this with the align tool in the tool bar.
Change the lines of the square into score lines.
CUT LINES
The larger shape should remain with a cut line.
ATTACHING
Before making the treat box, select everything on the canvas and attach them. This way they will stay together when you move them to the mat for scoring and cutting.
you are now ready to click on MAKE It!
I recommend you use a double-sided printed cardstock for this project as the outside can be funky and the inside can be a more solid color. It is entirely up to you on what you choose.
Step Three - Assembling the Treat Box
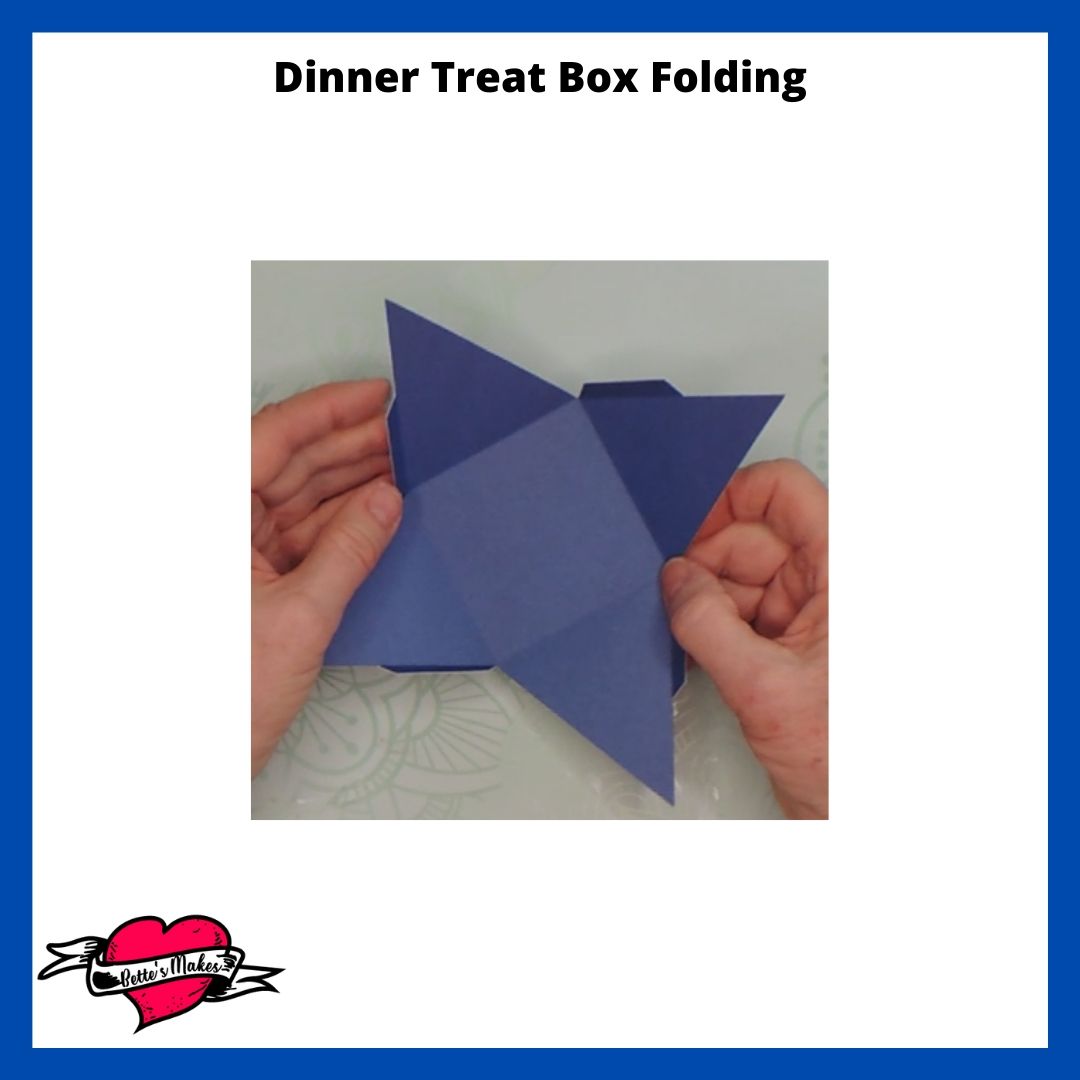
Time to bend all the score lines to the inside of the box. Be sure to make the folds crisp. You can do this by running the scraper tool over the fold to ensure it is crisp (this is called burnishing).
GLUING
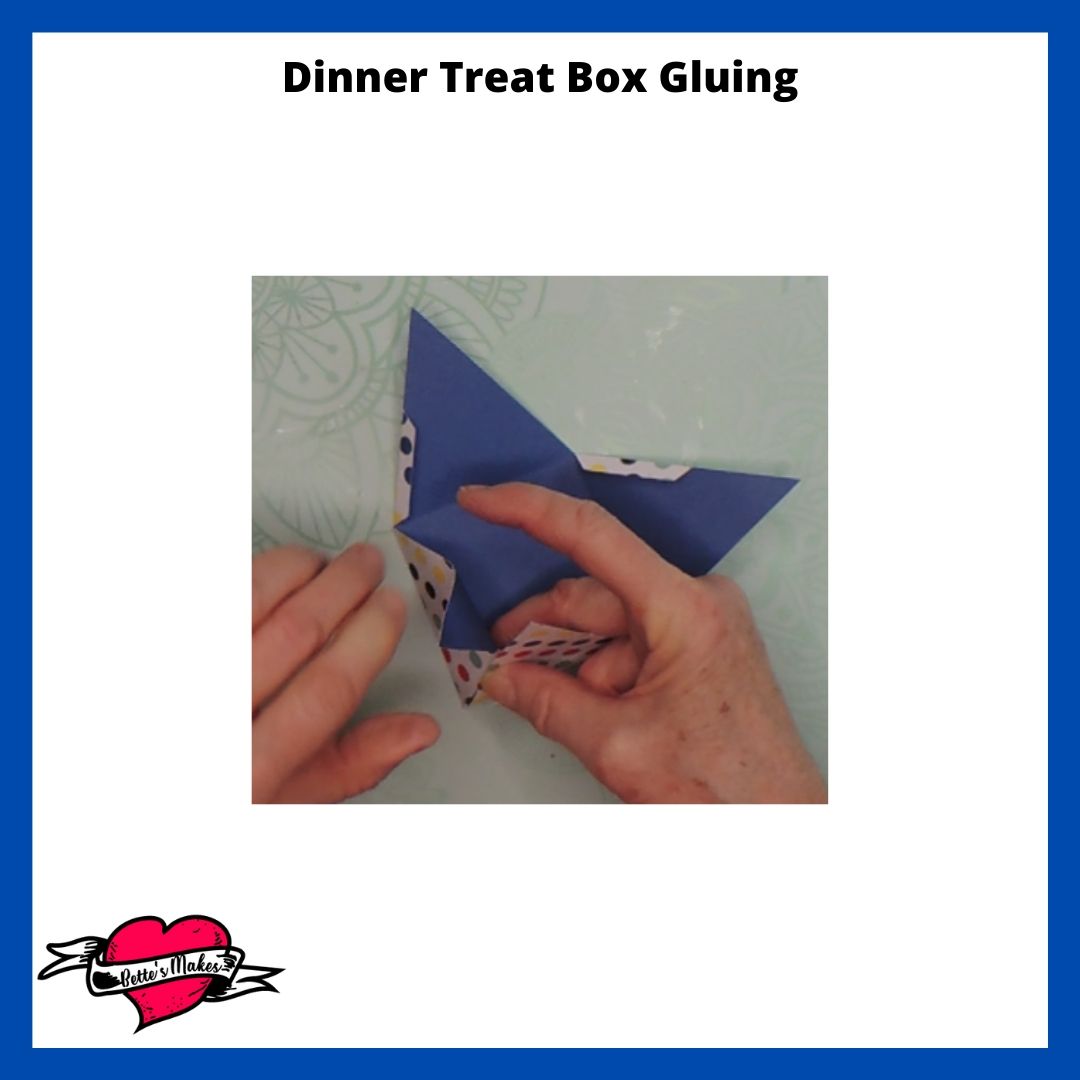
You will be gluing the flaps to the inside of the box. You can put your hands through the top and do not worry is you bend the tops over so you can adhere the sides.
Step Four - The Finishing Touches
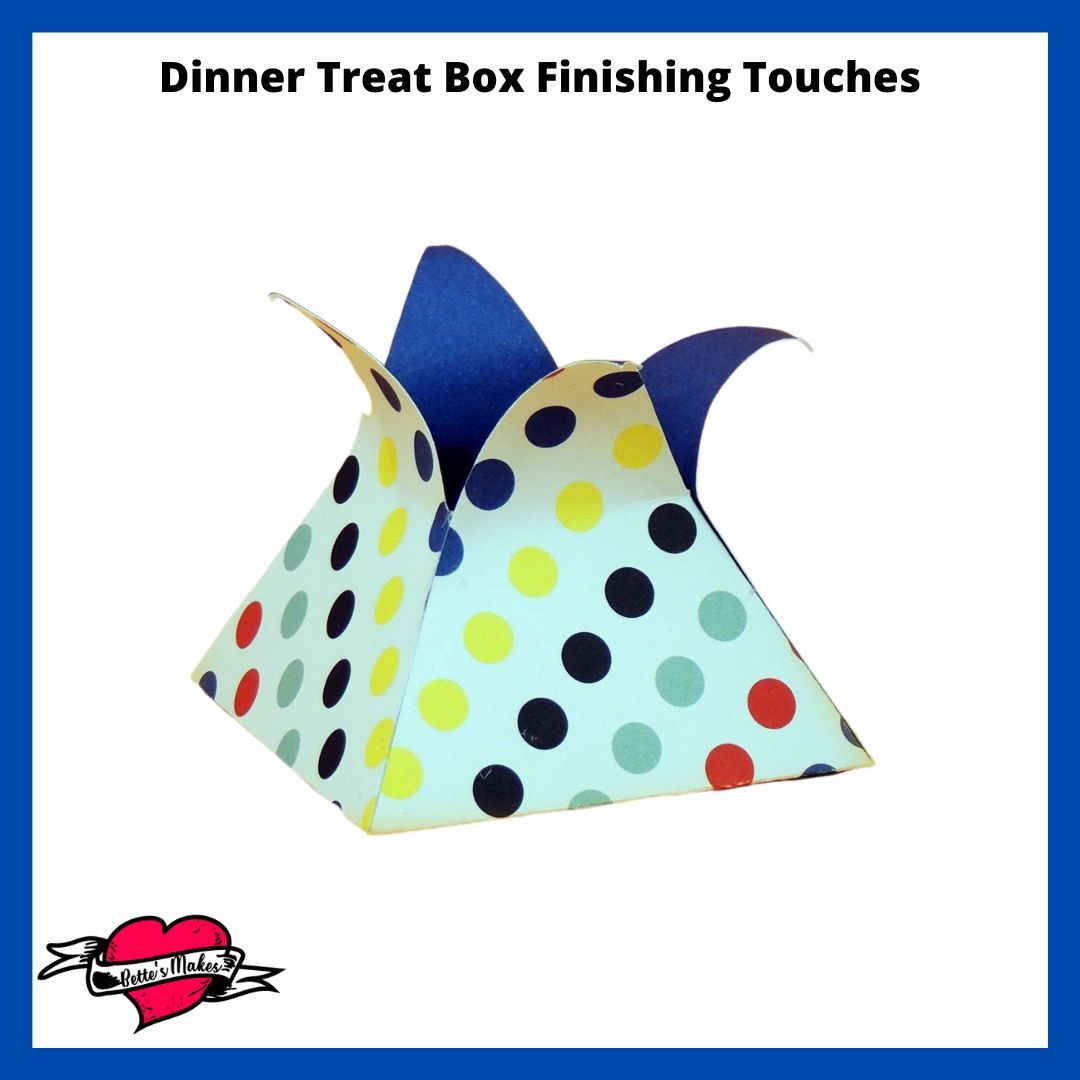
For finishing up the project, take a round pen, pencil, or dowel and curl the tops to the outside. this way you can easily place a treat inside the box.
Make enough treat boxes for the whole family and set the table with your new make! Add a treat and take a photo to share on Instagram or Facebook!
More Craft Ideas from BettesMakes
Here are some amazing crafts you can make from BettesMakes.com
This is just a sampling of the dozens of crafts you can find on my website.
How to Make a Dinner Treat Box Video
Last Word
Who knew that these treat boxes would go over so well with the family at the table. For me, I think it was the treat inside that grabbed everyone's attention! I guess that depends on what the before dinner treat would actually be. I think I need to make a treat box just for dessert (chocolate is on my mind).
This project is very easy to make and you do not need to have a cutting machine in order to make it. Scissors work just fine.
If you made a treat box and used on your table, please share it on our Facebook group. https://Facebook.com/groups/BettesMakes
Until next time,
Happy Crafting!


Please join me on Pinterest: https://Pinterest.ca/BetteMakerCreations
Join my Facebook group: https://facebook.com/BettesMakes
Follow me on Instagram: https://Instagram.com/BettesMakes
Subscribe to my YouTube Channel: https://www.youtube.com/c/BettesMakes
