Ready to start using Patterns?

Start with Uploading Your Pattern
You have likely upload a ton of images but have you uploaded a pattern? Patterns can be used in two ways, one as a pattern upload and one as a file upload. If you want to make good use of patterns (and digital papers), then just follow these simple steps:
You can watch the video in our Facebook Group: Https:facebook.com/groups/BettesMakes
Step 1: Start a New Project
Download the template for this project called Wave pattern (Asset#420 from the resource library https://free.creativecraftersclub.com.
Step 2: Let's Start with Uploading a Pattern
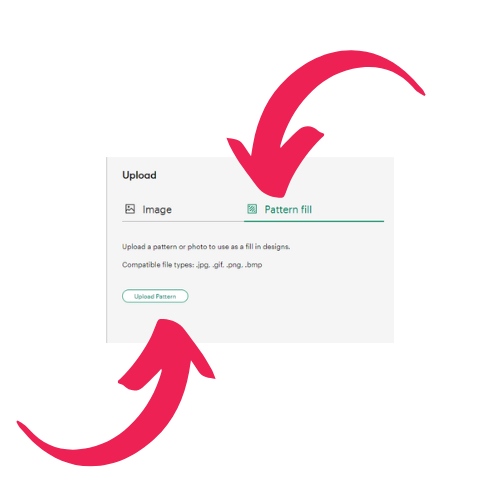
we are going to upload our pattern in two different ways. First we will upload it as a pattern. Click on the Upload button and then select Pattern Fill.
Step 3:. Uploading a Pattern as an Image
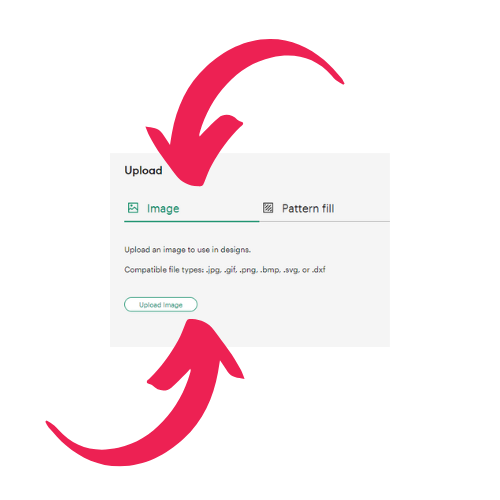
In this step you will also upload your pattern as an image. Click on Upload once again and now choose Upload Image as you would for any other image.
Step 4: Add a Star to Your Canvas
We are going to use a star shape to work both ways with a pattern.
Add a star shape to your Canvas, make it large and make a duplicate. This will give use two shapes to work with.
Step 5: Add a Pattern Using Print then Cut
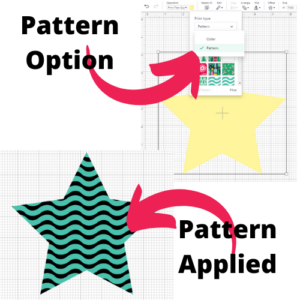
Select one of the stars, change the operations to print then cut, then click on the color icon beside the operations drop-down list.
Change the option from Color to Pattern.
A list of the patterns you have will be shown in a list, choose one of the wavy patterns you just uploaded and your star shape will take on that pattern. You will note that the background color will become black. This means the pattern has a transparent background and Design Space is filling in their base color. Unfortunately, that is the standard and you cannot change it.
Get Your Annual Pass to the Creative Crafters Club
Step 6: Using a Pattern with Intersect
Select the second star.
Add the pattern you uploaded to the Canvas
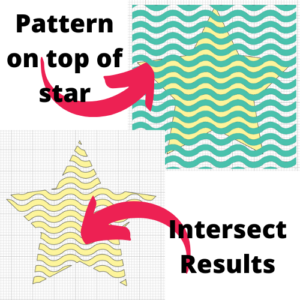
Place the star underneath the pattern, click on Combine and Intersect.
You now have a pattern on your star and it will take on the color of the star. This way you can change the color of the star to anything you want. This gives you a lot more control.
Step 7: Optional
Once you have your pattern star from the intersect process, you can have it cut as is or add a background using Offset and then selecting everything and use Flatten to make a print then cut item. More on this later.
Make sure you join our Facebook Group so you can ask any questions!

 DIY Home Decor DIY Craft Tutorials, DIY Paper Flowers