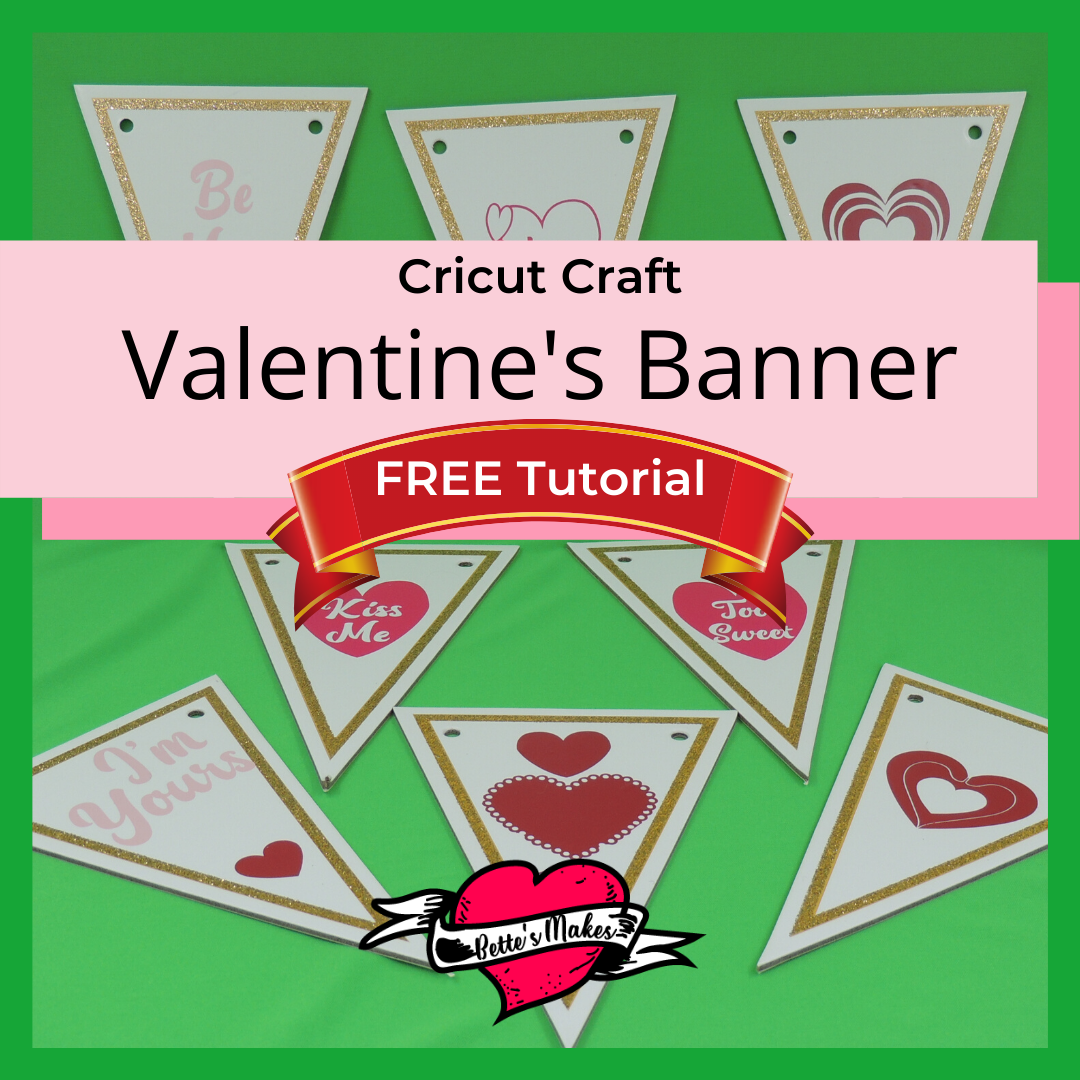
Valentines Banners and DIY Home Decor
Valentines Banner ideas are everywhere and it depends on what you want to place on these fun and easy banners! For you, I have created some great cut files and a banner template you can use. The combinations of which hearts and sayings to use is entirely up to you. There is no set rule. You can even draw and write your own sayings, if you wish. check out the resource library to get your downloadable.
I created these banner flags with Valentine's Day in mind. You could still make the banners and place other words and embellishments for birthday parties, anniversaries, grad fun, and more. This project is not restricted to simply Valentine's Day.
Quick Links to Information in this Post
Here’s what you need to make your Valentines Banner. This post does contain some affiliate links for your convenience (which means if you make a purchase after clicking a link I will earn a small commission but it won’t cost you a penny more)! Read my full disclosure policy.
Valentines Banner Materials
Valentines Banner Step-by-Step Guide
Step 1 - Template
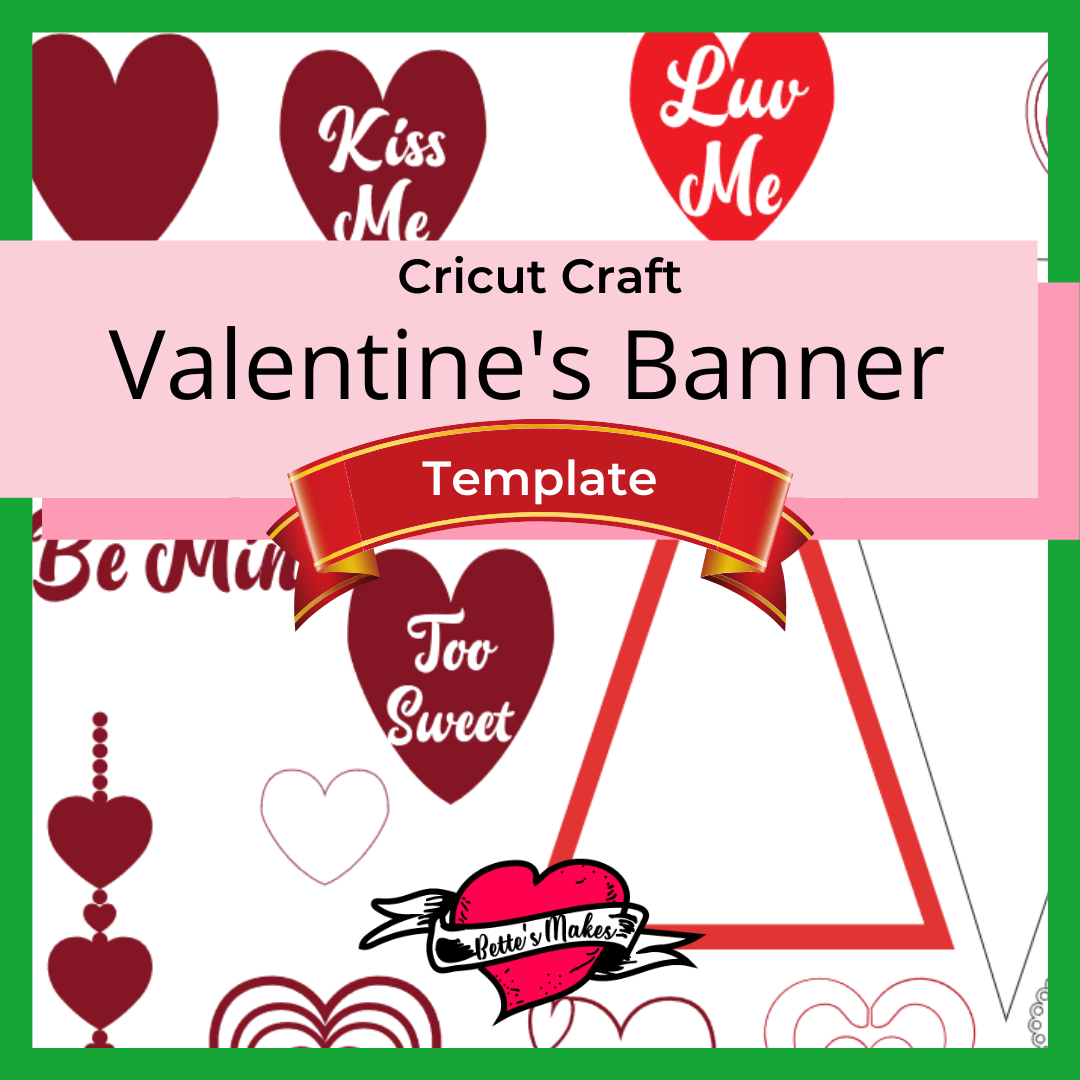
Download the template files (resource library) for this project and upload them to Cricut Design Space.
There is only 1 file for this project. The file is called Heart Banner.
This file is an SVG file for use with a Cricut machine. I have also provided a PNG file for those who would like to cut this project by hand.
Step 2 - Design Space Adjustments
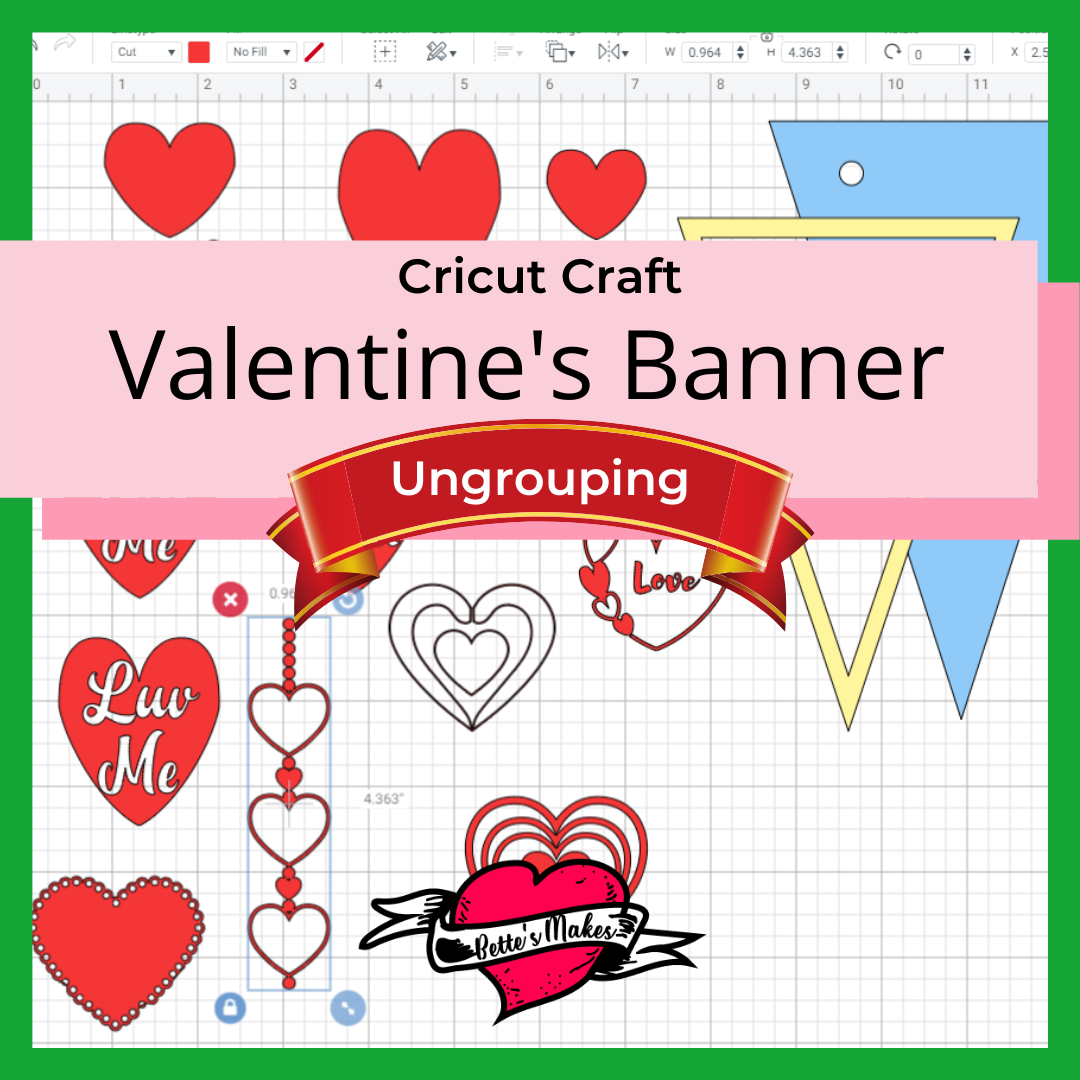
Fortunately, all the lines in this project are cut lines - making it very easy without changes to the lines themselves.
Other changes:
1. Change the color of the uploaded file to another color so it will be easy to see when making further adjustments.
2. Ungroup the entire file and then further ungroup all the other pieces until there are no more groups available. You will have to click on each item to make sure it is not grouped.
3. Select each item individually and then click on attach. This way the lettering, spacing and designs will not come apart in the Make process. There are several objects, you need to make sure each one is attached.
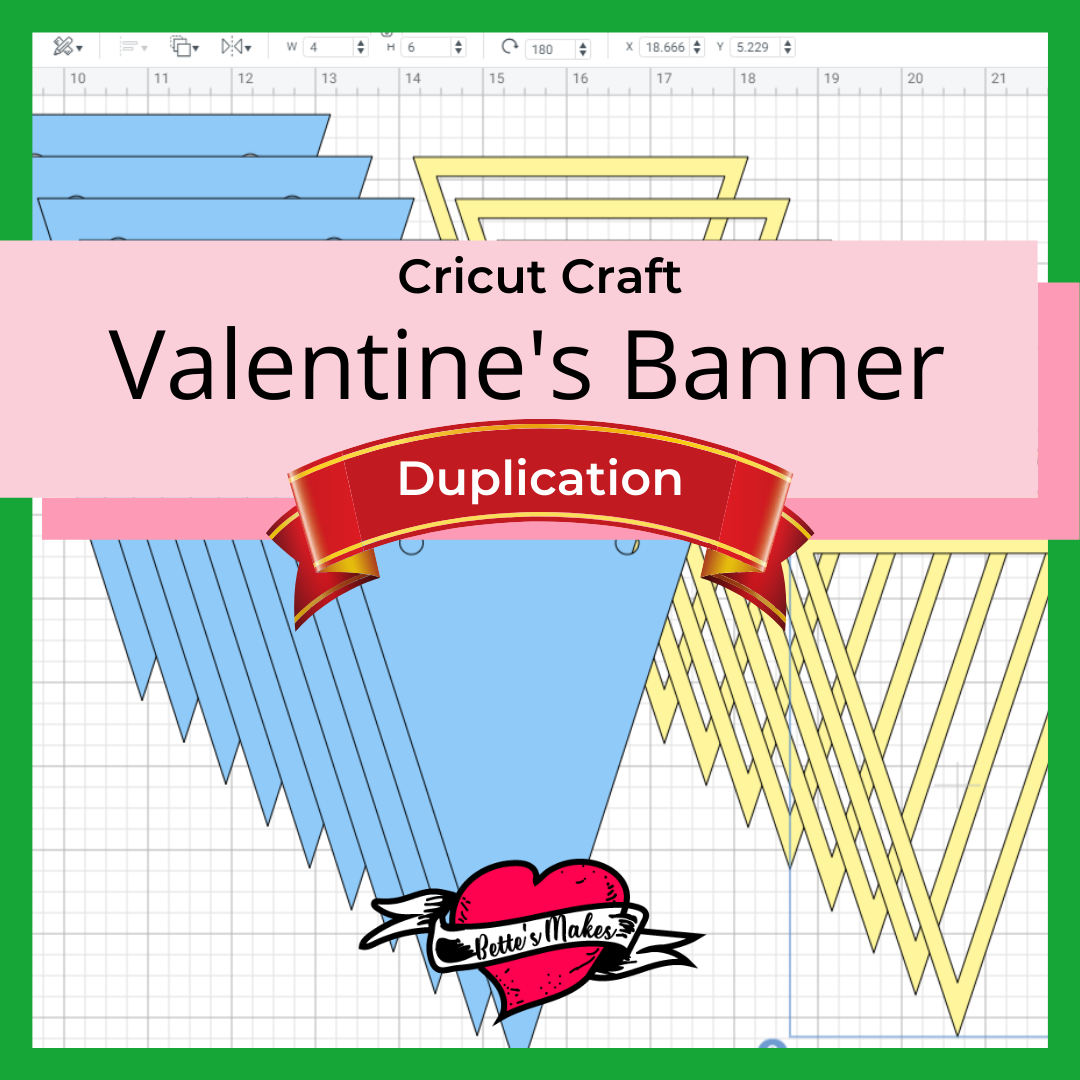
NOTE: The outer banner triangle will be using cardboard or another stiff material to make this project work. You should color this piece a different color from the other objects.
4. Duplicate the outer and inner triangles for the number of banners you want to make. For example, if you want 10 banners, then you will need to make 9 copies of each. You do not need to duplicate the embellishments as there are at least 10 for you to use.
Step 3 - Make it!
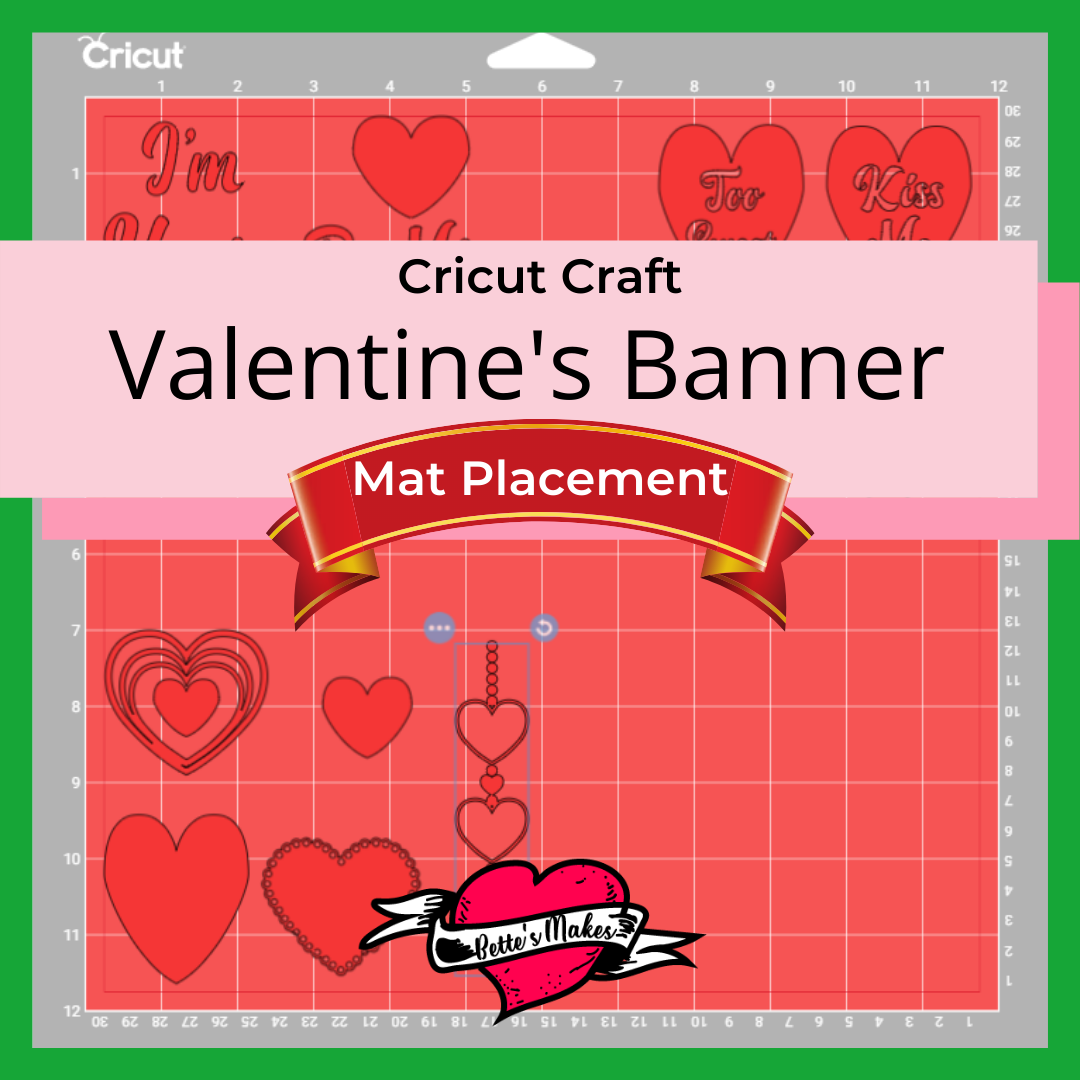
Check your mats and the processes to make sure all the lines are being processed correctly. In other words, make sure your objects will be cut the way you want them to be cut.
If you are using the same vinyl for all the inside objects, no further adjustments need to be made. If you decide to use multiple colors, you will need to move the objects around the mat so you can place the different colors on each section. For example, I printed all the words in pink, the hearts in red, and the hearts with word, in light red. I divided them up on the mat in 3 corners, then cut the pieces of vinyl to fit in the right place.
Depending on the vinyl you will be using, you will change your material to that setting. My project used premium vinyl
For the inside of the banner (the border) I used a gold glitter vinyl.
For the banner itself, I chose cardboard.
NOTE: you can do this project with an Explore Air 2 or a Maker.
You are all set to Make It!
Step 4 - Assembly
Once your project has cut, it is time to put everything together!
Start with the cardboard banner pieces. Pull those from the mats and make sure you release the two circles from each banner. These holes are what you will use to string up the banner.
Remove the "negative" pieces of vinyl from around the border pieces, including the inside.
Next, you will transfer your inside borders. Take a piece of Transfer Tape (remove the backing) and cover one border and release it from the backing - the backing should stay on the mat and the border will be lifted onto the transfer tape.
Place the tape over one banner, centering it as best as possible and smooth it down onto the banner. Lift the transfer tape, leaving the border behind.
Repeat this process until all of the banner borders are in place.
Adding the Sayings and Decorations:
Here is where you will need to do some extra weeding. If you are having difficulty seeing the weeding lines, sprinkle baby powder (or similar substance) over the vinyl and blow off the excess. You should be able to see the cut lines without a problem.
Take away the negative pieces from around your embellishments.
When it comes to the letters in some of the pieces, you will have to make sure you leave the inner small pieces for letters such as "e". Those small dots make the sayings much easier to read.
Continue to take off any pieces that are not needed for all the objects.
Take a piece of transfer paper and place it over each object (do this one at a time) and lift the piece from it's backing - then place it on the banner of your choice.
When all of the banners a decorated, thread your string through the holes to make a long decoration.
Share your project on https://facebook.com/groups/BettesMakes
Valentine's Day Crafts
There are so many crafts you can make for Valentine's Day - the Banner is just one out of hundreds! Here are some ideas you may want to use in your own crafting endeavors.
Valentines Bookmarks 120 Bookmarks to Color
Paper Crafts for Valentine's Day
Last Word
This banner can be a long as you want it. My banner was 10 panels but I am thinking I could have made it longer so it would stretch across my living room wall. My family loves putting long banners ont he way for all types of occasions - especially birthdays.
This project is perfect for any event. Banners are so easy to make once you have the template and a handful of ideas for the embellishments.
Think print and cut for some items rather than just but images. Cricut has printable vinyl you can use when it comes to adding extra images to your project. Cricut has so many different types of materials, the possibilities for this project are absolutely huge. Anything from wood to leather for the banner pieces are possible.
I would love to see your make of these banners!
If you made a banner, please share it on our Facebook group. https://Facebook.com/groups/BettesMakes
Until next time,
Happy Crafting!


Please join me on Pinterest (new account): https://Pinterest.ca/BetteMakerCreations
Join my Facebook group: https://facebook.com/BettesMakes
Follow me on Instagram: https://Instagram.com/BettesMakes
Subscribe to my YouTube Channel: https://www.youtube.com/channel/UCzMHoceK1XiXi8IykicnUmQ
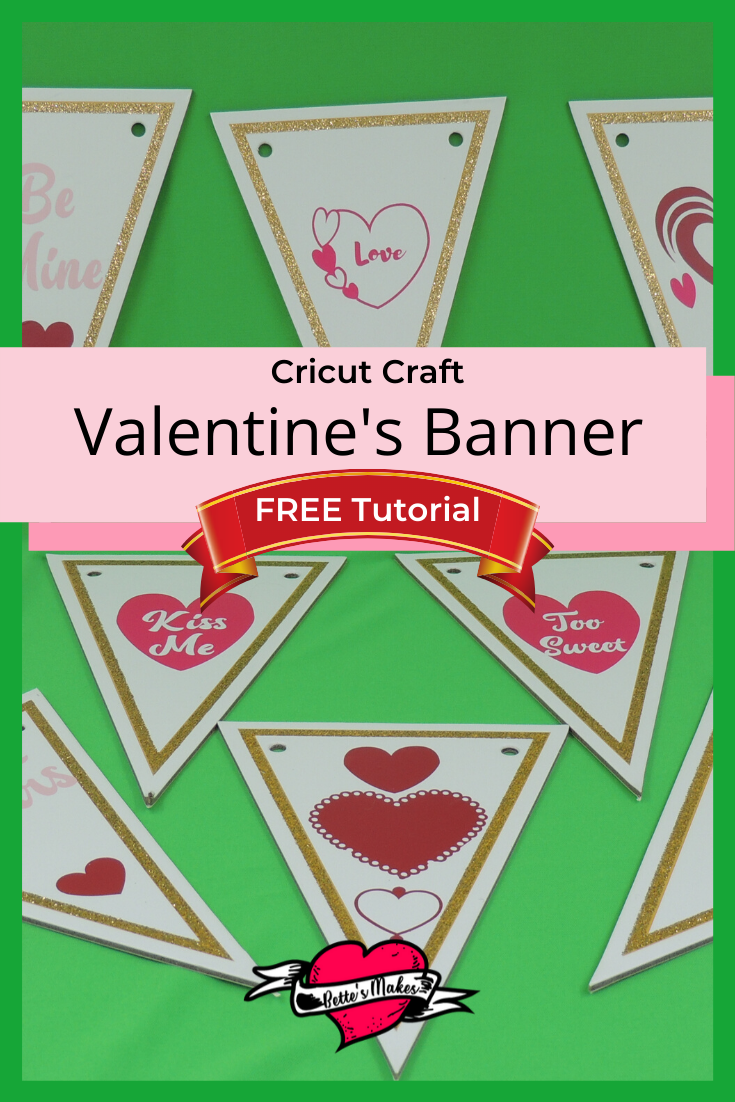
Please pin this graphic to your favorite board on Pinterest to save it and so you can return to this article anytime you wish - I truly appreciate it.



 DIY Home Decor DIY Craft Tutorials, DIY Paper Flowers