Valentine's Day Mug Decals! Create Your Own
Create your own Valentine's Day Mug with Decals
Make decals for your mug using your Cricut!
This tutorial is all about choosing which design you want to use to personalize your own mug or cup! The designs are premade for you and all you need to do is make sure everything is attached and in the right place!
Just follow the steps in this tutorial (and watch the video) to make sure you do everything in order. You are absolutely going to love making these!
All the materials can be items you already have on hand. You will also find the template already to go in my resource library (asset #311)
Here’s what you need to make your Valentine's Day Personalized Mug. This post does contain some affiliate links for your convenience (which means if you make a purchase after clicking a link I will earn a small commission but it won’t cost you a penny more)! Read my full disclosure policy.
Quick Links to Information in this Post
Valentine's Day Mug Decal Materials
Valentine's Day Mug Decals Step-by-Step Guide
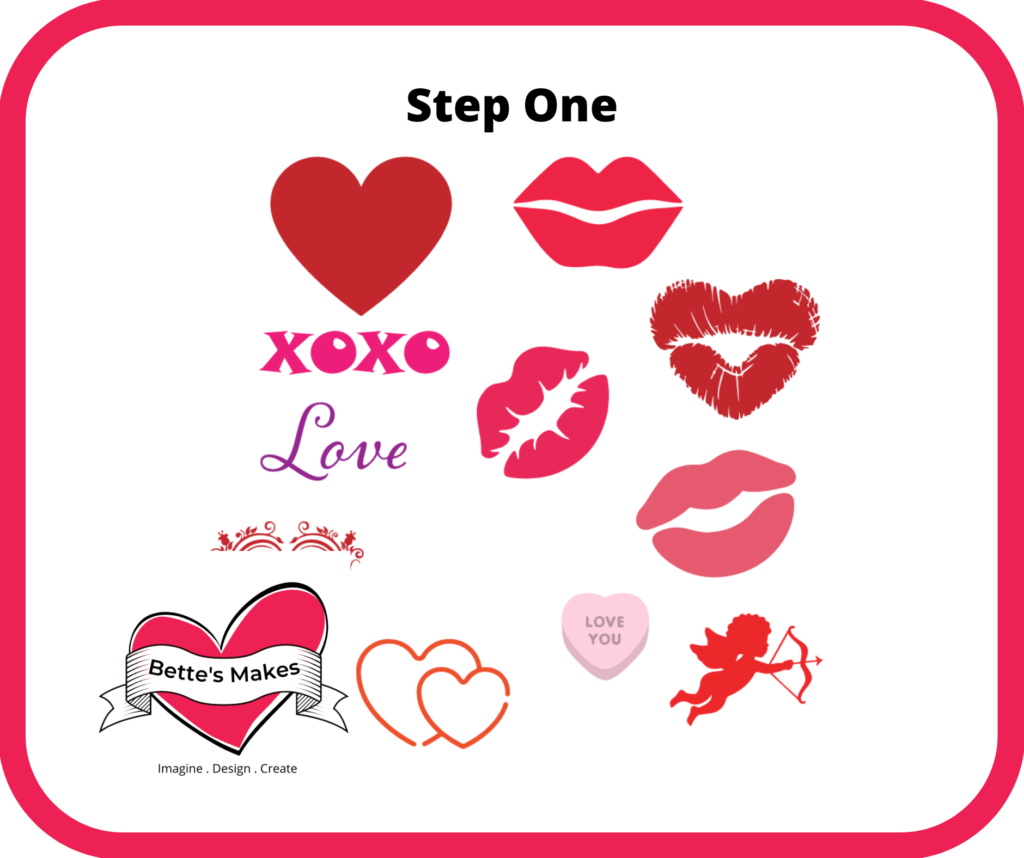
Step One - Download the Template
To start you will want to download the template (asset #311) from my resource library.
Unzip the file and upload the SVG files only to Cricut Design Space
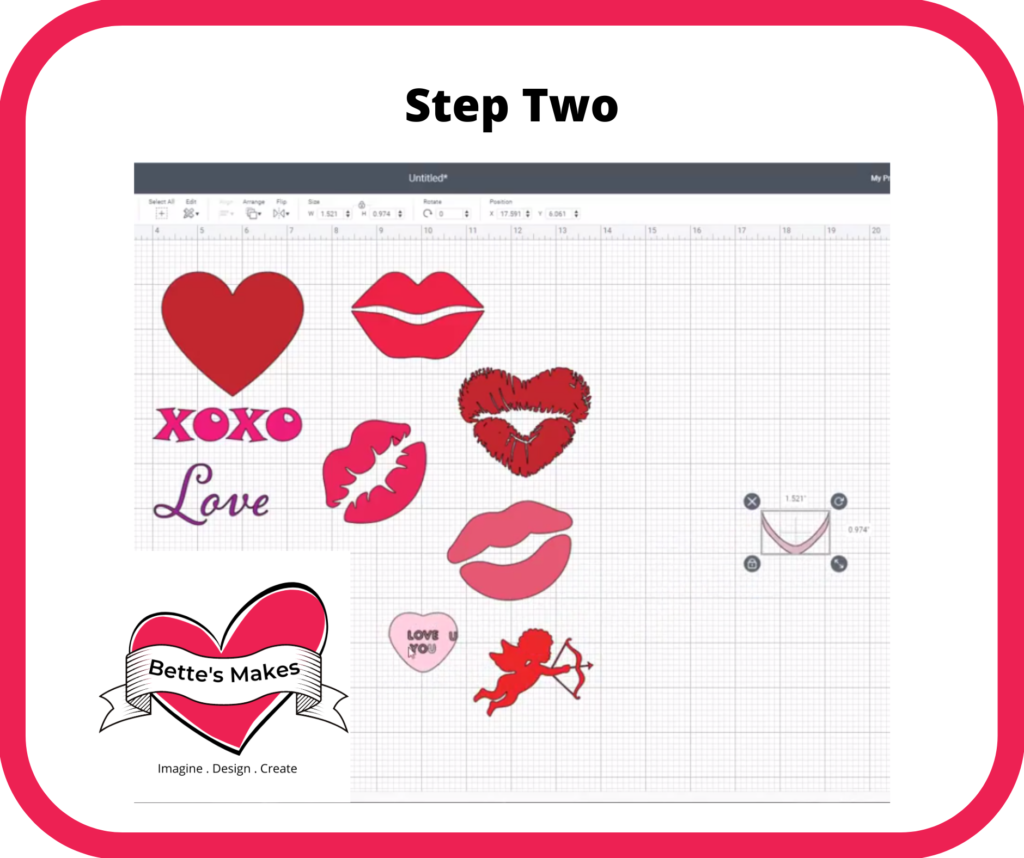
Step Two - Design Space Changes
There are quite a few designs in this package and you will need to choose the ones you want to use.
Before you begin, you will need to ungroup the SVG file so you can pick out what you want.
If you choose the lips, select all the lip parts and then Weld them together. This way they will cut as one piece.
Some of lips have many parts - make sure you select all the parts before you weld.
Do the same for any of the other designs you want to use.
You can leave everything one color and then move the pieces around the mat in the next step in order to use different colors of permanent vinyl.
Save your project, then click on Make It.
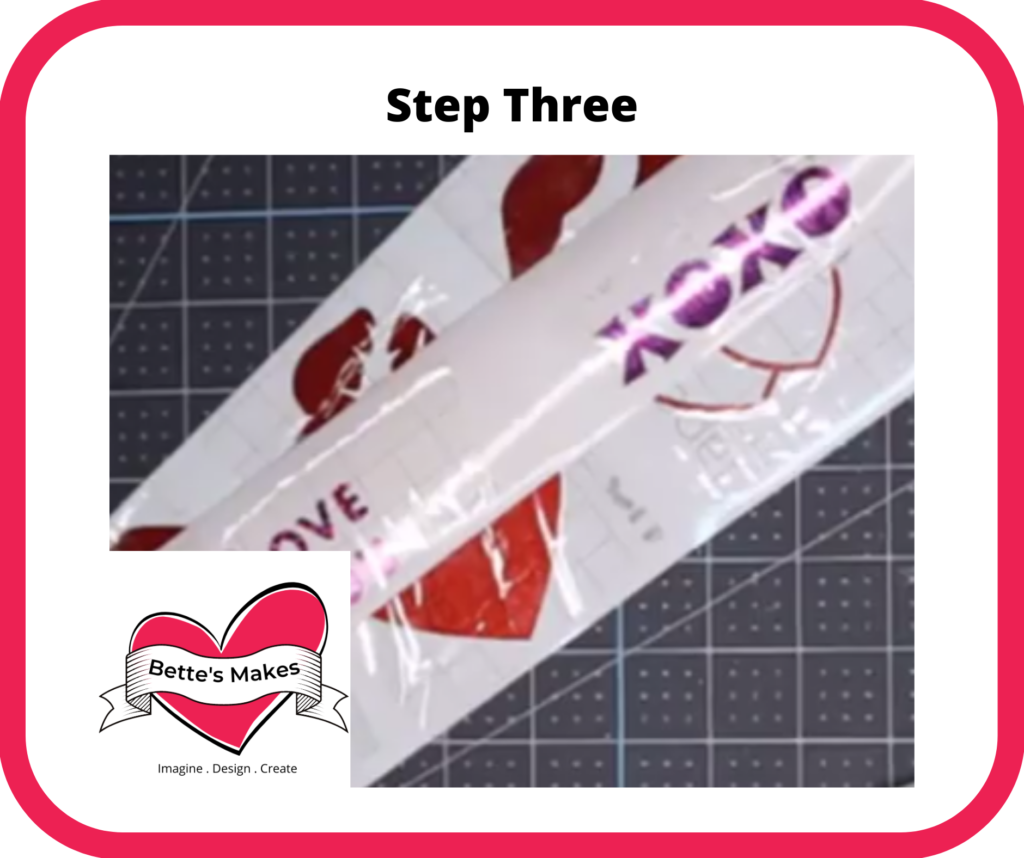
Step Three - Cutting and Assembly
When you first have the mat on the screen, you may want to move your decal pieces around on the mat so you can use more than once color of vinyl. This way you can use smaller pieces and not waste materials (see the video).
Once everything is cut, weed out the negative parts and only keep what you will be using on the mat.
Cut pieces of transfer tape to fit over each of the decals. Remove the backing from the transfer tape and stick to your decal.
Pull your decal off the backing so that it is stuck to your transfer tape only. This may take a little bit of work using your scraper to make sure your decals does cling to the transfer tape.
Do this for each decal you will be using.
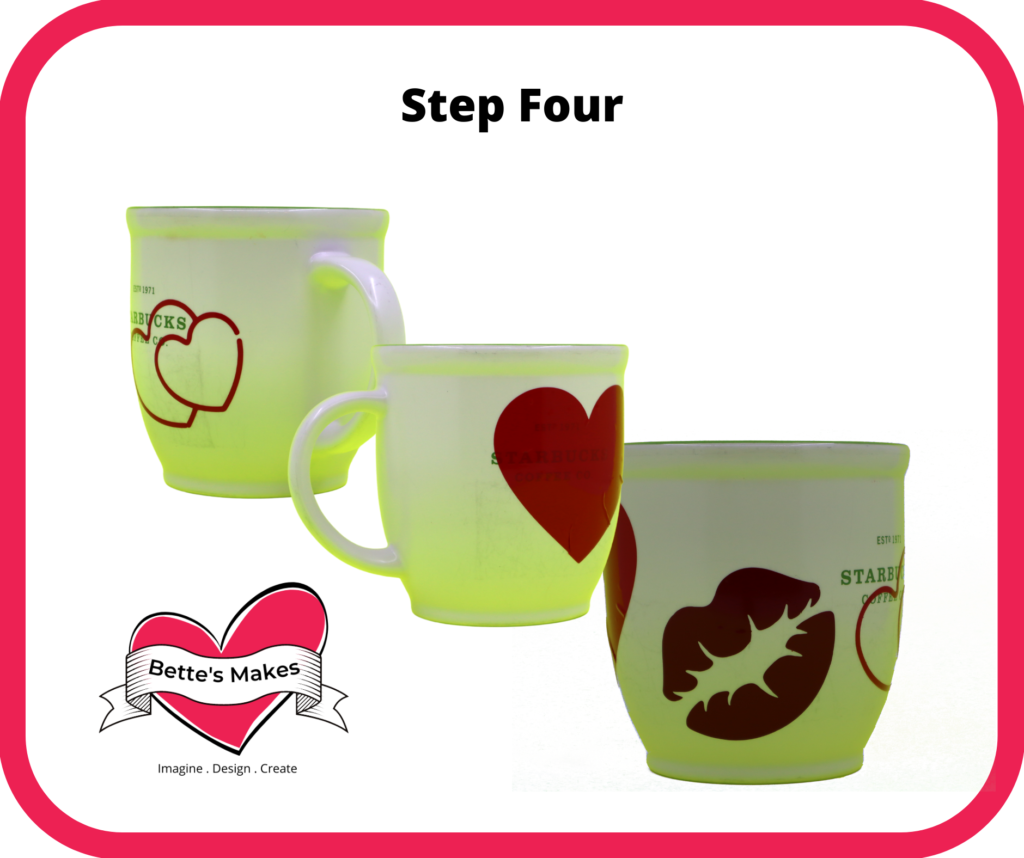
Step Four - The Finishing Touches
Now that you have your decal on the transfer tape, it is time to place it on your mug.
I usually put a piece of parchment paper underneath my decal and only let a small portion stick out at the top. The part that is sticking out is the part you will be placing on your mug first.
Parchment paper makes it easier to line things up before you press down on the whole decal.
Gently press your decal in place and smooth out any bubbles.
Take a photo!
Share your project in our Facebook group. https://Facebook.com/groups/BettesMakes
More Craft Ideas from BettesMakes
Here are some amazing crafts you can make from BettesMakes.com
This is just a sampling of the dozens of crafts you can find on my website.
Last Word
Creating personalized mugs for Valentine's Day is so special - your family is going to love it! With this project you had lots of decals to choose from. I know I got carried away and used 3 on my own mug but I can show off my designs that way!
I hope you enjoyed this project as much as I did.
If you made any cake toppers, please share it on our Facebook group. https://Facebook.com/groups/BettesMakes
Until next time,
Happy Crafting!


Please join me on Pinterest: https://Pinterest.ca/BetteMakerCreations
Join my Facebook group: https://facebook.com/BettesMakes
Follow me on Instagram: https://Instagram.com/BettesMakes
Subscribe to my YouTube Channel: https://www.youtube.com/c/BettesMakes


 DIY Home Decor DIY Craft Tutorials, DIY Paper Flowers