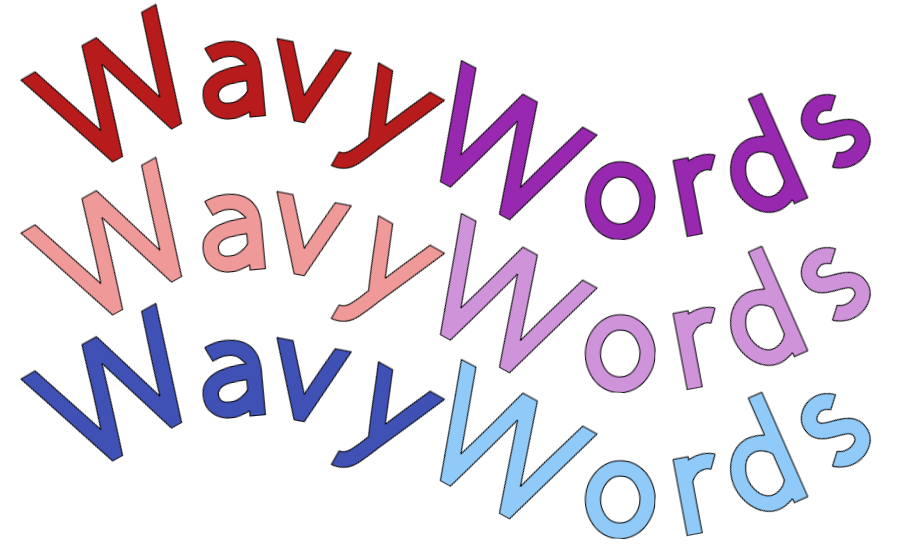
How to Create Stunning Curved and Wavy Text
If you’ve been looking to add a fun, wavy effect to your text designs but don’t have Cricut Access to use the Warp tool, don’t worry! There’s an easy way to achieve this look using just the Curve tool. In this tutorial, I’ll walk you through creating beautiful curved text effects step by step.
Step 1: Set Up Your Text
Start by choosing the words you want to make wavy. For this example, I’ll use two words. Make them fairly long so that you can create a smooth and pronounced wave.
Step 2: Create the First Curve
Select the first word.
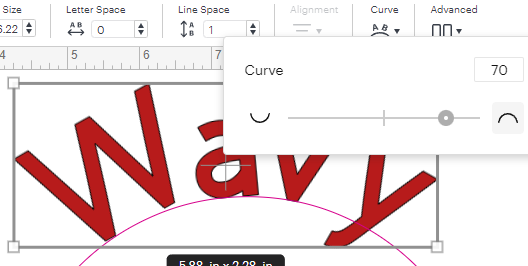
Go to the Curve tool in Cricut Design Space.
Adjust the curve by dragging the slider until you’ve achieved your desired arc. For example, setting the curve value to 70 creates a nice upward curve.
Take note of the curve value you used—you’ll need it for the second word.
Step 3: Create the Opposite Curve
Select the second word.
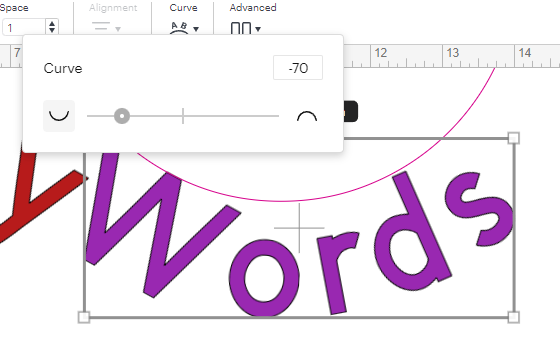
Again, go to the Curve tool, but this time set the curve value to the negative of your first curve. For example, if the first word’s curve was 70, set this one to -70.
This will create a downward curve, mirroring the first word.
Step 4: Align the Words
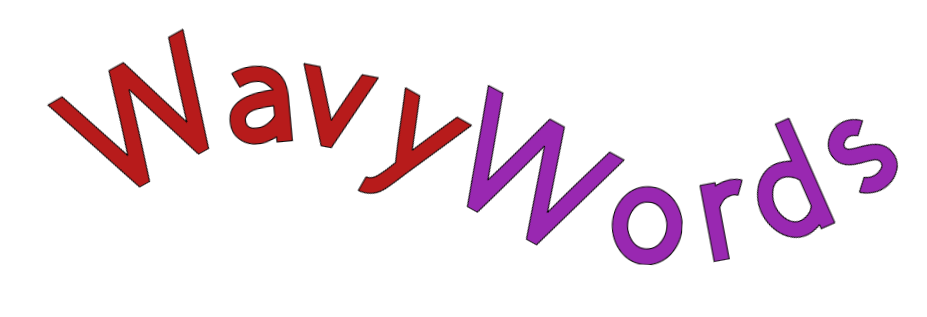
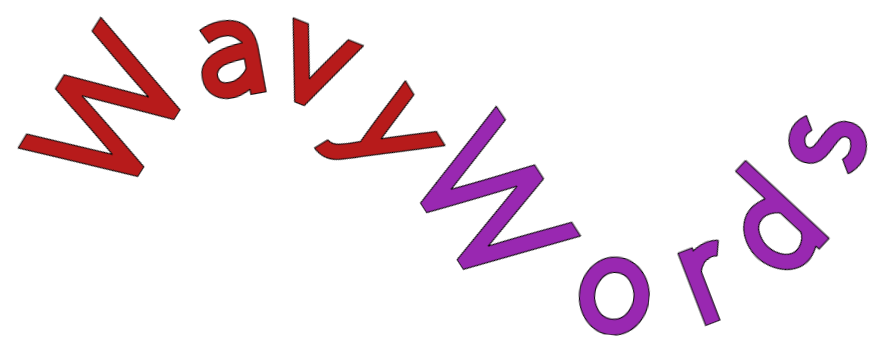
Line up your words so that they flow together seamlessly, creating a wavy effect.
Use gridlines in Cricut Design Space for precision—align the words to a specific mark, such as the 7-inch mark. You can also just eyeball the alignment as shown below.
Step 5: Experiment with Deeper Waves
If you want to make your wave more dramatic, increase the curve value. For example: Change the curve of the first word from 70 to 85.
Adjust the second word to -85.
After applying the new curves, realign the words to maintain the smooth wave effect.
Step 6: Customize Your Text
Once your wavy text is ready, you can replace the placeholder words with your desired text. Simply: Double-click inside the text box to edit the text. Replace the word with your new content.
Make sure to readjust the alignment if needed to preserve the wave.
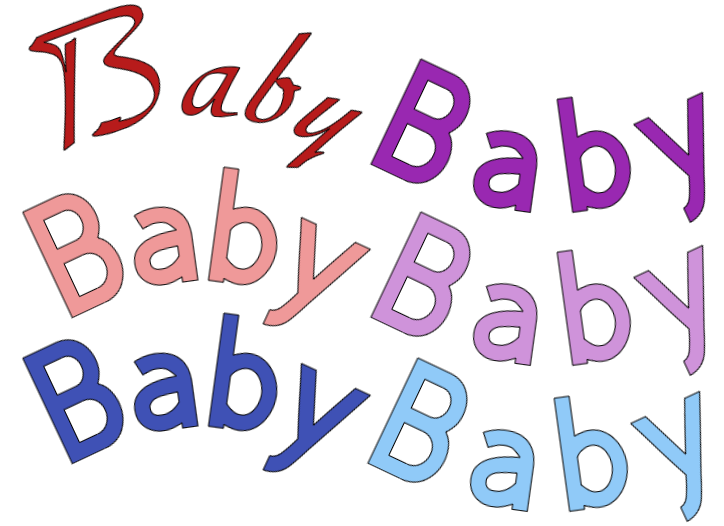
For instance, you can swap out generic words like “mom” for “baby” or any other word you like. This technique allows you to create personalized designs with ease.
Why Use This Method?
While Cricut’s Warp tool (available with Cricut Access) can achieve similar effects, this approach is perfect for those who don’t have access to premium features. The Curve tool provides a quick, simple, and highly customizable way to create wavy text effects that look just as professional.
Final Tips
- Duplicate your designs to test different words or styles.
- Experiment with various curve values to create subtle or bold waves.
- Eyeball your alignment if needed to ensure a smooth and visually pleasing effect.
You can grab an Access membership at anytime to use this feature.

 DIY Home Decor DIY Craft Tutorials, DIY Paper Flowers
4 replies to "How to Create Stunning Curved and Wavy Text Without Cricut Access"
This is a great tip. Thanks, Bette.
Thank you
Thank you for this tutorial – as a pensioner – we cannot afford the access to get all the special effects, and so very muc appreciate any ways we can create effects like this without the expense.
Thank you
We all need to find ways to save money and still have a fun filled (craft-filled) life