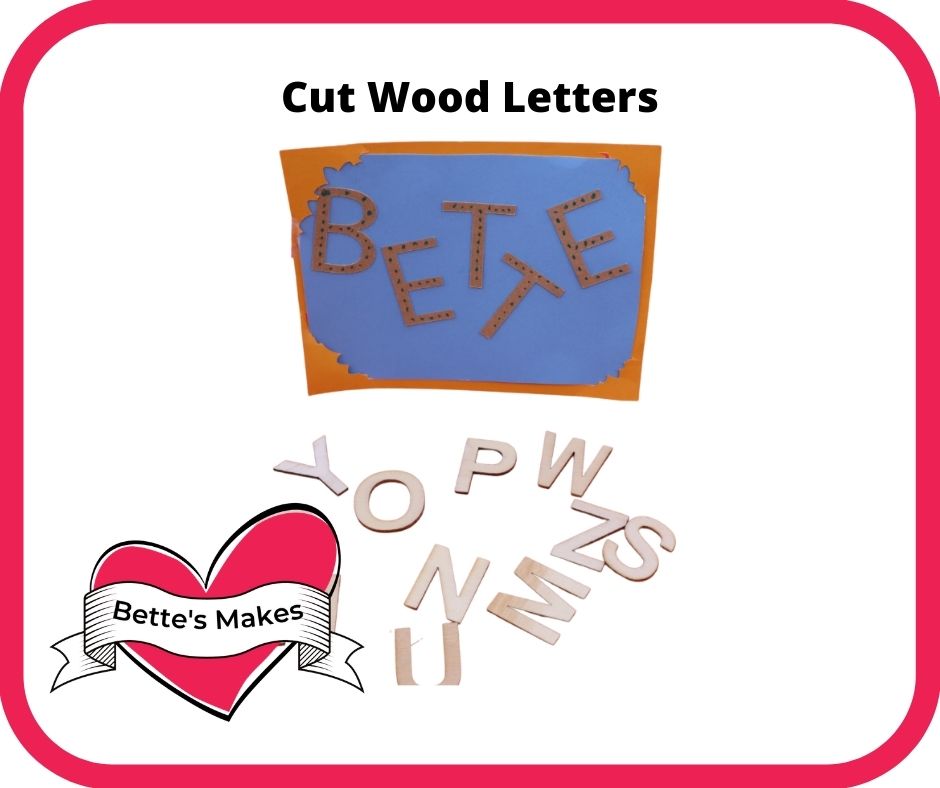
Easy Make Cutting Wood Letters
Make Your Own Alphabet by Cutting Wood with Your Cricut
Cutting wood with the Cricut is not difficult but it does take some patience. You have to keep an eye on your machine as it cuts through your material. Sometimes the number of passes the knife or deep cut blade take is too many and you may have to stop the process before the mat is also cut (yes, it did happen to me).
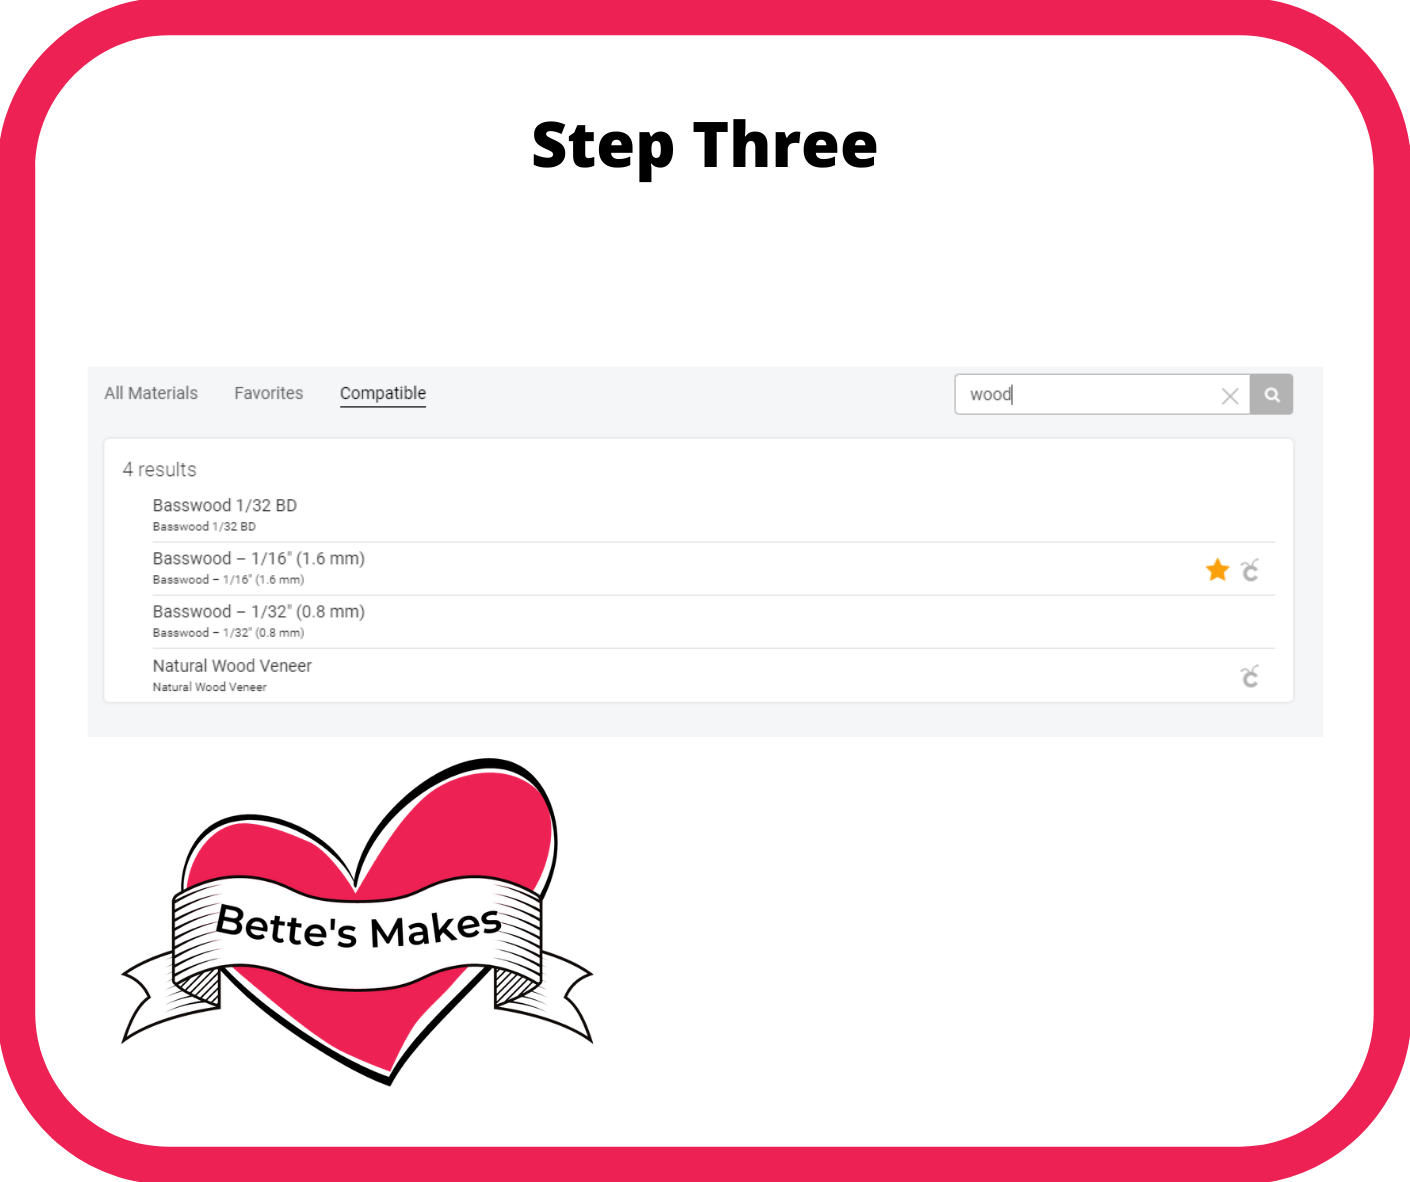
As for what kind of wood to use with your Cricut, Basswood is the easiest to work with. For other materials, you will want to make sure your machine can handle the thickness.
If it has not cut enough, you will need to have it go through the cut again before you eject the mat.
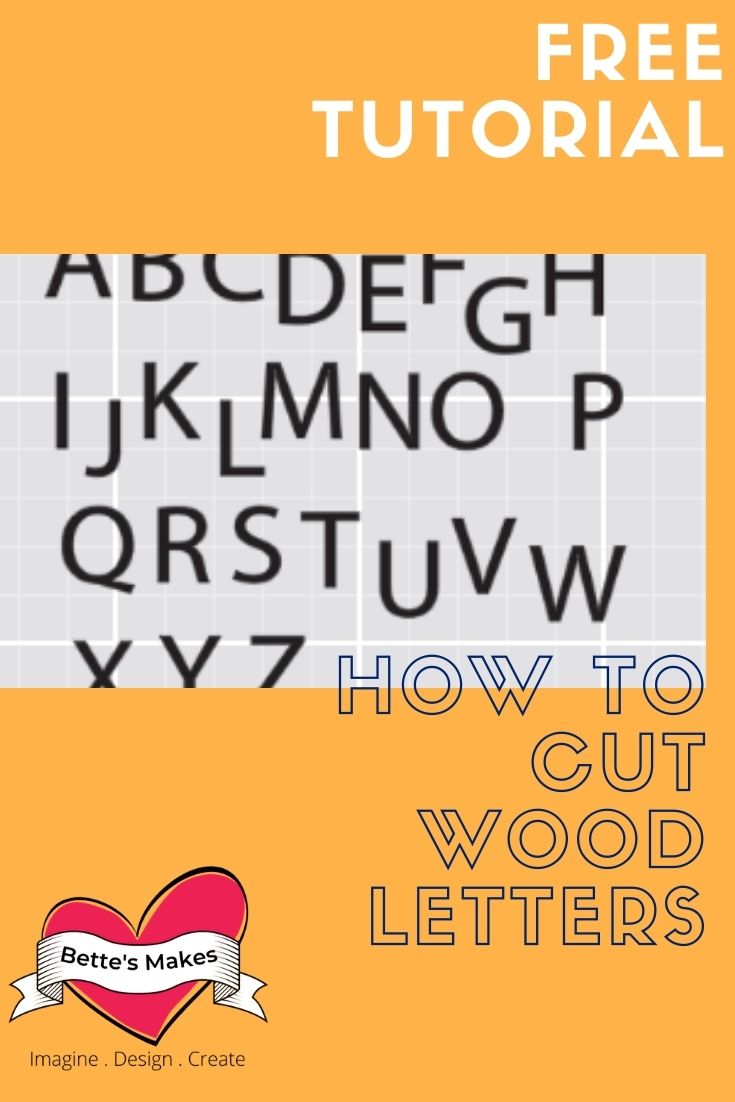
At any rate, I am giving you the template for the entire alphabet to use in any of your projects. All you need to do is go to the resource library and download asset #344.
Here’s what you need to make your wood letters. This post does contain some affiliate links for your convenience (which means if you make a purchase after clicking a link I will earn a small commission but it won’t cost you a penny more)! Read my full disclosure policy.
Quick Links to Information in this Post
Sock Talk Materials List
Cricut Maker or Cricut Air 2 or Joy
Wood such as Basswood 1/8" thick or similar material
Asset #344 from my resource library
Wood Letters Step-by-Step Guide
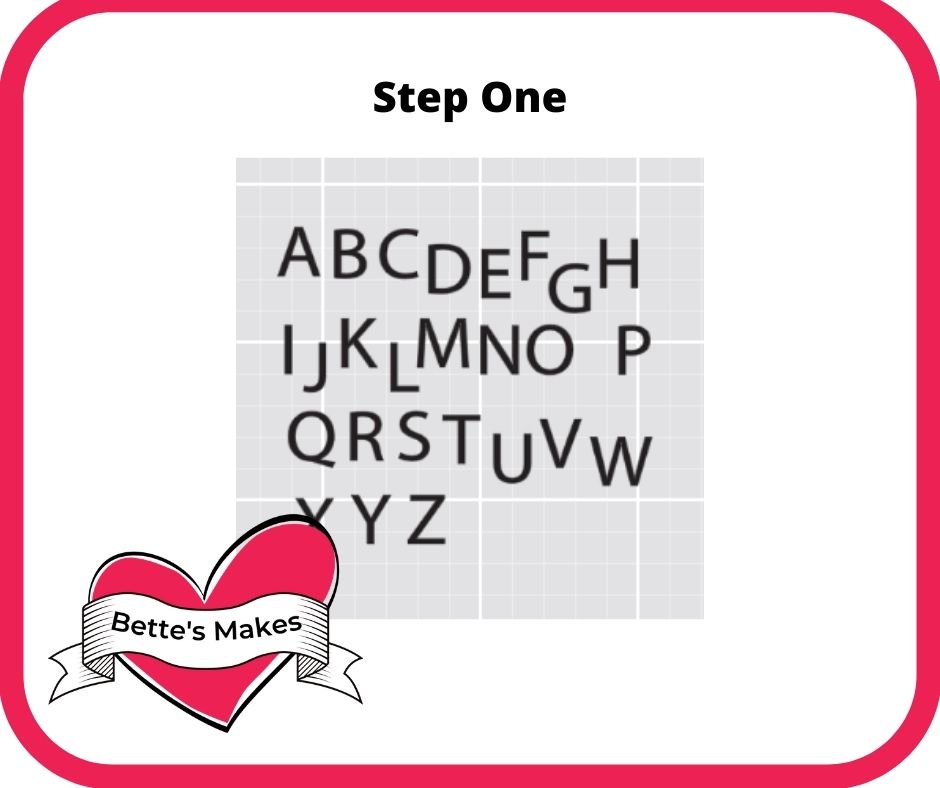
Step One - Download the Template
To start you will want to download the template (asset #344) from my resource library.
Unzip the file and upload the SVG file only to Cricut Design Space
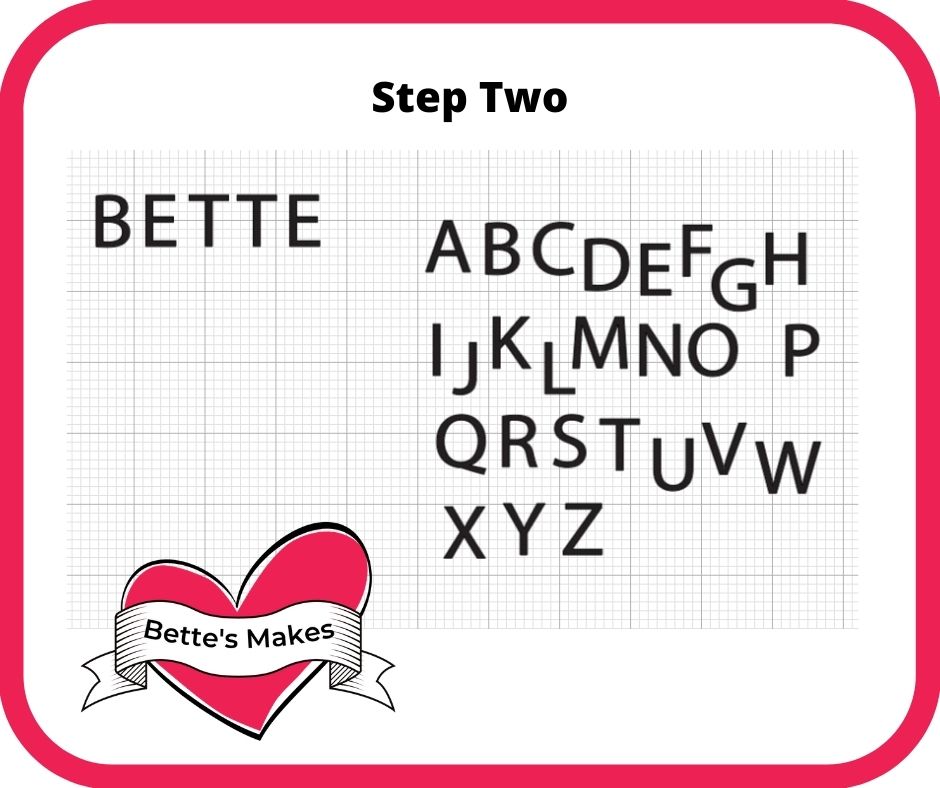
Step Two - Make Your Own Sayings
The template is a series of same sized and perfect thickness for a wooden letter. In order to make your own words, you will need to duplicate the letters you want to use and then arrange those letters into the word or words you want.
Hide the extra letters you will not be using then Save your project.
Click on Make It
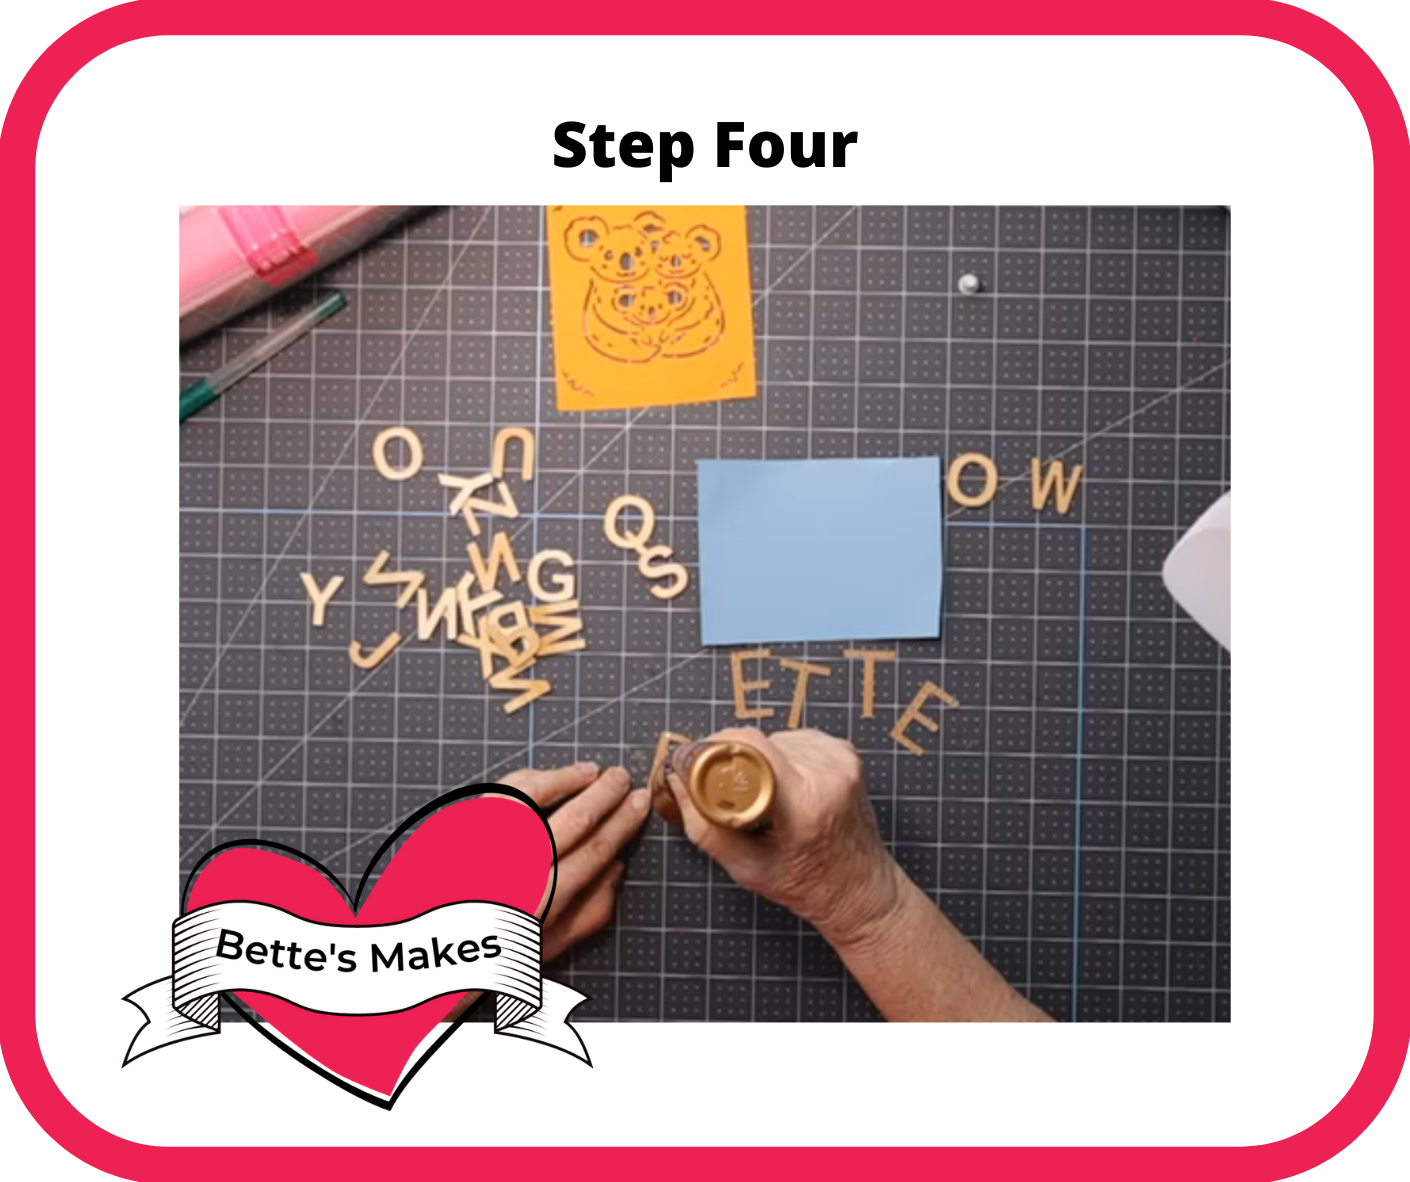
Step Four - Adding Letters to Your Project
For this project, you can decorate any surface you wish, I chose to decorate the back of a crad by gluing my letters in place.
If your letters are going to be placed on a surface that will be outdoors, you will want to coat the project with Mod Podge or something similar.
You can also paint your letters ahead of time for a super effect - it makes it so personal!
Step Five - The Final Product
Now that you have made your wood letters project, take a photo! Share it with use in our Facebook group. https://facebook.com/groups/BettesMakes.
More Craft Ideas from BettesMakes
Here are some amazing crafts you can make from BettesMakes.com
This is just a sampling of the dozens of crafts you can find on my website.
Easy Cricut Project Ideas For Beginners
Last Word
There are so many uses for cut wood letters when you use your Cricut. Cutting Basswood with your Cricut is easy but you do need to monitor the number of passes so you do not cut through your mat.
How to make wood letters work for you depends on where you want to use them once they are cut. This set of letters is ideal for a simple cut. You could try and use other fonts and make your own. I just want to caution you that the thickness of the letter is important, if the letters are too thin, your cut could become compromised.
Experiment around and see what you can make!
Please join our Facebook group - https://Facebook.com/groups/BettesMakes and share what you have done plus join in the fun.
I hope you enjoyed this project as much as I did.
If you made any wood letters projects, please share them in our Facebook group. https://Facebook.com/groups/BettesMakes
Until next time,
Happy Crafting!
Please join me on Pinterest: https://Pinterest.ca/BetteMakerCreations
Join my Facebook group: https://facebook.com/BettesMakes
Follow me on Instagram: https://Instagram.com/BettesMakes
Subscribe to my YouTube Channel: https://www.youtube.com/c/BettesMakes
